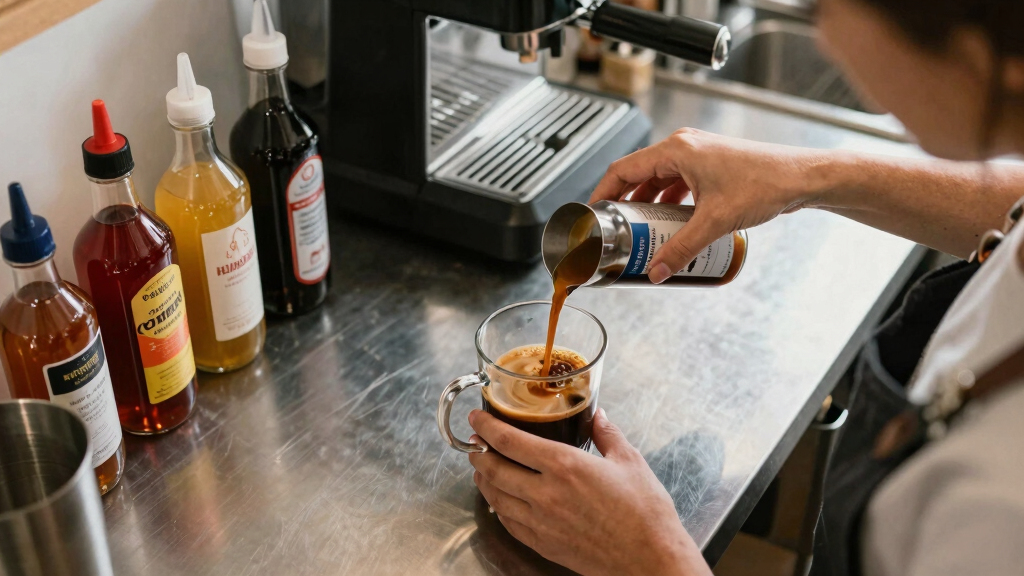
This guide shows how to make flavored coffee syrups at home, perfect for adding flavor to your coffee drinks. Suitable for beginners, it takes about 30 to 45 minutes to prepare various syrups like vanilla, caramel, or hazelnut. These syrups allow customization of your coffee experience and are cost-effective compared to store-bought options.

Get kitchen staples and gadgets delivered free with Prime
- Fast, free delivery on millions of items
- Prime Video, Amazon Music and more included
- Member-only deals all year
Difficulty: Beginner | Time: 30-45 minutes
What You’ll Need
Tools & Materials:
- Saucepan or small pot
- Measuring cups and spoons
- Whisk or spoon
- Glass jars or bottles for storage
Knowledge:
- Basic understanding of boiling and simmering
- Familiarity with measuring ingredients
Prepare clean storage containers beforehand. Use high-quality flavorings for best taste. Have all ingredients measured and ready before starting.
As an affiliate, we earn on qualifying purchases.
Before You Start
Ensure all tools and ingredients are clean to prevent contamination. Decide on the flavors you want to make and gather flavor extracts or ingredients like vanilla beans or spices if making custom flavors.
Step-by-Step Instructions
Step 1: Combine sugar and water in a saucepan
Pour 1 cup of water and 1 cup of granulated sugar into the saucepan. Heat over medium heat, stirring constantly until the sugar dissolves completely.
Tip:
Use a whisk or spoon to stir evenly and prevent burning.
Check:
The mixture should be clear and smooth, with no sugar granules remaining.
Step 2: Simmer the syrup
Bring the mixture to a gentle simmer. Reduce heat to low and let it simmer for 5 minutes to thicken slightly.
Tip:
Do not boil vigorously to avoid burning the syrup.
Check:
The syrup should have thickened slightly and be glossy.
Step 3: Add flavoring or extracts
Remove the syrup from heat. Stir in your chosen flavoring—e.g., 1-2 teaspoons of vanilla extract, or 2 tablespoons of caramel syrup, or crushed vanilla beans.
Tip:
If making custom flavors, add spices or herbs now and let steep for extra flavor before straining.
Check:
The syrup should have a consistent flavor, with no clumps or separation.
Step 4: Cool the syrup
Allow the syrup to cool to room temperature, which will thicken it further.
Tip:
Stir occasionally to help it cool evenly.
Check:
The syrup should be at room temperature, with a smooth, pourable consistency.
Step 5: Transfer to storage containers
Pour the cooled syrup into clean glass jars or bottles using a funnel if needed. Seal tightly.
Tip:
Label containers with flavor and date for easy identification.
Check:
The syrup is stored in sealed containers, ready for use, with no leaks or spills.
Common Mistakes to Avoid
- Using too much flavoring, resulting in overpowering taste. — Add flavorings gradually and taste as you go to achieve the desired intensity.
- Not dissolving sugar fully, leading to grainy syrup. — Ensure sugar is completely dissolved before simmering; stir constantly during the initial phase.
- Overcooking the syrup, causing it to become too thick or caramelized. — Keep simmering time short and remove from heat promptly once the desired consistency is reached.
- Using contaminated containers, leading to spoilage. — Wash all storage containers thoroughly and dry before filling.
Troubleshooting
Problem: Syrup is too thick after cooling.
Solution: Reheat gently with a small amount of water, stirring until it reaches desired consistency.
Problem: Syrup has a burnt or bitter flavor.
Solution: Avoid boiling at high heat and monitor cooking time closely to prevent burning.
Problem: Flavor is weak or bland.
Solution: Add more flavor extract or steep herbs/spices longer before straining.
What Success Looks Like
The finished syrup is smooth, pourable, and flavored to your liking. It should have a glossy appearance and a balanced flavor. When added to coffee, it enhances taste without separation or clumping.
Next Steps
Use your homemade syrups within 2-4 weeks for best flavor. Store in a cool, dark place or refrigerator. Experiment with different flavors by adding spices, herbs, or fruit extracts. Clean containers thoroughly before refilling.
Frequently Asked Questions
How long does homemade flavored syrup last?
Stored properly in a sealed container in the refrigerator, the syrup stays good for 2-4 weeks.
Can I make sugar-free syrup?
Yes, substitute sugar with alternatives like honey, agave nectar, or sugar substitutes, but adjust quantities and cooking times accordingly.
How can I make a thicker syrup?
Simmer the mixture slightly longer to reduce water content or add a small amount of cornstarch mixed with cold water during simmering, stirring constantly.
Can I use fresh fruit or herbs instead of extracts?
Yes, steep fresh ingredients like vanilla beans, cinnamon sticks, or fruit slices in the hot syrup, then strain before storing.
Halloween Picks
halloween
As an affiliate, we earn on qualifying purchases.