
TL;DR

Get kitchen staples and gadgets delivered free with Prime
- Fast, free delivery on millions of items
- Prime Video, Amazon Music and more included
- Member-only deals all year
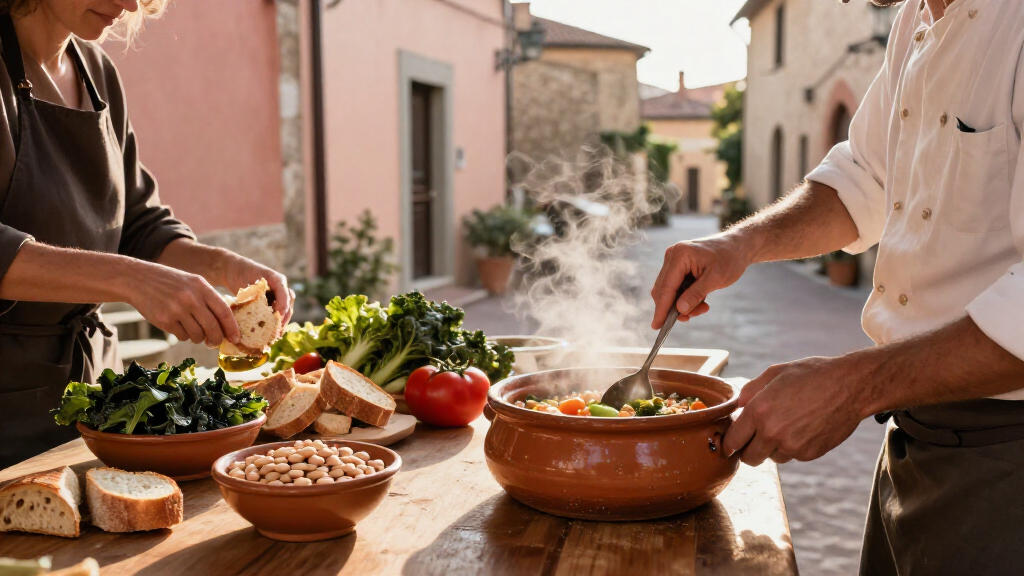
Ribollita is a thick Tuscan soup of day-old bread, beans, vegetables, and greens, often cavolo nero; its name means “reboiled.” Cook the soup on day one, chill it promptly, then reheat it gently on day two with a little water or stock as needed, until the bread and broth form a moist, spoonable meal.
Ribollita starts as a pot of vegetables and beans, but its best-known texture arrives after the bread has had a night to drink in the broth. On day two, you reheat the whole thing: that’s the literal meaning of its name, ribollita, “reboiled.” The result should be thick, glossy, and substantial enough to count as lunch, with no pale cubes of bread bobbing in a bowl of thin soup.
This is a dish from Tuscany, rooted in cucina povera—the resourceful tradition of making a filling meal from modest, available ingredients. You’ll use sturdy bread, beans, vegetables, and leafy greens, especially cavolo nero (Tuscan black kale), then give the pot time to settle. There’s room for practical swaps, including canned cannellini beans and ordinary kale, as long as you keep the soup’s heart intact.
Below, you’ll find a clear two-day method, guidance for choosing bread and greens, ways to fix the texture, and safe cooling and reheating steps. Think of the first day as building the pot and the second as letting it come into its own.
Ribollita means “reboiled”; cook the soup on day one, chill it promptly, and reheat it the next day.
Use day-old rustic bread so it absorbs the broth without collapsing as quickly as soft sandwich bread.
Cavolo nero is traditional, but kale, Swiss chard, or savoy cabbage can work with adjusted cooking times.
Expect the soup to thicken overnight; add water or stock gradually during the second-day reheat.
Refrigerate leftovers within two hours, and reheat them to 165°F (74°C) before serving.
Ribollita, for real A full two-day method
Cook the bread, beans, vegetables, and greens on day one; chill promptly, then reheat gently the next day for a thick, moist, spoonable soup.
Why the second day matters
“Ribollita” means “reboiled”; resting lets the bread absorb broth and the flavors settle.
Cook the vegetables, beans, greens, and stale bread gently until the soup thickens.
Cool the soup and refrigerate it within two hours.
Warm it slowly, stirring in water or stock as needed to keep it moist and spoonable.
Choose ingredients that hold up
Rustic bread gives the soup body, while beans and sturdy greens make it a substantial meal.
Sturdy and day-old
Rustic bread absorbs broth steadily; very soft sandwich bread can turn pasty.
Cannellini work well
Use cooked dried beans or rinsed canned beans with enough stock or water.
Cavolo nero or a swap
Kale, Swiss chard, or savoy cabbage can stand in; add faster-wilting chard later.
Get the texture right
The bread keeps absorbing liquid as the soup rests, so adjust during the second-day reheat.
- Stir in a little water or stock.
- Add it gradually as the soup warms.
- Simmer uncovered to reduce the liquid.
- Aim for a moist, spoonable meal.
Why the Second Day Makes Ribollita Taste Like Ribollita
Ribollita is a hearty Tuscan bread and vegetable soup that is cooked, rested, and reheated so its bread, beans, greens, and broth become one substantial dish. Its name means “reboiled,” and that second heating gives the bread time to soften fully and the flavors time to mingle. It traditionally uses day-old bread and beans, especially cannellini, with vegetables such as onion, carrot, celery, tomato, and cavolo nero.
The overnight rest works a little like letting a sponge sit in a bowl of soup: the bread gradually takes up liquid, but it also gives some of that liquid back as you stir and reheat. This exchange matters because the bread is doing more than adding bulk: it thickens the broth and carries its flavor through each bite. By lunch the next day, a spoon should meet soft bread, tender beans, and dark green leaves in nearly every scoop. For instance, if your first-day pot looks like vegetable soup with a few bread chunks, don’t judge it yet; those chunks will swell and soften as the soup chills.
Cucina povera means “poor cooking,” though the phrase describes thrift and ingenuity, not a lack of care. In a Tuscan kitchen, yesterday’s bread could help stretch beans and seasonal vegetables into a meal that fed everyone at the table. That practicality still shapes the method: the loaf you have and the greens available can take priority over an exact ingredient list. The tradeoff is that bread type and greens affect how much liquid you’ll need and when the vegetables are done, so tasting and adjusting matter more than rigid timing.
Recipes vary. Some cooks simmer bread directly in the soup; others layer toasted or stale bread with the cooked vegetables and broth. This version stirs the bread into the pot, then chills and reheats it, a straightforward approach for a home stove and one sturdy Dutch oven. Stirring it in makes a cohesive, thick soup; layering preserves more distinct pieces of bread, but takes a little more care when serving and adjusting moisture.

Products Worth Considering

Dyson Cyclone V10 Origin Cordless Vacuum

Philips Hue Festavia 130-Foot Indoor/Outdoor Smart String Lights, 500 Mini Color-Changing LEDs

Blueair Blue Pure 511i Max Air Purifier
As an affiliate, we earn on qualifying purchases.
Choose Bread, Beans, and Greens That Hold Up
Choose sturdy, day-old bread, cooked beans, and greens that can handle a long simmer for ribollita with body and a deep, savory flavor. Unsalted Tuscan-style bread is a classic choice, but a rustic country loaf works well; avoid soft sandwich bread, which can collapse into paste before the beans and vegetables have softened. Stale bread is already drier, so it absorbs broth steadily instead of disintegrating at once. The choice affects more than texture: bread that drinks up broth helps bind the soup, while a loaf with a strong sour or salty flavor can shift the balance of the whole pot.
For instance, if your loaf is fresh, cut or tear it into chunks and dry it in a low oven until the outside feels firm. You want it dry, not browned like croutons. A slightly chewy sourdough country loaf can work too, though its tang will show through; taste the broth before adding much salt, especially if your stock is already seasoned. Drying fresh bread gives you more control because it reduces the risk of the outside dissolving before the center has absorbed enough broth.
Cannellini beans are common in Tuscan cooking. If you cook dried beans, their mild cooking liquid can enrich the soup; if you use canned beans, drain and rinse them, then add enough vegetable stock or water to keep the pot moist. One or two cans make a handy weeknight shortcut, while beans cooked from dry can bring a softer, creamier quality. The difference is mostly about time and control: canned beans are ready and reliable, while cooking from dry lets you season the beans and save their liquid, but requires planning ahead.
Cavolo nero gives the soup its classic dark, earthy greens. Look for firm, nearly black leaves at an Italian market or a well-stocked farmers’ market; remove the tough central ribs and chop the leaves. If you can’t find it, use kale, Swiss chard, or savoy cabbage. Chard wilts faster than kale, so add it later; that small timing adjustment keeps it green and tender rather than faded to threads. These swaps change the soup’s character as well as its cooking time: cavolo nero and kale stay assertive, while chard and cabbage soften sooner and make the greens less prominent.
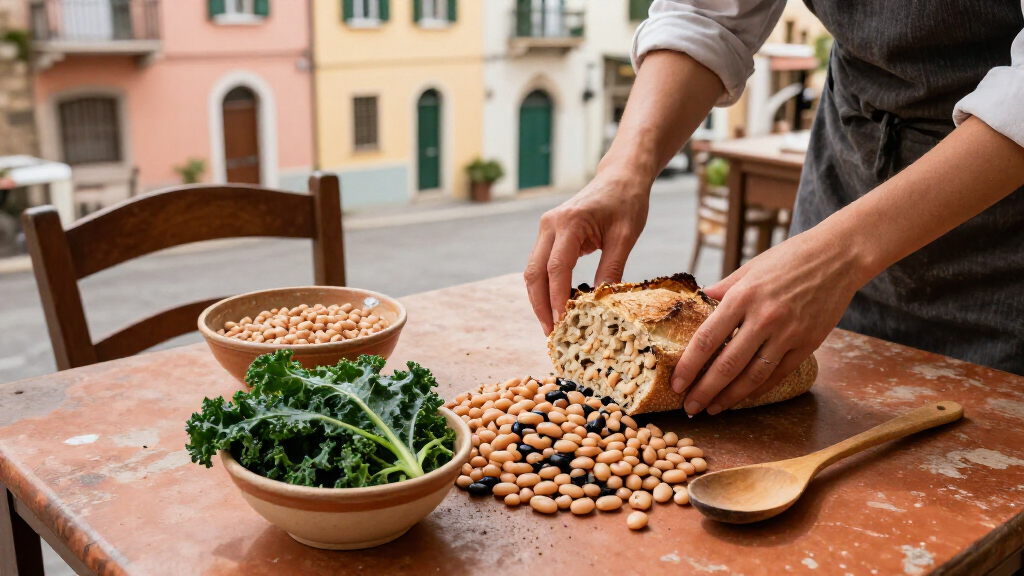
- Bread: a rustic loaf, preferably a day or two old.
- Beans: cannellini, cooked from dry or canned and rinsed.
- Greens: cavolo nero first, then kale, chard, or savoy cabbage.
- Broth: vegetable stock or water, adjusted to your beans and bread.
Cook the First-Day Pot in Four Steady Steps
On day one, soften the aromatics, cook the vegetables and greens, add beans and liquid, then simmer the bread into the pot. Give yourself roughly 60 to 90 minutes, depending on whether your beans are already cooked and how quickly the greens soften. The aim is patient, gentle cooking; a hard boil can break the vegetables apart before the flavors settle. Each step builds a different part of the soup: the aromatics bring sweetness, the greens give it its earthy center, and the bread later turns the broth into a meal.
- Build the base. Warm olive oil in a heavy pot over medium heat. Add chopped onion, carrot, and celery with a pinch of salt, then cook for 8 to 10 minutes until soft and fragrant. Add garlic or tomato if you like, and cook until the tomato darkens slightly. Softening the vegetables slowly draws out sweetness and gives the broth a rounded base; rushing this stage leaves sharper flavors that can remain noticeable even after the overnight rest.
- Soften the greens. Stir in chopped cavolo nero and a little stock or water. Cover for several minutes so the leaves wilt, then stir them through the aromatic base. If using Swiss chard, hold back the tender leaves and add them closer to the end. Tough greens need time to lose their chew, while tender leaves need only enough heat to wilt; matching the timing keeps the greens pleasant on day two rather than stringy or overcooked.
- Add beans and liquid. Stir in cannellini beans and enough stock or water to make a loose, brothy stew. Simmer gently until the greens are tender. Mash a spoonful of beans against the pot if you want a creamier body. Starting loose is useful because the bread will take up liquid as it cooks and continues to absorb it in the refrigerator. If the pot is already thick before the bread goes in, it is more likely to catch on the bottom.
- Stir in the bread. Tear day-old bread into rough pieces and fold it into the pot. Simmer gently until the bread softens and the soup thickens, adding small splashes of liquid if the bottom starts to catch. Add the bread gradually if you are unsure of your loaf: different breads absorb at different speeds, and you can always add more, but it is difficult to restore distinct pieces once too much has dissolved.
Picture a spoonful with a little of everything: a tender bean, soft carrot, dark green leaf, and bread saturated with broth. That’s your cue to stop cooking for the first day. Let the pot cool enough to store, then refrigerate it promptly in shallow containers or a wide, shallow vessel. Don’t leave a large warm pot on the counter for hours; dividing it helps it cool faster and more evenly. It also makes day two easier, because you can reheat only the amount you need.
For a vegan pot, use vegetable stock, check the bread label if strict vegan preparation matters, and leave cheese off the table. If you plan to finish bowls with cheese, remember that ribollita can contain wheat in the bread and milk in the optional cheese; check packaged stock and bread for other allergens.
Reheat It Slowly and Set the Texture You Want
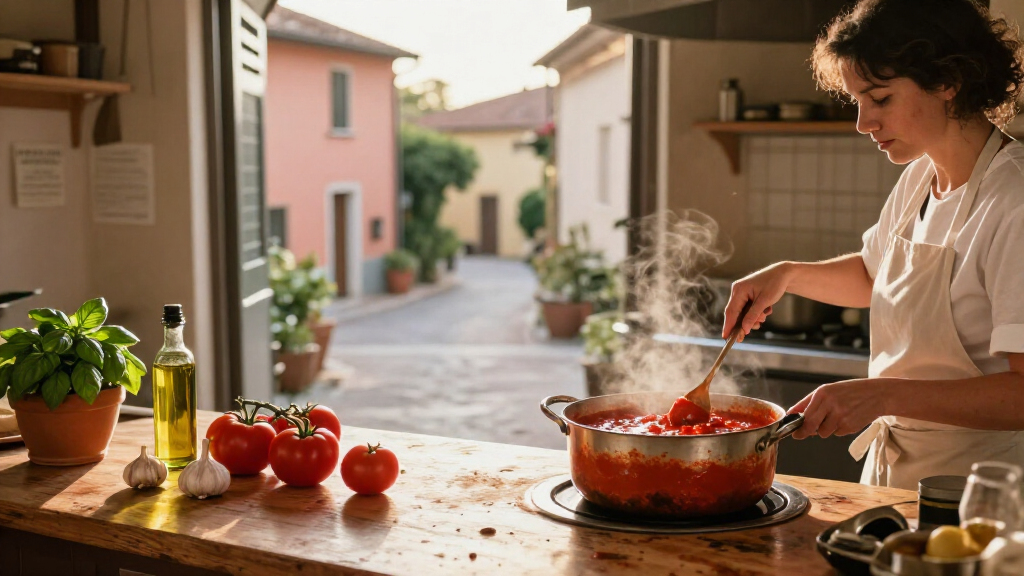
On day two, reheat ribollita slowly on the stove, stir often, and add water or stock until the soup is moist and spoonable. The bread will have absorbed liquid overnight, so a firm, almost sliceable pot is normal when cold. Start with a splash or two, warm the soup over low to medium heat, and keep stirring the bottom so the bread does not scorch. Gentle heat gives the absorbed broth time to loosen without breaking the beans and greens apart; high heat can dry the bottom before the center is hot.
Ribollita can be quite thick, but thick should still mean tender and moist. If it stands up in a dry mound on your spoon, add liquid in small amounts; if it runs like broth, simmer uncovered for a few minutes to evaporate some moisture. A practical test: drag your spoon across the bottom of the pot. The trail should close slowly, not instantly and not remain a dry trench. This texture is a useful balance: enough liquid remains to keep the bread soft, but the bread and beans still give the soup its characteristic body.
Some cooks like a little browning where the soup meets the pot, which adds a toasted, savory edge. That takes close attention: use a heavy pot and stir regularly, especially near the end. The flavor gain comes with a greater risk of scorching, since bread settles against the hot surface. For instance, if you’re reheating one bowl rather than the whole pot, use a small saucepan and add a tablespoon of water before warming; a microwave can work too, but pause to stir so the center heats evenly.
Reheat leftovers until steaming hot throughout. A food thermometer can help: aim for 165°F (74°C) when reheating leftovers, following USDA guidance. Reheat only the portion you plan to eat where possible, cool any remaining soup promptly, and keep it refrigerated. This protects both the flavor and the next bowl.
Finish the Bowl With Olive Oil, Pepper, and a Tuscan Touch
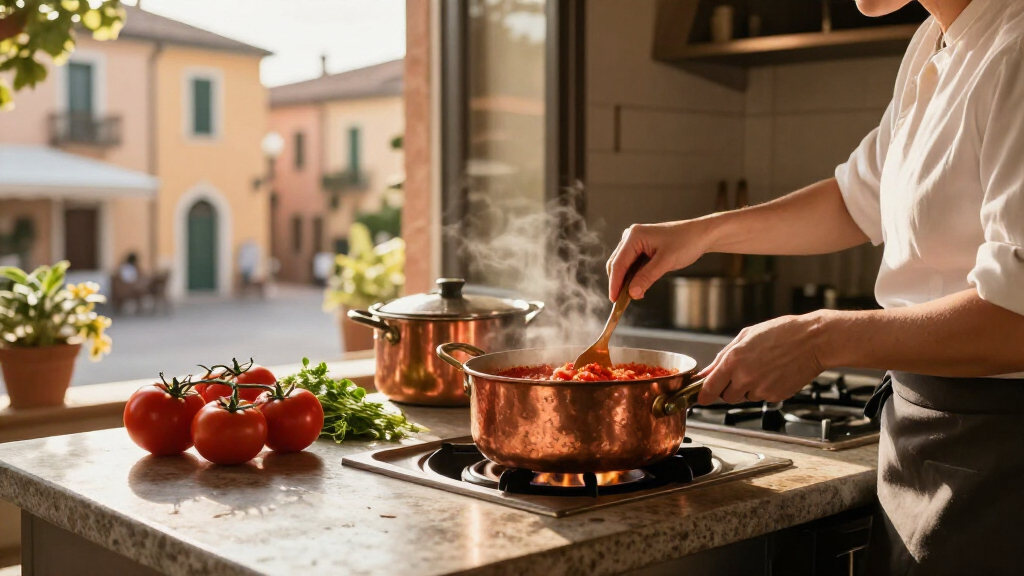
Finish each hot bowl of ribollita with good olive oil and freshly ground black pepper; add grated cheese if you like. A final ribbon of oil brings a fruity aroma and a soft sheen to the thick soup, while pepper cuts through the sweetness of slow-cooked onion and carrot. Taste before salting, since bread, beans, and stock can each add their own seasoning.
Use an extra-virgin olive oil you enjoy tasting on bread. A Tuscan oil can bring a grassy, peppery finish, while a gentler oil lets the greens and beans lead. If you have a bottle bearing a protected designation, read its label for the specific origin and certification; don’t assume every oil sold in Italy carries a DOP or IGP designation. The dish itself does not depend on a protected ingredient to taste rooted in Tuscany.
Serve ribollita with a simple salad or nothing at all. On a cold evening, a deep bowl with a thick slice of rustic bread on the side makes an easy supper; for lunch, a smaller portion pairs nicely with bitter greens dressed in vinegar. Parmesan or another hard cheese is optional, and it shifts the bowl away from a vegan meal. If guests avoid dairy, leave cheese at the table rather than stirring it into the pot.
The finish should stay restrained. You’ve already built flavor with beans, vegetables, greens, and bread over two days. Think of the olive oil as the last brushstroke, not a sauce: a teaspoon or so per bowl is often enough to make the surface glimmer.
Fix Common Ribollita Problems Before They Reach the Table
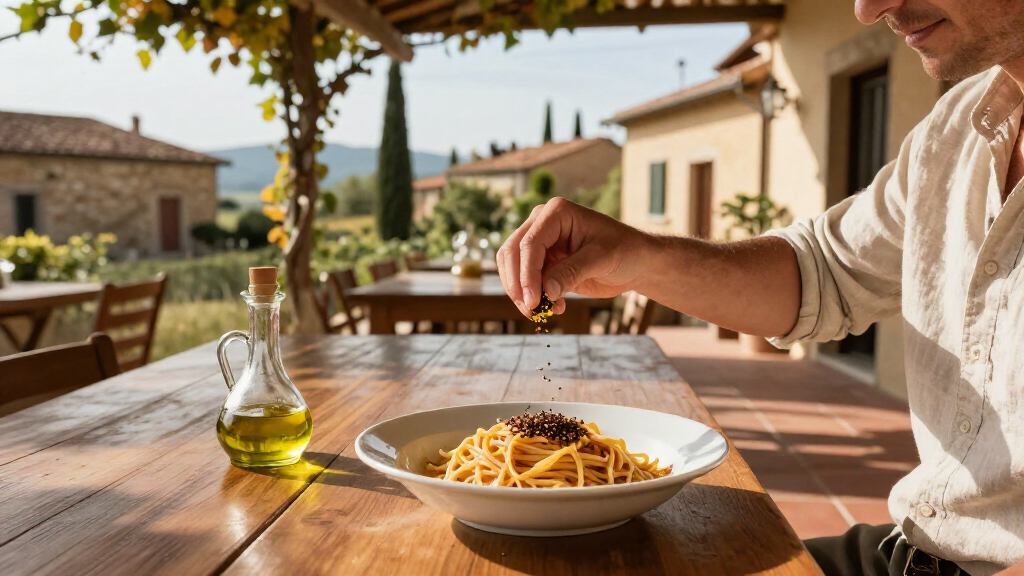
Most ribollita problems come down to bread choice, liquid, or timing, and each has a simple fix. If the soup is too loose, simmer it uncovered; if it is too stiff, add warm water or stock a little at a time. The bread keeps changing the texture as it rests, so judge it after the second-day reheat rather than during the first simmer. These are connected adjustments: adding liquid softens the bread, while simmering uncovered concentrates the broth and can further thicken it.
For instance, if your fresh loaf has turned mushy, the soup can still taste good, but the texture may be closer to a thick bean stew. Next time, use drier bread or add it in stages so you can stop when the pot reaches the consistency you like. If you only have fresh bread today, dry the chunks in a low oven first and let them cool before stirring them in. A drier loaf gives you a wider window to adjust because it absorbs liquid more gradually.
Greens need their own timing. Tough cavolo nero ribs can stay stringy, so strip them out before chopping the leaves. Kale benefits from a longer simmer; chard leaves often need only a few minutes. If you substitute savoy cabbage, slice it thinly and let it soften fully, tasting as you go. The goal is not identical greens in every version; it is leaves that are tender enough to eat alongside the beans and bread without dominating the spoonful.
- Too thick after chilling? Add stock or water during reheating, a few tablespoons at a time.
- Too thin? Simmer uncovered, stirring, until the bread and beans thicken the pot.
- Short on Tuscan greens? Use kale or chard and adjust the cooking time.
- Only fresh bread available? Dry or toast it gently before use.
These adjustments keep the dish useful and forgiving. A Tuscan cook working with what the market offers would not need every leaf to match a strict list; the defining combination is bread, beans, vegetables, and time. Treat the method as a way to manage those ingredients, rather than a test of whether you found a particular loaf or green.
Store Leftovers Safely and Make Tomorrow’s Lunch Easy
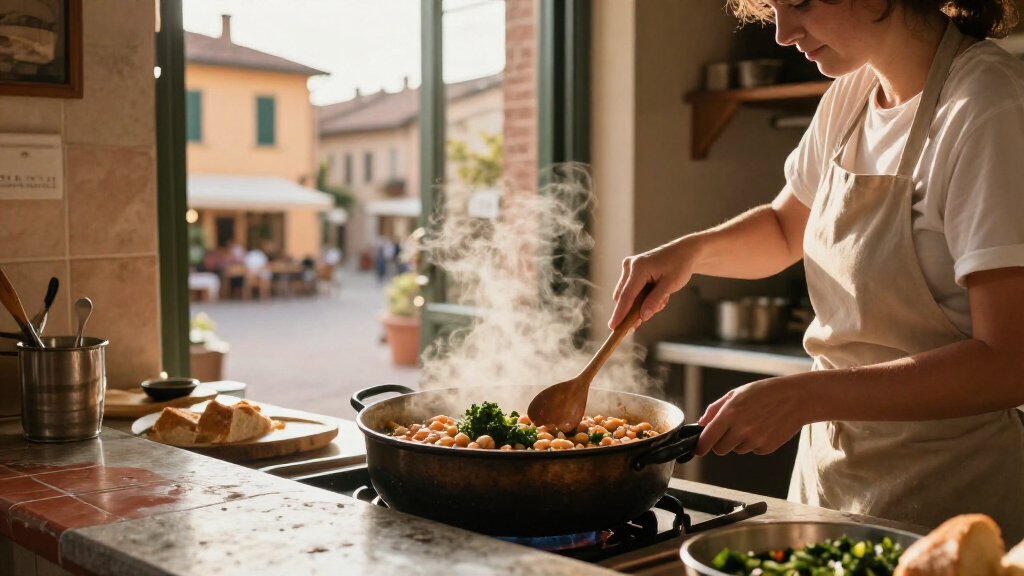
Cool ribollita promptly, refrigerate it, and reheat leftovers until steaming hot throughout. Because the pot is dense, it takes longer to cool than a thin soup; divide a large batch into shallow containers instead of putting the whole heavy pot in the refrigerator. The USDA advises refrigerating perishable food within two hours, or within one hour when the temperature is above 90°F (32°C). Dividing the soup helps the center cool sooner, which makes that timing easier to meet.
Keep the soup covered in the refrigerator and use refrigerated leftovers within three to four days, consistent with USDA guidance for cooked leftovers. Labeling the container with the date helps when you’ve also got beans, sauce, and yesterday’s pasta in the fridge. If the soup has sat at room temperature too long, don’t rely on reheating to make it safe; reheating addresses the serving temperature, but it cannot undo unsafe storage.
Ribollita freezes reasonably well, though the bread softens further after thawing. Freeze portions in airtight containers, leaving a little room for expansion. Thaw in the refrigerator when you can, then reheat gently with a splash of water or stock. The bread may lose some shape, but the flavor still makes a satisfying weekday lunch. Freezing is most useful when you want to save soup beyond the refrigerated window; smaller portions thaw and reheat more evenly.
For an easy meal plan, make the first pot on Sunday, chill it in shallow containers, and reheat only what you need on Monday. Add a little liquid to the serving portion, not the entire batch, so the leftovers keep their texture. A drizzle of olive oil and a twist of pepper will make the second-day bowl feel freshly finished.
Frequently Asked Questions
Does ribollita really need two days?
No. You can eat it the day you make it, but an overnight rest lets the bread absorb more broth and the flavors settle. Reheat it slowly the next day for the classic thick texture.
What bread should I use for ribollita?
Use a sturdy rustic loaf that is a day or two old, ideally unsalted Tuscan-style bread if you can find it. Avoid soft sandwich bread, which can turn pasty quickly; dry fresh bread gently in the oven if needed.
Can I make ribollita with canned cannellini beans?
Yes. Drain and rinse canned cannellini beans, then add them with vegetable stock or water. Taste the soup before salting, since canned beans and packaged stock can already contain salt.
What can I use instead of cavolo nero?
Kale, Swiss chard, or savoy cabbage are practical swaps. Kale can simmer longer, while chard leaves soften quickly, so add them later to keep a tender texture.
How thick should ribollita be?
It should be thick and substantial but still moist enough to spoon easily. If it turns stiff after chilling, stir in warm water or stock during reheating; if it is too loose, simmer it uncovered.
Is ribollita vegetarian or vegan?
It can be vegetarian or vegan if you use vegetable stock. For a vegan version, skip cheese and check the bread label; bread and optional cheese can contain wheat and milk allergens.
Can I freeze ribollita?
Yes. Freeze it in portions, knowing the bread may soften further after thawing. Reheat gently with a splash of water or stock to restore a moist, spoonable texture.
Conclusion
Make ribollita with sturdy bread, give it the night, and loosen it gently when you reheat it. That simple rhythm turns beans, vegetables, and greens into a distinctly Tuscan meal without demanding hard-to-find ingredients or fussy technique.
Tomorrow, when the spoon lifts a dark green leaf and a soft piece of bread from the same thick, fragrant bowl, you’ll see why this soup was made to come back to the stove.