AIThis post was created with the assistance of artificial intelligence (AI).
TL;DR
Panettone is a tall, enriched Italian holiday bread that takes time for its dough to develop strength and rise. A two-day bake can work at home, but you should follow your recipe’s schedule, judge proofing by the dough’s volume and feel, and cool the baked loaf upside down if the recipe calls for it. Expect your first loaf to teach you as much as it feeds you.
Your first panettone may spend the night rising while you sleep, then greet you in the morning barely taller than before. That does not mean you have ruined it. This rich, airy holiday bread asks for patience, a lively ferment, and dough strong enough to hold its own weight.
Before you orderOffer from Amazon
Get kitchen staples and gadgets delivered free with Prime
Panettone comes from Milan in Lombardy, where the tall loaf has become a familiar Christmas-season treat. A two-day bake gives you a useful way to approach it at home: prepare and mix on day one, then shape, proof, bake, and cool on day two. Your exact hours will depend on the recipe, the room, and the starter.
This guide walks you through that first attempt honestly: what to watch instead of the clock, why the dough can feel sticky, and how upside-down cooling protects the loaf after baking. You’ll also get practical ways to learn from a dense crumb or a slow rise, so your next bake starts with better information than guesswork.
At a glance
First Panettone Bake: A Home Baker’s Two-Day Guide
Key insight
Because butter, sugar, and eggs make panettone dough rich and slow to ferment, its readiness depends on both starter activity and dough development; the recipe’s clock is a guide, while visible volum…
Key takeaways
1
Panettone’s butter, sugar, and eggs make fermentation and gluten development slower than in a basic loaf.
2
A two-day schedule is a useful plan, but judge proofing by your recipe’s volume and texture cues as well as timing.
3
Sticky dough is not automatically a problem; follow staged mixing and avoid adding flour without a recipe-based reason.
4
Prepare the recipe’s upside-down cooling setup before baking if that method is called for.
5
Record room temperature, rise times, and dough feel so your next loaf can improve one step at a time.
Step by step
1
Plan Two Days Around the Dough, Not a Fixed Clock
A two-day panettone schedule divides the work into mixing and fermentation on day one, followed by shaping, final proofing, baking, and coo…
Panettone · Briefing
First Panettone Bake A two-day home attempt
Panettone takes time to ferment and build strength. Follow one recipe closely, and use the dough’s volume and feel to guide each stage.
Why this dough takes patience
Butter, sugar, and eggs slow fermentation and make gluten harder to develop than in a basic loaf.
Structure
Build strength gradually
Staged mixing helps the rich dough become smooth and elastic enough to hold its shape.
Texture
Sticky can be normal
Follow the recipe’s mixing method before considering any adjustment; extra flour can make the crumb heavier.
A two-day plan
The schedule is a framework. Recipe, room temperature, and starter activity affect how long each stage takes.
1
Day one
Prepare the starter or preferment and mix the dough as directed.
2
Overnight
Keep the dough under the recipe’s stated conditions and observe its growth.
3
Day two
Add remaining ingredients, shape, proof, and bake when the recipe’s cues are met.
4
After baking
Cool as directed; many methods suspend the loaf upside down to help protect its structure.
Judge readiness by the dough
Recipe times help you plan, while volume and texture help you decide when to move on.
Look for
The expansion described in your recipe
Aerated dough that holds its shape
Progress compared with its starting height
Keep in mind
A cool room can slow the rise
A warm room can speed fermentation
Recipes use different visual cues
Learn from the first loaf
A dense crumb or slow rise gives you information for the next attempt.
Room temperatureRise timesDough feelRecipe cues
Key pointFollow one recipe, and let its volume and texture cues guide the dough more than the clock.
The takeaway
Treat your first panettone as both a bake and a lesson: observe, take notes, and give the dough time.
What Makes a First Panettone Bake So Different from a Loaf of Bread?
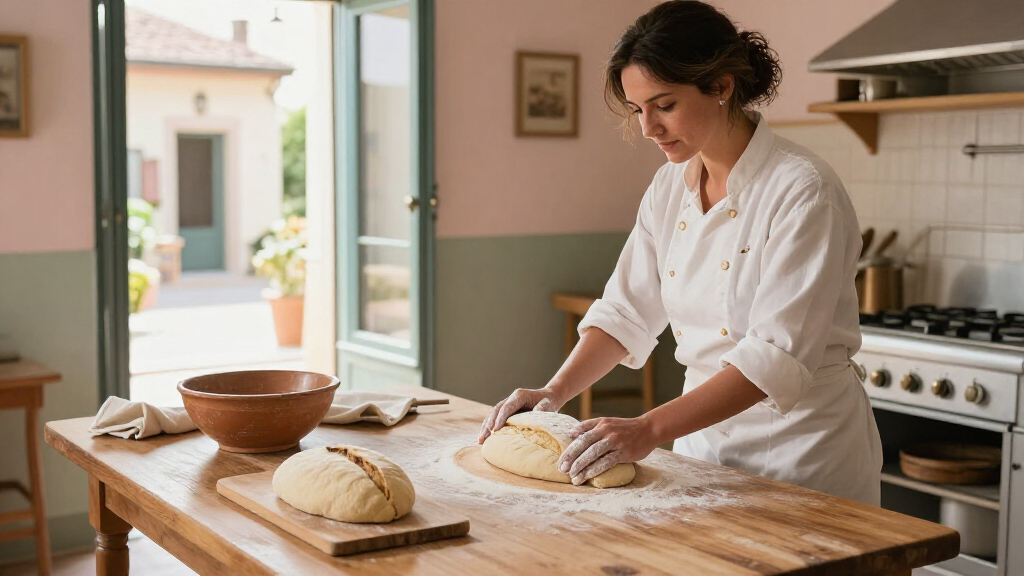
A first panettone bake feels different because the dough carries a lot of butter, sugar, and eggs while trying to build a light, tall structure. Those rich ingredients slow fermentation and make gluten harder to develop, so the dough needs careful mixing and time. A basic loaf often gives you quicker feedback; panettone can stay quiet for hours, then rise dramatically.
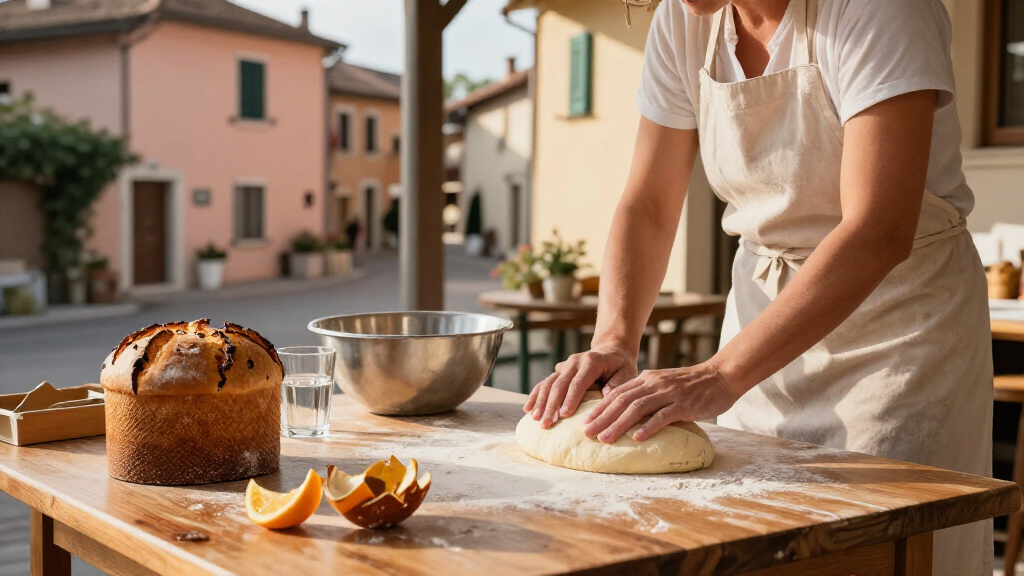
Panettone is a sweet, enriched bread associated with Christmas in Milan and across Italy. Its familiar version includes raisins and candied citrus, though recipes vary. The tall dome, tender crumb, and fruit suspended inside make it more demanding than a simple country loaf. Think of it like building a soft tent: the dough must stretch without tearing, then hold its shape as gas expands inside.
For example, if you mix in cold butter too quickly, it may smear across the dough instead of becoming fully absorbed. The mixture can look greasy and slack. A patient mixer, small additions, and a dough that gradually turns smooth and elastic matter more than trying to rescue it with handfuls of flour.
For a home baker, this means the first batch is partly a practice run. You learn how your kitchen temperature affects the rise and how the dough feels when it has enough strength. Set a realistic goal: follow one recipe closely, take notes, and treat a beautiful aroma and a well-baked loaf as wins even if the crumb is not bakery-perfect.
Products Worth Considering
TCL 55-Inch T7 Series 4K QLED Smart Google TV, 55T7
Dyson V8 Cordless Vacuum
Arlo Pro Wireless Security Camera, 2K HDR, 6th Gen, 4-Camera System
As an affiliate, we earn on qualifying purchases.
Plan Two Days Around the Dough, Not a Fixed Clock
A two-day panettone schedule divides the work into mixing and fermentation on day one, followed by shaping, final proofing, baking, and cooling on day two. The schedule is a framework, not a promise that the loaf will be ready at a precise hour. Your recipe’s method, starter strength, and room temperature all affect timing.
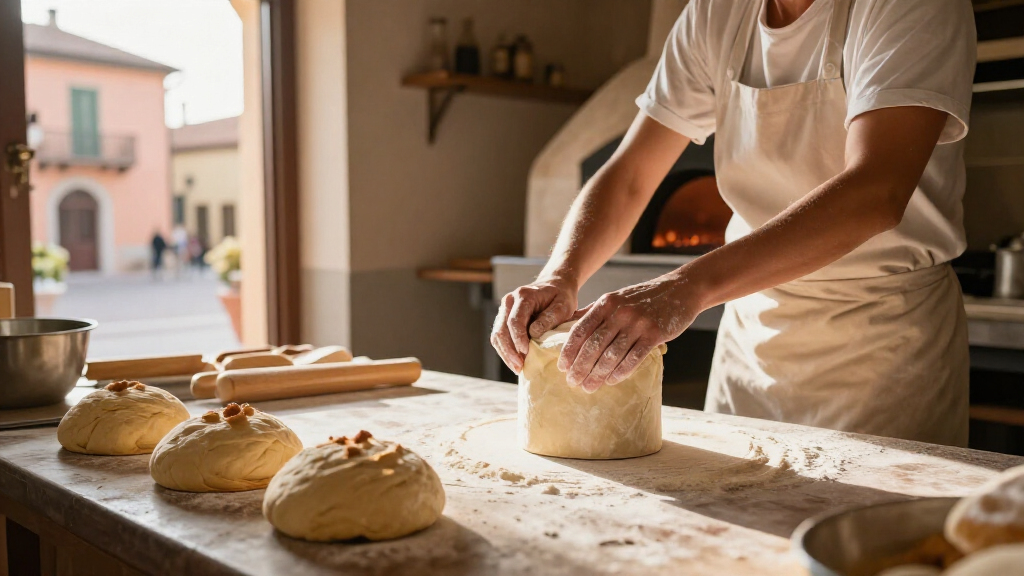
On day one, you might refresh a sourdough starter or prepare a preferment, then mix the first dough and let it ferment overnight. Day two can involve adding more ingredients, incorporating fruit, shaping, and waiting for the dough to rise in its mold. That final rise can take many hours. If your kitchen is cool, the dough may need longer than the recipe’s estimate.
Here’s a practical example: you mix after dinner and check the dough before bed. If the recipe calls for a large increase in volume and you see only modest growth, don’t assume it will catch up in the refrigerator. Keep a record of the room temperature and the dough’s appearance, then follow your recipe’s specific guidance for the overnight stage. Recipes differ, so don’t combine instructions from several methods.
Day one: Prepare the starter or preferment and mix the dough as your recipe directs.
Overnight: Track the dough’s volume and keep it under the conditions specified in the recipe.
Day two: Add remaining ingredients, shape, proof until ready, then bake.
After baking: Cool the loaf as directed; many panettone methods suspend it upside down.
Write down start times and observations. A note such as “doubled after eight hours at a warm room temperature” helps you plan the next bake far better than “it took forever.”
How to Tell When Panettone Dough Is Ready to Rise or Bake
Panettone dough is ready for its next stage when it shows the volume and texture your recipe describes, not simply when a timer rings. Look for a dough that has expanded, feels aerated, and holds its shape according to the method you are using. Because recipes differ, use their stated visual cues as your guide and compare them with what you see in the bowl.
That matters most during proofing, when the tall loaf needs enough gas to lift the heavy dough. If you bake too early, the crumb can turn tight and dense. If you wait too long, the dough may weaken or collapse. A warm kitchen can speed fermentation; a cool one can slow it, so a fixed number of hours cannot account for every home.
Imagine your shaped dough sitting in its paper mold on a cold winter counter. At the recipe’s suggested time, it has risen only partway and still feels dense. Rather than putting it straight into the oven to keep dinner on schedule, give it more time under the recipe’s recommended conditions and check again. The dough’s progress, not the clock, is the useful signal.
Use a clear container or mark the dough’s starting height with a piece of tape. That turns “looks bigger” into a comparison you can repeat. Note how long each stage takes and what the dough looks like when you move it. On your next bake, those observations can help you spot a sluggish starter or a room that runs cooler than you thought.
Let the dough tell you when it is moving. Recipe times help you plan; volume and texture help you judge readiness.
Why Sticky Dough Usually Needs Patience, Not Extra Flour
Sticky panettone dough is common because its high butter, sugar, and egg content makes it soft and rich. Stickiness alone does not tell you that something has gone wrong. The key question is whether the dough is gradually developing strength and becoming more cohesive as you mix it, following the recipe’s method.
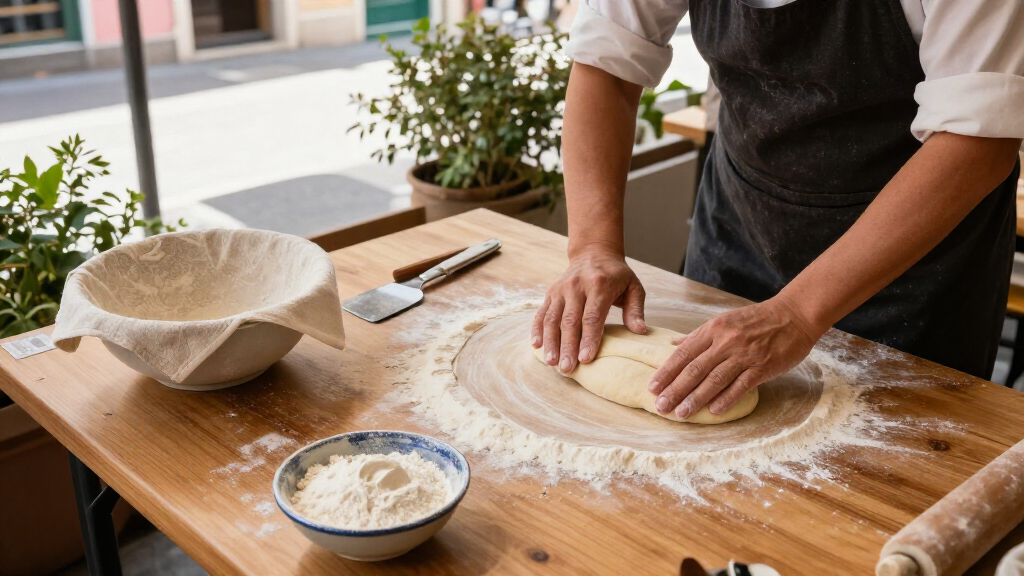
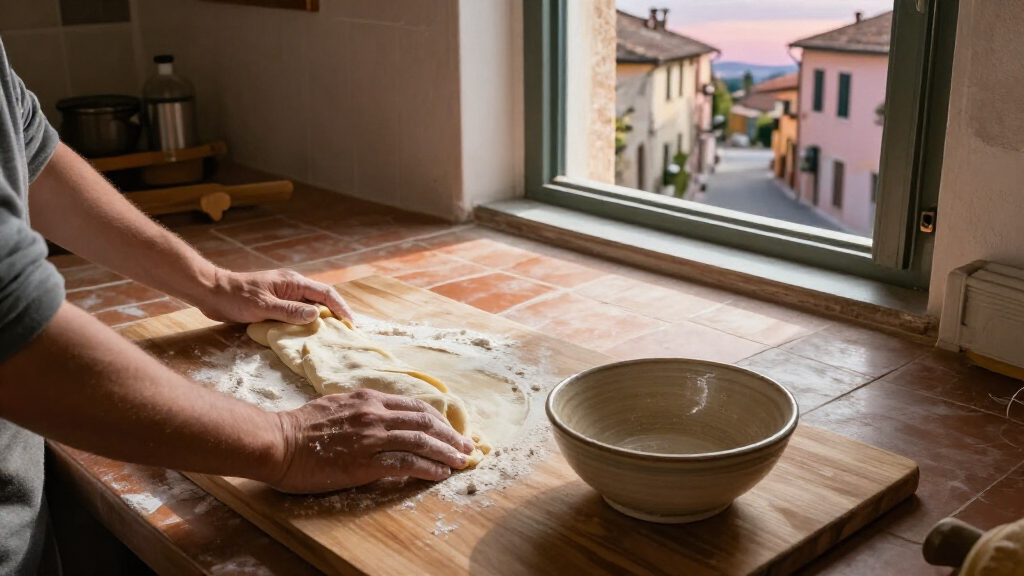
It can be tempting to add flour when the dough clings to the bowl, especially if you are used to kneading a firm sandwich loaf by hand. But extra flour changes the recipe’s balance and can lead to a heavier crumb. A mixer may help with a dough that needs sustained development, though some recipes use different techniques. Don’t assume every method works with every formula.
For instance, after a butter addition, your dough may look slippery and ragged for several minutes. Keep mixing as directed and watch for it to gather, smooth out, and begin pulling away from the bowl if your recipe describes that stage. If it remains greasy or tears easily, stop to check ingredient temperatures and the mixing sequence rather than dusting in flour automatically.
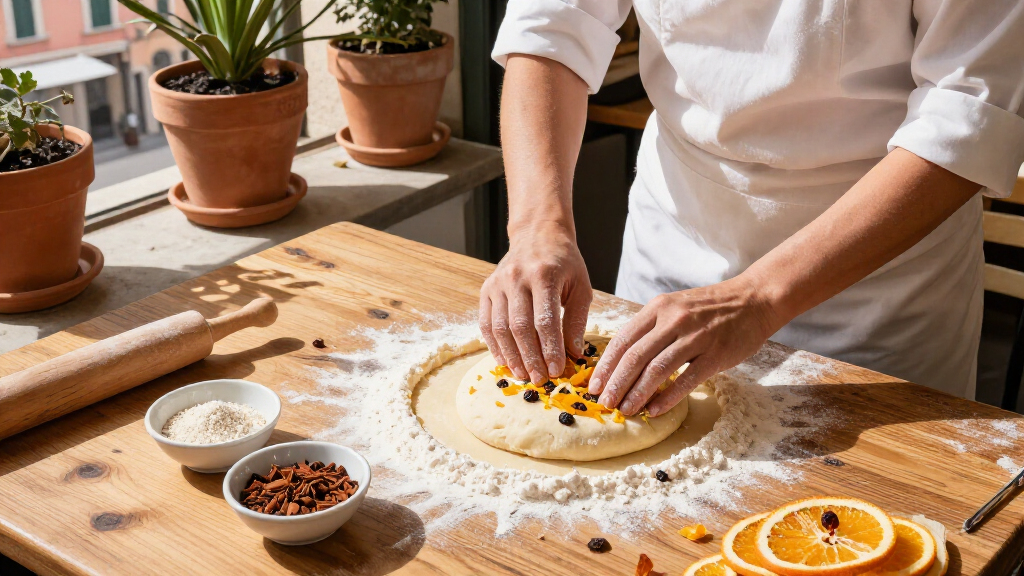
Use a scraper to gather the dough and keep your work surface clean. If your recipe calls for adding raisins and candied peel, add them when directed; adding fruit too early can interfere with dough development. A first-time baker who takes a quick photo at each stage can compare the dough’s progress without relying on memory, which is especially useful when the mixture looks unfamiliar.
Follow the recipe’s mixing order. Rich doughs often rely on staged additions.
Use a scraper to handle sticky dough with less extra flour.
Check for strength and cohesion as mixing continues, rather than judging by stickiness alone.
Keep notes on ingredient temperature, mixing time, and dough feel.
Choose Fruit and Flavorings That Suit a Milanese-Style Loaf
A traditional-feeling panettone gets much of its aroma from raisins and candied citrus, which bring sweet fruit and a bright, bittersweet edge to the tender dough. The ingredients should taste good on their own because every bite carries their flavor. A small change in fruit can make the loaf feel more personal, but keep the recipe’s total additions in balance.
In Lombardy, panettone belongs to the winter holiday table, where a slice might appear after a long meal beside coffee or a glass of sweet wine for adults. Candied orange peel gives the loaf a fragrant citrus note; raisins add little pockets of sweetness. If you dislike citron, use a substitution your recipe permits, such as additional candied orange, rather than adding a larger quantity of a different ingredient without adjusting the dough.
Say your first bake uses raisins that feel dry and hard. You might soak them as your chosen recipe instructs, then drain and dry them well before they go into the dough. Wet fruit can add moisture unpredictably and make mixing harder. If the recipe uses alcohol for soaking, that choice is for adults; handle and serve alcohol responsibly. You can choose a nonalcoholic soak if the recipe allows it.
Fruit and egg are common allergens in this style of bake, and butter contributes dairy. Check your ingredients and tell guests clearly what the loaf contains. If you serve panettone at a holiday gathering, a simple card naming the fruit and allergens helps everyone choose comfortably.
Cool the Tall Loaf Upside Down to Protect Its Crumb
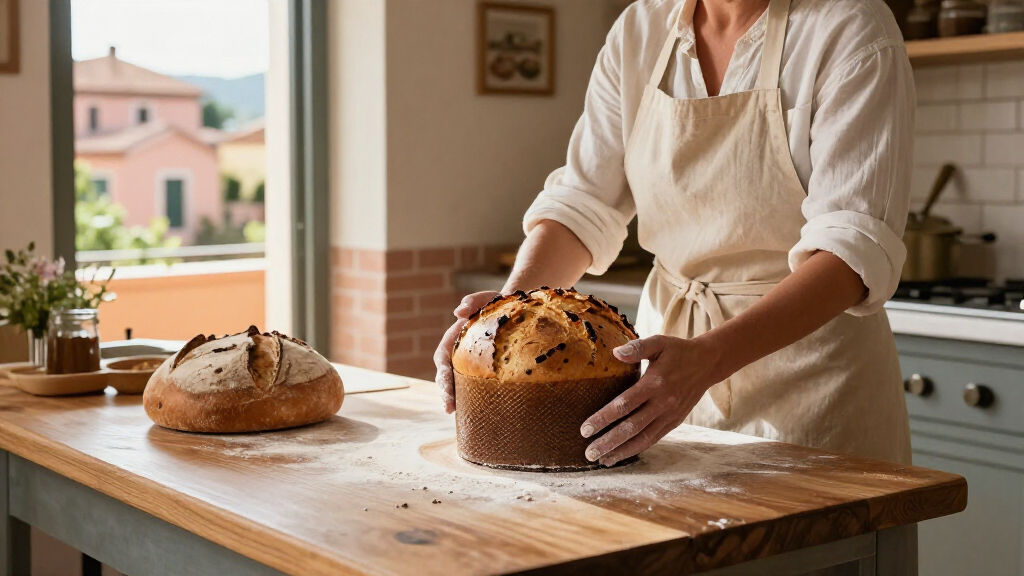
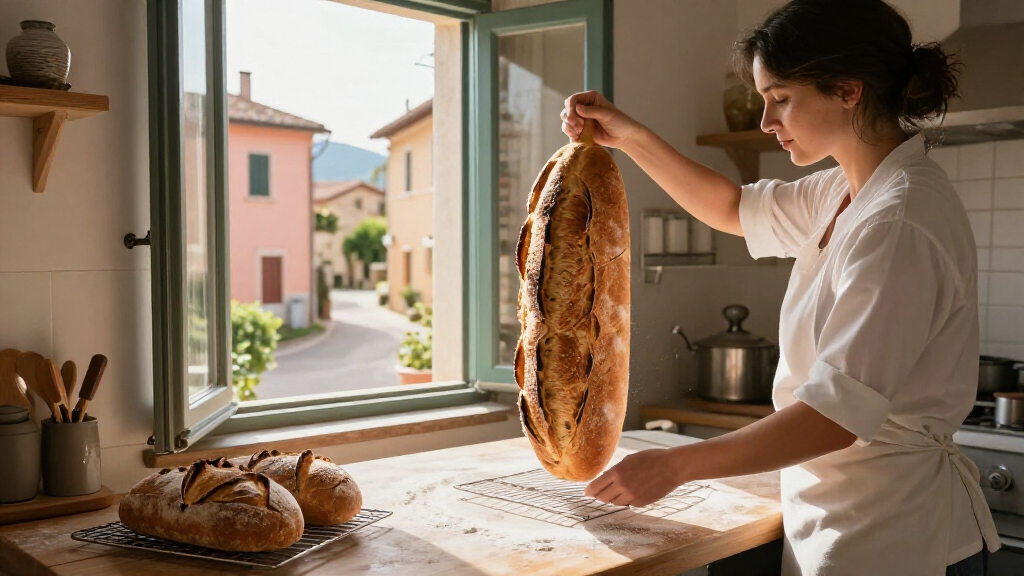
Many panettone recipes call for cooling the baked loaf upside down because its delicate, airy structure can sag under its own weight while still hot. The loaf’s tall shape and soft crumb make the cooling stage part of the bake, not an optional flourish. Follow your recipe’s method and use suitable skewers or supports if it specifies them.
Fresh from the oven, the crust may be browned and fragrant while the center remains tender and fragile. Turning the loaf upside down lets gravity pull against the crumb as it sets. Without the recipe’s cooling support, a lofty dome can sink toward the paper mold, leaving a compressed band near the bottom. That can be disappointing after a long proof, but it also shows why cooling matters.
Picture carrying a warm panettone across the kitchen, its citrus scent filling the room. Don’t set it down to admire the dome if your recipe calls for immediate suspension. Prepare the cooling setup before baking so you can move directly from oven to the instructed position. The exact technique and timing vary, so use the equipment and directions from your chosen recipe.
Use oven mitts and keep the hot loaf away from children and pets while you handle it. Let it cool fully as directed before slicing. Cutting too early can compress the crumb and make it seem gummy, even if the bake itself was sound. Once cool, store it according to your recipe; airtight wrapping helps limit drying, while freezing can preserve portions for later if the recipe supports it.
Turn a Dense or Collapsed First Loaf into a Better Second Bake
A dense or collapsed first panettone gives you clues about fermentation, dough strength, baking, or cooling. It does not point to one certain mistake on its own. Compare what happened at each stage with your recipe and your notes, then change one variable on the next attempt so you can see what actually helped.
A tight crumb may mean the dough did not rise enough, though mixing or baking issues can also affect texture. A loaf that rises and then caves may have proofed too long, lacked enough strength, or needed the cooling method in the recipe. If the center seems underbaked, review your recipe’s doneness cues and oven behavior rather than relying on crust color alone.
For example, suppose your loaf barely grew overnight and came out with a close crumb. Your notes show a cool kitchen and a starter that had not been refreshed on the recipe’s schedule. Next time, address those two observations: prepare the starter exactly as directed and record the room temperature. Don’t simultaneously change the flour, fruit, mold, and proofing plan, or you won’t know which change mattered.
The honest part of a first bake is reporting what you saw, even if the photo shows a loaf with a sunken top. A home baker can still learn a lot from a panettone that tastes buttery and fragrant but lacks the lofty interior. Save a slice, write down the crumb and flavor, and let the next bake build on evidence instead of frustration.
Frequently Asked Questions
How difficult is panettone for a home baker?
Panettone is demanding because its rich dough needs strength and a long, active fermentation. A home baker can make it by choosing a clear recipe, planning for a two-day schedule, and watching the dough rather than expecting a quick rise. Your first result may be less lofty than a bakery loaf and still taste delicious.
Can I make panettone without a sourdough starter?
Some recipes use a preferment or commercial yeast instead of a sourdough starter, while others depend on a specific starter method. Pick a recipe designed for the leavening you have; swapping one for another changes timing and dough behavior. Don’t assume a direct substitution will work.
How long does panettone dough take to rise?
The time varies with the recipe, starter activity, and kitchen temperature, and a rise can take many hours. Check the dough’s volume and texture against your recipe’s instructions. If your room is cool, the dough may move more slowly than the printed estimate.
Why is my panettone dough sticky or dense?
Rich ingredients naturally make panettone dough soft and sticky, so stickiness alone does not mean you need extra flour. A dense baked loaf can result from several factors, including underproofing or weak dough development. Review your mixing and rise notes before changing the recipe.
Why do some bakers cool panettone upside down?
The airy, tall loaf can sag while its crumb is hot and fragile. Many methods suspend it upside down so the structure can set without collapsing under the loaf’s own weight. Follow your recipe’s cooling directions and prepare the support before the bake ends.
How should I store homemade panettone?
Let the loaf cool fully, then wrap or store it as your recipe directs to limit drying. For longer storage, freezing portions may work well; wrap them securely and thaw them before serving. Keep food handling clean, and discard bread that shows mold or an unusual smell.
Conclusion
For your first panettone, choose one reliable recipe and follow its method closely, from starter preparation through cooling. Watch the dough’s volume and texture, write down what your kitchen does to the schedule, and treat an imperfect crumb as useful feedback.
Then share a slice, warm with citrus and butter, and keep your notes for next Christmas. The second loaf begins with what the first one taught you.