TL;DR

Get kitchen staples and gadgets delivered free — and shop member deals
- Fast, free delivery on millions of items
- Access to Prime Big Deal Days deals on October 6–7
- Prime Video, Amazon Music and more included
For four Neapolitan-style pizzas, mix 500 grams of flour, 315 grams of water, 14 grams of salt, and 1 gram of instant yeast. Let the dough start at room temperature, refrigerate it overnight, then bring it out about three hours before baking; use its expansion and airy feel, not the clock alone, to judge when it is ready.
A good pizza dough spends most of its day doing nothing you need to supervise. Mix it in the evening, tuck it into the refrigerator, and the next day it will smell faintly yeasty and feel softer under your hands. That slow rest is a friendly way to build flavor and extensibility without a complicated process.
This guide gives you a practical formula for four 250-gram dough balls, a timeline that adds up to about 24 hours, and ways to adjust when your kitchen is warm or your oven runs cool. You’ll learn how to shape the dough without pressing the life out of its rim, and how to bake it on a thoroughly heated steel or stone. The result is Neapolitan-style pizza for a home kitchen: rooted in Campania’s tradition, adapted to the equipment you have.
Use 500 g flour, 315 g water, 14 g salt, and 1 g instant yeast for four approximately 250 g pizzas.
Refrigerate the dough overnight, then allow about three hours at room temperature before baking; adjust by how it looks and feels.
A 63% hydration dough offers a practical balance between a soft, extensible texture and manageable hand shaping.
Press from the center toward the edge and leave the rim puffy; rest dough that springs back instead of forcing it.
Preheat a steel or stone thoroughly and keep toppings light for a better browned base in a home oven.
A home-kitchen field guide · Campania, by way of your oven
Pizza Dough, Neapolitan Style: 24-Hour Fermentation Made Simple
Mix a lean dough in the evening, let the refrigerator do the slow work, then shape gently and bake on a thoroughly heated surface. A simple rhythm for four soft, airy-edged pizzas.
01 / The formula
Four pizzas, weighed once and ready to scale
At 63% hydration, the dough stays supple and stretches readily while remaining manageable by hand.
Ingredient list
- “00” flour or bread flour500 g
- Water315 g
- Salt14 g
- Instant yeast1 g
Makes 4 × approximately 250 g dough balls
Baker’s percentages
Flour is the 100% baseline. Percentages make the formula easy to scale; a gram scale keeps the small yeast amount consistent.
02 / The rhythm
One evening to the next
Refrigeration slows fermentation for easier planning. It does not stop it, so treat the hours as a guide and watch the dough.
Mix and knead
Combine flour, yeast, and most of the water. Dissolve salt in the rest, add it, and knead until smoother.
Short room rest
Cover and rest for about 30–60 minutes. In a warm kitchen, use the shorter end.
Divide and chill
Form four balls, cover with room to expand, and refrigerate overnight.
Warm up
Take the covered dough balls out and leave at room temperature for about three hours.
Shape and bake
Look for fuller, relaxed balls that feel airy. Stretch gently and bake on a hot steel or stone.
03 / Style & substance
What makes it Neapolitan-style?
A home recipe can borrow the lean dough, fermentation, and hand shaping without claiming traditional certification.
Keep it simple
The traditional ingredient idea is flour, water, salt, and yeast, without oil or sugar. Some home cooks add them to encourage browning in cooler ovens.
Time builds ease
A small yeast amount and cool refrigerator rest develop aroma and extensibility. Too much yeast or warmth can make dough slack or sour.
Borrow the method
Domestic ovens cannot match a wood-fired oven’s intense heat and quick bake. A steel or stone, thoroughly preheated, helps close the gap.
04 / Troubleshooting
Let temperature and touch set the pace
Fermentation responds to room temperature, dough temperature, and yeast amount. Small schedule adjustments are normal.
Shorten the first rest
If the dough is already puffy before chilling, reduce the room-temperature start next time or use slightly less yeast. Cool water can also slow the start.
Give it more time
If the balls remain dense after three hours out of the refrigerator, allow another 30–60 minutes. Keep the container covered so the surface does not dry.
Rest before correcting
For tight dough, cover and rest 10 minutes before kneading again. For sticky dough, wet your hands or use a scraper instead of adding handfuls of flour.
Ease the fermentation
It may have overproofed from warmth or excess yeast. Shorten the initial rest or reduce yeast next time; aim for puffy dough that still holds its shape.
05 / Shape & bake
Protect the air at the edge
Gentle handling preserves the gas that helps form a raised, airy cornicione—the Neapolitan name for the rim.
Lightly flour the work surface. Press from the center outward, nudging air toward the edge while leaving the outer ring puffy. Stretch with your hands; skip the rolling pin if you want an airy rim.
If the dough springs back, cover it and let it relax for 10 minutes before continuing. Keep toppings light so the center cooks through in a home oven.
For better browning: preheat your oven at its highest setting and heat a baking steel or stone thoroughly before launching the pizza.
06 / The home-oven finish
Build heat before the dough arrives
Traditional Neapolitan pizza bakes very quickly in a very hot wood-fired oven. Home equipment asks for a little adaptation.
Steel or stone, fully preheated
Put the baking surface in the oven and give it ample time to heat at the highest setting. The stored heat helps brown the base.
Keep the center light
Use a restrained amount of sauce and toppings so the base can cook through. Expect a tender center, browned underside, and airy edge when timing and heat come together.
What makes this 24-hour dough Neapolitan-style?
Neapolitan-style pizza dough is a lean mixture of flour, water, salt, and yeast, fermented slowly and shaped by hand. A 24-hour schedule lets the dough develop aroma and stretch without asking you to knead it all day; for example, you can mix after dinner and bake the next evening.
In Naples, pizza’s raised rim is called the cornicione, or crust edge. The dough’s airy, spotted rim comes from fermentation and from keeping some gas in the outer ring as you shape. Traditional dough leaves out oil and sugar. Some home recipes add them to encourage browning in a cooler oven, but they change the dough’s texture and move it away from the lean style described here.
This is a home recipe in the Neapolitan style, not a claim that every pizza made this way meets traditional certification standards. Your domestic oven cannot reproduce a wood-fired oven’s intense heat and quick bake. Still, you can borrow the method: use a restrained ingredient list, give fermentation time to work, and handle the dough gently.
Think of the dough as a quiet kitchen companion: it does its best work while you sleep. A scale and a note of your room temperature will teach you more than a complicated set of rules. The schedule gives you a starting point; the dough’s feel tells you when to move on.

Measure four pizzas with an easy baker’s-percentage formula
For four dough balls of about 250 grams, weigh 500 grams of flour, 315 grams of water, 14 grams of salt, and 1 gram of instant yeast. That water amount gives you 63% hydration, a useful middle ground: the dough stays supple and stretches readily without becoming as sticky as a higher-hydration mix.
In baker’s percentages, flour always counts as 100%. Here, water is 63%, salt is 2.8%, and yeast is 0.2%. You do not need to calculate those numbers each time; they simply make the recipe easier to scale. To make two pizzas, halve every ingredient. Use a gram scale, because a tiny spoonful of yeast can vary a lot by how it is scooped.
Choose “00” flour or bread flour. “00” describes how finely the flour is milled; it does not, by itself, tell you its protein strength. Bread flour often absorbs water differently, so hold back a spoonful of water while mixing and add it if the dough feels stiff. All-purpose flour can work too, though the finished crust may brown and stretch differently.
Use cool water if your kitchen is warm, and room-temperature water if the room is cool. That small choice helps control the dough’s temperature before its long rest. Keep the mixture simple: a little yeast is enough for a slow schedule, and adding more can cause the dough to race ahead, turn slack, and lose its shape.

- Flour: 500 g, or 100%
- Water: 315 g, or 63%
- Salt: 14 g, or 2.8%
- Instant yeast: 1 g, or 0.2%
Follow a simple schedule from one evening to the next
A 24-hour pizza dough schedule combines a short room-temperature start, an overnight refrigerator rest, and a few hours at room temperature before baking. Refrigeration slows fermentation so it is easier to plan; it does not stop fermentation altogether. Treat the hours as a guide, then check whether your dough balls have expanded and feel airy.
- Day 1, 6 p.m.: Mix the flour, yeast, and most of the water until shaggy. Dissolve the salt in the remaining water, add it, and knead until the dough feels smoother.
- Day 1, 6:30 p.m.: Cover the dough and let it rest at room temperature for about 30 to 60 minutes.
- Day 1, 7 p.m.: Divide into four roughly 250-gram pieces, shape into balls, and place them in a covered container with room to expand. Refrigerate overnight.
- Day 2, about 3 p.m.: Take the balls out and leave them covered at room temperature for about three hours.
- Day 2, about 6 p.m.: Check that the balls look fuller and relaxed, then shape and bake.
This example gives you roughly 23 to 24 hours from mixing to baking, depending on your exact start and finish times. If your kitchen is 80°F (27°C), the initial rest may need to be shorter; in a chilly room, it may take longer for the dough to wake up. Keep the container covered so the surface does not dry into a skin.
When you open the refrigerator, look for modest expansion rather than demanding a precise doubling. A dough ball that is puffy and holds its shape is in good form. One that spreads into a puddle may have fermented too far, especially if the room was warm or the yeast measurement ran heavy.

Build flavor while keeping the dough easy to handle
Slow fermentation builds aroma and gives the dough time to relax, while a cool refrigerator keeps that process manageable for a home cook. The aim is not the longest possible rise; it is a dough that smells pleasantly wheaty, stretches without tearing, and still holds a rounded shape. A 24-hour plan works because you guide the temperature as well as the clock.
After mixing, the dough should feel tacky but not leave a thick paste on your fingers. If it feels tight, cover it and let it rest for 10 minutes before kneading again; time helps the flour take up water. If it feels very sticky, resist dumping in handfuls of flour. Lightly wet your hands or use a bench scraper, since extra flour can make the finished crust dense.
Suppose your kitchen stays at 75°F (24°C) and the dough already looks puffy before it goes into the refrigerator. Shorten that first room-temperature rest next time or reduce the yeast slightly. If your kitchen is cool and the balls remain dense after three hours out of the fridge, give them another 30 to 60 minutes. Temperature and dough size change the pace.
Fermentation is doing its job when the dough smells mild and yeasty, not sharply sour, and feels airy under a gentle fingertip. If you press lightly and the dent returns slowly, the dough is relaxed enough to shape. Fast fermentation can make a deceptively puffy dough that collapses when lifted, so use appearance, smell, and strength together.
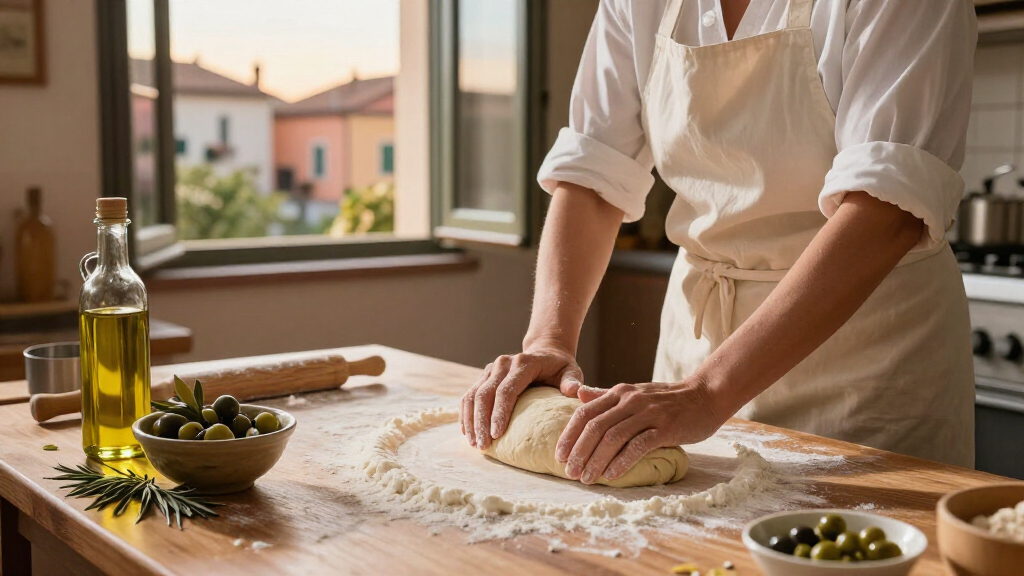
Stretch the dough by hand for a puffy, tender rim
To keep an airy cornicione, stretch each dough ball by hand and press the center outward while leaving the outer edge mostly untouched. That simple technique pushes some gas toward the rim, where it can expand in the oven. A rolling pin flattens those bubbles, so save it for a thin, even crust if that is the style you want.
Dust your work surface lightly with flour or fine semolina. Lift one ball with a scraper, set it down, and press from the middle toward the edge with your fingertips. Turn it a little each time, then lift it over your knuckles and let gravity widen the round. For a first try, stop around 10 to 11 inches; forcing a thin center can make it tear.
If the dough springs back like a rubber band, it needs rest, not force. Cover it for 10 to 15 minutes, then try again. A cold ball can also resist stretching, which is why the pre-bake room-temperature rest matters. Imagine coaxing a soft scarf open rather than pulling a knot tight.
Top sparingly so the center can cook. A spoonful of crushed tomatoes, a little mozzarella, and a few basil leaves give you a familiar Campanian combination without flooding the dough. If you use Mozzarella di Bufala Campana DOP, a protected-origin buffalo milk cheese, drain it well and use modest pieces; excess moisture can leave the center soupy. Dairy is a common allergen, and flour contains gluten.

Get a browned base from your home oven
A thoroughly preheated baking steel or stone gives home-oven pizza a better chance at a browned underside. Set the surface on a high rack or according to its maker’s instructions, heat the oven to its highest setting, and allow at least 45 minutes for the stone or steel to become hot. A pale base after a short preheat usually means the cooking surface never stored enough heat.
For example, if your oven reaches 500°F (260°C), let it preheat fully before the first pizza and bake directly on the hot steel or stone. The exact bake time varies with your oven and toppings; watch for a firm, browned underside and a puffed rim with dark spots. Use an oven thermometer if you suspect the dial is optimistic. A broiler can add color to the top, but stay nearby because the rim can scorch quickly.
Neapolitan pizza in Naples cooks in a very hot wood-fired oven in a short time. Your home oven takes longer, and the crust will not be identical. It can still produce a tender center and a browned base if you keep toppings light and get the baking surface properly hot. Steel transfers heat quickly; stone holds it steadily. Either can help, and neither replaces preheating.
Use a peel or an inverted, lightly floured baking sheet to transfer the pizza. Avoid leaving shaped dough on the counter under a heavy layer of toppings while you wait; assemble one pizza at a time so it does not stick or become soggy. Handle hot steel and stone with dry oven mitts, and follow the equipment maker’s temperature limits.
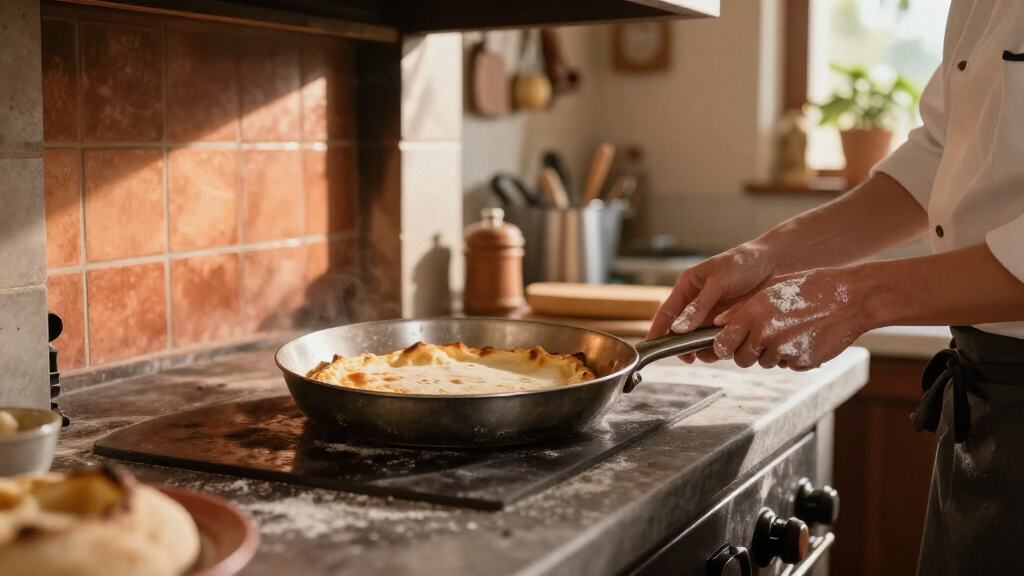
Fix sticky, slack, or stubborn dough with small adjustments
Sticky or slack dough usually points to hydration, temperature, fermentation, or handling. A little tackiness is normal at 63% hydration; a ball that smears across the counter is a sign to pause and diagnose. Small changes to the next batch usually work better than trying to rescue it with lots of flour.
- If it sticks to your hands: wet your hands lightly and use a scraper. Add only a small dusting of flour to the work surface.
- If it snaps back: cover it and rest it for 10 to 15 minutes, then stretch again.
- If it collapses or spreads: it may have overfermented. Bake it gently as a smaller pizza, and reduce the yeast or warm-rest time next batch.
- If the base stays pale: preheat the steel or stone longer and avoid piling on wet toppings.
Imagine two batches made with the same flour. One spends its first hour in a warm kitchen and turns airy before refrigeration; the other sits in a cool room and stays tight. Giving both exactly the same timing ignores what the dough is telling you. Note the room temperature and how the balls look before baking, then adjust the next schedule by 30 minutes or a small yeast change.
For food safety, keep dough covered and refrigerated at 40°F (4°C) or below during the cold rest, and do not leave perishable toppings such as cheese at room temperature for extended periods. Freeze extra dough balls promptly in airtight packaging; thaw them in the refrigerator, then allow them to warm and relax before shaping. If you add cheese or other allergens, tell anyone you serve.
Frequently Asked Questions
Can I make the dough exactly 24 hours ahead?
Yes, but 24 hours is a schedule, not a guarantee that every batch will be ready. Warm rooms and more yeast speed fermentation; a cool room slows it. Check that the dough balls look fuller and feel airy before shaping.
Can I use all-purpose flour instead of “00” flour?
Yes. Bread flour and all-purpose flour can both work, though they may absorb water and brown differently. “00” refers to how finely the flour is milled, not its protein strength, so adjust the water by feel.
Why is my dough hard to stretch?
The dough may be too cold, too tight, or not rested enough. Cover it for 10 to 15 minutes and try again with gentle fingertip pressure from the center outward. Avoid a rolling pin if you want a puffy rim.
Do I need a pizza stone or steel?
No, but a stone or steel can improve heat transfer to the base. Preheat it thoroughly, usually for at least 45 minutes in a hot oven; a cold surface often leaves the crust pale or soft.
Can I add oil or sugar to the dough?
You can, particularly if you want to adapt the dough to a cooler home oven, but they change browning and texture. Traditional lean Neapolitan dough uses neither, so leave them out if you want to stay closer to that approach.
Can I freeze extra dough?
Yes. Portion the dough into balls, wrap them airtight, and freeze them promptly. Thaw in the refrigerator, then let each ball warm and relax while covered before stretching.
Conclusion
For your first batch, weigh the ingredients, keep the yeast modest, and follow the overnight refrigerator schedule. The best signal is a dough ball that has grown a little, feels airy, and stretches without a fight. If it runs ahead or lags behind, change the warm rest next time rather than blaming the recipe.
Give the dough time, heat the baking surface well, and leave a soft ring around each pizza. When that rim puffs and freckles in the oven, your kitchen has borrowed a small, delicious piece of Naples.

Fall Picks
fall essentials
As an affiliate, we earn on qualifying purchases.