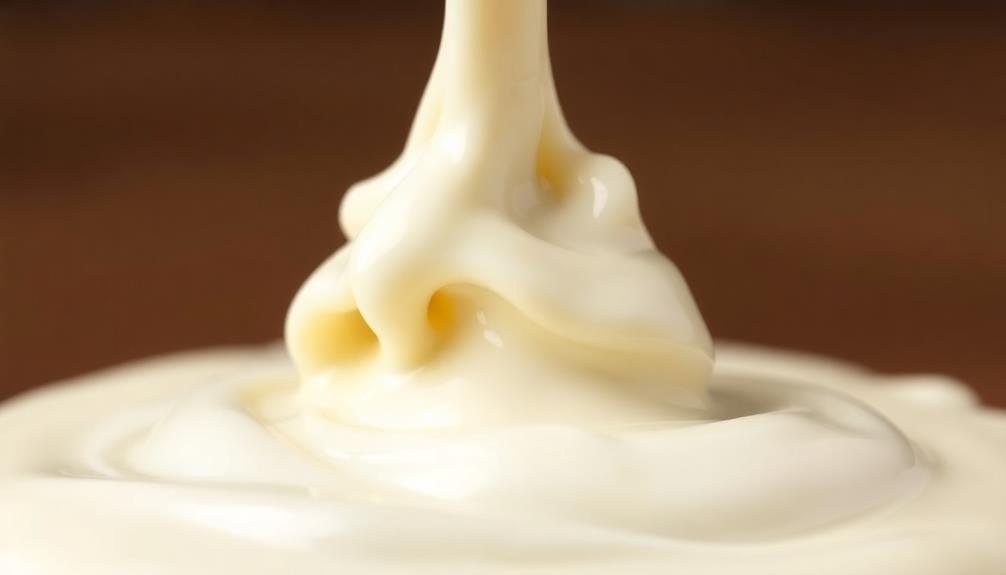

Making your own rich, creamy heavy cream at home is surprisingly simple. All you need is a cup of whole milk and half a cup of softened unsalted butter. Whisk the ingredients together for 5-8 minutes until they transform into a thick, velvety texture. Be sure to chill your bowl and whisk first for optimal whipping. This homemade version allows you to customize the thickness and richness to your liking, without any preservatives. The fresh, high-quality cream will elevate your baking, sauces, and more. And the best part? You can make it right in your own kitchen.
Key Takeaways
- Homemade heavy cream can be made easily using just 3 ingredients: whole milk, softened unsalted butter, and optional salt.
- The cream can be whipped in 5-8 minutes to achieve the desired thick and rich texture.
- Homemade cream allows for customization of thickness and richness according to personal preferences.
- Making heavy cream at home is cost-effective and ensures freshness and quality, though the shelf life is shorter than commercial options.
- Homemade heavy cream can be used in a variety of culinary applications, including baking, whipping, coffee additions, and savory dishes.

43.3in-59in Extendable Round Dining Table for 4-8,Modern Kitchen Oval Dining Table with Removable Leaves Space Saving,Wood Base with Storage Shelf for Kitchen Living Room (Walnut)
Retractable dining table for 4-8 people: Considering the use in different scenarios, the dining table adopts a retractable...
As an affiliate, we earn on qualifying purchases.
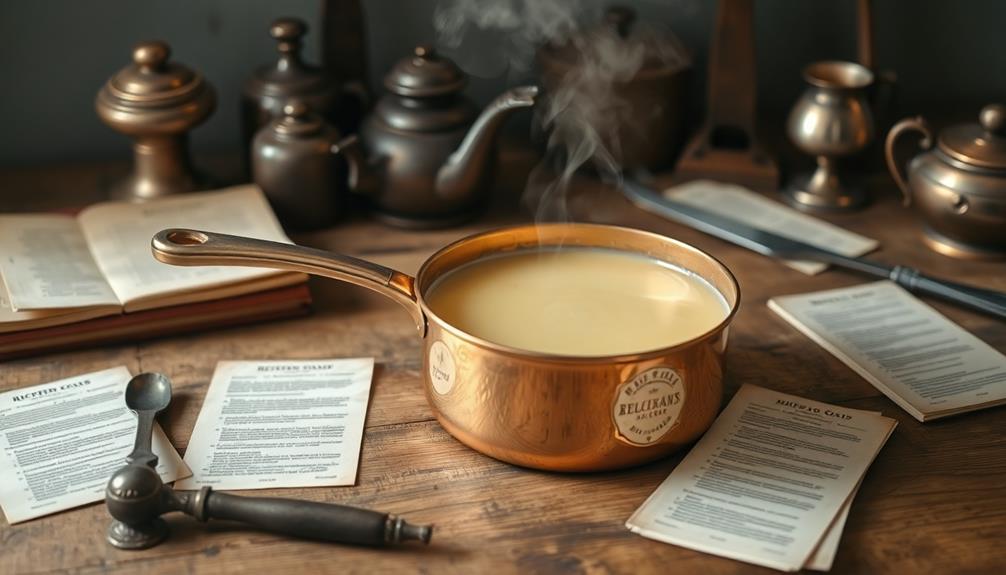
History
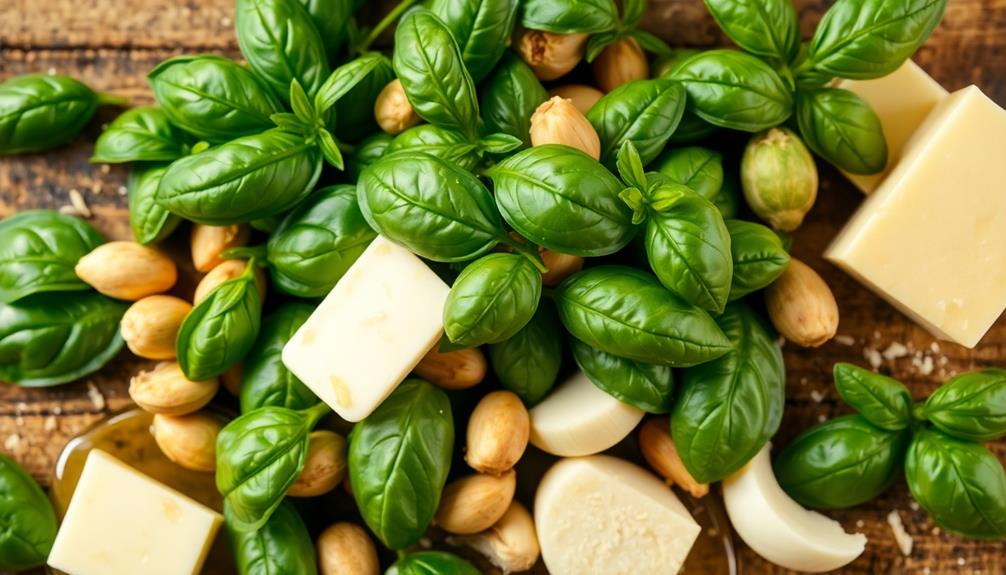
Cream has been a staple ingredient in cooking and baking for centuries. Its rich, creamy texture and versatility have made it a beloved addition to a wide array of dishes, from savory sauces to decadent desserts. Whether it’s whipped to top off a pie or stirred into soups to add a velvety finish, cream can elevate both simple and complex recipes alike. It also plays a vital role in many a delicious homemade cookie recipe, adding moisture and richness to the dough for that perfect bite. With its ability to blend seamlessly into both sweet and savory foods, cream remains an indispensable ingredient in kitchens worldwide.
The origins of cream can be traced back to ancient civilizations, where it was used as a natural fat source and prized for its ability to add creaminess and depth of flavor.
In the Middle Ages, cream became increasingly popular in European cuisine, with monks and nobility incorporating it into their culinary creations.
As culinary techniques evolved, so too did the methods of producing and processing cream. The industrial revolution brought about advancements in dairy technology, allowing for the mass production and distribution of cream products.
Today, heavy cream remains a staple in kitchens around the world, offering home cooks and professional chefs alike the opportunity to create rich, indulgent dishes with ease.

S ZEVZO ET03 Car Jump Starter 4000A Jump Starter Battery Pack for Up to 8.0L Gas and 7.0L Diesel Engines, 74Wh Portable 12V Jump Box with USB Ports, LCD Display, Storage Case, and LED Light
POWERFUL CAR BATTERY JUMP STARTER: The ET03 car battery jump starter can easily jump-start all 12V common vehicles...
As an affiliate, we earn on qualifying purchases.
Recipe
Making your own heavy cream at home is a simple and cost-effective alternative to store-bought options. This recipe requires just a few basic ingredients and minimal effort, allowing you to customize the thickness and richness to suit your needs. You’ll only need whole milk and butter to get started, but you can also experiment with additional ingredients like a pinch of flour for extra thickness. Learning how to make heavy cream at home not only saves money but also gives you control over freshness and quality. Whether you’re using it for baking, cooking, or as a creamy addition to coffee, this homemade version is both practical and versatile.
Additionally, creating your own heavy cream can be beneficial for those who enjoy experimenting in the kitchen, similar to how the role of color accuracy impacts the quality of home cinema projectors.
Heavy cream is a versatile ingredient that can elevate a wide range of dishes, from savory sauces and soups to sweet desserts and baked goods. By crafting it yourself, you can ensure the freshness and quality of the final product, tailoring it to your specific preferences.
Ingredients:
- 1 cup of whole milk
- 1/2 cup of unsalted butter, softened
- Pinch of salt (optional)
Instructions:
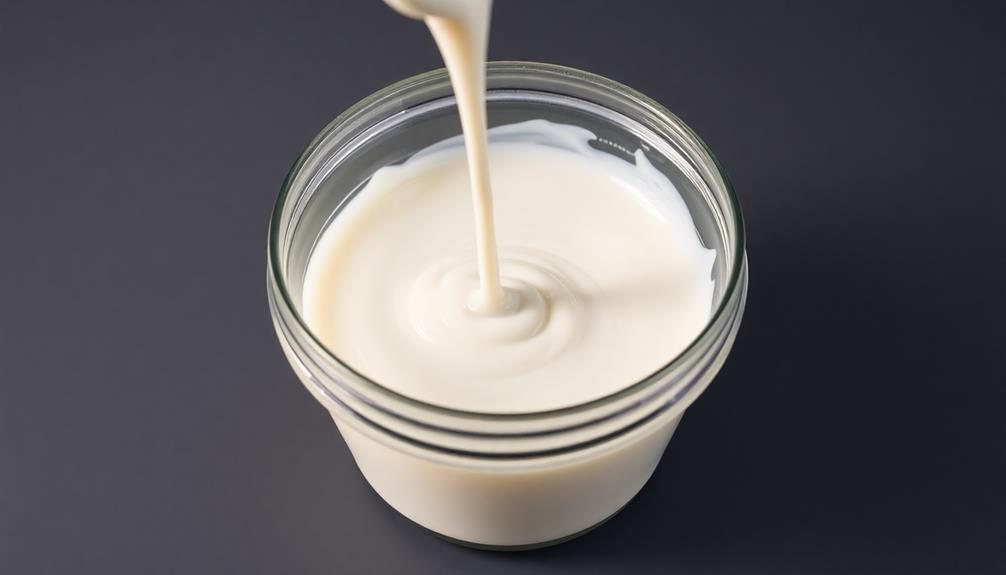
In a medium-sized bowl, combine the softened butter and milk. Using a hand mixer or whisk, whip the mixture until it thickens and reaches the desired consistency of heavy cream, typically 5-8 minutes.
If desired, add a pinch of salt to enhance the flavor.
When making homemade heavy cream, it's important to note that the final product may have a slightly different texture and consistency compared to store-bought versions. The thickness can be adjusted by varying the ratio of butter to milk, with more butter resulting in a thicker cream.
Additionally, the cream may have a slightly shorter shelf life than its commercial counterpart, so it's best to use it within a week of preparation.

NOCO Boost GB40: 1000A UltraSafe Jump Starter – 12V Lithium Battery Booster Pack, Portable Jump Box, Power Bank & Jumper Cables - for 6.0L Gas and 3.0L Diesel Engines
START DEAD BATTERIES — Instantly start dead batteries with 1000 amps of peak lithium power. Up to 20...
As an affiliate, we earn on qualifying purchases.
Cooking Steps

Pour the heavy cream into a cold bowl.
Whisk the cream vigorously until it thickens.
Once the cream reaches your desired consistency, stop whisking and transfer it to an airtight storage container.
Step 1. Pour Cream Into Bowl
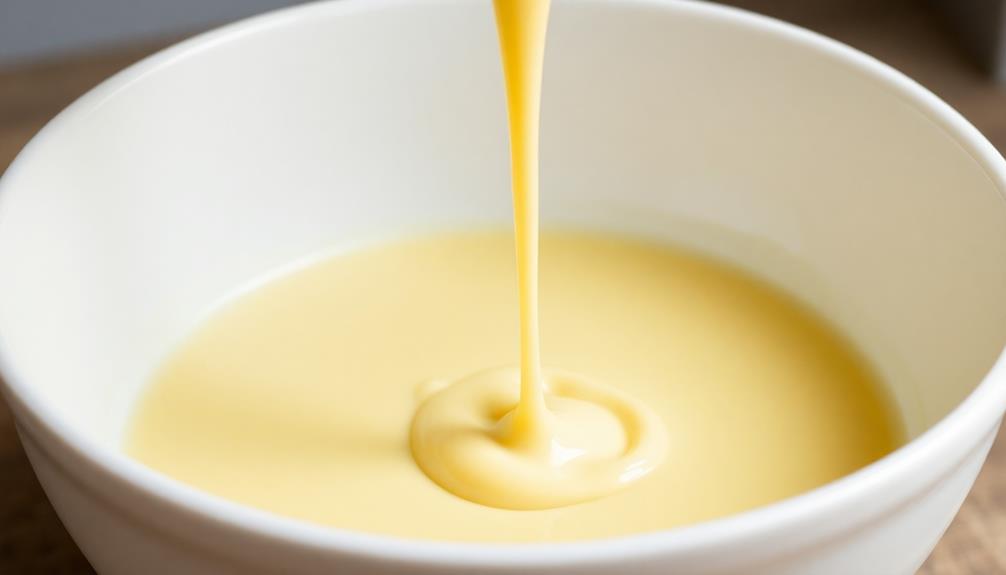
First, take the heavy cream and carefully pour it into a mixing bowl. When pouring, go slowly to prevent any splashing or messy spills. You'll want to make sure all the cream fully transfers from the container to the bowl. As you pour, keep an eye on the level of cream in the bowl, stopping once it reaches the desired amount.
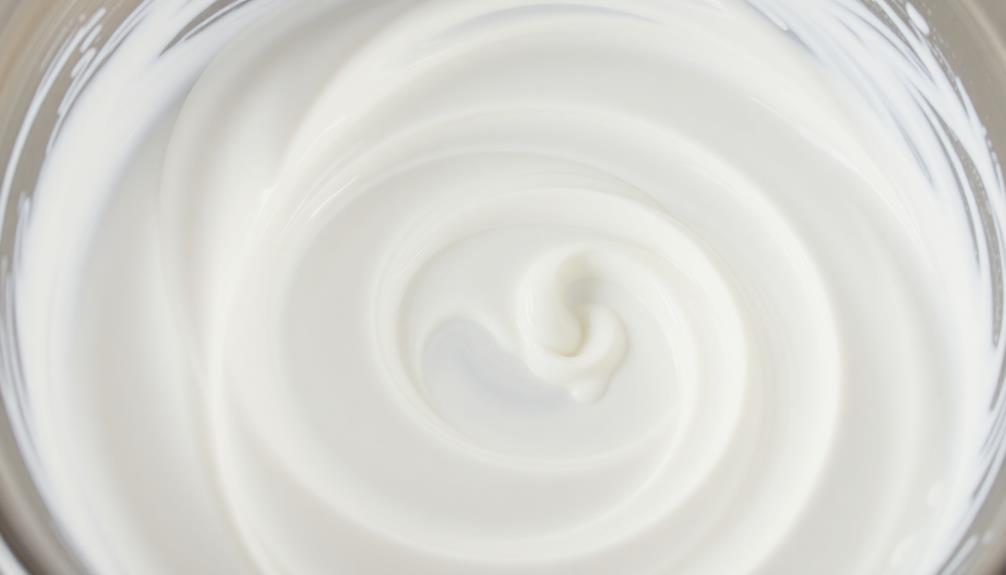
Next, take a look at the cream. It should have a smooth, creamy texture without any lumps or impurities. If you notice any issues, you can give the cream a gentle stir with a whisk to ensure it's thoroughly combined.
At this stage, the cream is ready to be used in your recipe, whether that's whipping it into fluffy peaks or incorporating it into a sauce or dessert. Just be sure to use the cream within a few days for best quality and flavor.
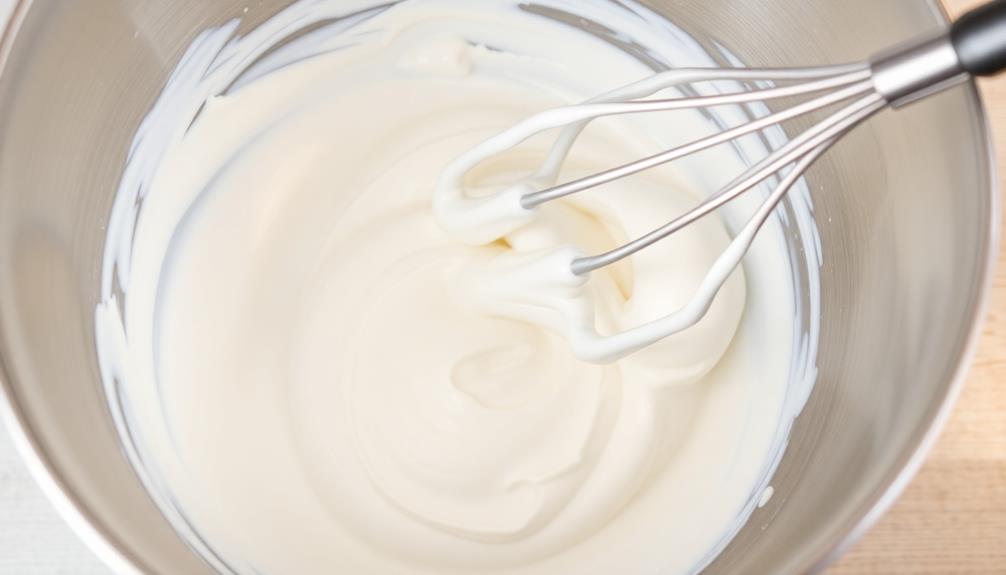
Step 2. Whisk the Cream Vigorously
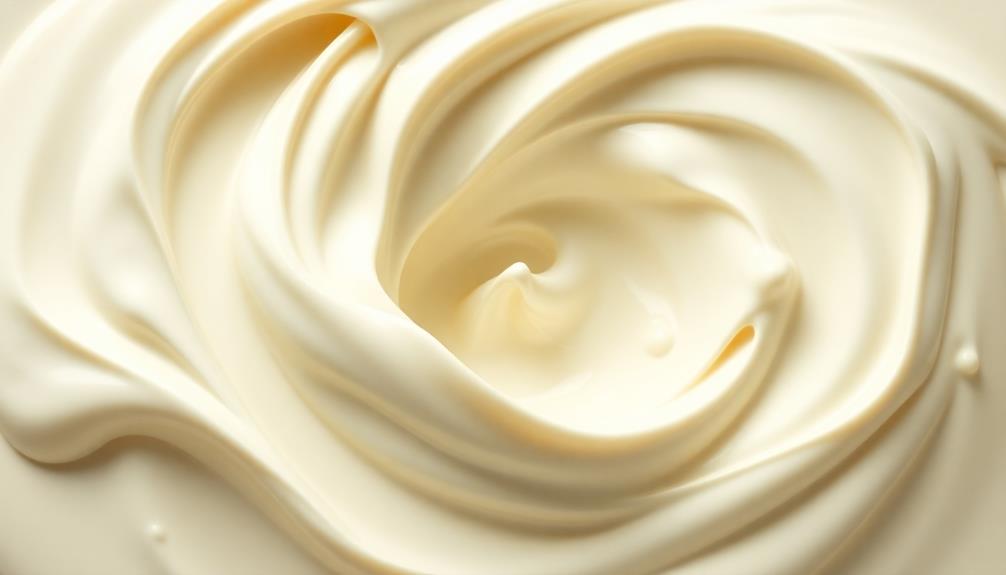
Next, take a whisk and begin vigorously whisking the cream. This step is crucial for transforming the liquid cream into a thick, whipped texture. Whisk the cream with purpose, using quick, circular motions to incorporate air into the mixture.
As you whisk, you'll notice the cream gradually thickening and increasing in volume. This vigorous whisking action causes the fat globules in the cream to break down and the proteins to denature, creating a stable foam.
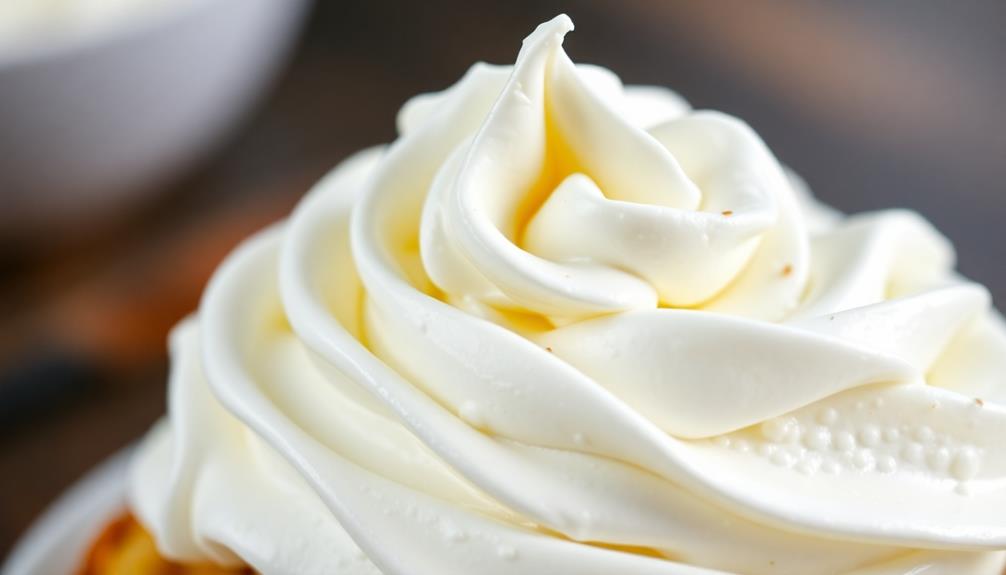
The more air you can incorporate, the fluffier your whipped cream will become. Be patient and keep whisking for 2-3 minutes, or until the cream holds soft, billowy peaks.
Keep a close eye on the consistency, stopping once it reaches your desired texture. Overwhipping can cause the cream to become grainy and separated, so it's important to strike the right balance.
With a bit of practice, you'll master the art of perfectly whipped cream every time.
Step 3. Chill the Bowl Beforehand
To ensure your whipped cream reaches its optimal texture, it's important to chill the bowl and whisk beforehand. This simple step can make a significant difference in the final result. By chilling the bowl and whisk, you're creating an environment that's more conducive to the whipping process.
When the bowl and whisk are cold, the cream is able to hold more air as you whip it, resulting in a thicker, fluffier consistency. The cold temperature also helps the fat molecules in the cream to bind together more efficiently, further enhancing the whipped cream's structure.
For best results, place the bowl and whisk in the refrigerator for at least 30 minutes before you start whipping the cream. You can even pop them in the freezer for 10-15 minutes if you're short on time.
Just be sure to remove them before you begin, as you don't want the bowl and whisk to be too cold, which could affect the whipping process.
Step 4. Once Cream Thickens, Stop Whisking
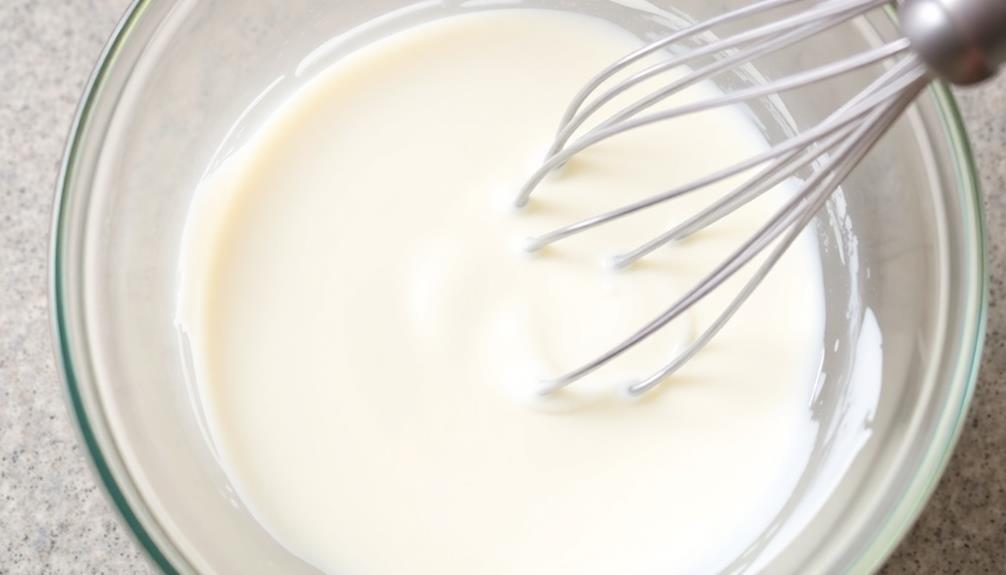
Once the cream has thickened to your desired consistency, it's time to stop whisking. Overwhipping can cause the cream to curdle and separate, so be mindful of when to cease the motion.
You'll know the cream is ready when it holds its shape and forms soft, billowy peaks. At this point, resist the urge to keep going – that extra effort won't improve the texture, and may even ruin it.
To check the consistency, simply dip a spoon into the bowl and lift it out. If the cream clings to the spoon in a smooth, velvety manner, it's perfect.
However, if the cream appears grainy or curdled, you've gone too far. Don't worry, though – you can often salvage overly whipped cream by gently folding in a tablespoon or two of fresh, unwhipped cream to help smooth out the texture.
Step 5. Transfer to Storage Container
With your freshly whipped heavy cream now at the perfect consistency, transfer it to an airtight storage container. This will help preserve the cream's texture and prevent it from losing its fluffy, spreadable quality.
First, select a suitable container, such as a clean glass jar or airtight plastic container. Avoid using containers with lids that don't seal properly, as this can lead to the cream drying out or absorbing unwanted flavors.
Next, gently spoon or pour the whipped cream into the container, taking care not to deflate it. Leave a small amount of headspace at the top to allow for expansion if needed. Seal the lid tightly, pressing down to ensure a secure closure.
For best results, store the container in the refrigerator. The cream will remain fresh and ready to use for up to 5 days.
When ready to serve, simply scoop out the desired amount, leaving the rest safely stored for later.

GOOLOO A3 Jump Starter with Air Compressor, 3000A Portable Car Battery Booster (9.0 Gas/6.5L Diesel) with 150PSI Auto-Shutoff Tire Inflator, 12V Supersafe Lithium Jump Box Car Battery Jumper Starter
Powerful and Durable - The 3000 amp portable car battery jumper starter provides instant restart for your 12V...
As an affiliate, we earn on qualifying purchases.
Final Thoughts
As you've now learned, making homemade heavy cream is a simple and rewarding process. The ability to customize the thickness and richness of your cream allows you to tailor it to your specific preferences.
For those interested in enhancing their health and nutrition, incorporating fresh ingredients like celery juice and pregnancy into your diet can complement your culinary creations. Whether you're using it for baking, whipping, or simply adding it to your coffee, this fresh, high-quality cream will elevate any dish.
The process of separating cream from milk and then gently whipping it to the desired consistency is a satisfying kitchen task. By avoiding the preservatives and additives found in store-bought options, you can feel good about the purity and quality of your homemade heavy cream.
Additionally, the cost-savings compared to purchasing pre-made cream makes this a practical and economical choice.
With the techniques you've mastered, you can now experiment with different milk sources, flavors, and applications. Enjoy the versatility and deliciousness of your freshly-churned heavy cream, knowing that you've gained a valuable culinary skill.
Frequently Asked Questions
How Long Does Homemade Heavy Cream Last in the Refrigerator?
Your homemade heavy cream should last in the refrigerator for 7-10 days when stored properly in an airtight container. Remember to check for signs of spoilage before using it, and consume it within the recommended timeframe.
Can I Use Low-Fat or Skim Milk Instead of Whole Milk?
You can't use low-fat or skim milk instead of whole milk when making homemade heavy cream. The higher fat content of whole milk is essential for creating the thick, creamy texture you want in heavy cream.
Is There a Way to Make the Cream Thicker or Richer?
To make the cream thicker and richer, you can try adding a small amount of butter or cream cheese. This will increase the fat content and give the cream a richer, more decadent texture.
Can I Add Any Flavorings or Spices to the Homemade Cream?
You can absolutely add flavorings or spices to your homemade cream. Try a pinch of vanilla extract, cinnamon, or nutmeg for a delicious twist. The possibilities are endless – get creative and have fun experimenting with different flavors.
Is It Possible to Freeze the Homemade Heavy Cream?
Yes, you can freeze homemade heavy cream. Simply pour it into an airtight container, leaving a bit of room for expansion, and freeze for up to 2-3 months. Thaw in the refrigerator before using.