
Embark on a delectable journey into the rich history and cultural significance of bread, a timeless staple that has nourished communities for millennia. Craft your own homemade loaves, from classic French baguettes to Middle Eastern pita, using simple ingredients and a straightforward recipe. Unleash your creativity by experimenting with different flours and mix-ins, all while savoring the immense satisfaction of transforming dough into a golden-brown masterpiece. As you knead the dough and eagerly await the rising and baking process, you'll discover the joys of bread-making – a calming yet rewarding experience that culminates in the unparalleled taste of your very own creation.
Key Takeaways
- Understand the rich history and cultural significance of bread as a staple food across various cuisines.
- Learn the essential ingredients and step-by-step guide to baking a simple, homemade loaf of bread.
- Discover tips for successful bread baking, including proofing the yeast and achieving a crispy crust.
- Appreciate the rewarding experience and personal satisfaction of making your own bread at home.
- Explore the baking process and techniques to enhance creativity, from experimenting with flour types to adding mix-in ingredients.

Landing Gear for DJI Mini 3/Mini 3 Pro Leg Foldable Extended Kit for Mini 3 Pro Accessories
【Compatible】The landing gear is specially designed for DJI Mini 3 (2022)/Mini 3 Pro, which is perfect for use.and...
As an affiliate, we earn on qualifying purchases.
History
Bread has been a staple food for centuries, with its origins dating back thousands of years. The earliest forms of bread were likely simple flatbreads made from grains and water, baked over open fires.
As civilizations developed, the art of breadmaking evolved, with the ancient Egyptians credited as the first to use yeast to leaven their bread.
Over time, regional variations emerged, reflecting the unique ingredients and baking techniques of different cultures. In Europe, the French developed their iconic baguettes, while the Italians perfected their wood-fired pizza crusts.
In the Middle East, pita bread became a beloved staple, while in Asia, steamed buns and noodles gained popularity.
Bread has long been more than just a food – it has been a symbol of sustenance, community, and cultural identity.
The simple act of breaking bread together has been a ritual that transcends time and place, connecting people through the universal language of shared nourishment.

Galvanox Drone Obstacle Course Kit, Includes 3 Easy to Build Hoop Sizes, Perfect for Competition RC FPV Racing of drones or model aircraft. - Game Loop Gate Set
Give the gift of adventure with this high flying, action-packed drone obstacle course! (toy drone not included).
As an affiliate, we earn on qualifying purchases.
Recipe

Homemade bread is a rewarding and satisfying baking project for home cooks of all skill levels. The process of mixing, kneading, and watching the dough rise can be a calming and meditative experience. Plus, the aroma of freshly baked bread wafting through your kitchen is unbeatable.
This recipe for classic homemade bread is a great place to start for novice bread bakers. With just a few simple ingredients and a little time, you can enjoy the taste of warm, crusty bread straight from your own oven. The process is straightforward and doesn’t require any special equipment, making it perfect for beginners. If you’re feeling adventurous, you can take your bread-making skills to the next level and *make sourdough starter from scratch*, which will give your bread a wonderfully tangy flavor. With patience and practice, you’ll be well on your way to crafting a variety of delicious homemade loaves. For those with a sweet tooth, exploring a simple banana bread recipe can be another delightful baking adventure that’s just as beginner-friendly. Using overripe bananas and basic pantry staples, you’ll create a moist, flavorful loaf that’s perfect for breakfast or a midday snack. Whether you stick with classic bread or branch out into sweeter variations, baking at home opens up endless possibilities to satisfy your cravings.
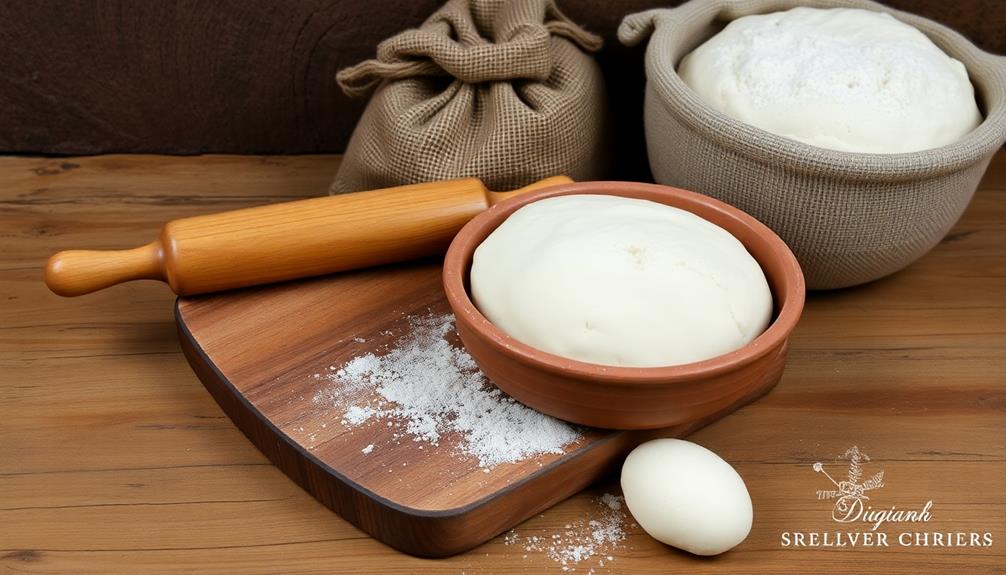
Ingredients:
- 3 cups (375g) bread flour or all-purpose flour
- 1 teaspoon salt
- 1 teaspoon instant yeast or active dry yeast
- 1 1/4 cups (295ml) warm water
- 1 tablespoon olive oil or melted butter (optional)
Instructions:
In a large mixing bowl, combine the flour, salt, and yeast. Add the warm water and olive oil (if using) and stir until a shaggy dough forms.
Turn the dough out onto a lightly floured surface and knead for 5-7 minutes until the dough becomes smooth and elastic. Place the dough in a lightly greased bowl, cover, and let rise for 1-2 hours until doubled in size.
Punch down the dough to release any air bubbles, then shape it into a loaf and place it in a greased loaf pan or on a baking sheet. Cover and let rise for an additional 30 minutes to 1 hour.
Preheat the oven to 375°F (190°C).
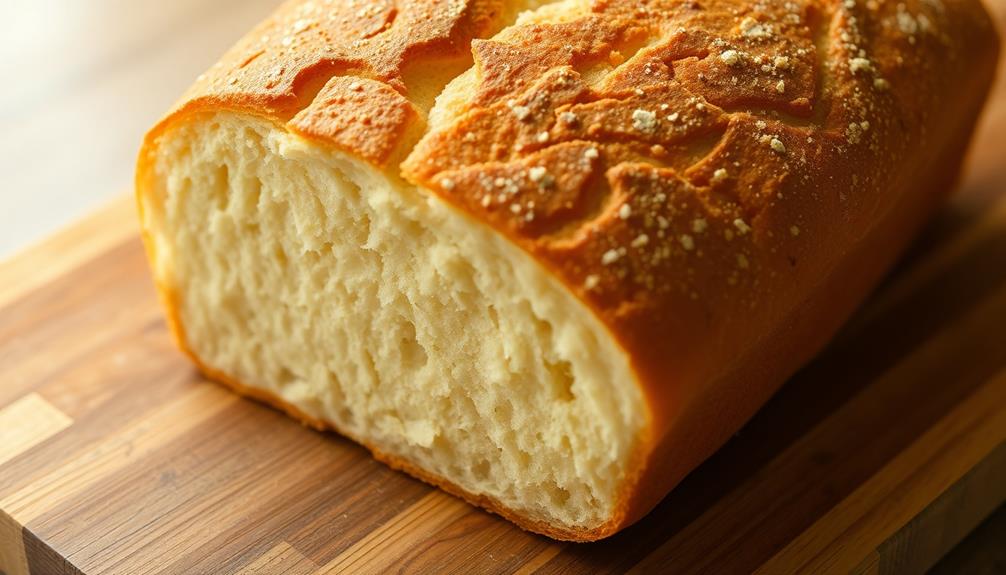
Bake the bread for 30-35 minutes, until the crust is golden brown. Allow the bread to cool in the pan for 5 minutes before transferring to a wire rack to cool completely.
Tips:
- For an extra crispy crust, mist the dough with water before baking or place a shallow baking dish filled with hot water on the bottom rack of the oven.
- Experiment with different flours, such as whole wheat or rye, to create unique bread flavors.
- Store cooled bread in an airtight container or bread bag for up to 5 days.

VIFLY Drone Strobe Light, Anti Collision Light for FAA Drone Night Flying, Fits DJI Mini 3 Pro/Mini 4 Pro/Mini 2/Air 3/Air 3S/Mavic 3/Mavic 2/Avata/Neo/Flip(1pc pack)
Super Bright: VIFLY Strobe installs 5*3W Hi-intensity LEDs which provide the greatest range available for a mini strobe....
As an affiliate, we earn on qualifying purchases.
Cooking Steps
To get started, you'll first need to proof the yeast in warm water.
Once that's done, knead the dough for a solid 10 minutes to develop the gluten.
After that, let the dough rise for about an hour, then punch it down and shape it before baking at 375°F for 25 minutes.
Step 1. Proof Yeast in Warm Water
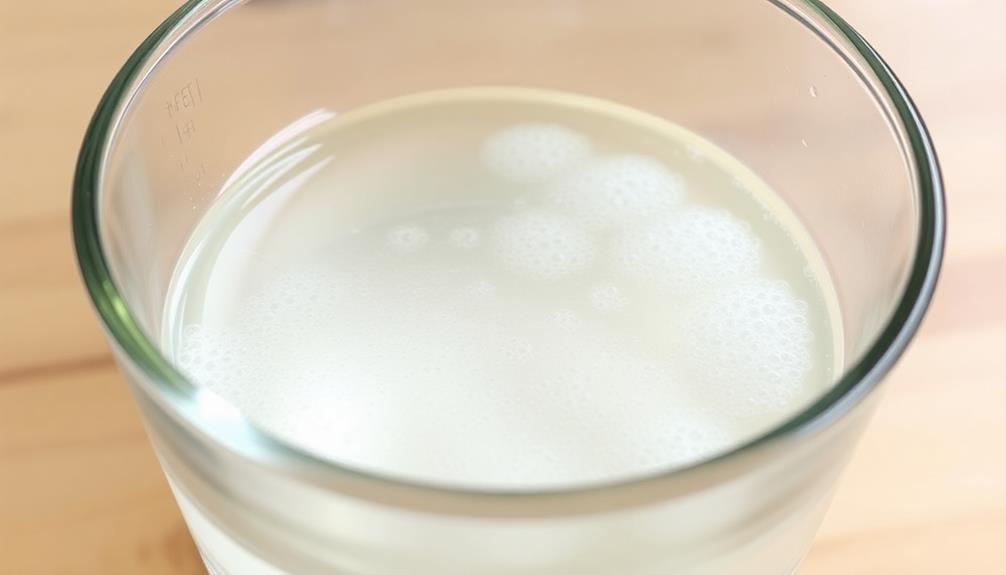
Proofing the yeast in warm water is an essential first step in the homemade bread-making process. This simple step helps ensure your yeast is active and ready to work its magic, giving your bread the perfect rise and texture.
To proof the yeast, start by gathering a small bowl and measuring out the warm water. The water should be between 105°F and 115°F – any hotter and you risk killing the yeast.
Sprinkle the yeast over the surface of the water and let it sit for about 5-10 minutes. During this time, you'll see the yeast begin to bubble and foam, indicating it's alive and ready to go.
Once the yeast has proofed, you can add it to your other bread ingredients. This step helps "wake up" the yeast, giving it a head start on fermentation and helping your dough rise more quickly and effectively.
With the yeast proofed, you're well on your way to baking delicious homemade bread.
Step 2. Knead the Dough for 10 Minutes
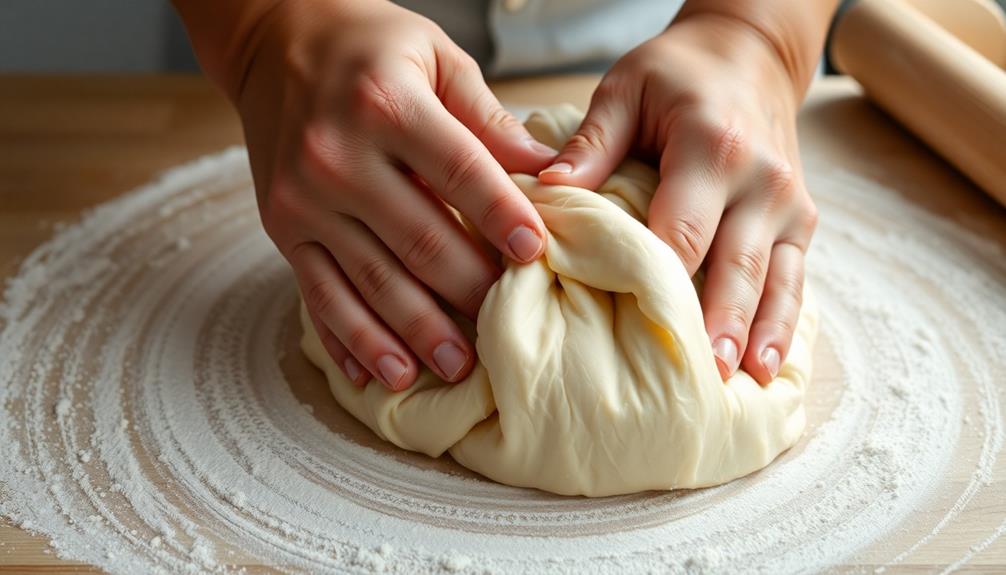
With the yeast proofed and ready to go, it's time to knead the dough. Kneading is a crucial step in bread-making that develops the gluten, creating the perfect texture.
Start by dusting your clean work surface with a bit of flour. Gently turn the dough out onto the surface and begin kneading.
Use the heels of your hands to push the dough away from you, then fold it back towards you. Give the dough a quarter turn and repeat. Continue this process for about 10 minutes, until the dough becomes smooth, elastic, and slightly tacky to the touch.
Be sure to apply just enough pressure to knead effectively without overworking the dough. Overworking can lead to a dense, tough crumb.
As you knead, you may need to sprinkle a bit more flour on the surface to prevent sticking. Once the dough has been properly kneaded, it's ready for the first rise.
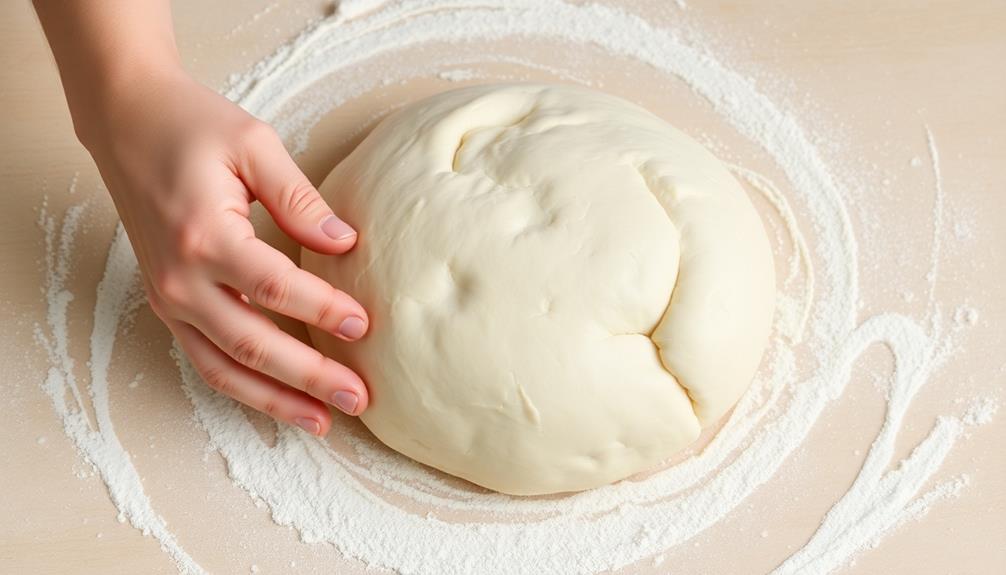
Step 3. Let Dough Rise for 1 Hour
The dough's first rise is a crucial step in the bread-making process. Once you've kneaded the dough for 10 minutes, it's time to let it rise.
Place the dough in a lightly greased bowl, cover it with a damp towel or plastic wrap, and set it aside in a warm, draft-free spot.
Over the next hour, the yeast will work its magic, causing the dough to expand and become light and airy. This rise is essential for developing the gluten structure and creating the perfect texture in your final loaf.
Check on the dough periodically, giving it a gentle poke to see if it has doubled in size. When it has, gently punch it down to release any air bubbles.
Then, you're ready to shape the dough and begin the second rise before baking. Letting the dough rise for the full hour ensures your bread will have the best possible structure and flavor.
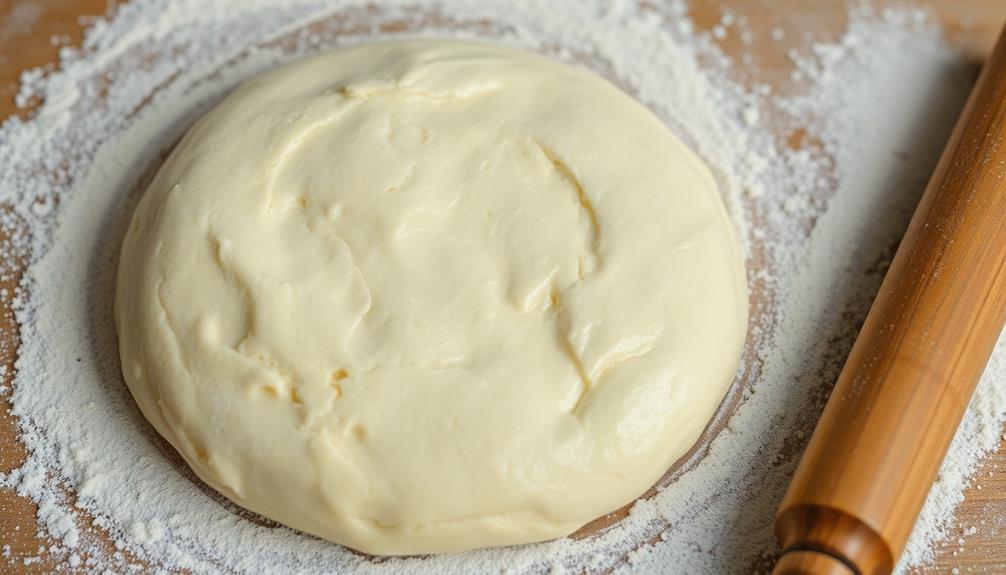
Step 4. Punch Down and Shape Dough
Once the dough has doubled in size during its first rise, it's time to punch it down and shape it. Punching down the dough helps release excess gas that's built up, resulting in a smoother, denser texture. To do this, simply use your fist to gently press down on the dough until it deflates.
Next, you'll need to shape the dough. Lightly flour your work surface and turn the dough out onto it. Using your hands, gently shape the dough into your desired form, whether that's a loaf, rolls, or any other shape.
Be careful not to overwork the dough, as this can develop too much gluten and result in a tough texture.
Once the dough is shaped, place it in your prepared baking pan or on a parchment-lined baking sheet. Cover it and let it rise again, usually for 30-60 minutes, until it has doubled in size.
This second rise will help develop the bread's structure and flavor before baking.
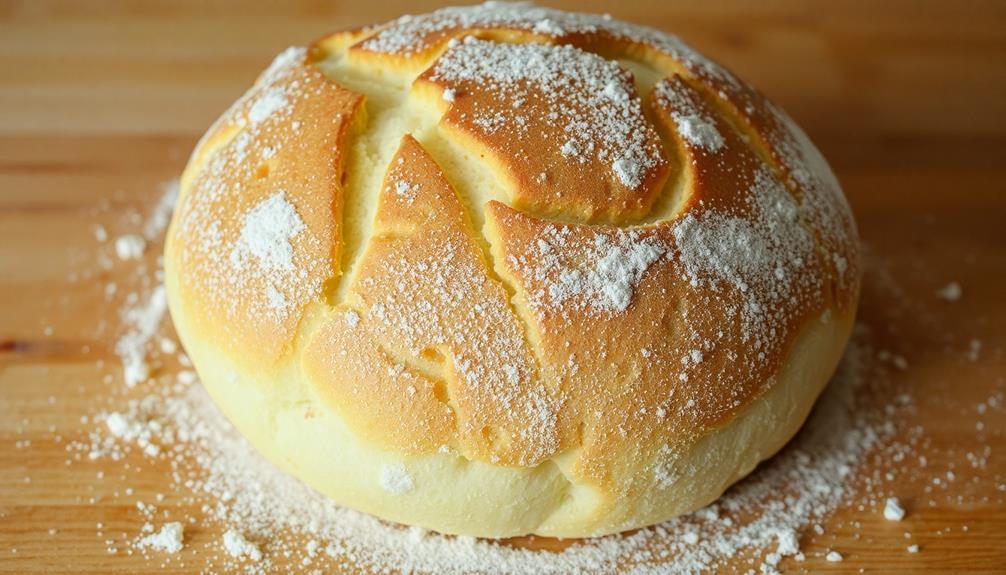
Step 5. Bake at 375°F for 25 Minutes
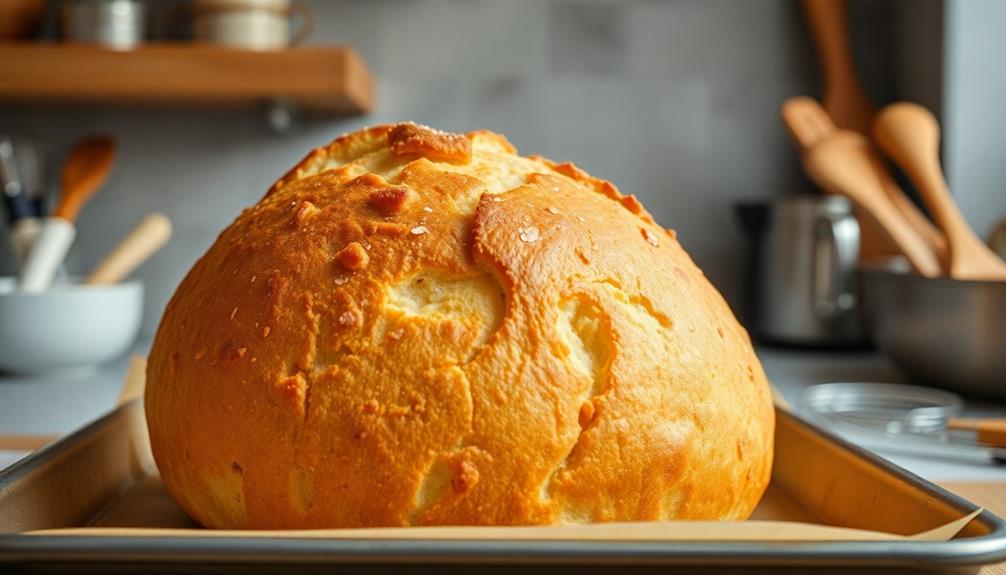
After the dough has completed its second rise, preheat your oven to 375°F. This temperature is perfect for baking your homemade bread, ensuring it develops a beautiful golden-brown crust while the interior remains soft and fluffy.
Once the oven is hot, gently transfer the shaped dough into a lightly greased baking pan or onto a parchment-lined baking sheet. Be cautious not to deflate the dough as you handle it.
Then, place the dough in the preheated oven and bake for approximately 25 minutes.
As the bread bakes, keep an eye on it, rotating the pan halfway through if needed for even browning. The bread is done when the crust is a deep golden color and the internal temperature reaches 200-205°F.
Remove the bread from the oven and allow it to cool on a wire rack for at least 15 minutes before slicing. This resting period allows the bread to finish cooking and the interior to set, resulting in a perfect loaf every time.

HAWK'S WORK F450 Drone Kit to build, DIY Quadcopter Set, Frame + Pixhawk + GPS + Power Module + ESC + Brushless Motor + Prop + Battery + RC Transmitter & Receiver + Accessory + Guild Book & Video (A)
𝐘𝐨𝐮𝐫 𝟏𝐬𝐭 𝐃𝐈𝐘 𝐃𝐫𝐨𝐧𝐞 - F450 is the best DIY drone for both beginners to learn the basics...
As an affiliate, we earn on qualifying purchases.
Final Thoughts
Baking homemade bread is a rewarding and satisfying experience that can fill your kitchen with the aroma of freshly-baked goodness. As you've now learned the essential steps, from mixing the dough to shaping and baking, the final thoughts are just as important.
Remember, the process may take some practice, but the payoff is well worth it. Each loaf is a unique creation, reflecting your skill and dedication. Embrace any imperfections – they're what make your bread truly homemade.
Additionally, don't be afraid to experiment with different recipes, flour types, and mix-in ingredients. Discover new flavor combinations that delight your senses. Homemade bread also makes a thoughtful gift for family and friends, showing you've put in the time and effort.
Most importantly, have fun! Baking bread is a process to be savored. Enjoy the peaceful kneading, the anticipation as it rises, and the pride when you slice into that first warm, fluffy slice. The joy of homemade bread is in the journey.
Frequently Asked Questions
What Type of Bread Pan Should I Use?
When it comes to choosing a bread pan, you've got options. You can go with a standard loaf pan, a baking sheet, or even a cast-iron skillet. The key is finding one that suits your baking needs and preferences.
How Do I Know When the Dough Has Risen Enough?
The dough has risen enough when it's doubled in size and springs back slowly when you gently poke it. You'll also see it's risen above the rim of the pan. Don't let it over-rise!
Can I Substitute Different Flours in the Recipe?
You can absolutely substitute different flours in the recipe. Just be mindful that each type of flour has its own unique properties, which may affect the texture and rise of your bread. Experiment to find your favorite combination.
How Do I Store the Homemade Bread?
You can store homemade bread at room temperature for up to 4 days. To extend its shelf life, keep it in a bread box or paper bag. Freeze slices or the whole loaf for longer storage.
What Are Some Common Bread-Making Mistakes to Avoid?
To avoid common bread-making mistakes, steer clear of over-kneading, under-proofing, and inaccurate temperature control. Measure ingredients precisely, and be patient during the rising process. With practice, you'll soon master the art of homemade bread baking.