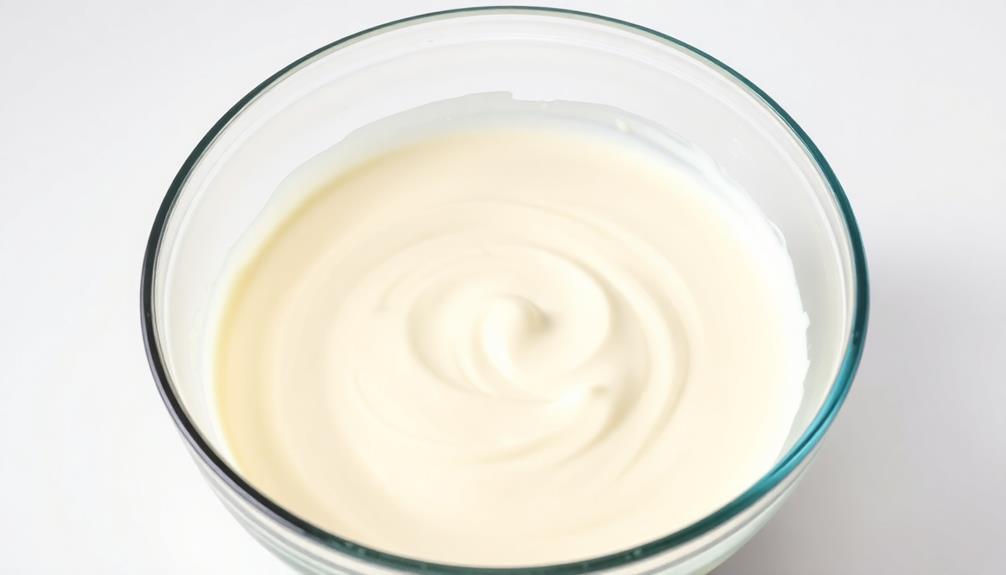
You can easily make rich, creamy homemade heavy cream with just a couple ingredients! The origins of heavy cream trace back to ancient dairy farming, where the thick, creamy layer was separated from freshly churned milk. Today, you can recreate this at home by thoroughly chilling whole milk and unsalted butter, then vigorously whisking them together for 5-10 minutes until thickened. Be sure to cover the bowl and refrigerate the homemade heavy cream until it reaches your desired consistency, around 30 minutes to an hour. This homemade version allows you to control the quality while adding a luxurious touch to all your favorite sweet and savory recipes.
Key Takeaways
- Chill heavy cream thoroughly in an airtight container for 2 to 24 hours for best results.
- Whisk the chilled cream in a large, non-reactive bowl until it reaches the desired thick, smooth texture.
- Cover the bowl with a tight-fitting lid or plastic wrap to maintain the whipped texture.
- Refrigerate the covered whipped cream for 30 minutes to 1 hour to achieve the desired thickness.
- Homemade heavy cream offers control over quality and versatility for a variety of sweet and savory dishes.

Hamilton Beach 6-Speed Electric Hand Mixer with Whisk, Traditional Beaters, Snap-On Storage Case, 250 Watts, White
NO MORE LOST BEATERS: The snap-on storage case that comes with the Hamilton Beach hand mixer neatly holds…
As an affiliate, we earn on qualifying purchases.
As an affiliate, we earn on qualifying purchases.
History
The origins of homemade heavy cream can be traced back to ancient dairy-farming practices. For centuries, farmers and homesteaders have been separating the thick, creamy layer that rises to the top of freshly-churned milk. This concentrated dairy product, often referred to as "clotted cream," has been a staple ingredient in various cuisines around the world, particularly in Europe.
In the 18th and 19th centuries, as dairy technology advanced, the process of making heavy cream became more refined. Specialized equipment, such as cream separators, allowed for more efficient skimming of the cream from the milk. This made it easier for households and small-scale producers to create consistent, high-quality heavy cream at home.
Today, the tradition of homemade heavy cream continues, with many people seeking to recapture the rich, velvety texture and flavor of this versatile ingredient.

Amazon Grocery, Sweet Cream Butter, Unsalted, 16 Oz
One 16-ounce box of Unsalted Sweet Cream Butter
As an affiliate, we earn on qualifying purchases.
As an affiliate, we earn on qualifying purchases.
Recipe
Making heavy cream at home is a simple and cost-effective alternative to purchasing it from the store. Not only does it allow you to control the quality and ingredients, but it can also be tailored to your specific needs.
Homemade heavy cream is a versatile ingredient that can be used in a variety of sweet and savory dishes, from whipped toppings to sauces and soups. The process is straightforward and requires minimal effort, making it a great option for those who prefer to have more control over their food.
Ingredients:
- 1 cup (240 ml) of whole milk
- 1/4 cup (60 ml) of unsalted butter, softened
Instructions:
In a medium bowl, combine the whole milk and softened butter. Using a hand mixer or a whisk, beat the mixture until it thickens and forms stiff peaks, which typically takes about 5-10 minutes.
Be careful not to overmix, as the mixture can turn into butter.
Tips:
- For best results, use high-quality, fresh whole milk and butter.
- Chilling the bowl and beaters/whisk before whipping can help the cream thicken faster.
- The heavy cream can be stored in an airtight container in the refrigerator for up to 5 days.
- Experiment with different fat contents by adjusting the ratio of milk to butter to achieve your desired consistency.

KitchenAid Classic Utility Whisk, 10.5 Inch, Black
THE ULTIMATE WHISK: great for beating eggs, whipping meringue, blending batters, or keeping the lumps out of your…
As an affiliate, we earn on qualifying purchases.
As an affiliate, we earn on qualifying purchases.
Cooking Steps
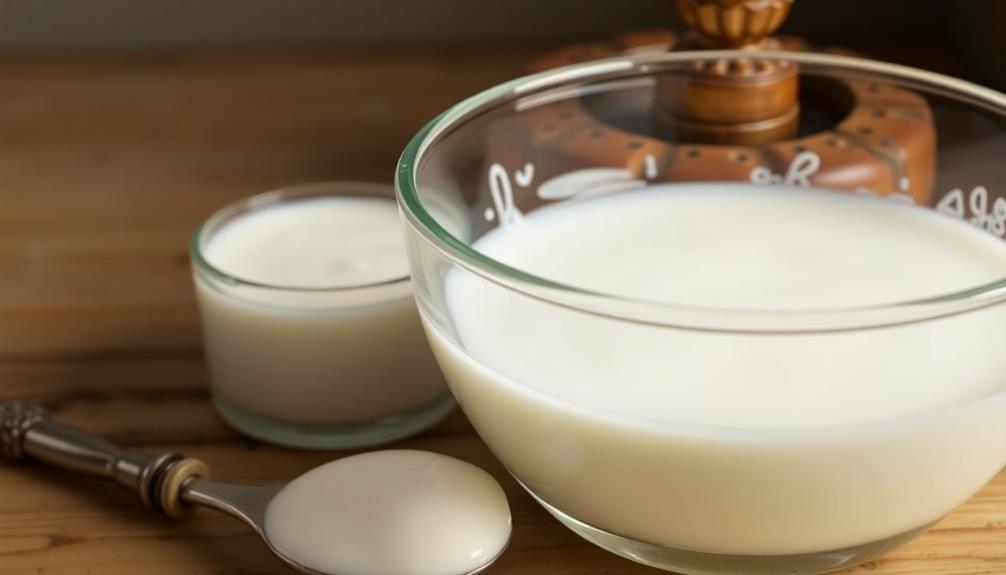
First, you'll want to chill your heavy cream thoroughly before getting started.
Then, pour the cream into a bowl and start whisking it until it thickens.
Once it's reached the desired consistency, simply cover the bowl with a lid and refrigerate it until you're ready to use it.
Step 1. Chill Heavy Cream Thoroughly
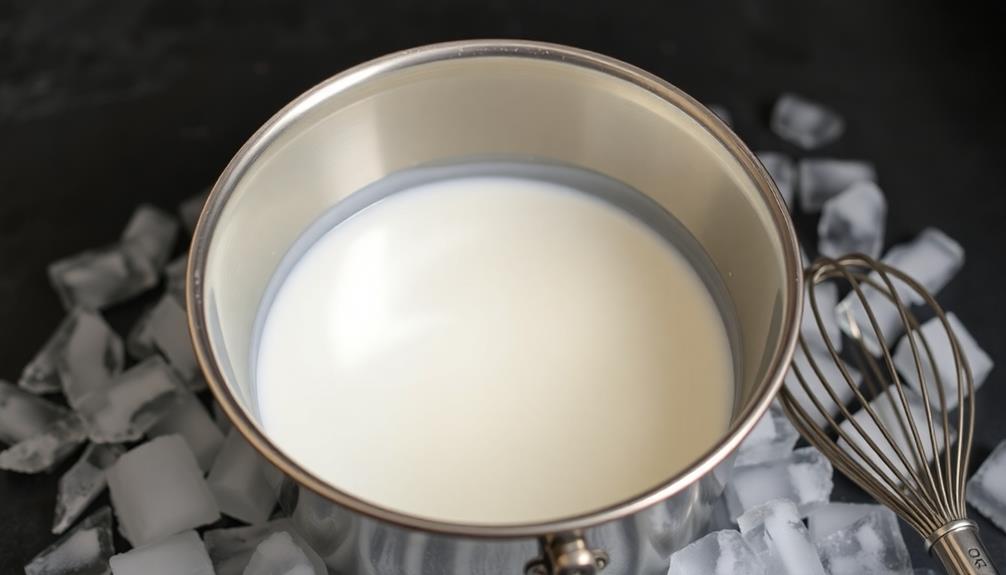
Chilling the cream thoroughly is a crucial step in the process. Once you've finished whipping the cream, it's important to chill it completely before using. This helps the cream thicken and stabilize, ensuring it holds its shape and texture when you need it.
To chill the cream, simply transfer it to an airtight container and place it in the refrigerator for at least 2 hours, or up to 24 hours. This cold temperature helps the cream's fat globules firm up, creating a rich, creamy consistency.
For best results, chill the cream in a shallow container, which allows it to cool more quickly. Avoid placing the cream in the freezer, as this can cause it to become icy and grainy. Once the cream is sufficiently chilled, you’re ready to incorporate it into any recipe that calls for whipped or heavy cream. This technique is particularly useful when preparing a homemade ice cream recipe, as properly chilled cream helps achieve a smoother and creamier texture. By avoiding the freezer, you ensure your dessert maintains its rich consistency without any unwanted ice crystals. Furthermore, the quality of the cream plays a significant role in the final outcome, so always opt for fresh, high-fat cream to enhance the richness of your dessert. Whether you’re whipping up a mousse or following your favorite homemade ice cream recipe, the key is in maintaining the right temperature and texture to achieve flawless results. With this approach, your desserts will boast professional-level smoothness and a delectable creaminess that everyone will love.
Once the cream is thoroughly chilled, it's ready to use in your favorite recipes, whether you're topping desserts, whipping up fluffy batters, or adding a luxurious touch to sauces and soups.
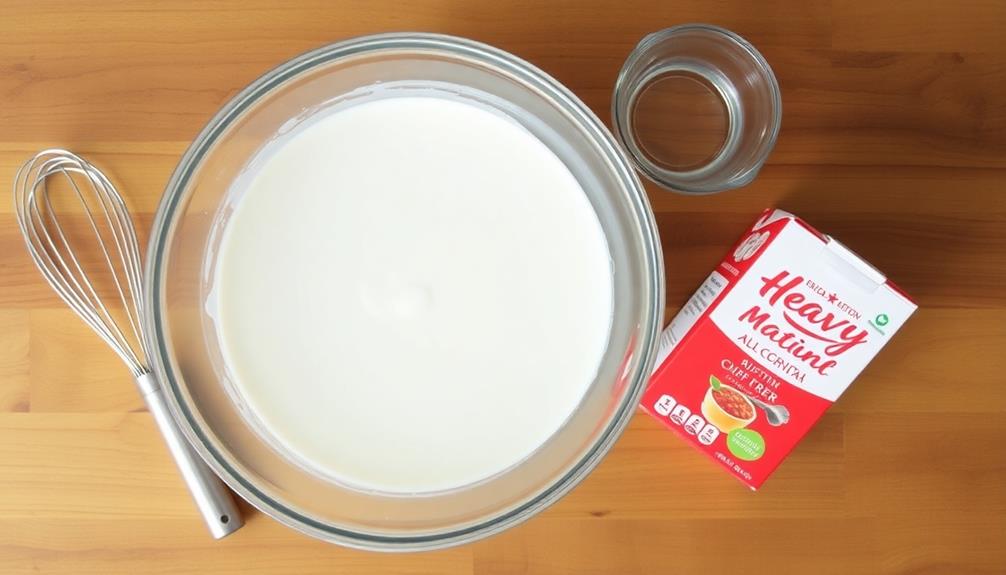
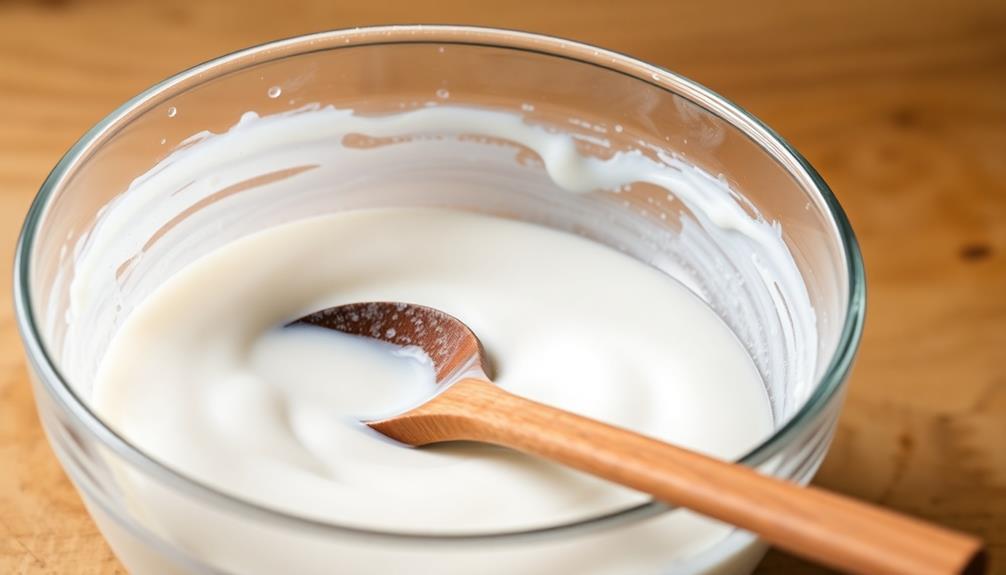
Step 2. Pour Cream Into Bowl
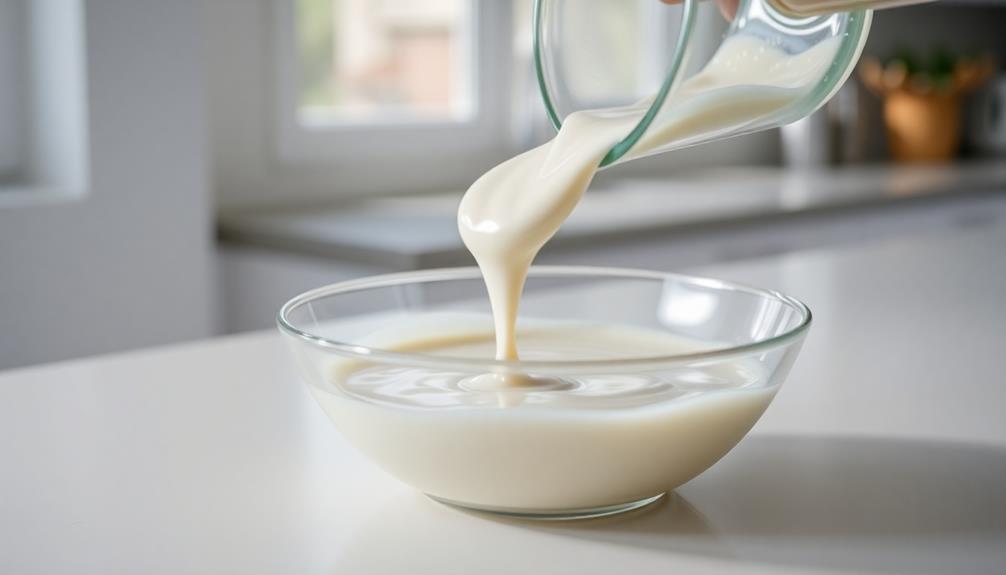
With the cream thoroughly chilled, you can now move on to pouring it into a bowl. This step is crucial, as the bowl will serve as the vessel for whipping the cream to the desired consistency.
Choose a bowl that's large enough to accommodate the full volume of cream without spilling over the sides. Ideally, the bowl should be made of stainless steel or glass, as these materials are non-reactive and won't impart any unwanted flavors to the cream.
Gently pour the chilled cream into the bowl, being careful not to splash or aerate the cream. This will help maintain the cream's structure and prevent it from becoming too airy or overwhipped.
Once the cream is in the bowl, you may want to use a spatula to scrape down the sides, ensuring that all the cream is collected in the center of the bowl, ready for the next step in the homemade heavy cream-making process.
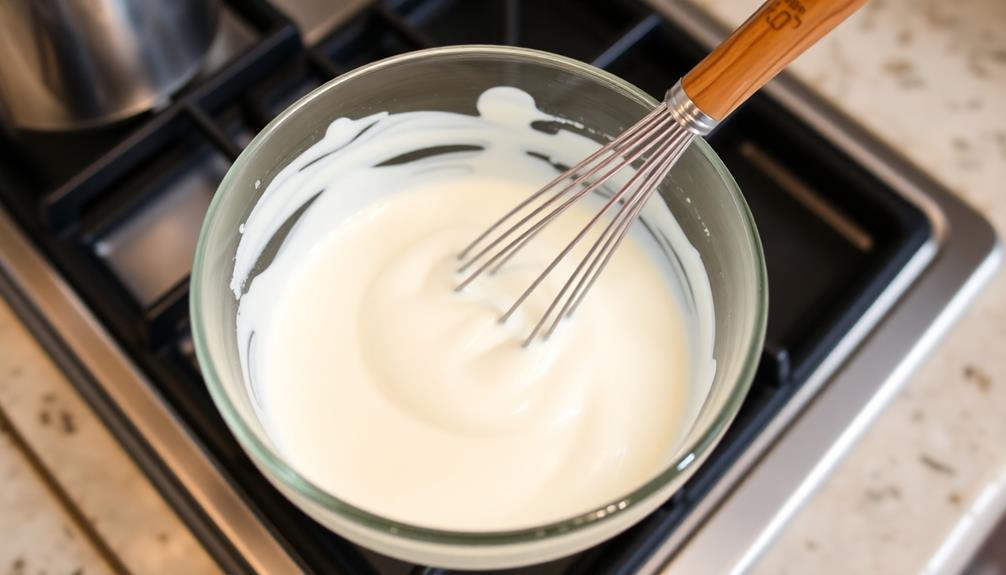
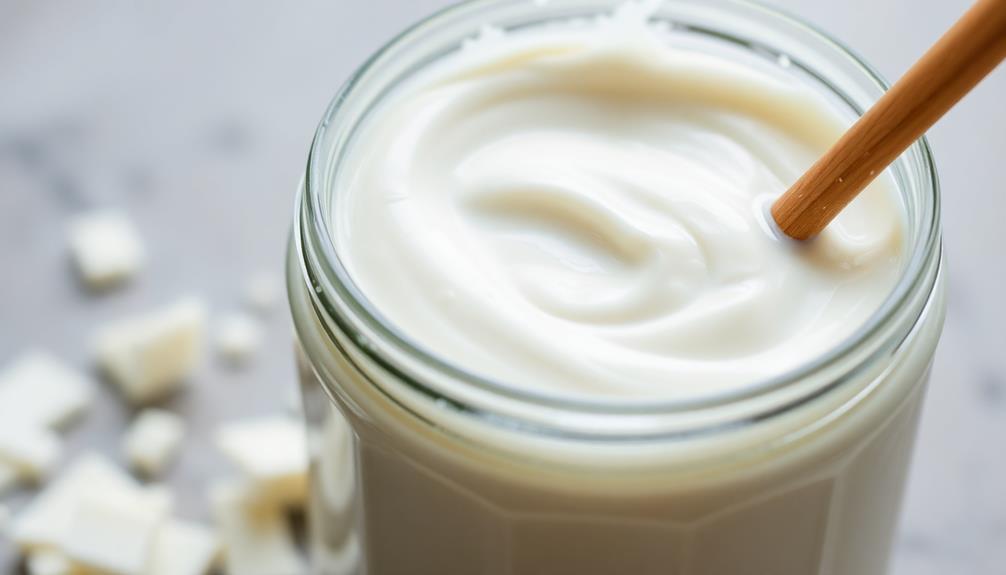
Step 3. Whisk Cream Until Thickened
Next, take the whisk and begin gently whipping the cream. This step is crucial for transforming the liquid cream into the thick, spreadable consistency of homemade heavy cream.
Start by whisking the cream in slow, circular motions, gradually increasing the speed as the cream starts to thicken.
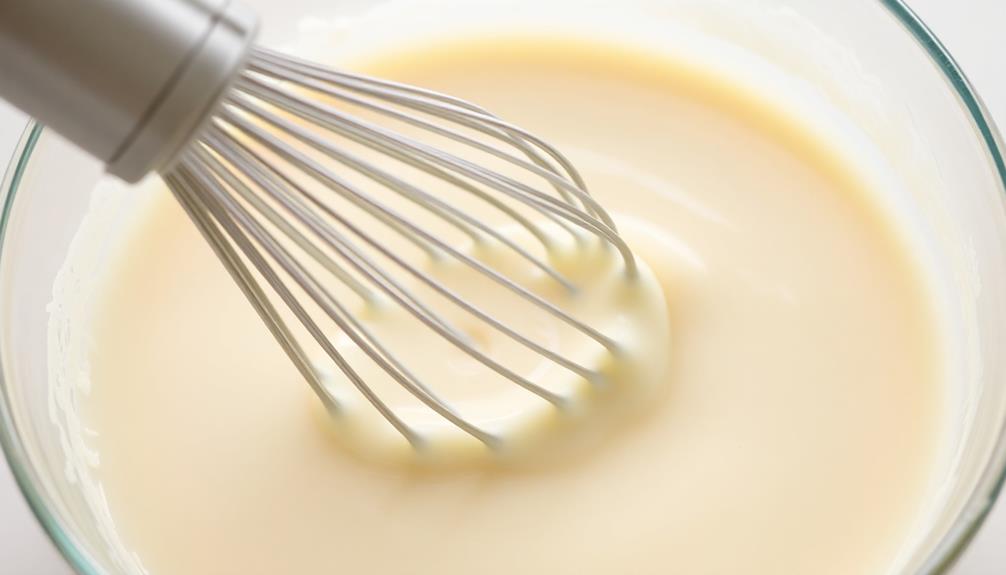
As you whisk, you'll notice the cream gradually becoming more dense and opaque. Keep a close eye on the consistency, as overwhipping can cause the cream to become grainy or even turn into butter. Aim for a thick, smooth texture that holds its shape when scooped.
Depending on the temperature of your kitchen and the fat content of your cream, this process can take anywhere from 2 to 5 minutes.
Once the cream has reached the desired thickness, stop whisking and give it a final stir to ensure an even consistency throughout. Your homemade heavy cream is now ready to use in your favorite recipes!
Step 4. Cover Bowl With Lid
After whisking the cream to the desired thickness, cover the bowl with a lid or plastic wrap to prevent any air from getting in. This trapping of air is crucial, as it helps maintain the whipped texture and prevents the cream from separating or deflating.
Be sure to choose a cover that fits snugly over the bowl, forming a tight seal. This will lock in the air bubbles that have been incorporated during the whisking process.
Cover the bowl immediately after whipping, as the cream can begin to separate if left exposed. The lid or plastic wrap acts as a barrier, preserving the light and airy consistency you've worked to achieve.
This step helps ensure your homemade heavy cream retains its perfect texture, ready to be used in your favorite recipes. With the bowl securely covered, you can now refrigerate the cream until you're ready to use it, confident that it will remain thick and creamy.
Step 5. Refrigerate Until Desired Thickness Achieved
Once you've covered the bowl, refrigerate the whipped cream until it reaches your desired thickness. This process can take anywhere from 30 minutes to an hour, depending on the temperature of your refrigerator and the desired consistency you're aiming for. The colder the refrigerator, the faster the cream will thicken.
As the cream chills, the fat molecules will begin to solidify and clump together, resulting in a thicker, richer texture.
Periodically check the cream and give it a gentle stir to ensure even cooling. Once it reaches the desired thickness, it's ready to use in your favorite recipes or to enjoy on its own as a decadent topping.

Airtight Food Storage Containers with Lids, Vtopmart 24 pcs Plastic Kitchen and Pantry Organization Canisters for Cereal, Dry Food, Flour and Sugar, BPA Free, Includes 24 Labels,Black
Help Organize Your Kitchen and Pantry— Imagine every time walking to your kitchen or pantry, found everything is…
As an affiliate, we earn on qualifying purchases.
As an affiliate, we earn on qualifying purchases.
Final Thoughts
Making heavy cream at home is a simple and rewarding process. With just a few ingredients and a bit of patience, you can create a rich, creamy topping that elevates any dish.
The best part? You'll know exactly what's going into your cream, allowing you to control the quality and avoid any unwanted additives.
As you've seen, the process of making heavy cream at home is straightforward. Remember to refrigerate your newly made cream until it reaches the desired thickness. This may take a few hours, so be sure to plan accordingly.
Once your cream is ready, the possibilities are endless. Drizzle it over fresh fruit, use it in baking, or simply enjoy it on its own.
Homemade heavy cream adds a touch of luxury to any recipe, and you can take pride in knowing that you made it yourself.
Frequently Asked Questions
How Long Does Homemade Heavy Cream Last?
Your homemade heavy cream will typically last 5-7 days when stored properly in the refrigerator. Make sure to keep it in an airtight container and use it before the expiration date for best quality.
Can I Use Homemade Heavy Cream for Whipping?
Yes, you can use your homemade heavy cream for whipping. It'll whip up just like store-bought heavy cream, adding a rich, creamy texture to your desserts and toppings. Just be sure to chill it well before whipping.
What Is the Difference Between Heavy Cream and Whipping Cream?
The main difference between heavy cream and whipping cream is their fat content. Whipping cream has a lower fat content of around 30-35%, while heavy cream has a higher fat content of at least 36%. This affects their whipping and thickening abilities.
Can I Substitute Milk or Butter for Heavy Cream?
You can't directly substitute milk or butter for heavy cream. Milk lacks the high fat content of heavy cream, and butter won't whip and aerate like cream. For best results, use the appropriate cream for your recipe.
How Much Heavy Cream Can I Make at Once?
You can make as much heavy cream as you need at once. There's no limit to the amount you can make, but be mindful of the ingredients and equipment you have on hand to ensure the best results.