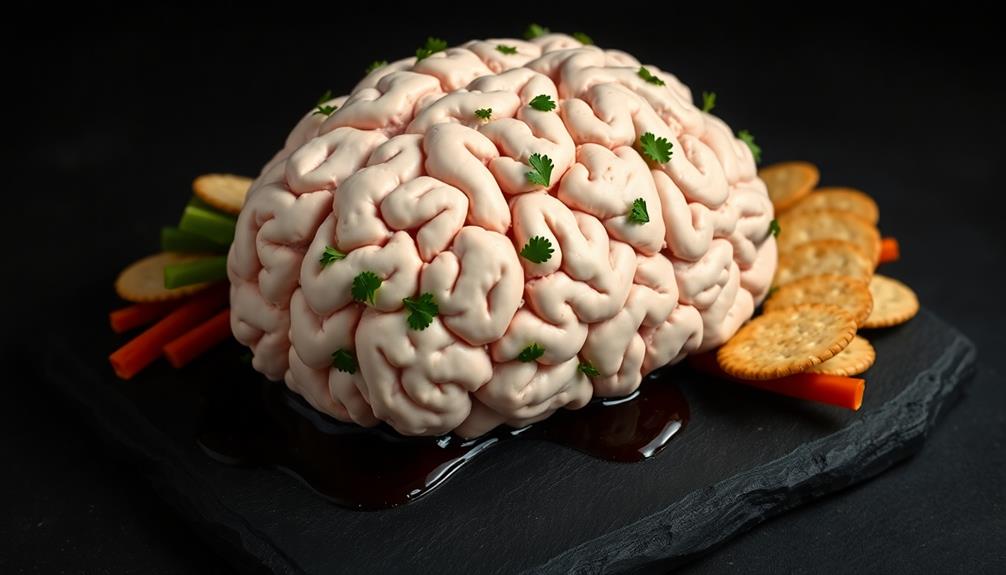
You'll create a show-stopping Halloween centerpiece with this Zombie Brain Cheese Ball that's as delicious as it is gruesome. This spooky appetizer combines cream cheese, cheddar, and herbs, shaped to look like a realistic brain. You'll mix the ingredients, form the brain shape, and add red food coloring for a bloody effect. After chilling overnight, you'll garnish with black olive slices to enhance the creepy appearance. It's perfect for Halloween parties and medical-themed events, sure to spark conversations and delight your guests. With a few simple steps, you'll have a memorable dish that's both tasty and visually impressive. Let's explore how to make this ghoulish treat come to life!
Key Takeaways
- A Zombie Brain Cheese Ball is a spooky-themed appetizer shaped and decorated to resemble a human brain.
- It typically contains cream cheese, cheddar cheese, herbs, and spices, molded into a brain shape.
- Red food coloring is used to create a "bloody" effect, enhancing the gruesome appearance.
- Black olives are often added as garnish to create texture and depth, mimicking brain wrinkles.
- This dish is popular for Halloween parties and can be served with crackers or vegetables for dipping.
AIBOYA 20 Cavity Cheese Silicone Candy Molds For Candy Chocolate Cake Decoration
- Material: Food-grade silicone for safety
- Size: 11.69 x 6.77 x 0.71 inches
- Temperature Range: -40°F to 446°F (-40°C to 230°C)
As an affiliate, we earn on qualifying purchases.
As an affiliate, we earn on qualifying purchases.
History
Surprisingly, the Zombie Brain Cheese Ball doesn't have a long historical pedigree. You might think this creepy-cool appetizer has been around for ages, but it's actually a pretty recent creation.
It first popped up in the early 2000s when Halloween parties started getting more elaborate and fun. The idea came from creative home cooks who wanted to make something gross-looking but tasty for their Halloween gatherings.
They took inspiration from horror movies and combined it with the classic cheese ball recipe. The result? A spooky treat that looks like a brain but tastes delicious! To create this spooky brain-shaped treat, they used a classic creamy macaroni and cheese recipe as the base. Then, they added food coloring to give it a ghastly appearance and molded it into the shape of a brain using a specially designed mold. The end result was a creepy and delicious snack that was a hit at their Halloween party.
As Halloween parties became more popular, so did the Zombie Brain Cheese Ball. People started sharing photos of their creations online, and soon it was everywhere.
Food bloggers and party planners picked up on the trend, creating their own versions and sharing recipes. Now, you'll find Zombie Brain Cheese Balls at all sorts of Halloween events, from school parties to adult gatherings.
It's become a staple of spooky season snacks, loved for its shocking appearance and yummy flavor.
Cooking Steps
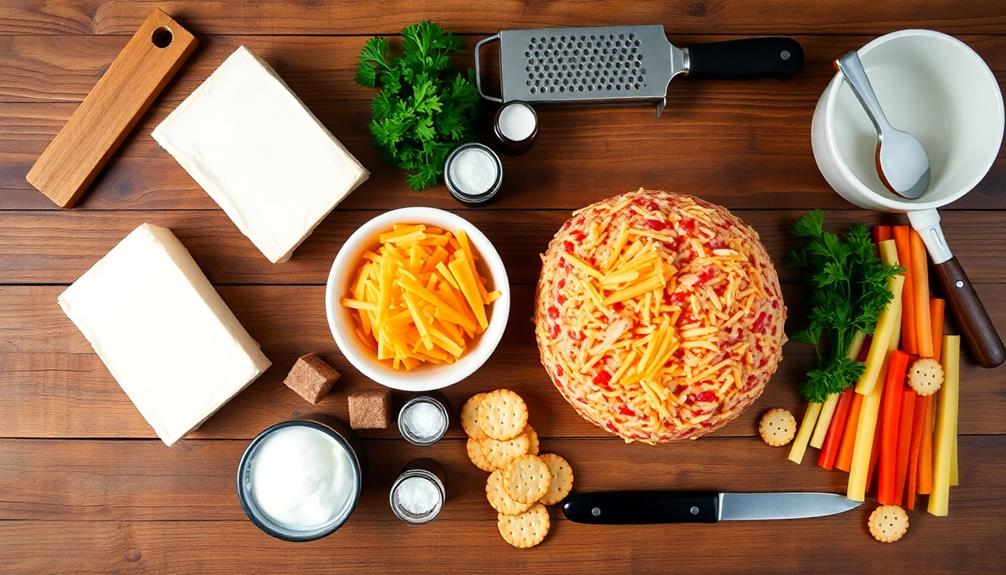
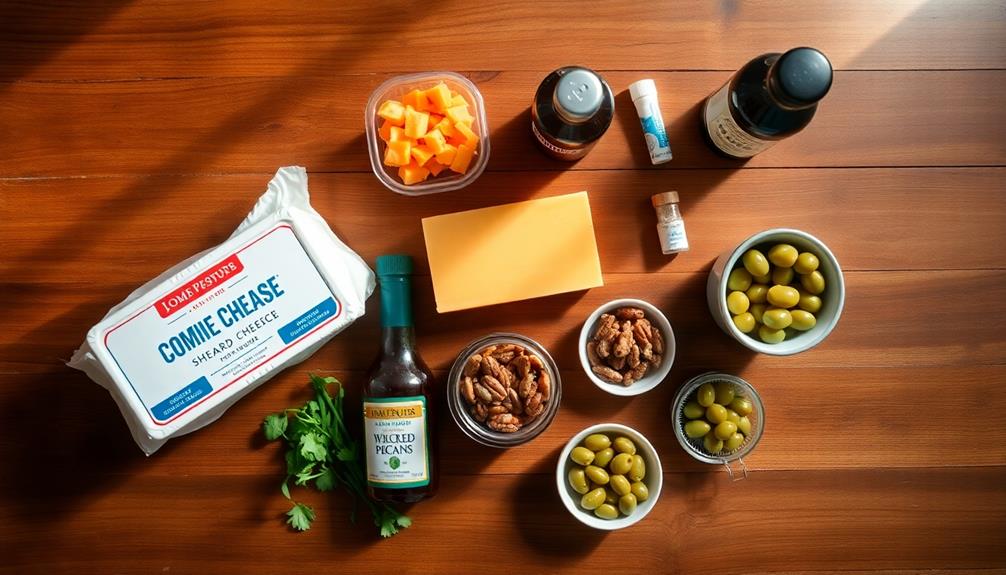
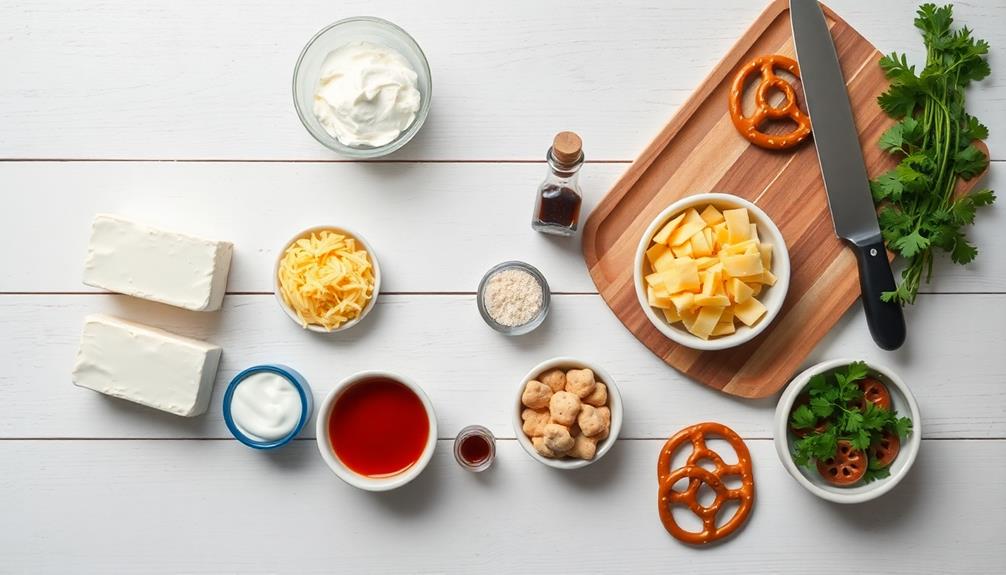
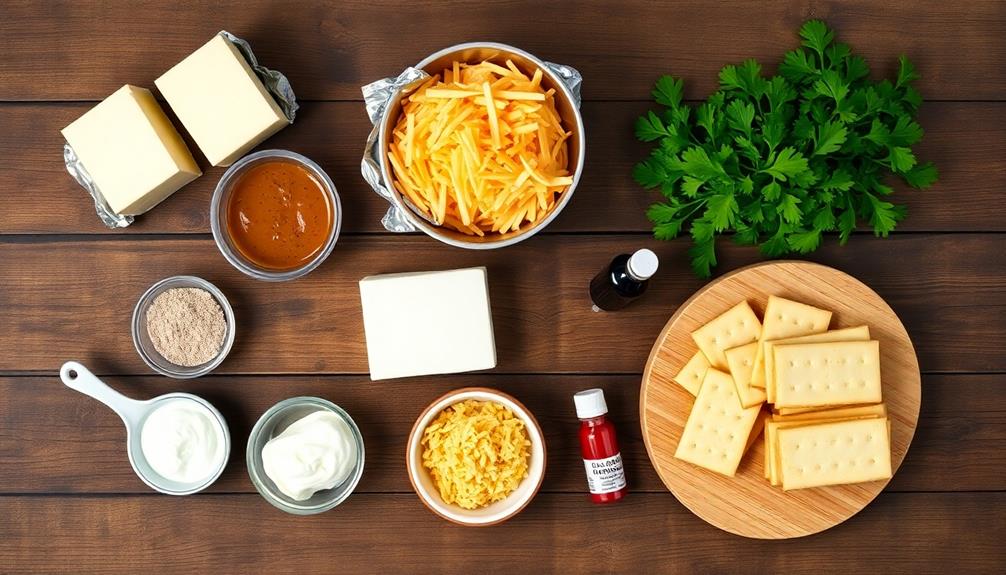
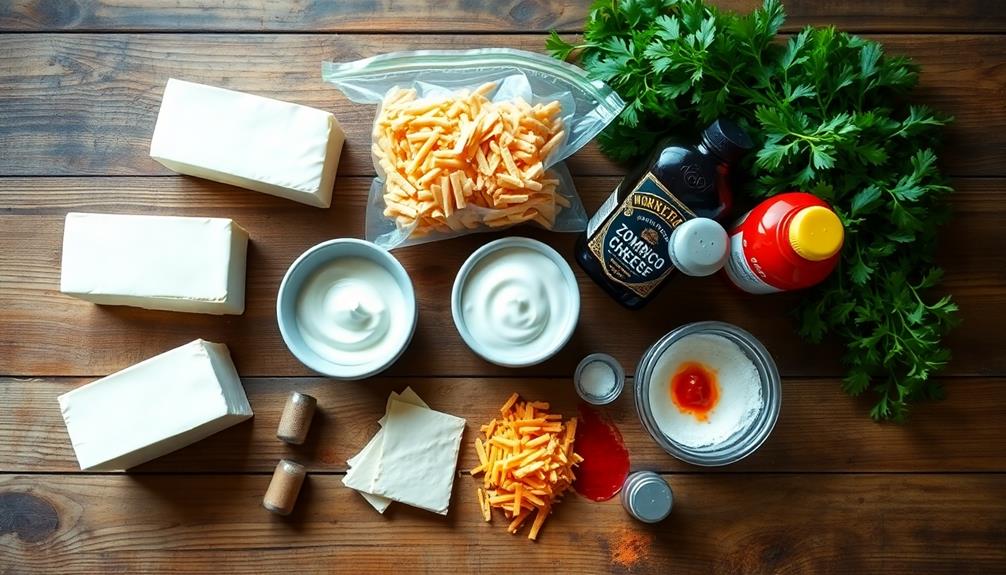
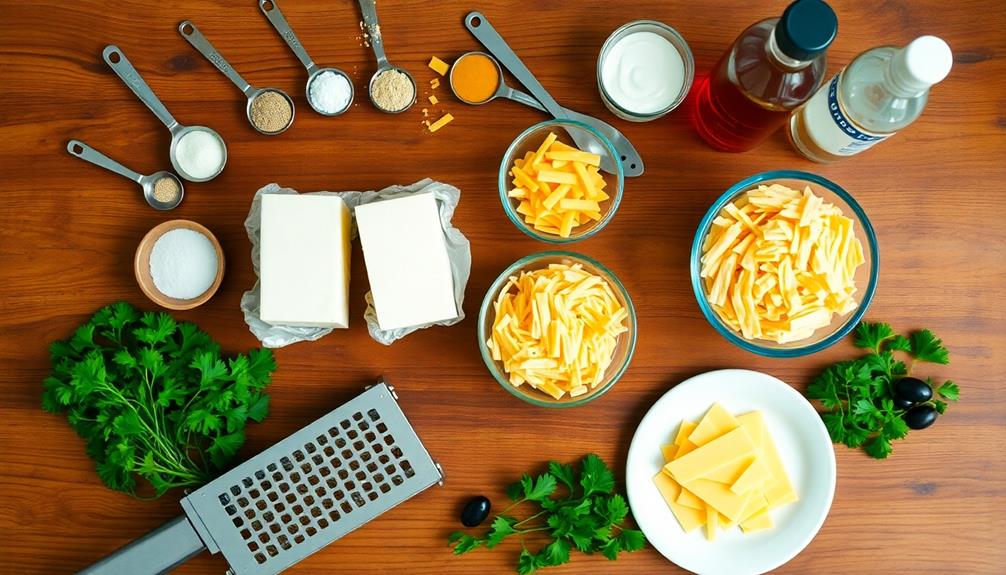
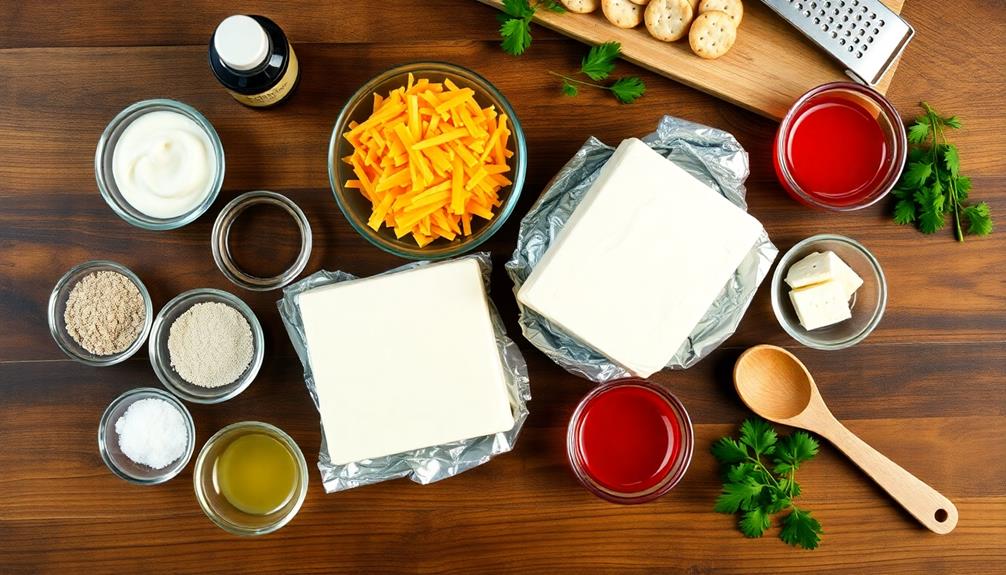
Creating this ghoulishly delicious Zombie Brain Cheese Ball starts with mixing the cheese base. You'll need cream cheese, shredded cheddar, and a dash of Worcestershire sauce. Blend these ingredients until they're smooth and creamy.
Now, it's time to shape your brain! Use your hands to mold the mixture into an oval shape, making sure it's nice and round.
Next, you'll create the brain's texture. Take a butter knife and carefully draw lines across the surface to mimic the wrinkles of a brain. Don't worry if it's not perfect – brains are naturally bumpy!
Once you're happy with the shape, it's time to chill. Pop your creation into the fridge for about an hour to firm up.
While you wait, mix some cream cheese with red food coloring to make "blood." After chilling, take your brain out and drizzle the red mixture over it.
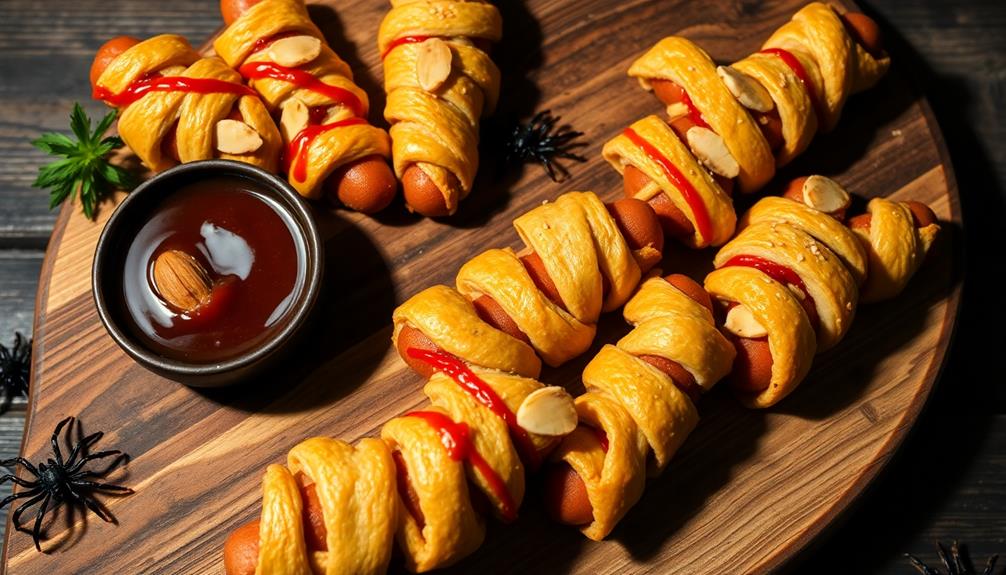
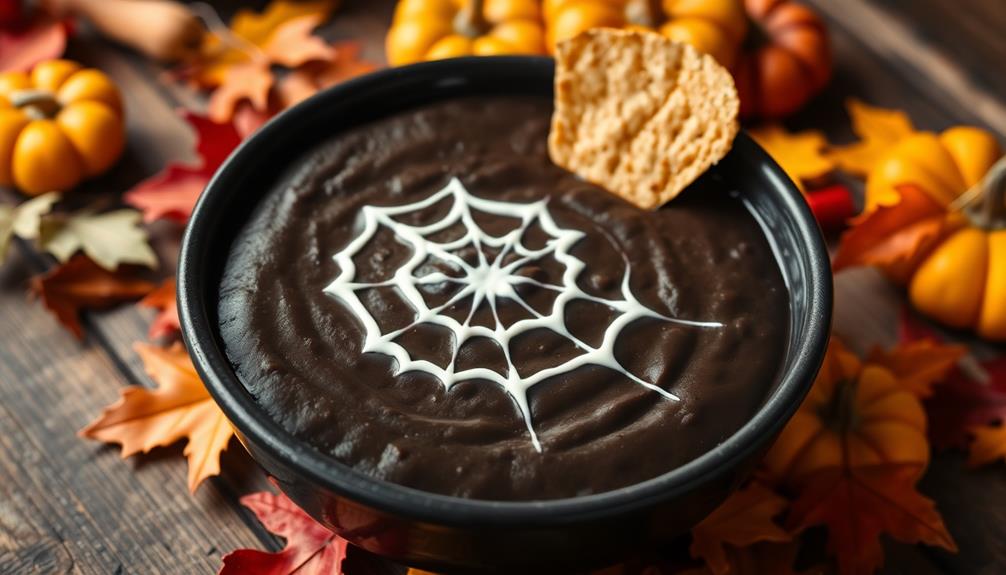
Add some chopped nuts or herbs for extra texture. Your Zombie Brain Cheese Ball is now ready to serve with crackers or veggies. Watch your guests' faces light up with delight and horror! For a truly unforgettable Halloween spread, pair your Zombie Brain Cheese Ball with our unique mummy meatball recipe. These spooky meatballs are wrapped in strips of puff pastry to resemble mummies, and are sure to be a hit with your guests. Serve them with a side of marinara sauce for dipping, and watch as everyone gobbles them up with ghoulish glee!
Step 1. Mix Cream Cheese and Herbs
Preparation is key when mixing cream cheese and herbs for your zombie brain cheese ball. You'll want to start with room temperature cream cheese, so take it out of the fridge about an hour before you begin. This will make it much easier to mix and blend with the other ingredients.
In a large mixing bowl, add your softened cream cheese. Now, it's time to get creative with your herbs! You can use a combination of fresh and dried herbs for maximum flavor. Popular choices include chives, parsley, dill, and thyme. Don't forget to add a pinch of garlic powder for that extra zing!
Using a hand mixer or a sturdy spoon, blend the cream cheese and herbs together until they're well combined. Make sure there aren't any lumps of cream cheese hiding in the mixture.
As you mix, you'll start to see the herbs evenly distributed throughout the cheese, creating a speckled, brain-like appearance.
Step 2. Shape Into Brain Form
Now that you've got your herbed cream cheese mixture ready, it's time to mold it into a grotesque brain shape. Start by scooping the mixture onto a large piece of plastic wrap. Use your hands to form it into a rough oval shape, about the size of a small melon. This will be the base of your brain.
Next, create the brain's distinctive wrinkles and folds. Use your fingers to make shallow indentations across the surface, forming curved lines that resemble the brain's lobes. Don't worry about being too precise; the more uneven it looks, the creepier it'll be!
Once you're happy with the shape, wrap the plastic tightly around the cheese ball. Place it in the refrigerator for at least two hours to firm up. This step is crucial, as it'll help the brain hold its shape when you unwrap it later.
After chilling, carefully remove the plastic wrap and transfer your brain to a serving plate. You can use a butter knife to smooth out any rough spots or add more details if needed. Your zombie brain cheese ball is now ready to gross out and delight your guests!
Step 3. Add Red Food Coloring

To give your brain cheese ball a truly gory appearance, you'll need to add some "blood" with red food coloring. This step is where your creation really comes to life! Start by mixing a few drops of red food coloring with a small amount of water in a bowl. You don't need much – a little goes a long way.
Next, grab a clean paintbrush or a small spoon. Carefully dab the red mixture onto the creases and folds of your brain-shaped cheese ball. Focus on areas where blood would naturally pool, like the deeper crevices. Don't overdo it – you want it to look realistic, not like a horror movie prop!
For extra creepy effect, let some of the "blood" drip down the sides of the brain. You can do this by applying a bit more of the red mixture near the top and letting gravity do its work. Remember to rotate your cheese ball as you go, ensuring even coverage all around.
Once you're happy with the bloody look, let it set for a few minutes before serving. Your guests will be both grossed out and impressed!
Step 4. Chill in Refrigerator Overnight
After you've perfected the bloody brain appearance, it's crucial to chill your zombie brain cheese ball overnight. This step isn't just for fun – it's essential for the best taste and texture. Cover your creepy creation with plastic wrap, making sure it's snug against the cheese. Then, pop it into the refrigerator and let it rest for at least 8 hours.
While you're waiting, you can prepare other spooky snacks for your Halloween party. The chilling time allows all the flavors to blend together, making your zombie brain even more delicious. It also helps the cheese ball keep its shape when you're ready to serve it.
When morning comes, you'll be excited to see how your brain has set. The cold temperature will have firmed up the cheese, making it easier to handle.
Step 5. Garnish With Black Olives
The final touch to your ghoulish creation awaits – garnishing with black olives. Now's the time to transform your cheese ball into a spooky zombie brain!
Take your chilled cheese ball out of the fridge and place it on a serving plate. Grab a handful of pitted black olives and get ready to work your magic.
Start by slicing the olives into thin rounds. You'll need quite a few to cover the entire surface of your cheese ball. Carefully place these olive slices all over the brain, pressing them gently into the surface. They'll stick easily to the softened cheese.
As you add more olives, you'll see the brain's wrinkly texture come to life! Don't forget to create a few deeper grooves with larger olive pieces. This will make your brain look even more realistic.
Once you've covered the entire surface, step back and admire your work. You've just created a creepy, edible centerpiece that's sure to be the talk of your Halloween party!
Serve your zombie brain cheese ball with crackers and watch your guests' reactions as they dig in.
Final Thoughts
From out of your Halloween party spread, this Zombie Brain Cheese Ball is sure to be a showstopper. Your guests will be amazed by its creepy appearance and delighted by its delicious taste. It's not just a snack; it's a conversation starter that'll have everyone talking and laughing.
Remember, the key to a great Zombie Brain Cheese Ball is in the details. Take your time shaping it and adding the intricate veins and textures. The more realistic it looks, the more impact it'll have on your party guests.
Don't forget to serve it with a variety of crackers or vegetables for dipping. This recipe is perfect for Halloween, but you can also adapt it for other occasions. Try making a regular brain shape for a medical-themed party or a science event. You can even experiment with different cheese flavors to create your own unique version.
Most importantly, have fun with it! Cooking should be enjoyable, and this Zombie Brain Cheese Ball is a great way to get creative in the kitchen. Your guests will appreciate the effort you've put into making their Halloween party extra special.