
Mummy wrapped meatballs are a spooky and delicious Halloween treat you'll love! You'll start by mixing ground beef with breadcrumbs, egg, and spices to form tasty meatballs. Then, you'll wrap each one in strips of crescent roll dough, leaving gaps for eyes. Pop them in a preheated 375°F oven for 20 minutes until they're golden brown and crispy. For the final touch, brush them with marinara sauce to create a "bloody" effect. These fun appetizers are perfect for parties and will have everyone talking. They're easy to make and customize, so you can get creative with different spices and sauces. Discover how to make your Halloween gatherings even more memorable with this playful dish.
Key Takeaways
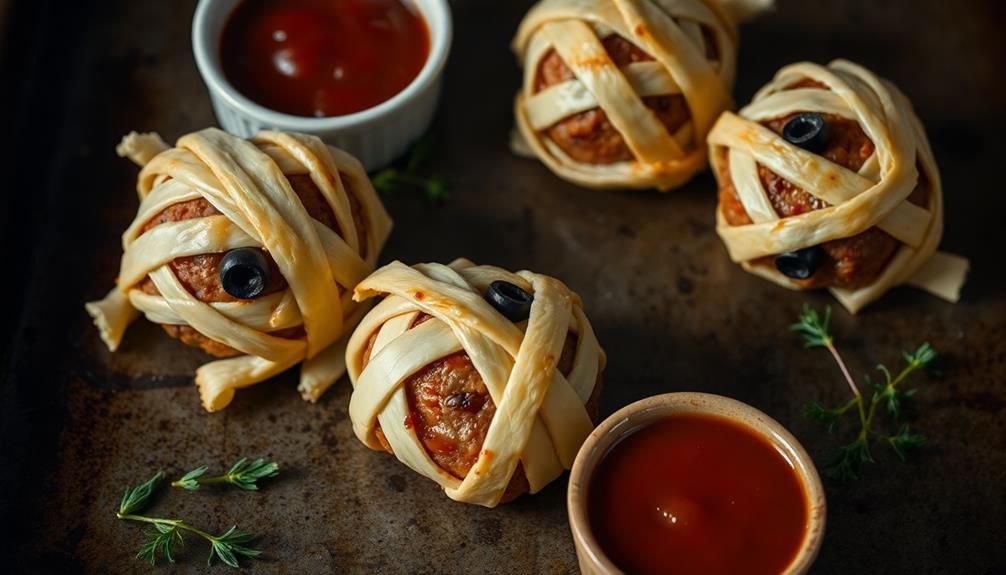
- Mummy Wrapped Meatballs are a Halloween-themed dish made by wrapping seasoned meatballs in crescent roll dough to resemble mummies.
- The recipe typically involves mixing ground beef with spices, forming meatballs, and wrapping them in dough strips before baking.
- They are baked at 375°F (190°C) for about 20 minutes until the dough is golden brown and the meatballs are cooked through.
- Candy eyes are often added for a whimsical touch, and marinara sauce is used to create a "bloody" effect for serving.
- This dish is popular for Halloween parties, versatile for various occasions, and encourages culinary creativity and fun in the kitchen.
Top picks for "mummy wrapp meatball"
As an affiliate, we earn on qualifying purchases.
History
Unwrapping the origins of mummy wrapped meatballs reveals a delightful blend of culinary creativity and Halloween-inspired fun.
You'll find that these spooky treats have become a popular party favorite over the years, especially during the Halloween season. They're a playful twist on classic meatballs, dressed up to look like tiny mummies. This festive dish can be served alongside other themed snacks, creating a cohesive Halloween spread that enhances the overall experience for guests. Just as top projectors for gaming enthusiasts elevate the gaming experience, these meatballs add an engaging touch to any Halloween gathering.
The idea of wrapping food in dough or pastry isn't new. It's been around for centuries in various cultures.
But the specific concept of mummy wrapped meatballs likely emerged in the late 20th century as Halloween parties became more elaborate. Clever home cooks and food enthusiasts started experimenting with ways to make everyday foods more festive and on-theme for the holiday.
You might wonder how they got their name. It's simple! The strips of dough or pastry wrapped around the meatballs resemble the bandages of an ancient Egyptian mummy.
This creative presentation turns a regular appetizer into a conversation starter. Over time, mummy wrapped meatballs have become a staple in Halloween cookbooks and on party planning websites, cementing their place in spooky food history.
Cooking Steps
Three key steps bring these spooky treats to life.
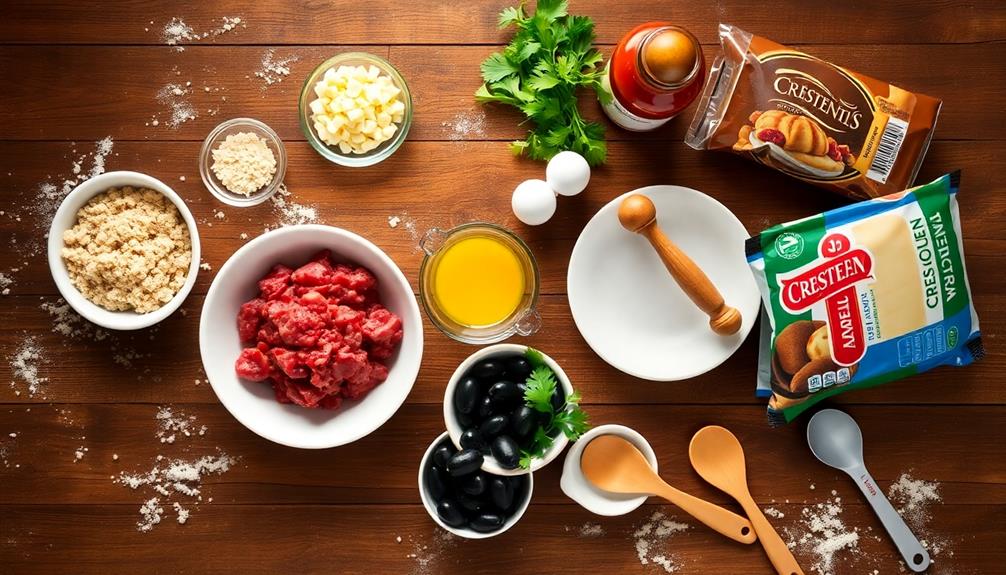
First, you'll prepare the meatballs. Mix ground beef, breadcrumbs, egg, and spices in a bowl. Shape the mixture into small balls and bake them until they're cooked through.
While they're in the oven, it's time to get your wrapping ready!
Next, you'll create the mummy's bandages. Take strips of crescent roll dough and stretch them slightly. After stretching the crescent roll dough, wrap it around the hot dog, leaving gaps to create the look of bandages. Be sure to leave a small space near one end of the hot dog to make a face. These spooky halloween mummy dogs are a fun and creative way to enjoy a classic dish with a frightful twist.
Once your meatballs are cool enough to handle, it's wrapping time! Carefully wind the dough strips around each meatball, leaving a small gap for the eyes.
Don't worry if it's not perfect – mummies are supposed to look a bit messy!
Step 1. Preheat Oven to 375°F

Before you begin wrapping your meatballs, it's crucial to preheat your oven to 375°F (190°C). This step sets the stage for perfectly cooked mummy meatballs that'll have everyone at your Halloween party begging for more!
Turn on your oven and set the temperature dial to 375°F. If you have a digital oven, simply punch in the numbers. Now, wait patiently for about 10-15 minutes while your oven heats up. During this time, you can gather all your ingredients and tools for the next steps.
Why is preheating so important? It ensures that your meatballs cook evenly from the moment they enter the oven. If you put them in too soon, they might end up undercooked in the middle and overcooked on the outside. Nobody wants that!
While you're waiting, you can start preparing your meatball mixture or cutting the dough strips for wrapping. Just remember, don't put anything in the oven until it reaches the right temperature.
Most ovens will signal when they're ready, either with a beep or by turning off a light. Now you're all set to create some spooktacular mummy meatballs!
Step 2. Mix Meatball Ingredients Together
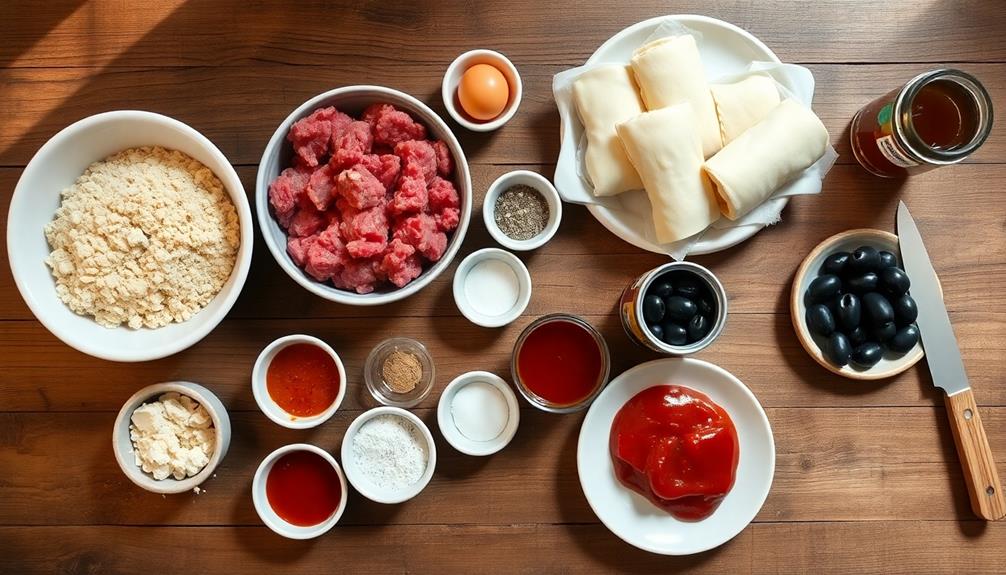
Now that your oven is preheating, it's time to mix your meatball ingredients. Grab a large mixing bowl and get ready for some fun!
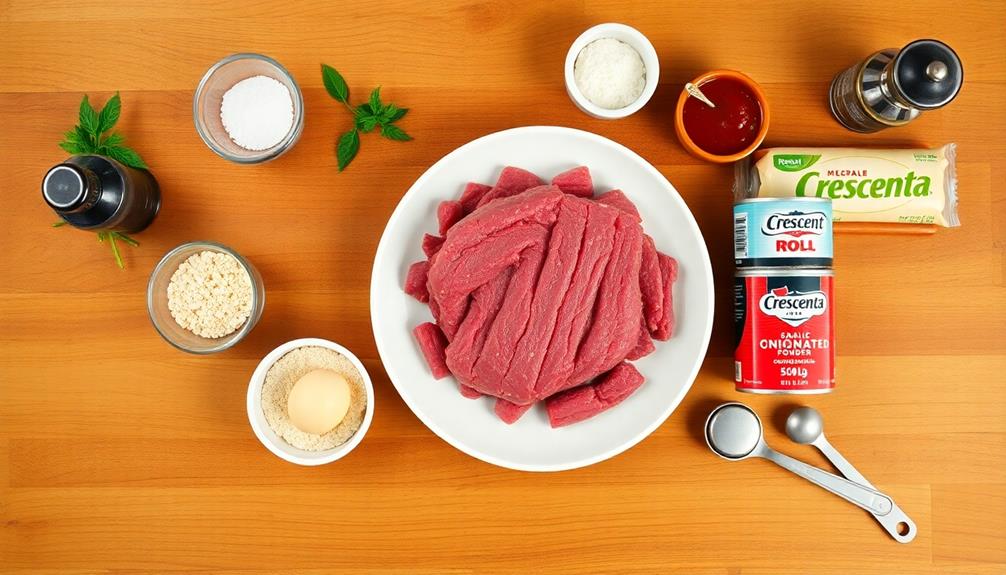
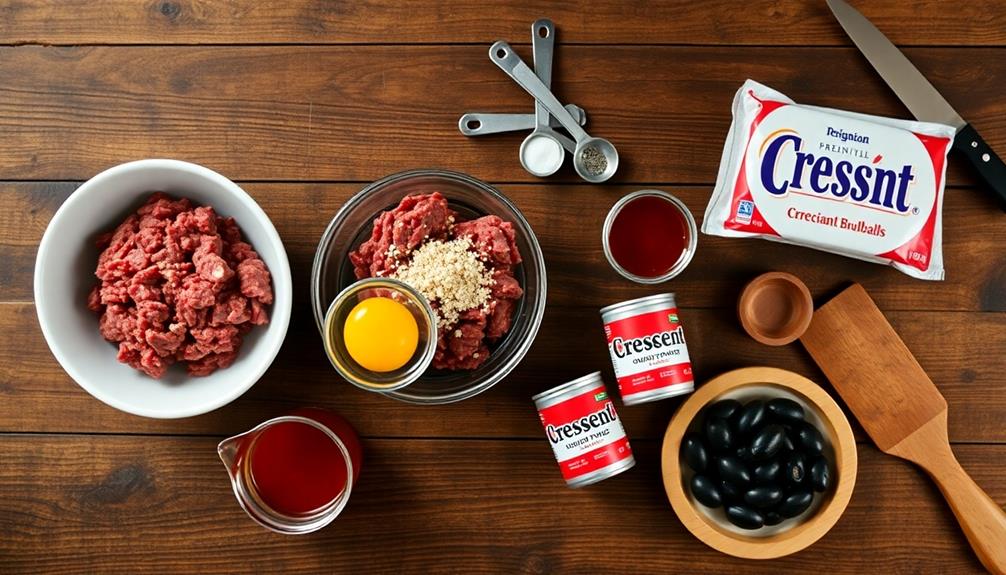
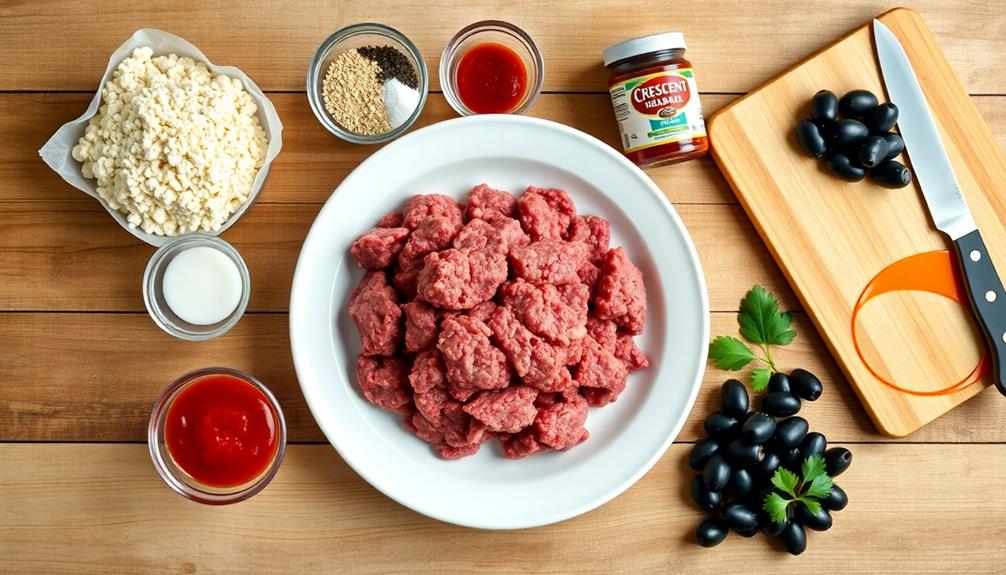
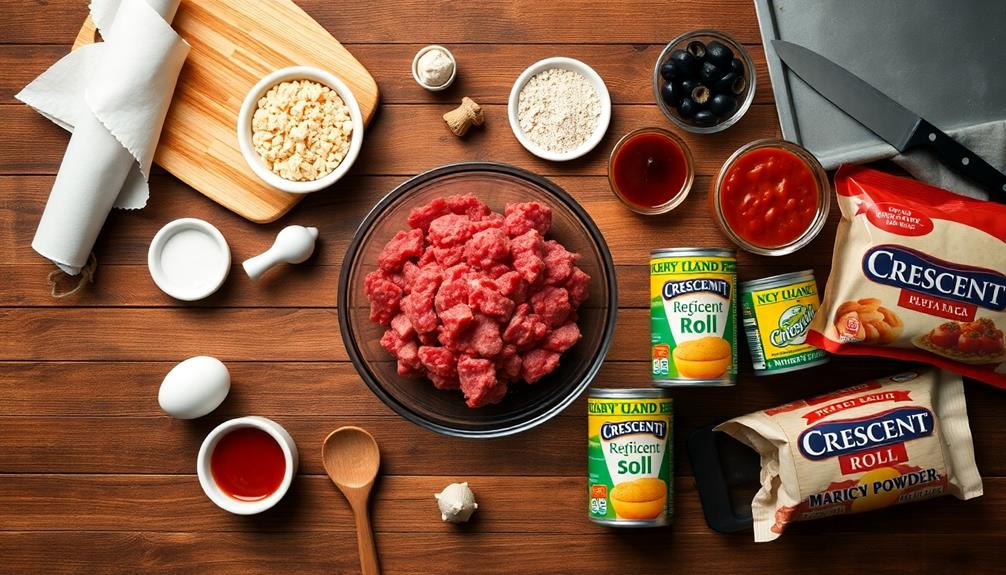
First, add your ground beef to the bowl. It's the star of the show, so make sure you've got enough for your hungry mummy-lovers.
Next, crack an egg into the bowl. This will help bind everything together. Sprinkle in some breadcrumbs, which will give your meatballs a nice texture.
Don't forget to add your favorite spices! Garlic powder, onion powder, and Italian seasoning are great choices. A pinch of salt and pepper will make the flavors pop.
Now, roll up your sleeves and dig in with your hands. Mix everything together until it's well combined. Don't be afraid to get a little messy – that's part of the fun!
Keep mixing until you can't see any more streaks of egg or spices.
Once everything's mixed, it's time to form your meatballs. Scoop out small portions and roll them between your palms. Aim for meatballs that are about the size of a golf ball.
Place them on a plate as you go.
Step 3. Form Meatballs and Wrap
The excitement builds as you prepare to transform your meatballs into spooky mummies. First, grab a handful of the meat mixture and roll it between your palms. Aim for balls about the size of a golf ball – not too big, not too small.
Place each meatball on a baking sheet lined with parchment paper. You'll want to space them out, so they don't stick together.
Now comes the fun part – wrapping your mummies! Take strips of crescent roll dough and start wrapping them around each meatball. Leave a small gap for the eyes; you'll add those later.
Don't worry if it's not perfect – mummies are supposed to look a bit messy! Make sure to tuck the ends of the dough underneath the meatball so it doesn't unravel while cooking.
Once you've wrapped all your meatballs, it's time to bake them. Pop the tray into a preheated oven and let them cook until the dough is golden brown and the meatballs are cooked through.
When they're done, you'll have a tray full of delicious, spooky mummy meatballs ready to serve!
Step 4. Bake for 20 Minutes

Anticipation builds as you slide your tray of wrapped mummy meatballs into the preheated oven. The aroma of seasoned meat and crescent dough begins to fill your kitchen, making your mouth water. Set your timer for 20 minutes and let the magic happen!
While you wait, keep an eye on your meatballs through the oven window. You'll see the crescent dough strips start to puff up and turn a beautiful golden brown. This is how you'll know they're cooking perfectly.
The meatballs inside are getting hot and juicy, soaking up all those delicious flavors you mixed in earlier.
About halfway through the cooking time, you might notice the wonderful smell getting stronger. That's a good sign! It means your mummy meatballs are almost ready.
As the timer counts down the final minutes, get your potholders ready. When the 20 minutes are up, carefully remove the tray from the oven. The meatballs should look crispy and golden on the outside.
Let them cool for a few minutes before serving, and get ready to enjoy your spooky, tasty creation!
Step 5. Brush With Marinara Sauce
While your mummy meatballs cool slightly, it's time to add the finishing touch – a spooky splash of "blood." Grab your favorite marinara sauce and a pastry brush. You're about to transform your tasty meatballs into creepy Halloween treats!
Dip your brush into the marinara sauce and get ready for some fun. Gently paint thin, jagged lines across the mummy wrappings. Don't worry about being too neat – the messier, the scarier! You can add a few drops here and there to look like fresh blood oozing out.
Remember, you're going for a spooky effect, so let your imagination run wild. For an extra creepy touch, pool a little sauce on the plate around each meatball. This will make it look like your mummies are lying in a puddle of blood. Gross, right? But oh so perfect for Halloween!
Once you're done brushing, step back and admire your handiwork. Your mummy meatballs are now ready to give your guests a delicious fright!
Final Thoughts
Mummy Wrapped Meatballs are a delightful addition to any Halloween party or spooky-themed gathering. They're not just tasty, but they're also fun to make and look at. You'll love how these little meatballs wrapped in strips of pastry dough resemble tiny mummies!
When you serve these treats, you're sure to get plenty of "oohs" and "aahs" from your guests. Kids and adults alike will enjoy the playful presentation and the delicious taste. Don't forget to add those cute candy eyes for an extra touch of whimsy!
Remember, you can always customize these meatballs to suit your taste. Try different spices in the meat mixture or experiment with various dipping sauces. The marinara "blood" is classic, but barbecue sauce or a spicy sriracha mayo could be great alternatives. If you’re looking to make a healthier choice, consider using plantbased meat alternatives in place of traditional ground beef or pork. These alternatives can often be flavored and seasoned just like traditional meat, so you can still customize your meatballs to suit your taste. Additionally, there are plenty of vegan dipping sauce options available that can add new and exciting flavors to your dish.
These Mummy Wrapped Meatballs are more than just a Halloween snack. They're a chance to get creative in the kitchen, have fun with your food, and create lasting memories with friends and family.