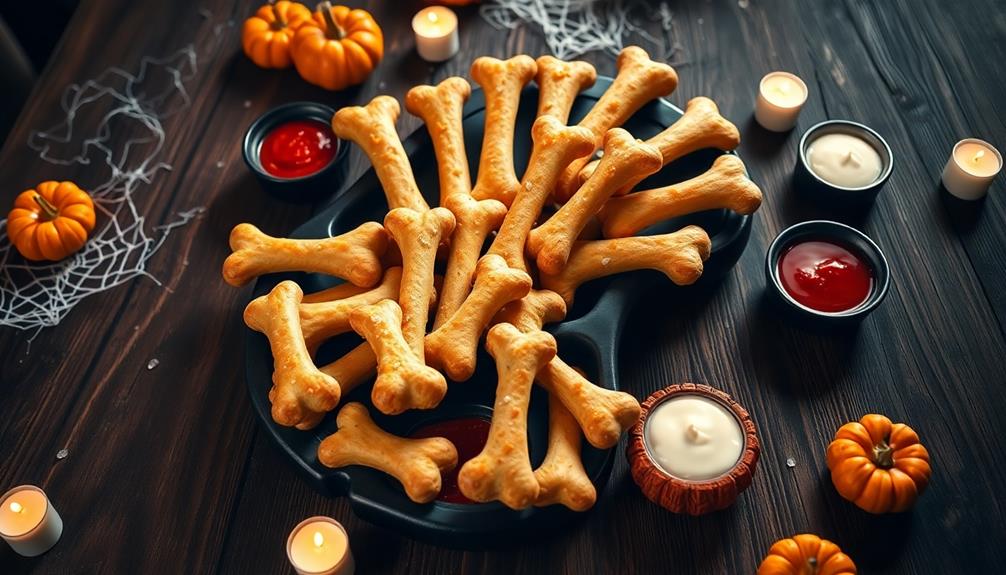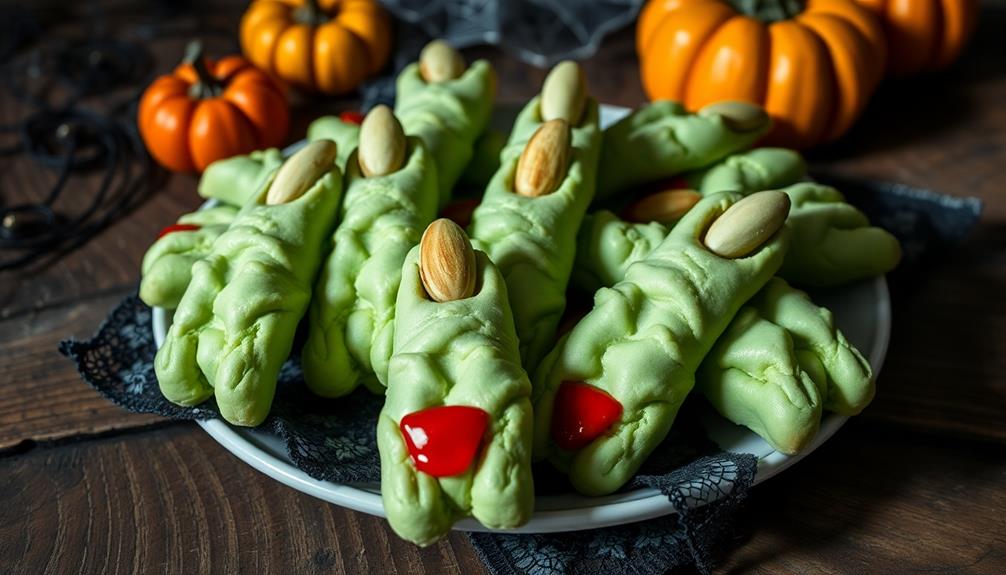

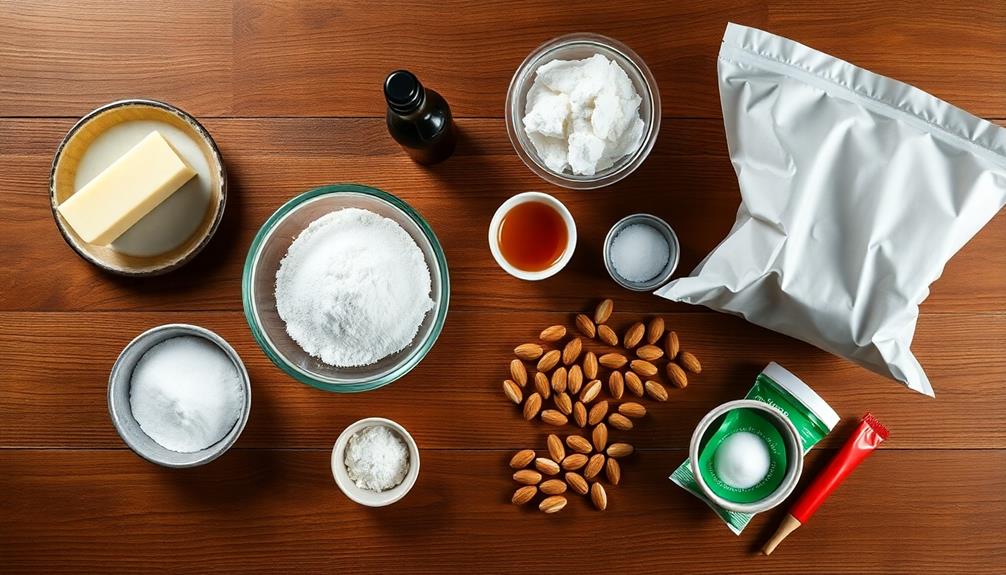
Witch's Finger Cookies are a spooky Halloween treat that'll delight both kids and adults. You'll love making these creepy-looking cookies that originated in the 1990s. They're easy to create using basic cookie dough with a twist. You'll shape the dough into finger-like forms, add almond "nails," and create knuckle wrinkles for a realistic touch. These buttery shortbread cookies are perfect for Halloween parties or trick-or-treat events. You can get creative with food coloring and flavorings to make them uniquely yours. With a few simple steps, you'll have a batch of eerie, tasty cookies that are sure to impress. Let's explore how to make these ghoulish goodies!
Key Takeaways
- Witch's Finger Cookies are spooky Halloween treats shaped like fingers with almond "fingernails."
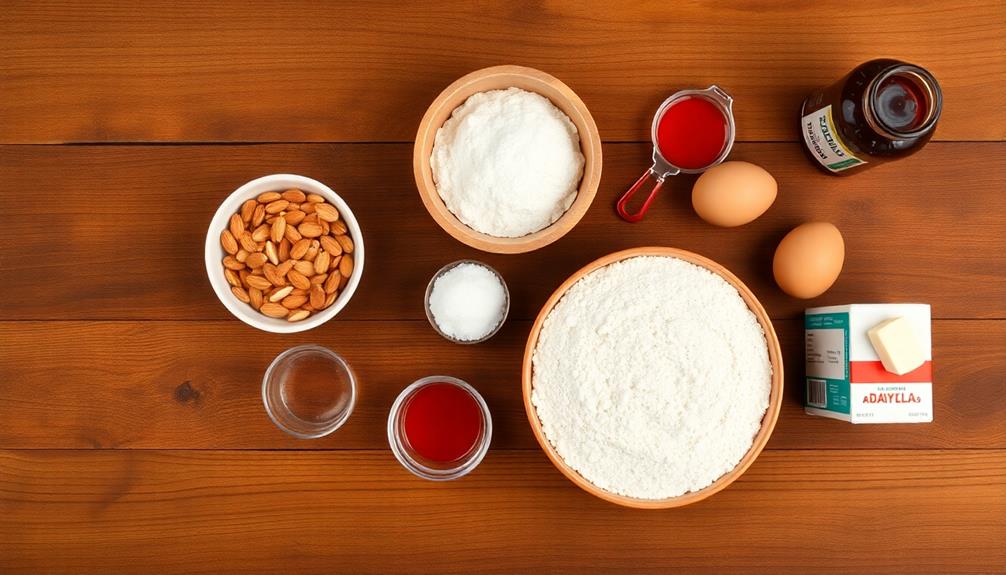
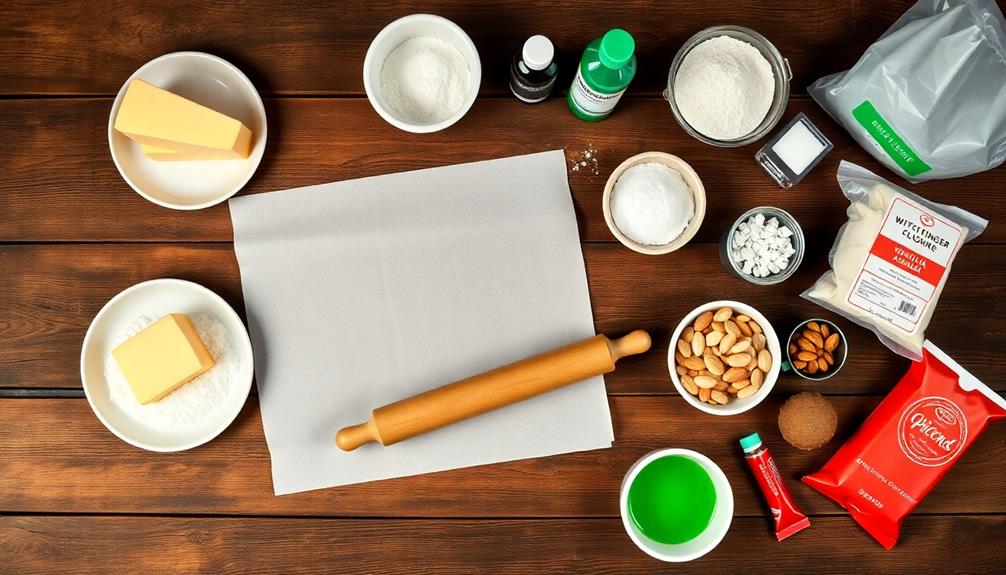
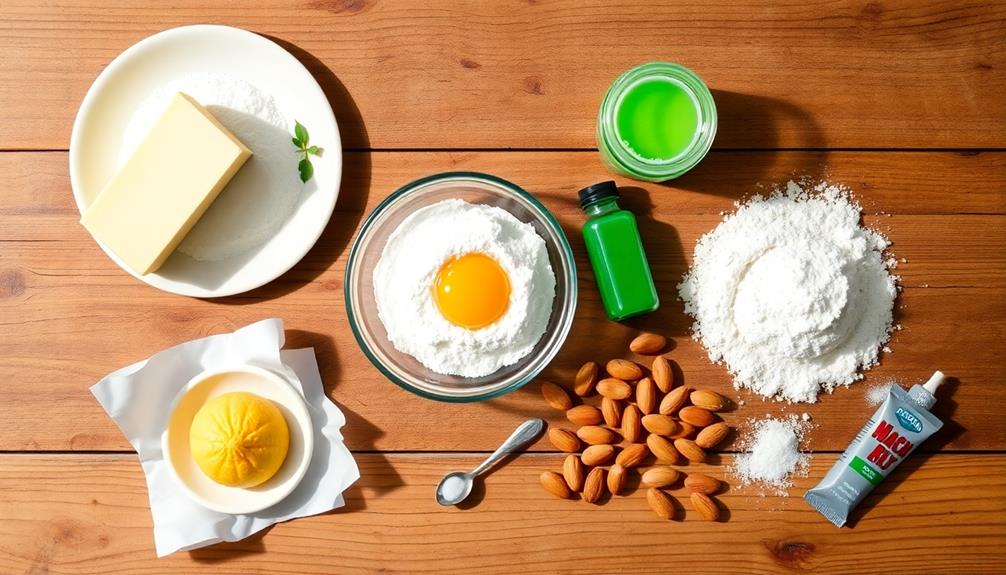
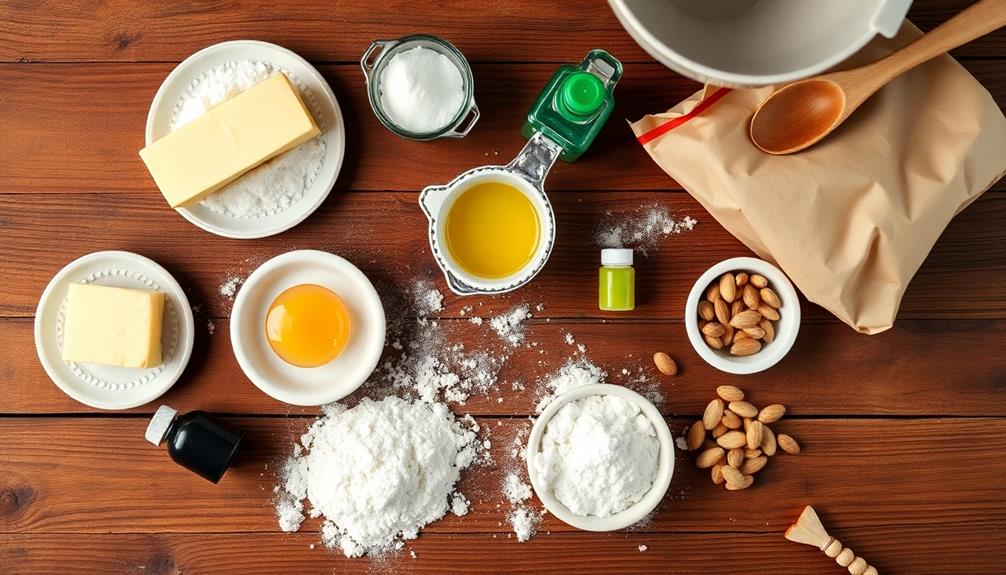
- The recipe typically includes flour, butter, sugar, eggs, and vanilla extract for a shortbread-like base.
- Shaping the dough involves rolling pieces into finger shapes and adding knuckle wrinkles for a realistic appearance.
- These cookies originated in the 1990s and have become a popular Halloween party and bake sale item.
- Baking time is usually 10-12 minutes at 350°F (175°C) until the cookies are lightly golden brown.
Top picks for "witch finger cooky"
As an affiliate, we earn on qualifying purchases.
History
Where did these ghoulish treats originate? You might be surprised to learn that Witch's Finger Cookies aren't as ancient as they seem! These creepy confections first appeared in the late 20th century, around the 1990s. They quickly became a Halloween favorite, delighting kids and adults alike with their spooky appearance.
The idea for these cookies came from creative bakers who wanted to make something extra special for Halloween parties. They took inspiration from classic shortbread recipes and gave them a frightful twist. By shaping the dough into fingers and adding almond "fingernails," they created a treat that was both tasty and terrifying!
As Halloween celebrations grew more popular, so did these eerie cookies. You'll now find them at parties, bake sales, and even in some bakeries during the spooky season.
They've become a beloved tradition for many families, who enjoy making them together as part of their Halloween festivities. Whether you call them Witch's Fingers, Goblin Fingers, or Dead Man's Digits, these cookies have certainly left their mark on Halloween history!
Cooking Steps
The cooking process for Witch's Finger Cookies is straightforward but requires attention to detail.
First, you'll need to preheat your oven to 350°F (175°C). While it's heating up, mix your dough ingredients in a large bowl.
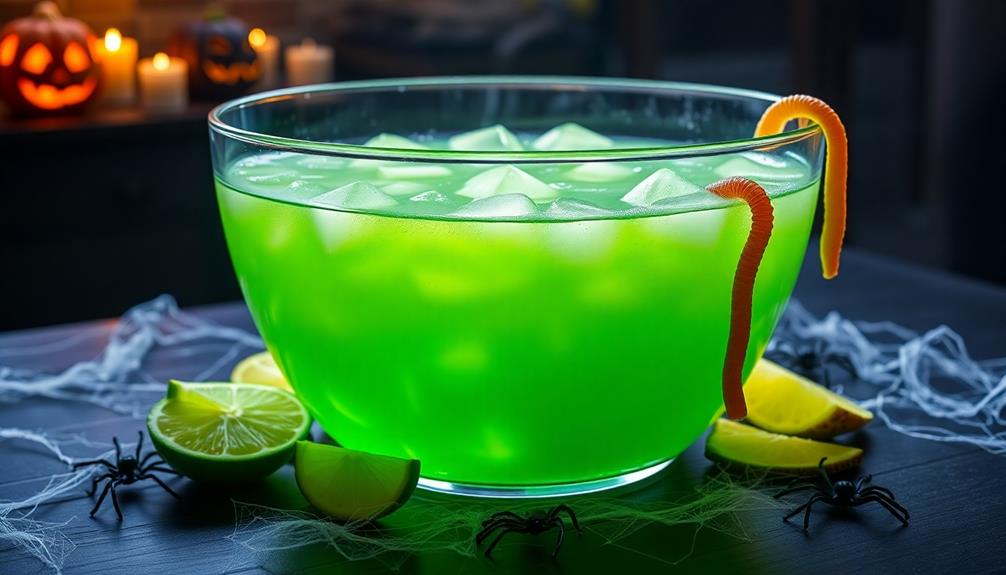
Once the dough is ready, it's time for the fun part! Roll small pieces of dough into finger shapes. Don't worry if they're not perfect – witches' fingers are supposed to look a bit creepy! For an extra spooky touch, use a knife to create knuckle lines in the dough before baking. For an even more frightening treat, pair your witch’s fingers with a witch’s broomstick cheese straws recipe for a wickedly delicious Halloween spread. These eerie snacks are sure to be a hit at any Halloween gathering! To really amp up the spook factor, consider serving the witch’s fingers and witch’s broomstick cheese straws alongside a bubbling cauldron of punch. The combination of savory and sweet treats will tantalize the taste buds of your guests and leave them talking about your memorable Halloween spread for years to come. Get creative with your presentation and have fun with the theme, whether it’s by serving the snacks on a black platter or adding some fake spiderwebs for an extra spooky touch. The possibilities are endless when it comes to creating a hauntingly delightful Halloween party.
Press an almond slice into one end of each "finger" to create a spooky fingernail. For extra detail, you can use a knife to make small lines on the fingers, like wrinkles.
Place your witch fingers on a baking sheet lined with parchment paper. Make sure to leave some space between them.
Pop them in the oven for about 10-12 minutes, or until they're lightly golden. Once they're done, let them cool on the baking sheet for a few minutes before moving them to a wire rack.
Step 1. Combine Dry Ingredients
To kick off the cookie-making process, you'll need to combine the dry ingredients. Grab a large mixing bowl and get ready for some fun!
First, measure out 2 1/4 cups of all-purpose flour. It's important to be accurate, so use a measuring cup and level it off with a knife. Next, add 1/2 teaspoon of baking powder and 1/4 teaspoon of salt to the flour.
Now, it's time to mix these ingredients together. You can use a whisk or a fork to blend them well. Make sure you're stirring thoroughly, getting into all the corners of the bowl. You want the baking powder and salt to be evenly distributed throughout the flour.
This step is crucial because it ensures your cookies will have the right texture and rise properly when baked.
Once you've mixed the dry ingredients, set the bowl aside. You'll need it later when you're ready to combine everything with the wet ingredients.
Step 2. Cream Butter and Sugar

Now that your dry ingredients are ready, it's time to focus on the sweet part of your Witch's Finger Cookies. Grab your electric mixer and a large bowl, because we're about to make some magic happen!
First, take your softened butter and add it to the bowl. Make sure it's at room temperature, so it's easy to work with. Next, measure out your sugar and pour it in with the butter. It's time to cream these two ingredients together!
Turn on your mixer to medium speed and watch as the butter and sugar dance together. You'll see the mixture become light and fluffy, almost like a cloud. This process usually takes about 3-5 minutes.
Don't rush it – this step is crucial for creating that perfect cookie texture. As you're creaming, stop the mixer occasionally to scrape down the sides of the bowl with a spatula. This ensures all the butter and sugar get mixed evenly.
When you're done, the mixture should be pale yellow and super creamy. Now you're ready for the next exciting step in your spooky cookie adventure!
Step 3. Add Eggs and Vanilla
With your butter and sugar perfectly creamed, it's time to add some more flavor to your Witch's Finger Cookies.
Grab two large eggs and your vanilla extract. You'll want to crack the eggs one at a time into a small bowl. This way, you can easily fish out any stray shells before they end up in your dough.
Now, add the first egg to your creamed butter and sugar mixture. Mix it in well until it's fully incorporated.
Then, add the second egg and mix again. You'll notice the dough getting smoother and more liquid-like. That's exactly what you want!
Next, it's time for the vanilla extract. Measure out one teaspoon and pour it into the bowl. The lovely aroma will fill your kitchen as you mix it in.
Vanilla adds a warm, sweet flavor that'll make your cookies irresistible.
Once everything's mixed together, your dough should look pale yellow and smell amazing.
You're now ready to move on to the next step in creating your spooky Witch's Finger Cookies!
Step 4. Shape Dough Into Fingers
After chilling the dough for about 30 minutes, you're ready to shape your witch's fingers.
Take the dough out of the fridge and let it sit for a few minutes to soften slightly. This will make it easier to work with.
Now, grab small pieces of dough and roll them into finger-shaped logs, about 3 to 4 inches long. Don't worry if they're not perfect – witches' fingers are meant to look a bit creepy! Use your own finger as a guide for size and shape.
Once you've formed the basic shape, gently press one end to create a slightly tapered fingertip.
For extra spooky detail, use a knife to make small horizontal cuts along the length of each finger. These will look like knuckle wrinkles when baked.
At the tip of each finger, press an almond slice to create a fingernail. If you don't have almonds, you can use pumpkin seeds or leave them plain.
Place your shaped witch fingers on a baking sheet lined with parchment paper, leaving some space between each cookie. They're now ready for the next step!
Step 5. Bake Until Golden Brown

Preheating your oven is the first step in baking these spooky witch's finger cookies. Set it to 350°F (175°C) and let it warm up while you prepare your baking sheets. Line them with parchment paper to prevent sticking and make cleanup easier.
Once your oven's ready, it's time to bake! Carefully place the shaped finger cookies on the prepared sheets, leaving about an inch of space between each one. They'll spread a bit as they bake, so don't crowd them.
Slide the baking sheets into the preheated oven and set your timer for 10 minutes. Keep an eye on them, though! You're looking for a light golden-brown color around the edges. If they're not quite there after 10 minutes, give them another 2-3 minutes, but watch closely to avoid burning.
When they're done, take them out and let them cool on the baking sheets for a few minutes. They'll be soft at first but will firm up as they cool.
Once they're set, transfer them to a wire rack to cool completely. Now you've got perfectly baked witch's finger cookies ready for decorating!
Final Thoughts

Creativity shines through in these eerie Witch's Finger Cookies. You've crafted a delightfully spooky treat that's sure to be a hit at any Halloween party or autumn gathering.
As you admire your finished cookies, you'll see how the almond nails and knuckle wrinkles add a realistic touch that's both creepy and fun.
These cookies aren't just about looks; they're tasty too! The buttery shortbread base pairs perfectly with the almond flavor, creating a treat that's as delicious as it's eye-catching.
You can get creative with variations, like adding food coloring to the dough for green witch fingers or using different nuts for the nails.