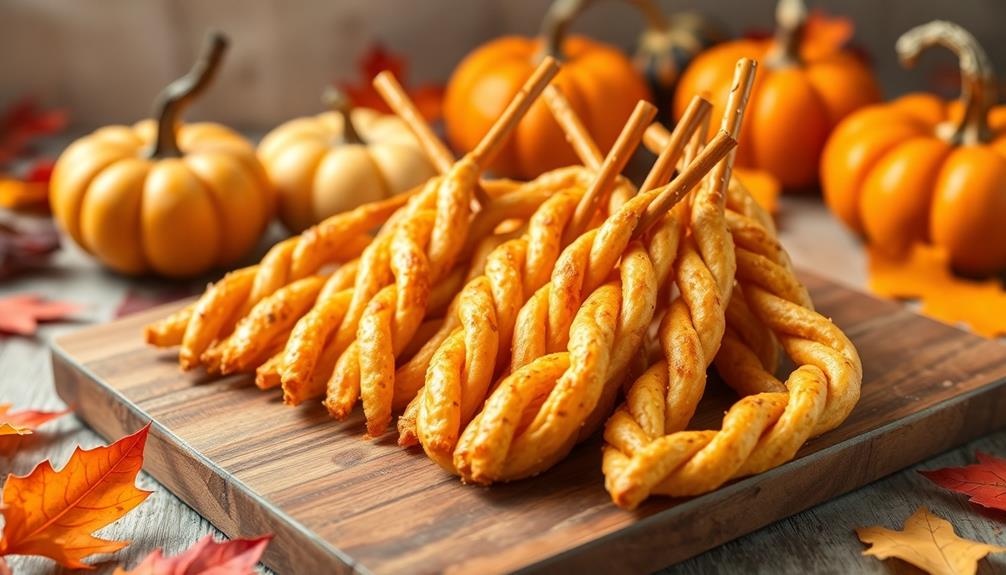
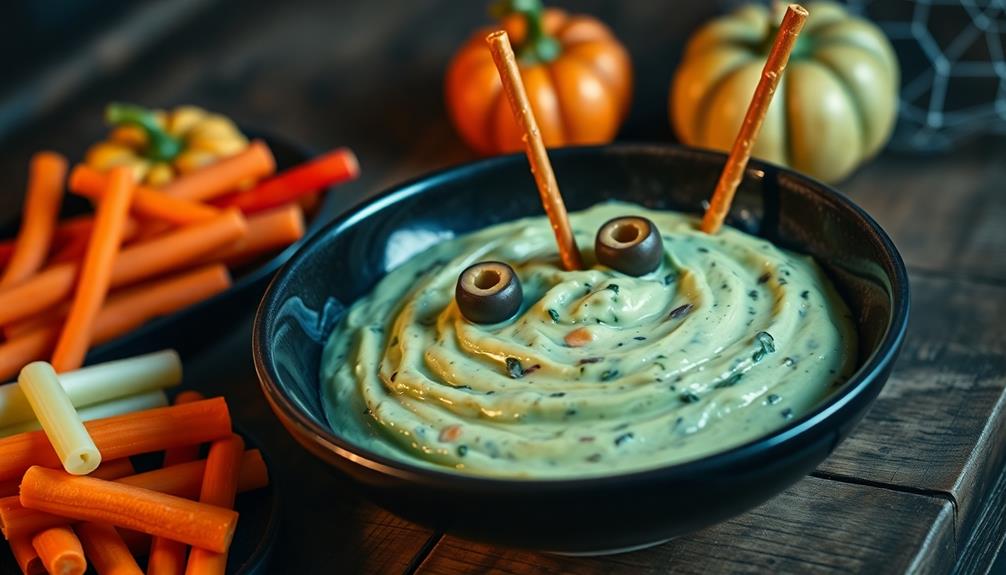
You'll love making Witch's Broomstick Cheese Straws for your next Halloween party! These spooky snacks are a fun twist on classic cheese straws. To create them, you'll mix cheese, flour, butter, and spices into a dough. Then, you'll roll the dough into ropes and shape them like broomsticks. Bake them until they're golden brown and crispy. The result is a tasty, savory treat that looks like miniature witch's broomsticks. They're perfect for serving at Halloween gatherings and will surely impress your guests. With their unique appearance and delicious flavor, these cheese straws are sure to cast a spell on everyone who tries them. Let's explore how to conjure up these magical munchies!
Key Takeaways
- Witch's Broomstick Cheese Straws are Halloween-themed snacks invented in the 1990s for festive parties.
- These cheese straws are made by twisting dough strips and cutting one end to resemble broomsticks.
- The recipe combines flour, cheese, butter, and spices, baked until golden brown and crispy.
- They serve as both a tasty appetizer and a decorative element for Halloween gatherings.
- Customizable with various cheeses and spices, they can be prepared in advance for convenient party planning.

2Pcs 3D Cheese Silicone Molds Cheese Shaped Mold for Baking Dessert Mousse Cake Pan Pastry Tools DIY Baking Tools French Dessert Mousse Molds
Made by food grade silicone, flexible and non-stick, smooth and soft, easy to be molded, durable and reusable,…
As an affiliate, we earn on qualifying purchases.
As an affiliate, we earn on qualifying purchases.
History
Cheese straws, the savory predecessors of Witch's Broomstick Cheese Straws, have a long and tangled history. You might be surprised to learn that these tasty treats have been around for centuries! They first appeared in the southern United States during the 19th century, when cooks started experimenting with leftover pie dough and cheese.
As you can imagine, these early cheese straws were an instant hit. People loved their crispy texture and rich, cheesy flavor. Soon, they became a staple at parties and gatherings across the South. Over time, creative bakers started adding different spices and herbs to give their cheese straws unique flavors.
The transformation into Witch's Broomstick Cheese Straws happened much more recently. In the 1990s, Halloween-themed parties became increasingly popular, and people were looking for fun, spooky snacks.
That's when someone had the brilliant idea to shape cheese straws like witch's broomsticks! This clever twist on a classic treat quickly caught on, and now you'll find these whimsical snacks at Halloween celebrations everywhere.

Reynolds Kitchens Cookie Baking Sheets, Pre-Cut Baking Parchment Paper Sheets for Cookies, Oven-Safe up to 425 Degrees, Reusable Up to 3X, No-Mess Cleanup, 12 in x 16 in, 22 Count
Package Includes: Twenty two (22) Reynolds Kitchens Cookie Baking Sheets measuring 12 inches long by 16 inches wide
As an affiliate, we earn on qualifying purchases.
As an affiliate, we earn on qualifying purchases.
Cooking Steps
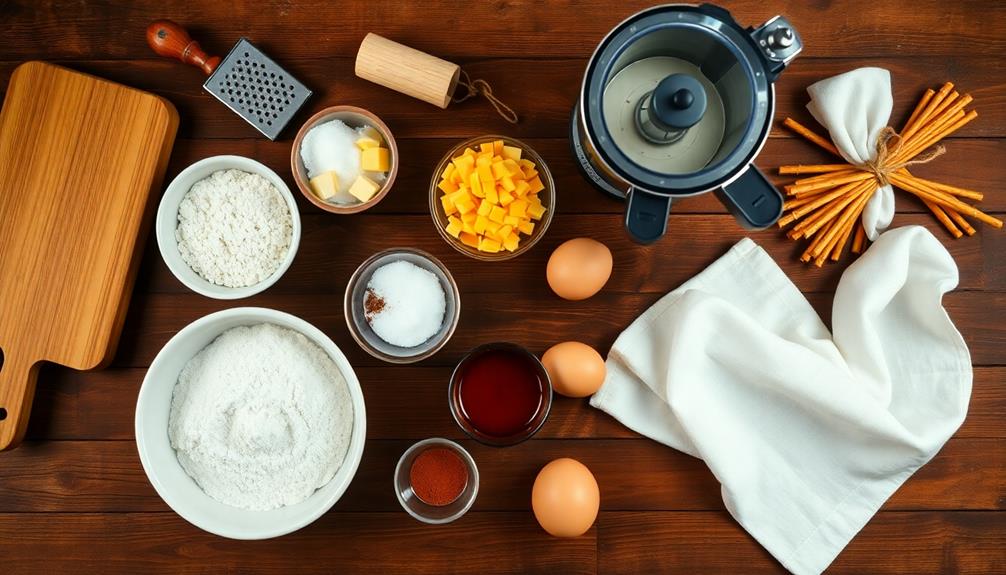
To kick off the cooking process, preheat your oven to 375°F (190°C). Line two baking sheets with parchment paper and set them aside.
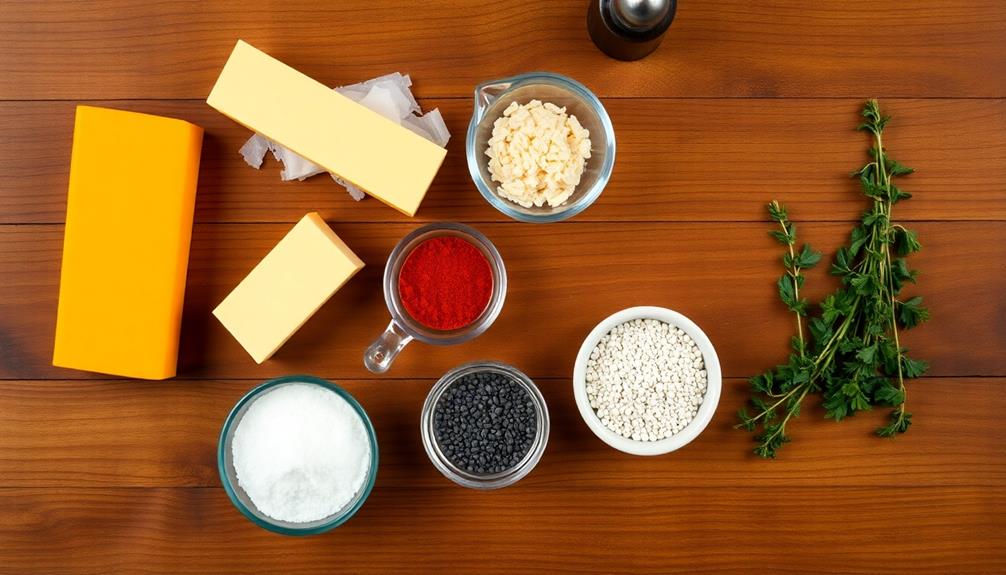
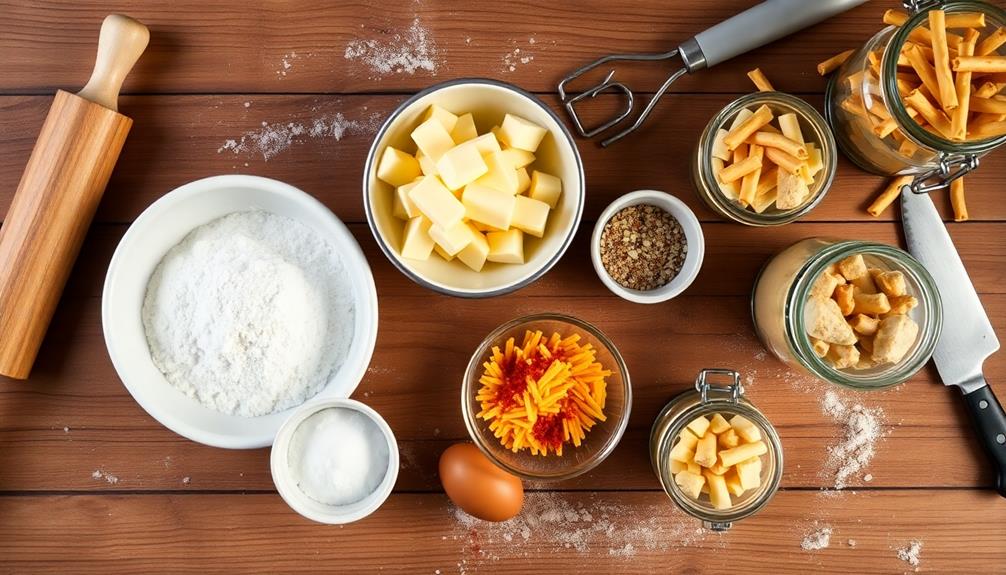
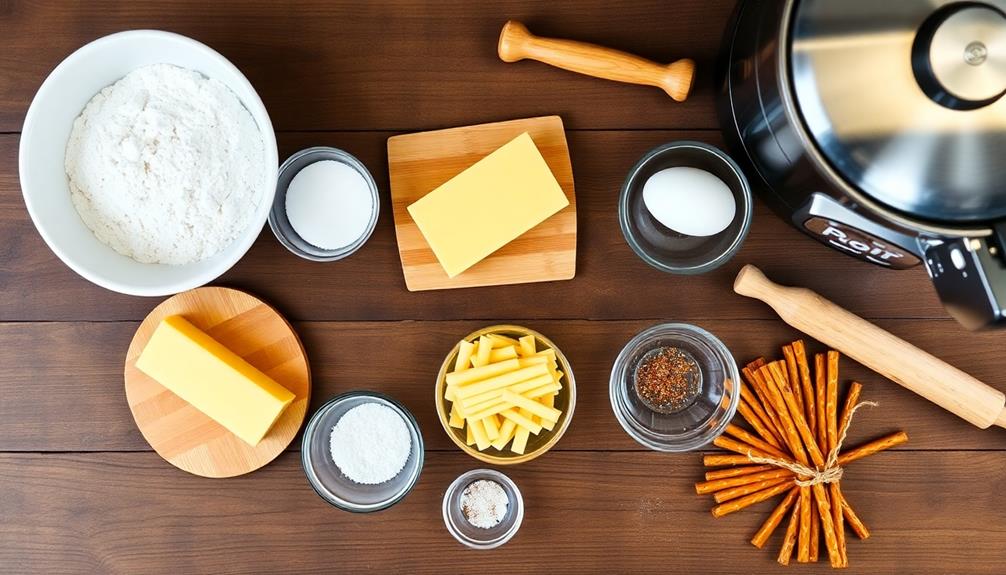
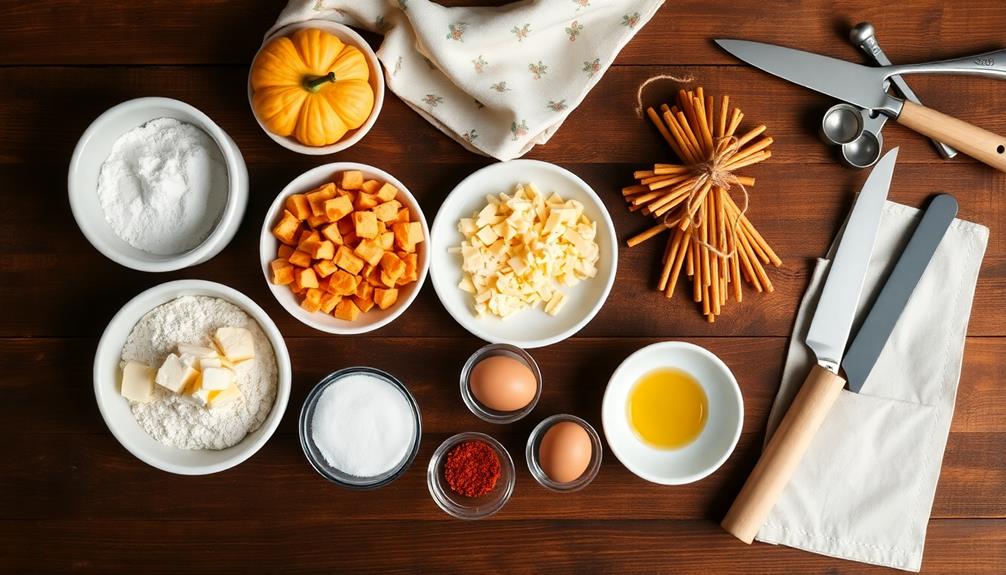
In a large bowl, mix together the flour, grated cheese, salt, and paprika. Add the cold butter cubes and use your fingertips to rub them into the flour mixture until it resembles coarse breadcrumbs.
Slowly pour in the cold water, stirring with a fork until the dough comes together.
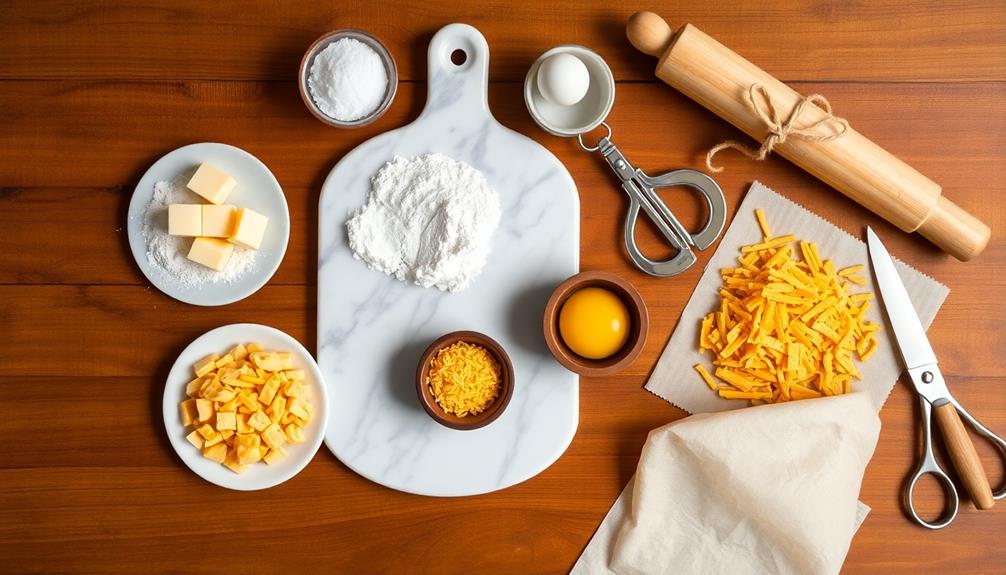
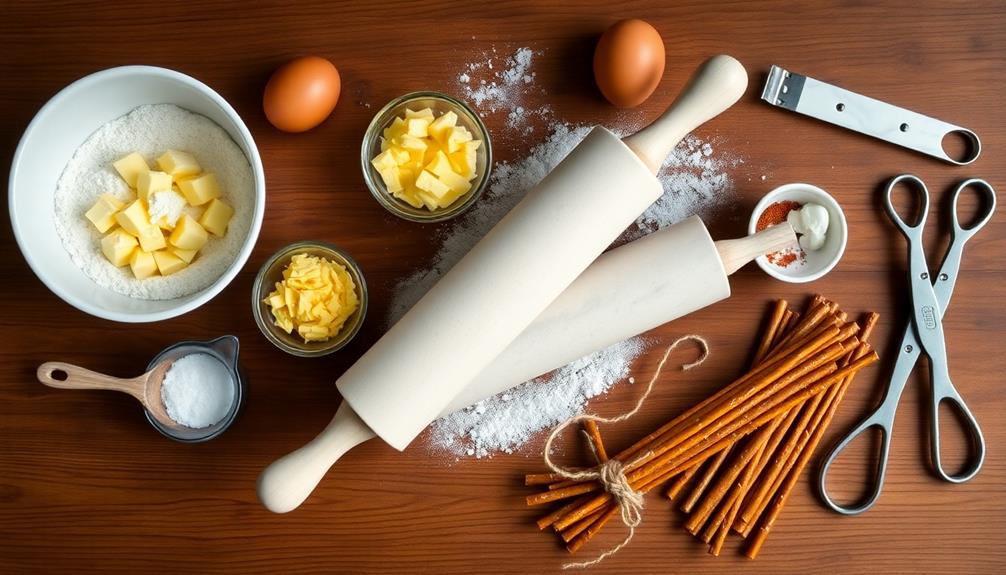
On a lightly floured surface, roll out the dough to about 1/4 inch thickness. Cut the dough into thin strips, about 1/2 inch wide and 8 inches long. Carefully twist each strip to create a spiral shape, then place them on the prepared baking sheets.
For the broomstick effect, use kitchen scissors to make small cuts along one end of each cheese straw. Brush the straws with beaten egg and sprinkle with extra cheese if desired.
Bake for 12-15 minutes, until golden brown and crispy. Let them cool on the baking sheets for a few minutes before serving. Enjoy your witchy treats!
Step 1. Preheat Oven to 400°F
Before diving into the cheese straw preparation, preheat your oven to 400°F (200°C). This step is crucial for ensuring your witch's broomstick cheese straws come out perfectly crispy and golden.
While your oven is heating up, you'll have time to gather all your ingredients and tools. Make sure your oven rack is in the middle position. This placement allows for even heat distribution, giving your cheese straws that magical, uniform bake.
If you're using a convection oven, you might want to lower the temperature to 375°F (190°C) to prevent over-browning. As you wait for the oven to reach the right temperature, it's a great time to line your baking sheets with parchment paper.
This will make cleanup easier and prevent your cheese straws from sticking. Remember, a properly preheated oven is key to achieving that perfect texture – crispy on the outside and slightly chewy on the inside. So, don't rush this step! Your patience will be rewarded with deliciously spellbinding witch's broomstick cheese straws.
Step 2. Mix Cheese and Flour
The next crucial step in creating your witch's broomstick cheese straws is mixing the cheese and flour. You'll need a large mixing bowl to combine these key ingredients.
Start by grating your favorite sharp cheddar cheese if you haven't already. You'll want about 2 cups of finely grated cheese for the best results.
Now, pour the grated cheese into the bowl and add 1 cup of all-purpose flour. It's important to use all-purpose flour because it'll give your cheese straws the perfect texture.
Don't forget to add a pinch of salt and a dash of cayenne pepper for extra flavor! Using your hands or a wooden spoon, mix the cheese and flour together until they're well combined.
As you're mixing, you'll notice the mixture starting to look crumbly. That's exactly what you want! Keep mixing until all the flour is incorporated into the cheese.
This step is super important because it'll help your cheese straws hold their shape when baking. Once everything's mixed well, you're ready to move on to the next exciting step in creating your spooky and delicious witch's broomstick cheese straws!
Step 3. Add Butter and Spices
Now that you've got your cheese and flour mixture ready, it's time to add some richness and flavor. Grab your cold butter and cut it into small cubes. You'll want to add these cubes to your cheese and flour mix.
Using your fingertips, gently work the butter into the mixture, similar to the way you'd prepare compound butter recipes. It's like you're giving it a little massage! Keep going until it looks like coarse breadcrumbs.
Next, it's time for the exciting part – adding spices! Sprinkle in some paprika for a touch of warmth and color. Don't forget a pinch of cayenne pepper if you want a bit of kick. You can also add some dried herbs like thyme or rosemary for an extra flavor boost. Once you’ve added all your spices, give the mixture a good stir and let it simmer. The aromas of the paprika and herbs will fill your kitchen, creating a mouthwatering anticipation for the finished dish. Before you know it, your witch’s brew chili will be ready to serve and enjoy!
Mix everything together well.
Now, slowly pour in some cold water. You'll only need a little bit – just enough to bring the dough together. Mix it gently with a fork until it forms a soft, pliable dough.
Be careful not to overwork it, or your cheese straws might turn out tough. Your witch's broomstick dough is almost ready for shaping!
Step 4. Roll Dough Into Ropes

Ready to shape your witch's broomstick cheese straws? It's time to roll out your dough and create those magical wands of cheesy goodness!
First, dust your work surface with a little flour to prevent sticking. Then, take a small portion of the dough and roll it between your palms to form a long, thin rope. Aim for a thickness of about 1/4 inch – that's just right for crispy straws.
As you roll, keep the pressure even to maintain a consistent thickness. If the dough feels too sticky, dust your hands with a bit more flour. You'll want to make each rope about 8 to 10 inches long, perfect for those witchy broomsticks!
If the dough starts to warm up and become too soft, pop it back in the fridge for a few minutes to firm up.
Once you've rolled out all your ropes, line them up on your prepared baking sheet. Make sure to leave a little space between each straw so they can bake evenly.
Now you're ready for the next enchanting step in creating your spellbinding cheese straws!
Step 5. Bake Until Golden Brown
Ovens, preheated to 375°F (190°C), await your witch's broomstick cheese straws. It's time to transform your cheesy dough ropes into crispy, golden treats!
For an even better baking experience, consider using a best vacuum for dust removal to keep your kitchen clean from any flour or cheese residue that may scatter during preparation.
Place the ropes on a baking sheet lined with parchment paper, making sure they're spaced about an inch apart. This gives them room to puff up without sticking together.
Slide the baking sheet into the oven and set your timer for 12 minutes. While they bake, you'll start to smell the delicious aroma of cheese and herbs filling your kitchen.
Keep an eye on your straws through the oven door. They'll slowly change from pale to a light golden color.
After 12 minutes, check if they're done. They should be crisp and golden brown on the edges. If they need more time, give them another 2-3 minutes.
Once they're perfectly baked, carefully remove the sheet from the oven using oven mitts. Let the cheese straws cool on the baking sheet for about 5 minutes. They'll continue to crisp up as they cool.
Now you've got magical witch's broomstick cheese straws ready to serve!

KitchenAid All Purpose Kitchen Shears with Protective Sheath Durable Stainless Steel Scissors, Dishwasher Safe, Soft Grip Comfort Handle, 8.72 Inch, Black
PREMIUM STAINLESS STEEL BLADES: Built to resist rust and maintain sharpness, these stainless steel blades easily cut through…
As an affiliate, we earn on qualifying purchases.
As an affiliate, we earn on qualifying purchases.
Final Thoughts
With these Witch's Broomstick Cheese Straws up your sleeve, you'll be the hit of any Halloween party. They're not just delicious, but they look spooky and fun too! Your guests will love munching on these crispy, cheesy treats that look just like a witch's broomstick. Looking for more spooky-themed treats to impress your Halloween party guests? Pair these Witch’s Broomstick Cheese Straws with our witch’s hat quesadillas recipe for a delicious and festive spread. Your guests will love the creative and thematic touch to your Halloween party snacks. And with these recipes, you’ll be sure to cast a spell on all your party-goers!
Remember, you can get creative with the flavors. Try adding different types of cheese or spices to make them your own. You can even make them ahead of time and store them in an airtight container. They'll stay fresh for a few days, which is perfect if you're planning a big Halloween bash.
Don't forget to have fun with the presentation. You can stand them up in a tall glass or jar to make them look like they're ready for takeoff. Or, lay them out on a dark plate for a creepy effect.
No matter how you serve them, these Witch's Broomstick Cheese Straws are sure to cast a spell on everyone who tries them. So go ahead, whip up a batch and watch the magic happen at your next Halloween gathering!

Rotary Cheese Grater with Handle Kitchen Shredder Slicer Grater Slicer Ice Shaver Cheese Vegetable Nuts Potato Zucchini Chocolate 3 Interchangeable Blades (GreyBlue
【Sturdy & Secure Construction】Crafted from robust 420 stainless steel and BPA-free ABS plastic, this Ziweaye rotary cheese grater…
As an affiliate, we earn on qualifying purchases.
As an affiliate, we earn on qualifying purchases.