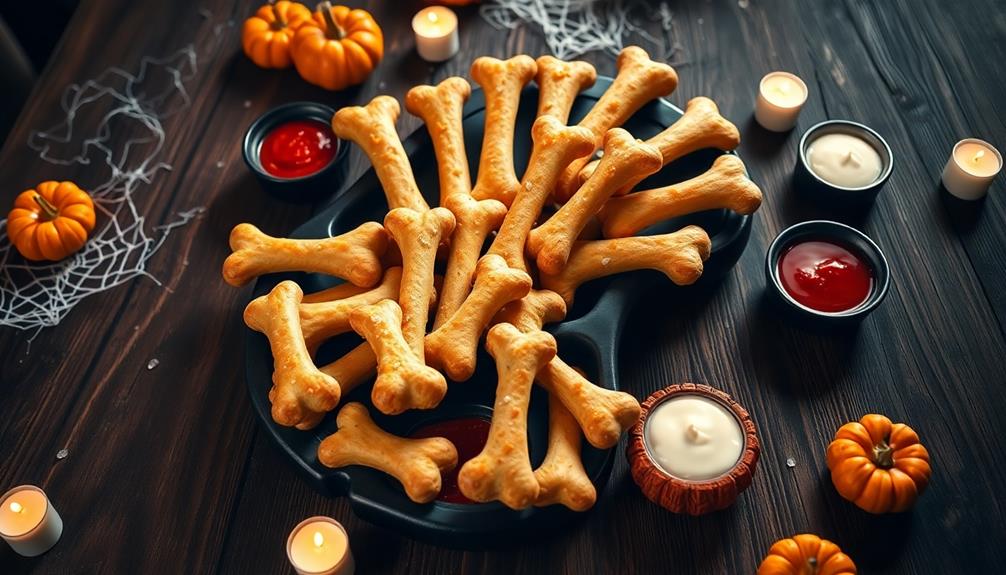
Skeleton bone breadsticks are a fun and tasty Halloween treat that you'll love making! They combine the best of Italian baking with spooky holiday themes. You'll start by mixing up a simple dough, then shape it into bone-like forms. After baking for about 15 minutes, you'll have crispy, golden breadsticks that look just like skeleton bones. Brush them with garlic butter for extra flavor, and you're all set! These breadsticks are perfect for Halloween parties, movie nights, or as a creepy addition to your dinner table. They're easy to make, delicious to eat, and sure to impress your guests. There's so much more to discover about these eerie treats!
Key Takeaways
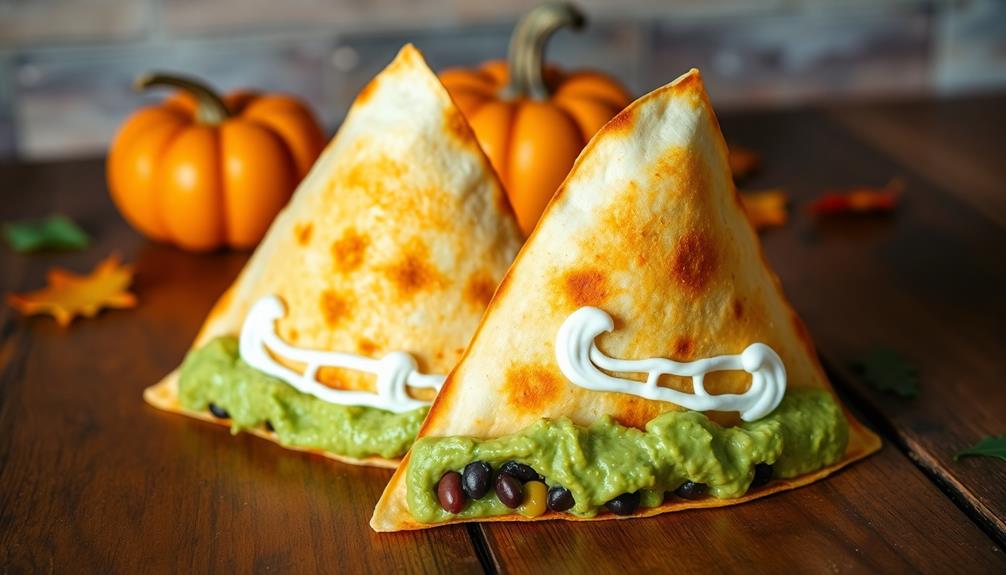
- Skeleton Bone Breadsticks combine Halloween themes with Italian breadstick traditions for a spooky, tasty treat.
- These breadsticks are shaped to resemble bones and baked until golden and crispy.
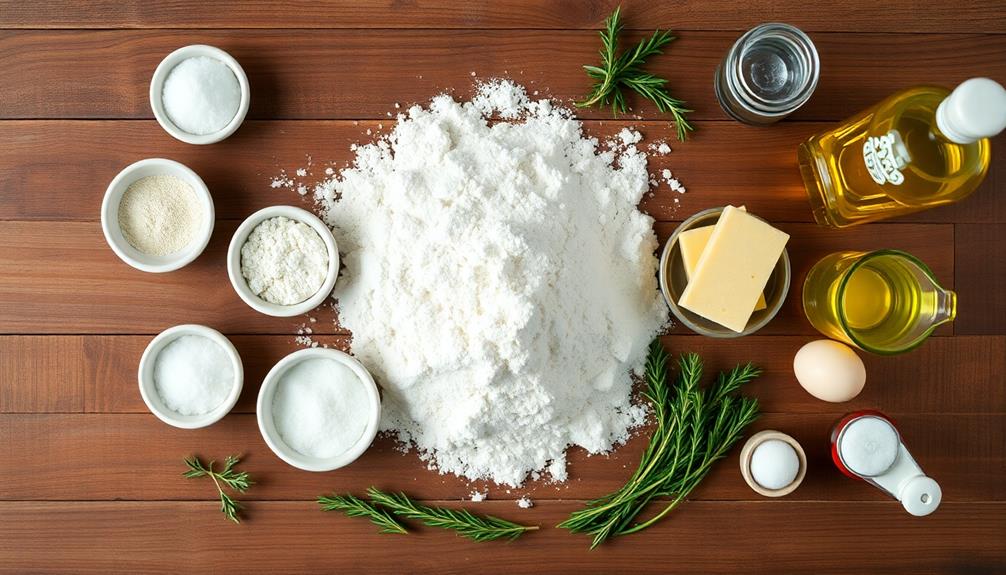
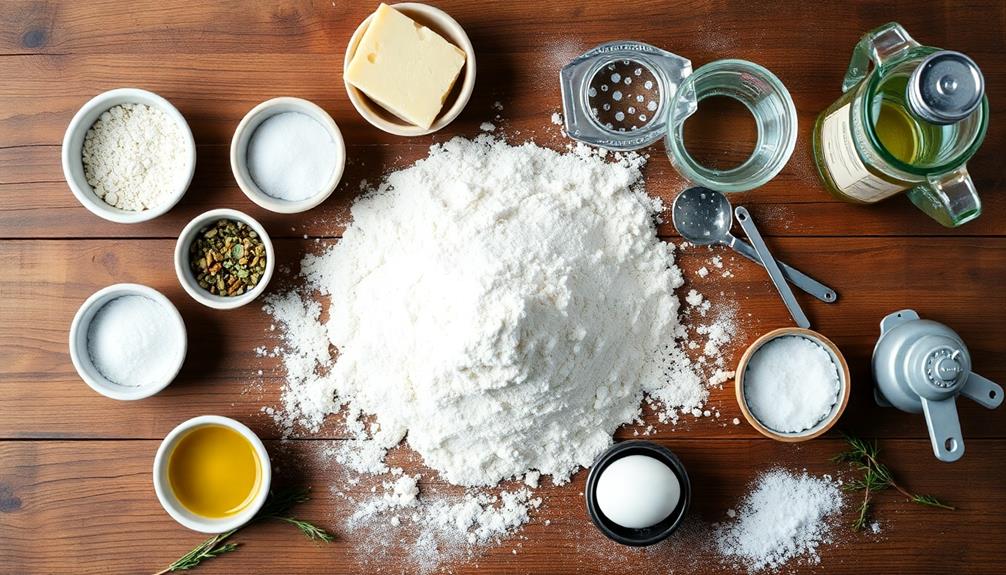
- The recipe typically includes flour, yeast, water, sugar, salt, and olive oil, with optional garlic butter topping.
- They're easy to prepare, making them ideal for Halloween parties, movie nights, or themed buffets.
- Skeleton Bone Breadsticks can be customized with seasonings, toppings, or food coloring for added visual appeal.
Top picks for "skeleton bone breadstick"
Open Amazon search results for this keyword.
As an affiliate, we earn on qualifying purchases.
History
Two distinct culinary traditions converged to create skeleton bone breadsticks. You might be surprised to learn that these spooky snacks have roots in both Halloween customs and Italian baking!
In ancient times, people would leave food offerings for spirits during harvest festivals. This practice eventually evolved into trick-or-treating. As Halloween became more popular in the 20th century, creative bakers started making themed treats. They wanted to capture the holiday's eerie spirit in tasty ways. One popular treat that emerged from this trend is the ghostly meringue cookies recipe. These light and crispy cookies are shaped like little ghosts, perfect for adding a spooky touch to any Halloween party. The recipe has become a favorite for bakers looking to incorporate the fun and fright of Halloween into their culinary creations.
Meanwhile, in Italy, grissini (thin, crispy breadsticks) had been a favorite for centuries. Bakers there perfected the art of making long, slender bread shapes. When Italian immigrants brought their recipes to America, they met with the growing Halloween craze.
Someone had the brilliant idea to combine these traditions. They shaped breadsticks to look like bones and added seasonings for extra flavor. The result? Skeleton bone breadsticks!
You'll now find them at Halloween parties and in bakeries during the spooky season. They're a fun, crunchy way to celebrate both Italian baking skills and Halloween's ghostly charm. If you’re feeling inspired to create your own spooky treats at home, why not try your hand at the recipe for black cat cupcakes? These adorable, and slightly eerie, treats are the perfect way to showcase your baking talents and embrace the Halloween spirit. With their dark chocolate base and playful cat decorations, they’re sure to be a hit at any Halloween gathering. So grab your apron and get ready to bring a little magic to your kitchen with these delicious and delightful black cat cupcakes.
Cooking Steps
Once you've prepared your dough, it's time to shape and bake your skeleton bone breadsticks. First, preheat your oven to 375°F (190°C).
While it's heating up, roll out your dough on a lightly floured surface. Cut the dough into long strips, about 1/2 inch wide and 8 inches long.
Now comes the fun part! Twist each strip gently to create a bone-like shape. At each end, pinch the dough to form little knobs that look like joints.
Place your bone-shaped breadsticks on a baking sheet lined with parchment paper.
Before popping them in the oven, brush each breadstick with a beaten egg. This will give them a nice golden color. If you want, sprinkle some coarse salt or sesame seeds on top for extra flavor and texture.
Bake your skeleton bones for 12-15 minutes, or until they're golden brown and crispy. Keep an eye on them to make sure they don't burn.
Once they're done, let them cool for a few minutes. Your spooky, delicious skeleton bone breadsticks are now ready to serve!
Step 1. Preheat Oven to 400°F
Before diving into the bone-shaping fun, you'll need to preheat your oven to 400°F (200°C). This step is crucial for ensuring your skeleton bone breadsticks turn out just right.
While your oven's warming up, you'll have time to gather all your ingredients and tools.
Make sure your oven rack is in the middle position. This helps your breadsticks bake evenly, giving them that perfect golden-brown color.
If you're using a baking stone, pop it in the oven now so it heats up too. It'll give your breadsticks a crispy bottom.
Don't forget to set a timer for about 15 minutes. That's usually how long it takes for most ovens to reach the right temperature.
While you're waiting, you can start preparing your dough or lining your baking sheets with parchment paper.
Step 2. Mix Dough Ingredients Together
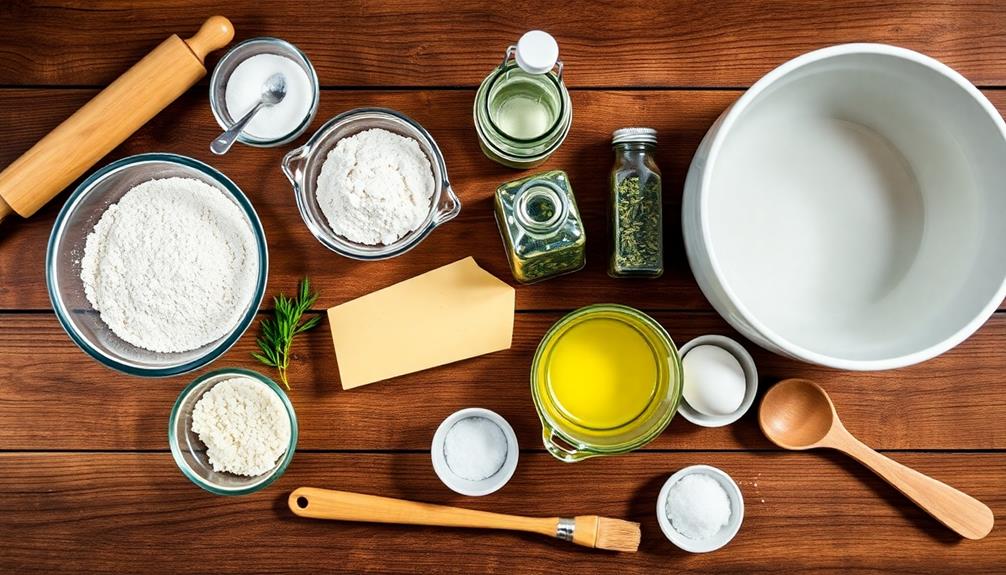
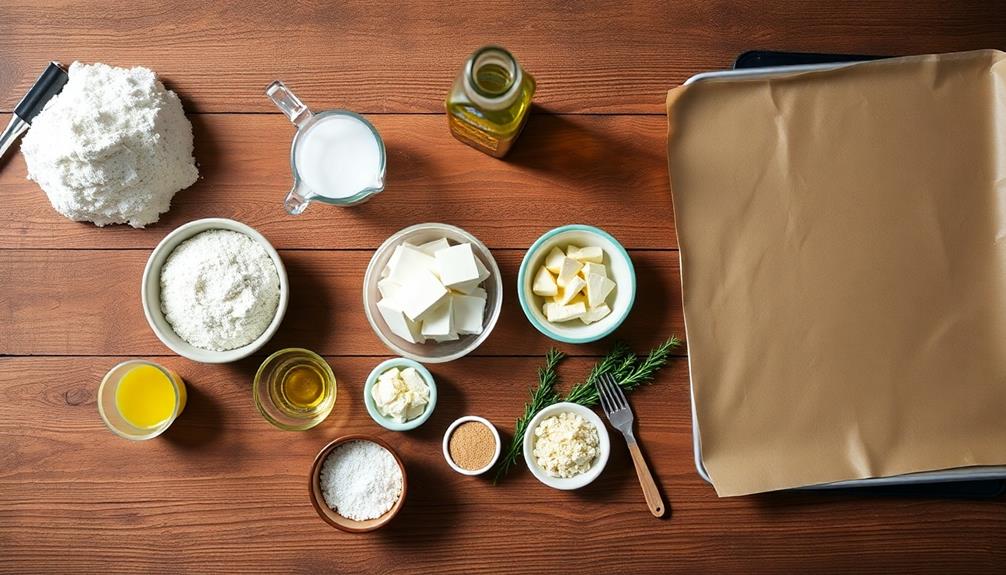
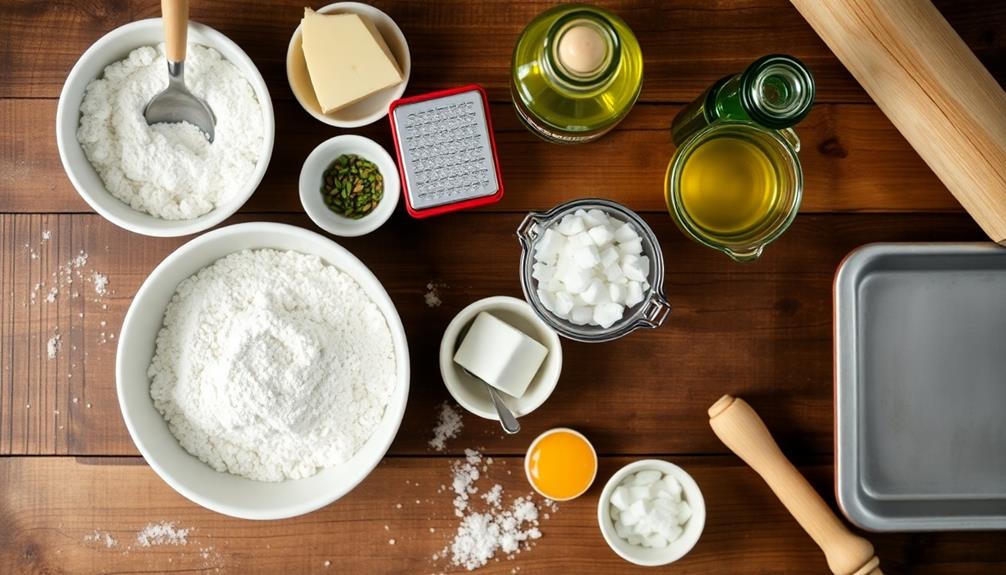
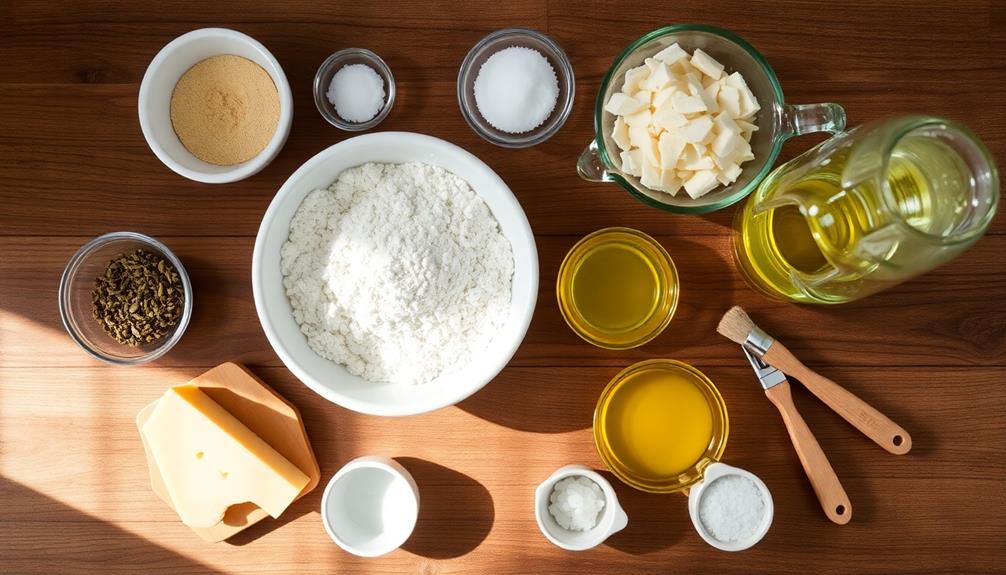
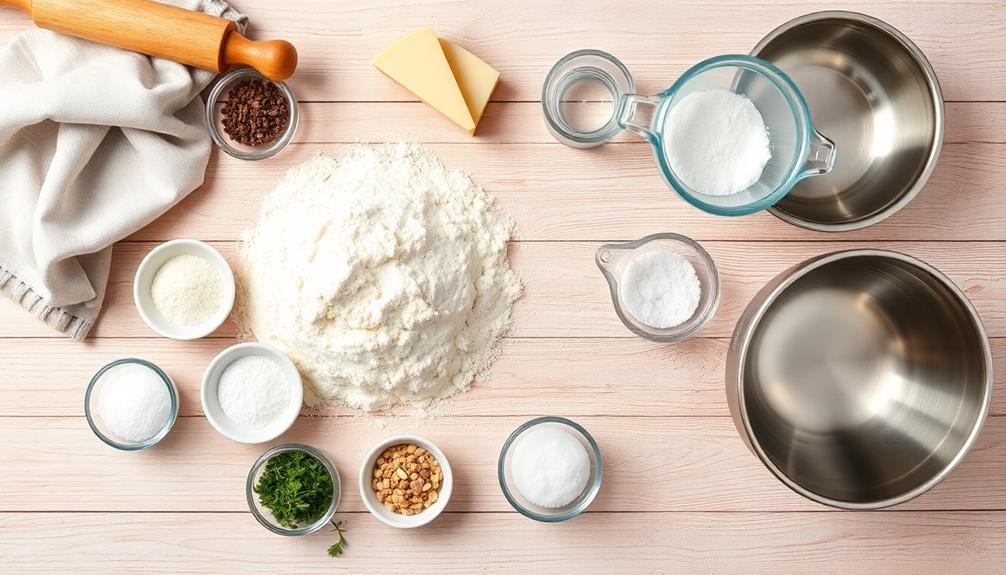
In the midst of your preheated kitchen, it's time to gather your dough ingredients. You'll need all-purpose flour, active dry yeast, warm water, sugar, salt, and olive oil. These simple ingredients will come together to create the perfect skeleton bone breadsticks!
First, grab a large mixing bowl. Pour in the warm water and sprinkle the yeast on top. Let it sit for about 5 minutes until it gets foamy. This means the yeast is active and ready to work its magic!
Now, add the sugar, salt, and olive oil to the bowl. Give it a quick stir to combine everything.
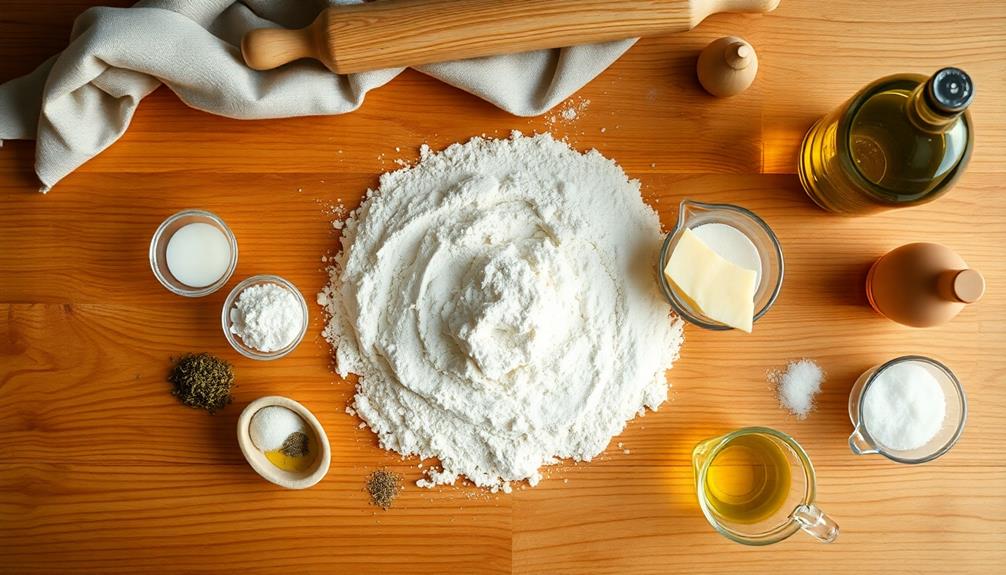
Next, it's time to add the flour. Start by adding about half of the flour and mix it well. Gradually add more flour until the dough starts to pull away from the sides of the bowl. Don't worry if it's a bit sticky – that's normal!
Once your dough is formed, it's time to knead it. Turn it out onto a floured surface and use your hands to push, fold, and stretch the dough for about 5-7 minutes. This will help develop the gluten and make your breadsticks nice and chewy.
Step 3. Shape Dough Into Bones
After kneading, divide your dough into 12 equal portions. Roll each portion into a long, thin rope about 10 inches in length.
Now, it's time to get creative and shape these ropes into spooky skeleton bones!
For each bone, start by slightly thickening both ends of the rope. These will be your bone's joints. Gently press the middle section to flatten it a bit, creating the shaft of the bone. To add some creepy details, use a knife to make small indentations along the shaft. Finally, wrap the bone in strips of cloth to give it a more realistic look. You can also add some fake blood for an extra gory effect. To complete the spooky look, add some bloody bandage wraps around the joints of the bone. This will make your DIY bones look like they just came out of a graveyard.
Next, carefully twist each end of the bone to form knobby joints. You can make them as chunky or as subtle as you'd like. Remember, no two bones are exactly alike in nature, so don't worry about making them perfect!
Place your shaped bones on a baking sheet lined with parchment paper. Make sure to leave some space between each bone, as they'll expand a bit while baking.
If you want extra-crispy bones, you can brush them lightly with olive oil before popping them in the oven.
Step 4. Bake for 15 Minutes
Preheat your oven to 375°F (190°C) before baking.
Once your oven's ready, it's time to transform your bone-shaped dough into delicious, crispy breadsticks! Place the shaped bones on a baking sheet lined with parchment paper. Make sure to leave some space between each bone, so they don't stick together while baking.
Slide the baking sheet into the preheated oven and set your timer for 15 minutes. During this time, your kitchen will fill with the mouthwatering aroma of freshly baked bread.
Keep an eye on your breadsticks as they bake. You'll notice them slowly turning golden brown and crispy.
At the 15-minute mark, carefully check if they're done. The bones should be lightly golden and firm to the touch. If they need a bit more time, give them an extra minute or two. But be careful not to overbake, or your skeleton bones might turn into fossils!
Once they're perfectly baked, remove the sheet from the oven using oven mitts.
Let your bone breadsticks cool for a few minutes before serving. They'll be hot and tasty, ready to add a spooky touch to your Halloween feast!
Step 5. Brush With Garlic Butter
While your skeleton bone breadsticks are cooling, it's time to prepare the garlic butter. This delicious topping will make your spooky treats even more irresistible!
In a small bowl, mix together 1/4 cup of melted butter and 2 cloves of minced garlic. If you'd like, you can add a pinch of dried parsley for extra flavor and a pop of color.
Once your breadsticks have cooled for about 5 minutes, grab a pastry brush. Dip it into the garlic butter mixture and gently brush it over each breadstick.
Make sure you cover every nook and cranny, so each bite is packed with garlicky goodness. Don't forget to brush the knobby ends that look like joints!
As you're brushing, you'll notice the butter seeping into the warm breadsticks, making them glisten. The aroma of garlic will fill your kitchen, making everyone's mouths water.
When you're done, sprinkle a little grated Parmesan cheese over the top for an extra tasty touch. Your skeleton bone breadsticks are now ready to serve! They're perfect for Halloween parties or any spooky-themed gathering.
Final Thoughts
These skeleton bone breadsticks are sure to be a hit at your next Halloween party or spooky gathering. They're not only delicious but also fun to make and look at. You'll love how your guests react when they see these creepy treats on the table!
Remember, you can get creative with your skeleton bones. Try making them in different sizes or shapes to represent various bones in the body. You could even create a full skeleton on a serving platter if you're feeling extra ambitious!
Don't forget to store any leftover breadsticks in an airtight container. They'll stay fresh for a few days, but they're best eaten within 24 hours for that perfect crunch. If you want to make them ahead of time, you can freeze the unbaked dough and thaw it before baking.
These skeleton bone breadsticks are a great way to add some spooky fun to your Halloween spread. They're easy to make, tasty to eat, and sure to impress. So go ahead and give them a try – your Halloween party won't be complete without them!