Homemade tortillas are a delicious and rewarding culinary experience. Originating from Mesoamerican civilizations, these simple flatbreads are made with just flour, salt, oil, and warm water. The benefits include superior flavor, control over ingredients, and an engaging hands-on process. To make them, you'll measure the ingredients, knead the dough, divide it into balls, and roll each one into a thin tortilla before cooking them on a hot skillet. This timeless flatbread continues to enrich meals and traditions, and crafting your own allows for creativity and customization. Let's dive deeper into the steps for making homemade tortillas at home.
Key Takeaways
- Homemade tortillas offer superior flavor and texture compared to store-bought, with the ability to control ingredient quality and customize recipes.
- The simple ingredients of flour, salt, oil, and warm water come together in an engaging, hands-on process suitable for family involvement.
- Proper techniques like kneading the dough and rolling the tortillas into thin, uniform rounds are essential for achieving the perfect, pliable texture.
- Freshly cooked tortillas can be enjoyed immediately or stored in an airtight container for up to 5 days, providing convenience for various meals.
- Homemade tortillas represent a rewarding culinary experience, promoting kitchen skills and allowing for creativity in meal preparation.

Uno Casa Tortilla Master Kit – Tortilla Press 8 Inch with 10.5 IN Comal Pan, 4 Taco Holders, and Tortilla Warmer – Complete Taco Tuesday Kit, Rotis, and Quesadillas – Unique Gift for Friends or Family
EVERYTHING YOU NEED – With the corn tortilla press, tortilla pan, tortilla warmer container, & 4 taco stands…
As an affiliate, we earn on qualifying purchases.
As an affiliate, we earn on qualifying purchases.
History
Tracing the origins of the humble tortilla, you'll find that this staple flatbread has been a dietary mainstay for indigenous cultures in Mesoamerica for centuries.
Originating from the Aztec and Mayan civilizations, the tortilla was first made from ground maize, or corn, and water. These early versions were cooked on hot stones, creating a simple yet delicious flatbread that became a crucial component of their cuisine.
Over time, the tortilla evolved, with different regions developing their own unique recipes and techniques.
The Mayans, for instance, often added lime to the dough, which helped to improve the texture and flavor. Meanwhile, the Aztecs experimented with various fillings, transforming the tortilla into a versatile vessel for a variety of savory and sweet ingredients.
Today, the legacy of the tortilla lives on, with homemade versions becoming increasingly popular among home cooks who appreciate the satisfying texture and authentic taste of this timeless flatbread.
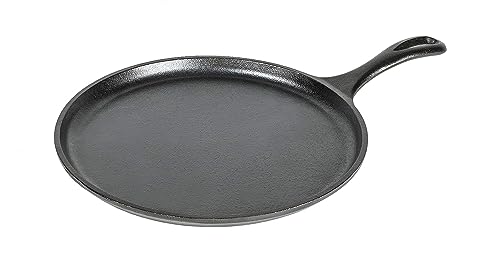
Lodge L9OG3 Cast Iron Round Griddle, Pre-Seasoned, 10.5-inch – Made in USA, Compatible with Stovetop, Oven, Grill & Campfire
PFAS-FREE & NON-TOXIC COOKWARE: Lodge cookware is made without PFOA and PTFE, and we’re proud to say our…
As an affiliate, we earn on qualifying purchases.
As an affiliate, we earn on qualifying purchases.
Recipe
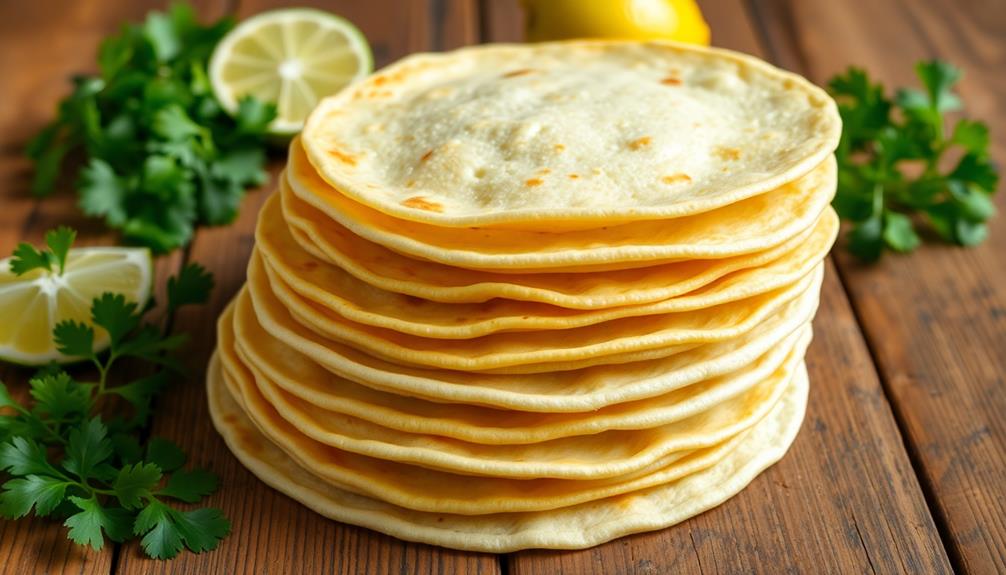
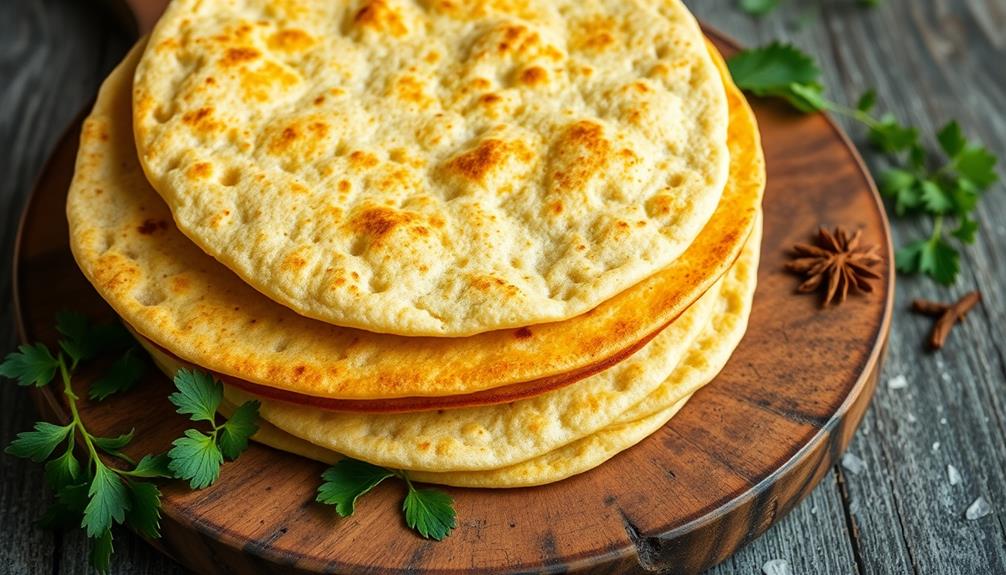
Homemade tortillas are a versatile and satisfying staple that can elevate any meal. Freshly made tortillas offer a flavor and texture that can't be replicated by store-bought varieties. With just a few simple ingredients and a bit of time, you can create authentic, delicious tortillas in the comfort of your own kitchen.
Preparing tortillas from scratch allows you to control the quality and freshness of the ingredients, ensuring that your tortillas are free from any preservatives or additives. The process of rolling and cooking the dough is immensely rewarding, providing a hands-on culinary experience that can be enjoyed by the entire family.
Ingredients:
- 2 cups all-purpose flour
- 1 teaspoon salt
- 1/4 cup vegetable or canola oil
- 3/4 cup warm water
Instructions:
In a large bowl, combine the flour and salt. Add the oil and mix until the mixture resembles coarse crumbs. Gradually add the warm water, stirring until a soft dough forms. Knead the dough for 2-3 minutes, then cover and let it rest for 30 minutes.
Divide the dough into 12 equal pieces and roll each piece into a thin, round tortilla. Cook the tortillas on a hot, lightly oiled griddle or skillet for 30-60 seconds per side, or until lightly browned and puffed.
Tips:
For best results, use a rolling pin to evenly flatten the dough, ensuring a thin and consistent texture. Additionally, keep the cooked tortillas covered with a clean towel or in a tortilla warmer to maintain their softness and pliability.
Homemade tortillas are best enjoyed immediately, but they can be stored in an airtight container in the refrigerator for up to 5 days.
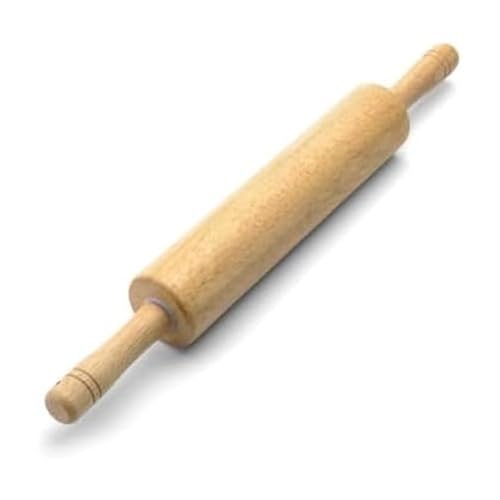
FARBERWARE Classic Wood Rolling Pin, 18-Inch Hardwood Dough Roller for Baking Pizza, Pies, Pastry and Cookies, Ergonomic Handles, Kitchen Essential
PREMIUM HARDWOOD CONSTRUCTION: Crafted from moisture-resistant hardwood for lasting durability. Smooth rolling surface ensures consistent results for all…
As an affiliate, we earn on qualifying purchases.
As an affiliate, we earn on qualifying purchases.
Cooking Steps
Start by measuring out the flour and salt in a large bowl.
Next, add the warm water and knead the dough for 2-3 minutes until it comes together smoothly.
Divide the dough into small balls and then roll each one out into thin, round circles to create your homemade tortillas.
Step 1. Measure Flour and Salt
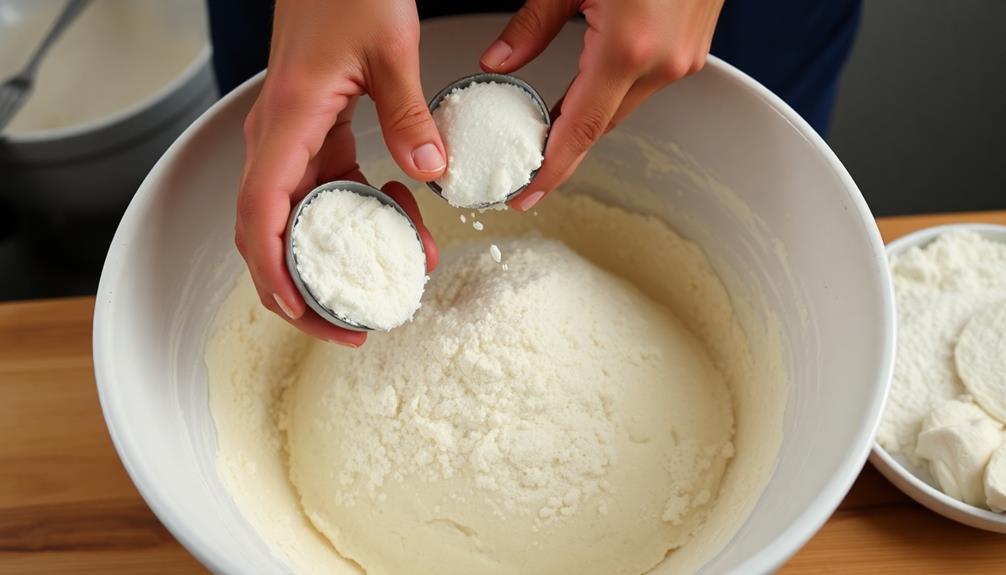
Gather the all-important ingredients – flour and salt. In this recipe, you'll need 2 cups of all-purpose flour and 1 teaspoon of salt. Measure the flour precisely, using a spoon to scoop it into a measuring cup, then level it off with a knife.
Don't pack the flour down, as this can affect the texture of your tortillas.
Next, add the salt to the flour and whisk them together thoroughly. This ensures the salt is evenly distributed throughout the dough. The salt not only enhances the flavor but also helps to tenderize the gluten, resulting in a softer, more pliable tortilla.
Once you've precisely measured the flour and salt, you're ready to move on to the next step – mixing the dough. This is where the real magic happens, as the simple combination of flour, salt, and water transforms into the perfect tortilla base.
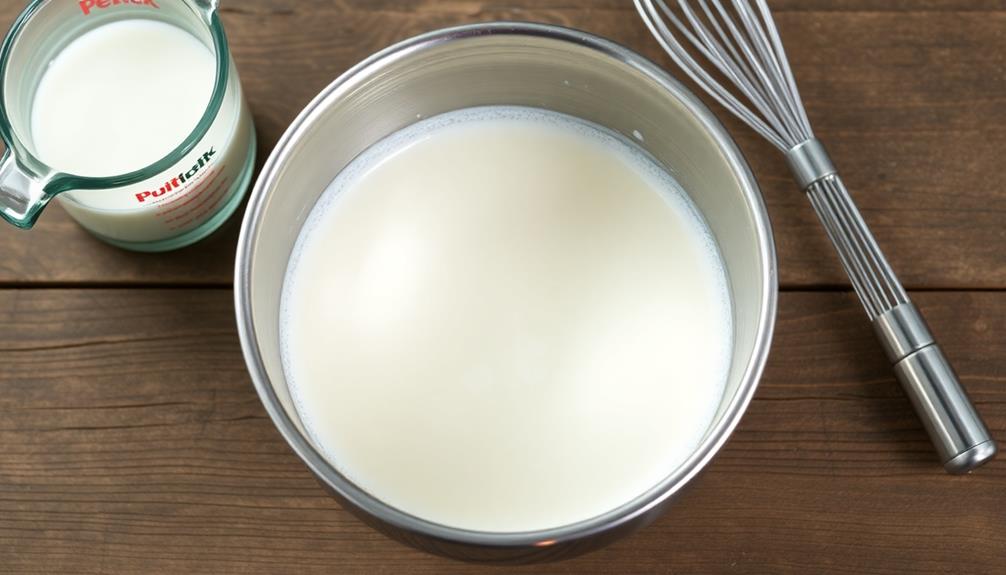
Step 2. Add Warm Water
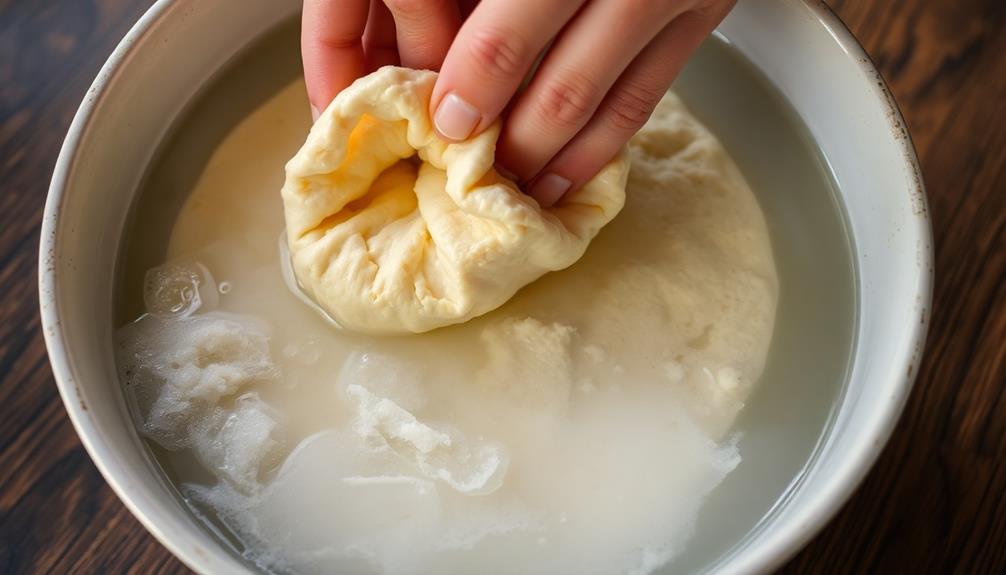
After combining the flour and salt, it's time to add the warm water. This step is crucial, as the temperature of the water helps activate the gluten in the flour, enabling the dough to hold its shape and become pliable.
Start by pouring about 1 cup of warm water (around 100°F) into the flour mixture. Using your hands, gently incorporate the water, working the dough until it comes together into a soft, slightly sticky ball. If the dough feels too dry, add a tablespoon or two of additional warm water. Conversely, if the dough is too wet, sprinkle in a bit more flour.
Once the dough is properly hydrated, knead it for a minute or two, until it becomes smooth and elastic. This process helps develop the gluten, making the tortillas easier to roll out and less prone to tearing.
Remember to keep the dough covered with a damp towel to prevent it from drying out while you work.
Step 3. Knead Dough for 2-3 Minutes
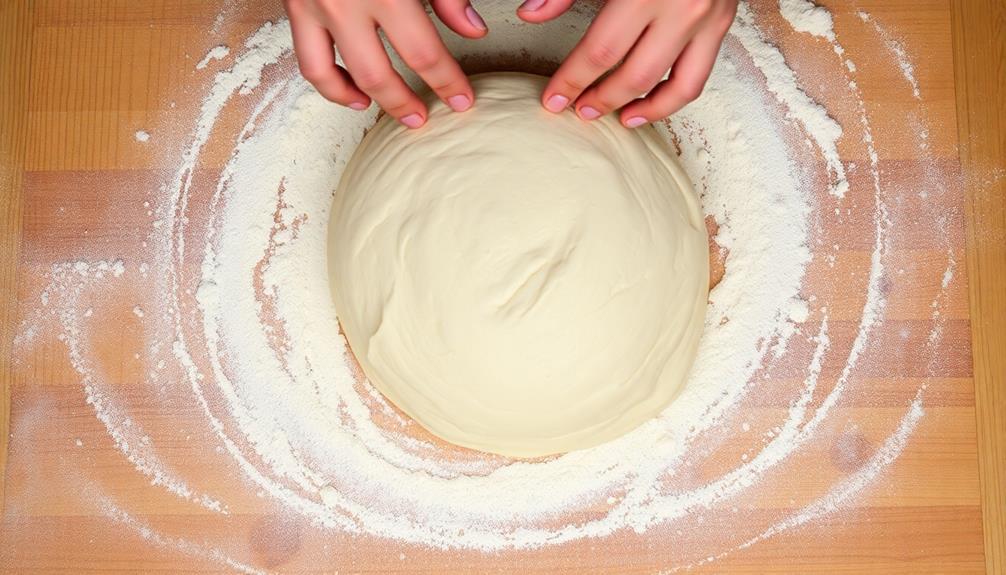
With the dough properly hydrated, it's time to knead it for 2-3 minutes. This crucial step develops the gluten structure, creating a tender yet pliable tortilla. Gluten is the protein in flour that gives dough its elasticity and strength.
Begin by placing the dough on a lightly floured surface. Using the heel of your hand, push the dough away from you, then fold it back towards you. Give the dough a quarter turn and repeat.
Continue this kneading motion, applying moderate pressure, for 2-3 minutes. You'll notice the dough becoming smoother and more cohesive as the gluten strands align.
Kneading also incorporates air into the dough, making the tortillas lighter and fluffier. Be sure not to overwork the dough, as this can make the tortillas tough.
Once the dough is smooth and elastic, it's ready for the next step – resting.
Step 4. Roll Into Small Balls
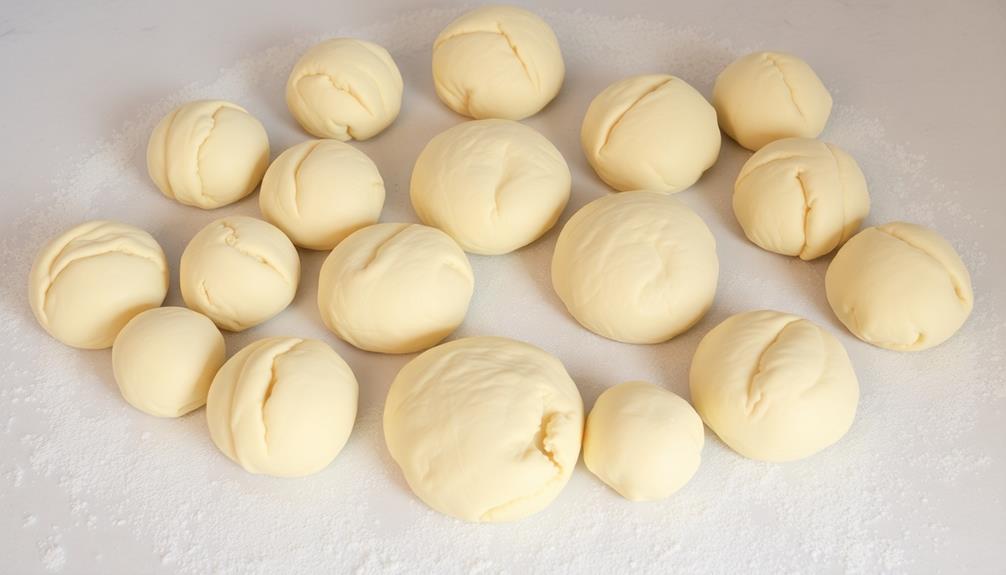
Once the dough has been kneaded, divide it into 12-16 equal pieces. This will ensure your tortillas are uniform in size, making them easier to roll and cook evenly. Simply use your hands to gently tear or pinch off small portions of the dough, rolling each one into a smooth, round ball between your palms.
Next, place the dough balls on a clean, lightly floured surface. Cover them with a damp towel or plastic wrap to prevent them from drying out as you work.
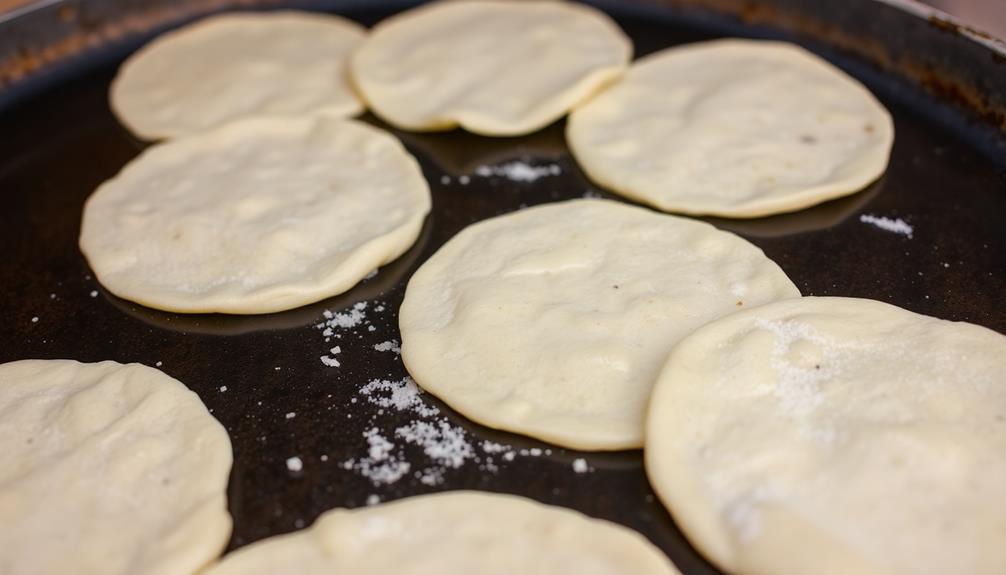
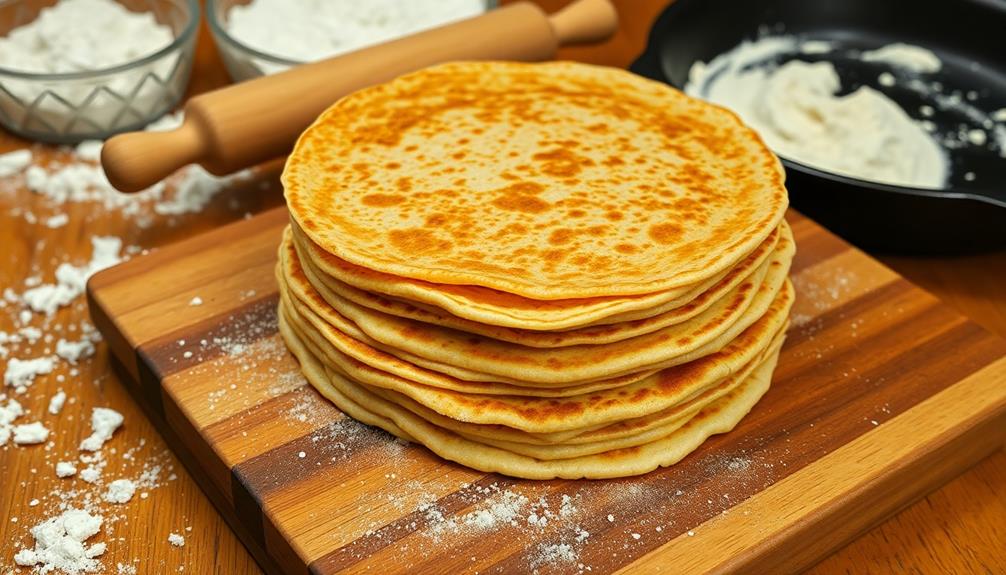
One by one, use a rolling pin to carefully roll each ball into a thin, round tortilla, about 6-8 inches in diameter. Apply light, even pressure, turning the dough frequently to maintain a circular shape. If the dough sticks, lightly dust the surface or rolling pin with flour.
With your tortillas rolled and ready, you can now begin cooking them on a hot griddle or skillet. This final step will transform the raw dough into delicious, pliable homemade tortillas.
Step 5. Roll Out Into Thin Circles
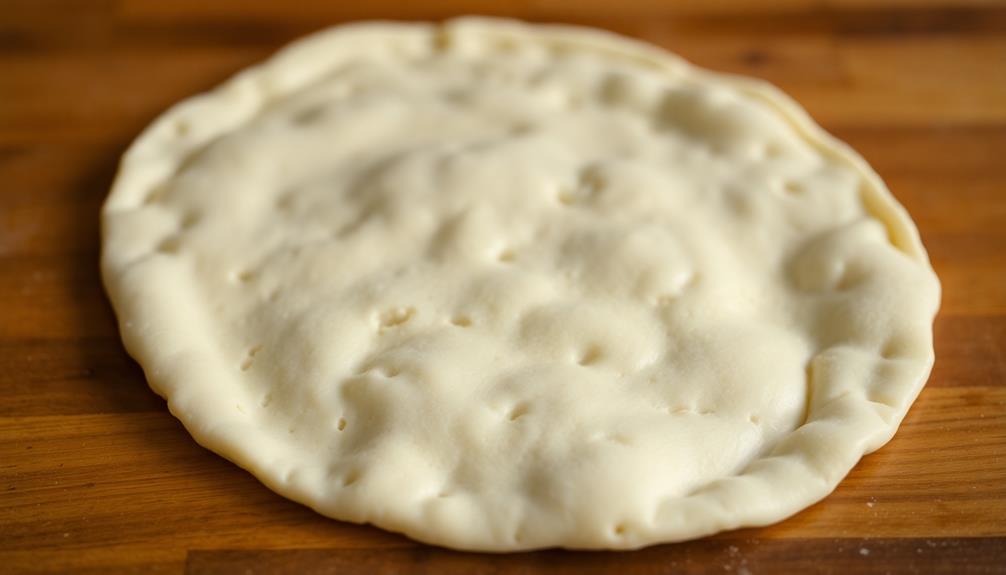
Next, take each dough ball and use a rolling pin to carefully roll it out into a thin, round tortilla, about 6-8 inches in diameter.
Apply gentle pressure and rotate the dough as you roll, making sure to roll from the center outwards. This will help create an even thickness and circular shape.
Take your time and don't be afraid to re-roll the tortilla if it doesn't turn out perfectly round on the first try.
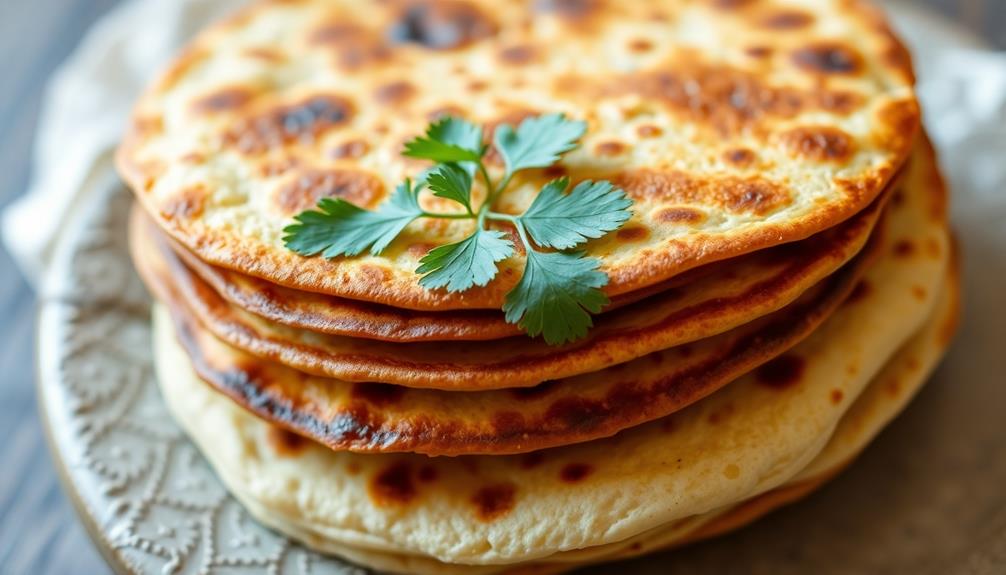
Once you've rolled out the tortilla, use your hands to gently lift and transfer it to a hot, ungreased skillet or griddle.
Cook for 30-60 seconds per side, flipping carefully with a spatula, until the tortilla puffs up and develops light golden-brown spots.
Be attentive, as tortillas can burn quickly.
Repeat this process with the remaining dough balls, stacking the cooked tortillas between layers of parchment paper or a clean kitchen towel to keep them warm and pliable until ready to serve.

IMUSA 8-Inch Tortilla Warmer with Lid, Plastic Terracotta – Microwave Safe Tortilla & Pancake Keeper, Traditional Mexican Server
CAPACITY: With an 8 inch size, this Tortilla Warmer accommodates a generous quantity of tortillas, so they stay…
As an affiliate, we earn on qualifying purchases.
As an affiliate, we earn on qualifying purchases.
Final Thoughts
Homemade tortillas are a versatile and rewarding culinary endeavor. From the simple ingredients to the satisfying process, crafting your own tortillas at home is a skill that can elevate any meal.
Don't be intimidated – the technique is easier than you might think. With a little practice, you'll be rolling out perfect, pliable rounds in no time.
Once you've mastered the basics, the possibilities are endless. Customize your tortillas with herbs, spices, or even different flours to suit your tastes.
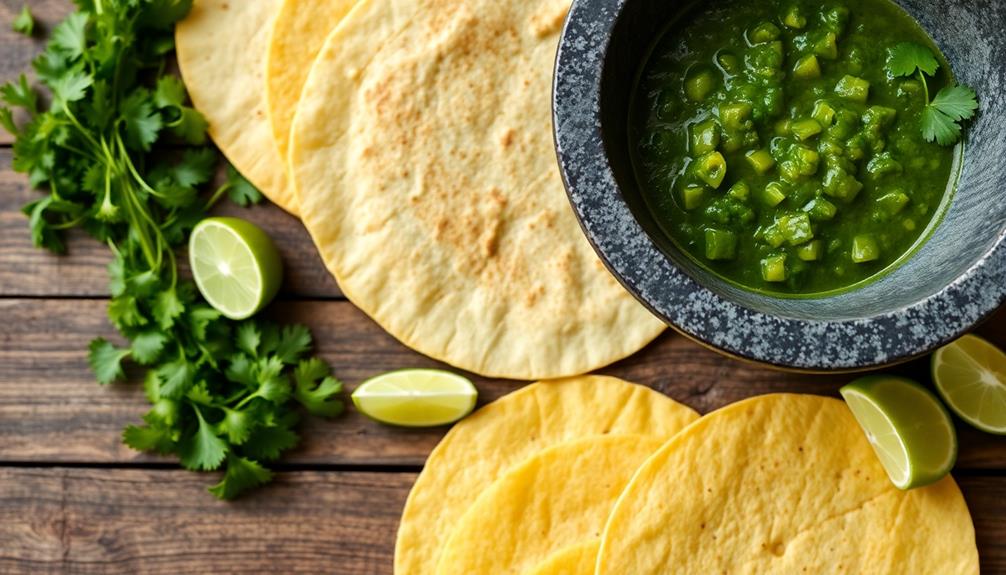
They're perfect for tacos, burritos, quesadillas, and so much more. And the fresh, homemade flavor simply can't be beat. Whether you’re hosting a party or just craving a quick meal, these tortillas bring authentic taste to any dish. For a delicious and quick meal idea, try our **easy homemade quesadilla recipe** that combines melted cheese, savory fillings, and crispy edges. You’ll be amazed by how simple it is to create restaurant-quality meals right at home. Plus, the versatility of these tortillas makes them a go-to for any time of day, from breakfast wraps to late-night snacks. Pair them with your favorite salsas, guacamole, or even a side of rice and beans for a complete and satisfying meal. Don’t forget to check out our easy homemade quesadilla recipe for a surefire way to impress your guests or indulge in some well-deserved comfort food. With just a few ingredients and minimal prep time, these tortillas let you whip up flavorful meals without the hassle. Follow our easy quesadilla recipe instructions to create a dish that’s not only quick but also downright delicious. Whether you prefer classic cheese or want to experiment with creative fillings, these tortillas are the perfect foundation for a mouthwatering masterpiece.
Frequently Asked Questions
How Long Do Homemade Tortillas Last?
Homemade tortillas typically last 3-5 days when stored properly in the refrigerator. They can be frozen for up to 2 months, but their texture and flavor may degrade over time. To ensure freshness, enjoy your homemade tortillas within a few days of making them.
Can I Freeze Homemade Tortillas?
Yes, you can freeze homemade tortillas. Simply stack them with parchment paper in between and place them in an airtight container or freezer bag. They'll keep for up to 3 months in the freezer.
What's the Best Flour to Use for Tortillas?
For the best homemade tortillas, you'll want to use masa harina, a special corn flour made for this purpose. It's readily available and produces the tender, pliable texture you expect from authentic Mexican tortillas.
Can I Make Tortillas Without a Press?
You can absolutely make tortillas without a press. Use a rolling pin to flatten the dough into thin rounds. The key is to work the dough with your hands to achieve the desired thickness and shape.
Do I Need Special Equipment to Make Tortillas?
No, you don't need special equipment to make tortillas. You can use a rolling pin, a flat surface, and your hands to roll and shape the dough into thin rounds. It's a simple process that doesn't require any specialized tools.