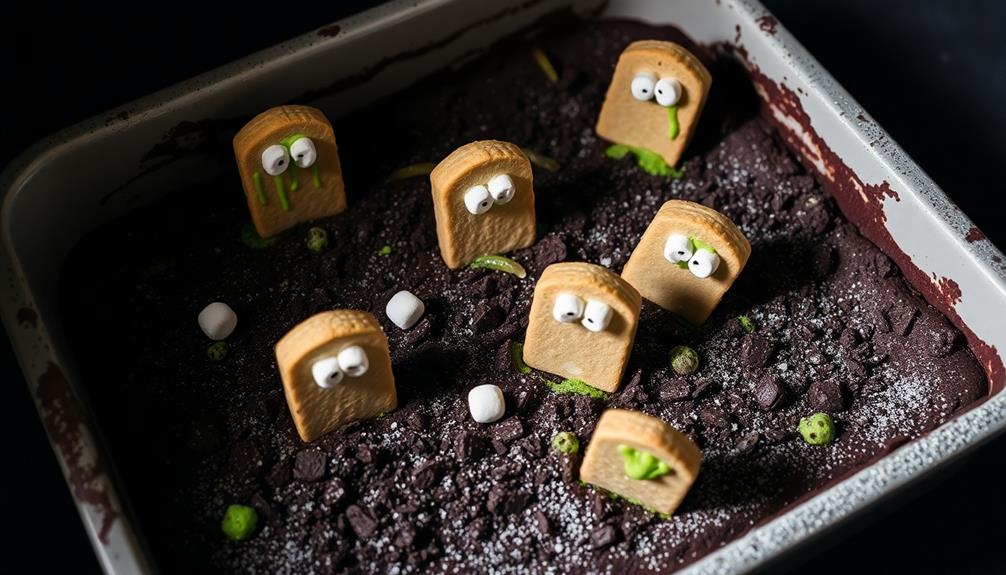
Haunted Graveyard Brownies are a spooky twist on a classic treat, perfect for your Halloween party! You'll start by baking delicious chocolate brownies, then transform them into a creepy cemetery scene. Once cooled, you'll cut the brownies into tombstone shapes and decorate with chocolate frosting, crushed cookies for "dirt," and fun candies. Add ghostly marshmallows, gummy worms, and candy pumpkins to complete your eerie masterpiece. Kids and adults alike will love helping create these tasty, eye-catching treats. They're not just yummy, but they'll also serve as a spooktacular centerpiece for your Halloween table. Get ready to unleash your inner ghoul and dive into a world of frightfully fun baking!
Key Takeaways
- Haunted Graveyard Brownies are Halloween-themed treats designed to resemble miniature cemeteries.
- They combine classic brownie recipes with spooky decorations like cookie tombstones and candy graveyard elements.
- The dessert typically features a chocolate brownie base with frosting "soil" and edible decorations to create a graveyard scene.
- These brownies are ideal for Halloween parties, autumn gatherings, and themed movie nights.
- Making Haunted Graveyard Brownies can be a fun, interactive activity for families and friends to enjoy together.
History
Three distinct traditions converge in the origin of Haunted Graveyard Brownies. You'll find traces of Halloween treats, classic brownie recipes, and graveyard-themed desserts in their history.
These spooky sweets first appeared in the early 2000s when bakers started experimenting with Halloween-inspired goodies. The idea was to create a treat that was both delicious and visually striking.
Bakers took the beloved brownie, a favorite since the late 1800s, and gave it a haunting twist. They added crushed cookies to mimic dirt and used candy decorations to create tiny tombstones and ghosts.
You might wonder why they're called "graveyard" brownies. It's because they're designed to look like a miniature cemetery! This clever concept quickly caught on at Halloween parties and fall festivals.
As more people discovered these eerie delights, they began sharing recipes online and in cookbooks. Today, you'll find countless variations of Haunted Graveyard Brownies.
Some bakers add green frosting for grass or use gummy worms for an extra creepy touch. No matter the version, these treats continue to delight and spook dessert lovers everywhere!
Cooking Steps
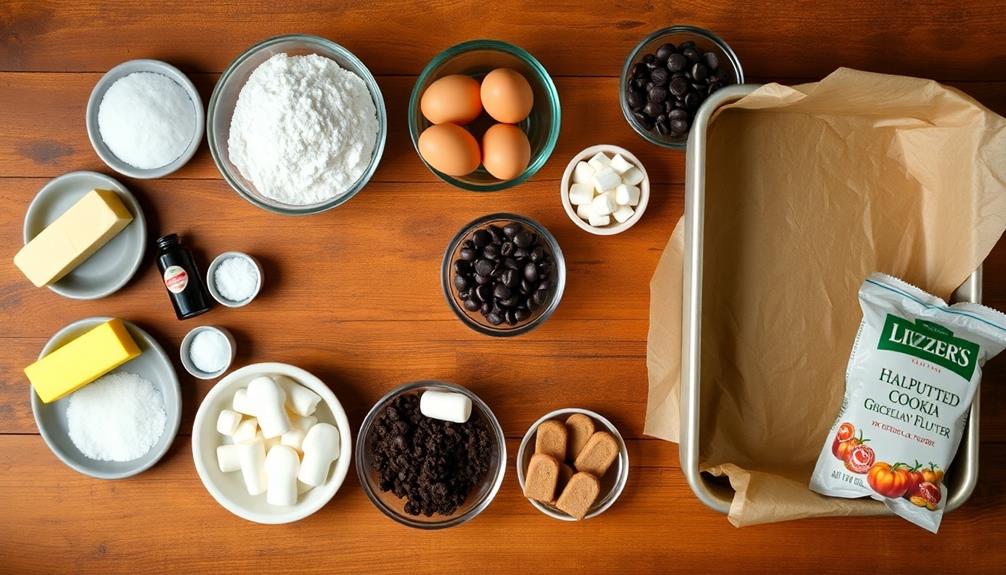
To begin crafting these spooky treats, preheat your oven to 350°F (175°C) and line a 9×13-inch baking pan with parchment paper.
In a large bowl, mix together melted butter, sugar, and cocoa powder until smooth. Add eggs one at a time, stirring well after each addition. Stir in vanilla extract, then gently fold in flour and salt until just combined.
Pour the batter into your prepared pan, spreading it evenly. Bake for 25-30 minutes, or until a toothpick inserted in the center comes out with a few moist crumbs. Let the brownies cool completely in the pan.
Once cooled, lift the brownies out using the parchment paper. Cut them into rectangles to resemble tombstones.
Melt white chocolate and spread it on top of each brownie. Use black icing to write spooky messages or "RIP" on each tombstone. Crumble chocolate cookies to create "dirt" and sprinkle it around the base of your brownie tombstones. Add gummy worms or candy bones for extra creepy fun!
Step 1. Preheat Oven to 350°F
Before you begin mixing ingredients, it's crucial to preheat your oven to 350°F (175°C). This step might seem small, but it's actually super important! When your oven is at the right temperature, your brownies will cook evenly and come out just perfect.
While your oven is heating up, you can start getting your other ingredients ready. It usually takes about 10 to 15 minutes for most ovens to reach 350°F, so you've got plenty of time. If you have an older oven, it might take a bit longer, so be patient.
Remember, every oven is a little different. Some might run hotter or cooler than others. If you're not sure about yours, you can use an oven thermometer to double-check. This way, you'll know for sure that your oven is at the right temperature.
Once your oven is preheated, you'll be all set to start making your spooky Haunted Graveyard Brownies. The delicious smell will soon fill your kitchen, and you'll be on your way to creating a Halloween treat that's both tasty and fun!
Step 2. Mix Dry Ingredients Together
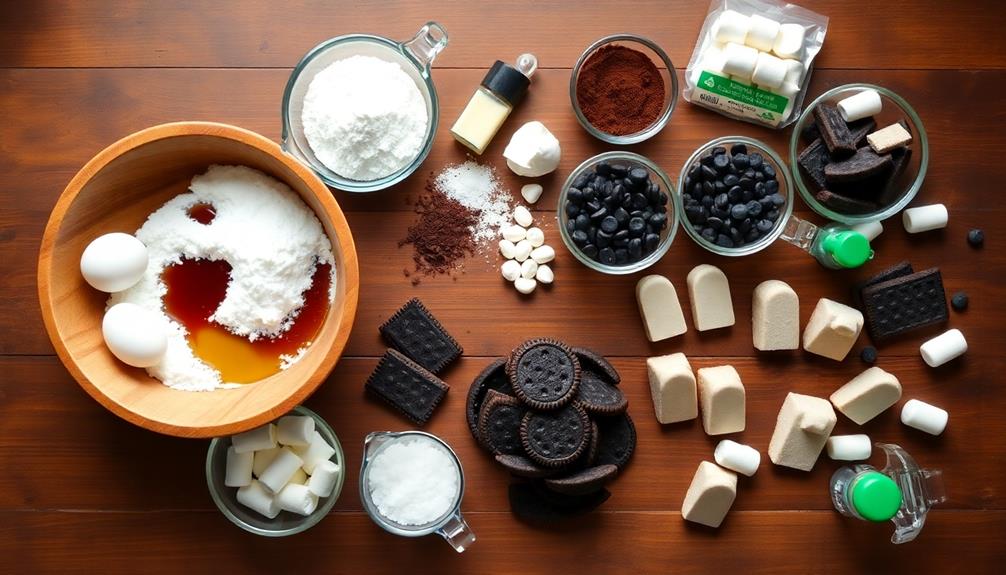
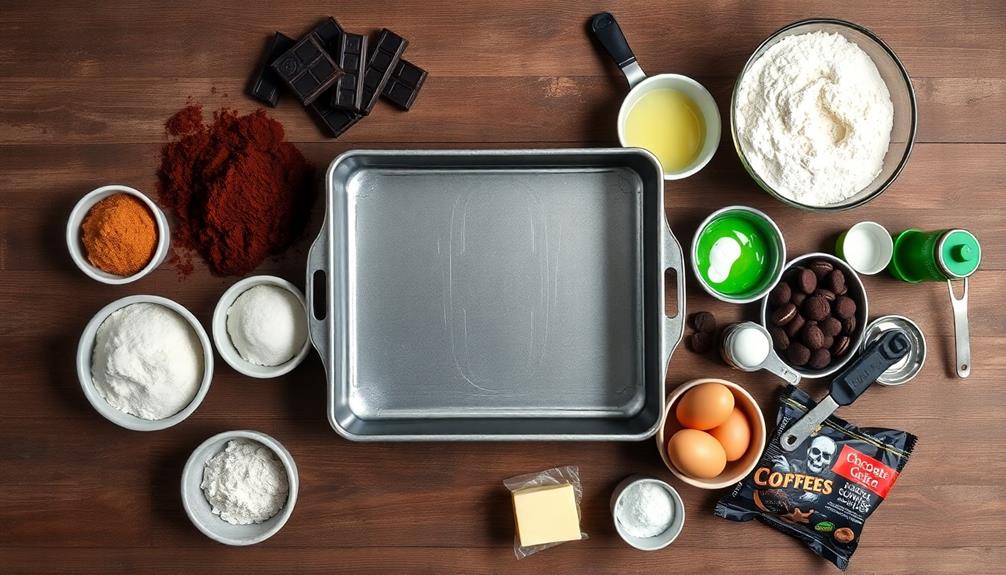
Now that your oven's heating up, let's get our dry ingredients ready. You'll need a large mixing bowl to combine everything.
First, grab your all-purpose flour and cocoa powder. Measure out 1 cup of flour and 1/2 cup of cocoa powder, then sift them together into the bowl. This step helps remove any lumps and ensures your brownies will be smooth and delicious.
Next, add 1/2 teaspoon of salt and 1/4 teaspoon of baking powder to the bowl. These ingredients might seem small, but they're important for the texture and rise of your brownies.
Use a whisk or a fork to mix everything together thoroughly. Make sure you can't see any streaks of cocoa powder or white flour – it should all be one uniform color.
For an extra spooky touch, you can add 1/4 cup of crushed Oreo cookies to the mix. This will give your brownies a graveyard dirt look when they're done.
Just crumble them up and stir them in with the other dry ingredients. Your haunted graveyard brownies are starting to take shape!
Step 3. Melt Chocolate and Butter
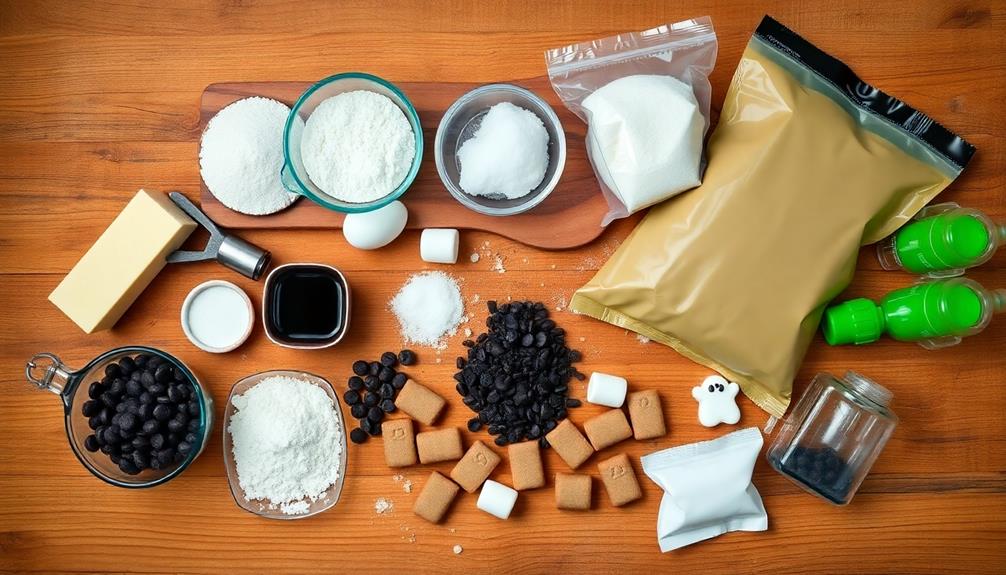
Grab a medium-sized microwave-safe bowl and add 1/2 cup (113g) of unsalted butter and 8 ounces (226g) of semi-sweet chocolate chips.
It's time to melt these ingredients together to create the rich, gooey base for your haunted graveyard brownies. Place the bowl in the microwave and heat it in 30-second intervals, stirring well after each one.
You'll want to keep a close eye on the mixture to prevent burning. As you stir, you'll notice the chocolate and butter starting to combine. It's like magic watching them melt together!
Continue this process until the mixture is smooth and glossy. This usually takes about 2-3 minutes total, but microwaves can vary. Once it's fully melted, give it a final stir to ensure everything's well blended.
Let the mixture cool for a few minutes before you move on to the next step. This cooling time is important because it'll prevent the eggs from scrambling when you add them later.
While you wait, take a moment to appreciate the amazing aroma filling your kitchen. You're well on your way to creating some spooktacular brownies!
Step 4. Add Eggs and Vanilla

After your chocolate mixture has cooled slightly, it's time to add the eggs and vanilla. Grab your eggs from the fridge and crack them one by one into a small bowl. This way, you can easily fish out any stray eggshells before they end up in your brownie batter.
Now, gently pour the eggs into your chocolate mixture.
Next, measure out your vanilla extract. Don't skimp on this ingredient – it adds a wonderful depth of flavor to your brownies. Add the vanilla to your bowl with the chocolate and eggs.
Now, it's time to mix everything together! Use a whisk or a wooden spoon to blend the ingredients thoroughly. You'll want to stir until the eggs are fully incorporated and you can't see any streaks of egg white.
As you mix, you'll notice the batter becoming smoother and shinier. That's exactly what you want! Keep stirring until everything is well combined.
This step is crucial for creating that perfect brownie texture we all love. Once you're done, your batter will be ready for the next exciting step in creating your spooky Haunted Graveyard Brownies!
Step 5. Add Spooky Decorations
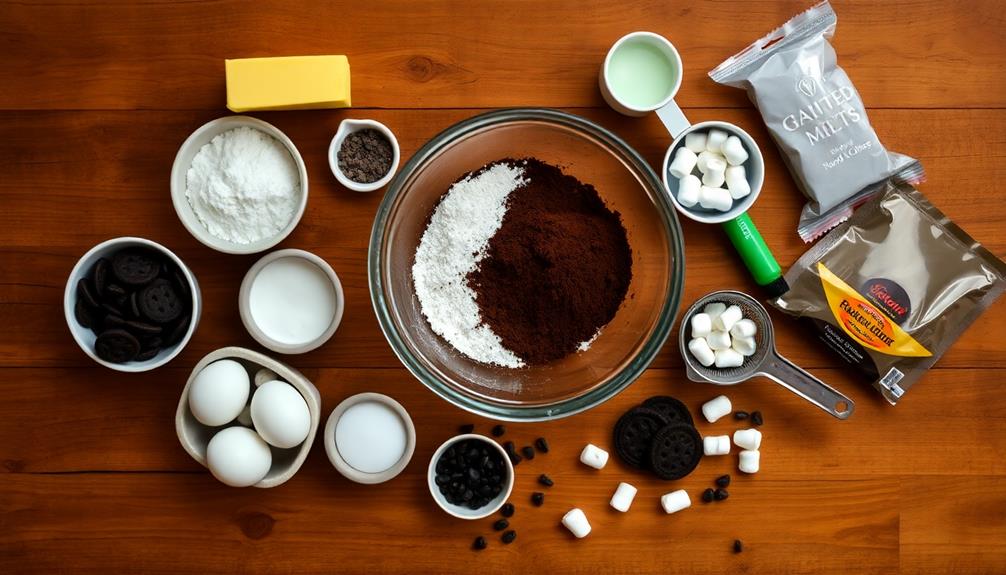
The brownie's transformation into a spooky graveyard scene begins with the decorations. Once your brownies have cooled, it's time to bring them to life with eerie details.
Start by spreading a layer of chocolate frosting over the top, creating a dark and mysterious base for your graveyard. Next, sprinkle some crushed chocolate cookies over the frosting to resemble dirt. This will add a deliciously eerie texture to your graveyard cake. For the full effect, add some spooky candy tombstones and gummy worms poking out of the “dirt”. With these simple steps, you’ll have the perfect delicious graveyard dirt cake recipe for your next Halloween party!
Next, crush some chocolate cookies into fine crumbs and sprinkle them over the frosting. This will look like rich, dark soil and add texture to your creation.
Now, let's add some tombstones! Use Milano cookies or rectangular sandwich cookies and write spooky messages on them with white icing. Stick these "tombstones" into your brownie graveyard at different angles for a creepy effect.
Don't forget to add some ghostly inhabitants! Use white chocolate or marshmallows to create small ghosts and place them around your graveyard. To make things even spookier, you can add some creepy crawlies to your graveyard by using gummy worms or licorice as worms coming out of the ground. These extra touches will really bring your graveyard to life, or should I say, afterlife! Now you have all the ingredients to create a frightfully fun and delicious spooky pizza recipe.
For an extra touch, add some gummy worms peeking out of the "soil" and some candy pumpkins scattered about.
Final Thoughts
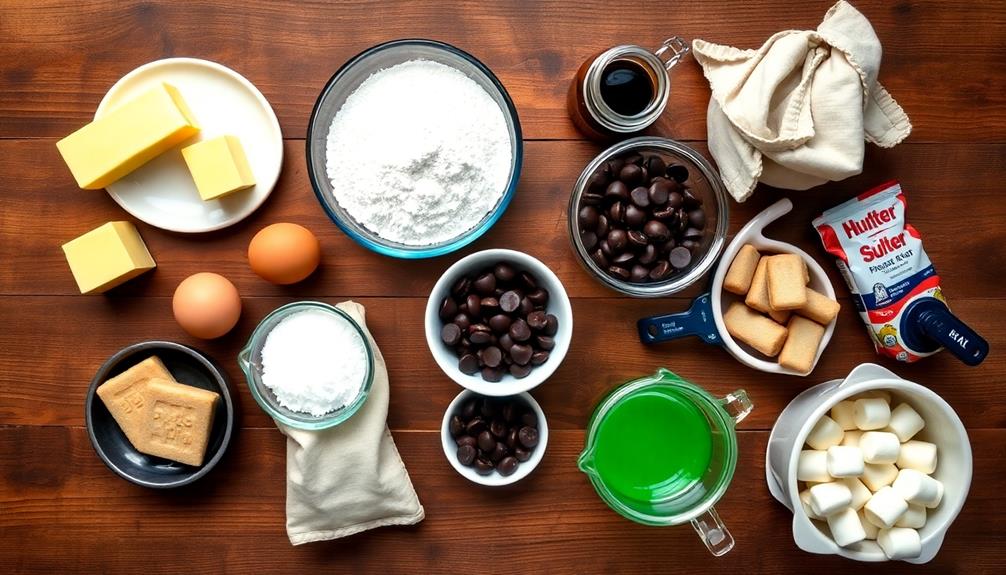
These graveyard-inspired brownies are sure to be a hit at your next Halloween party. They're not just delicious, but they're also a fun and spooky centerpiece that'll wow your guests.
Remember, the key to making these treats extra special is in the details. Don't be afraid to get creative with your decorations!
You can easily adapt this recipe to fit your needs. If you're short on time, use store-bought brownie mix instead of making them from scratch. You can also swap out some decorations for others you prefer or have on hand.
The most important thing is to have fun with it!
These brownies aren't just for Halloween parties. They're perfect for movie nights, sleepovers, or any autumn gathering. Kids and adults alike will love the spooky theme and delicious taste.
Plus, making them is a great activity to do with family or friends.
