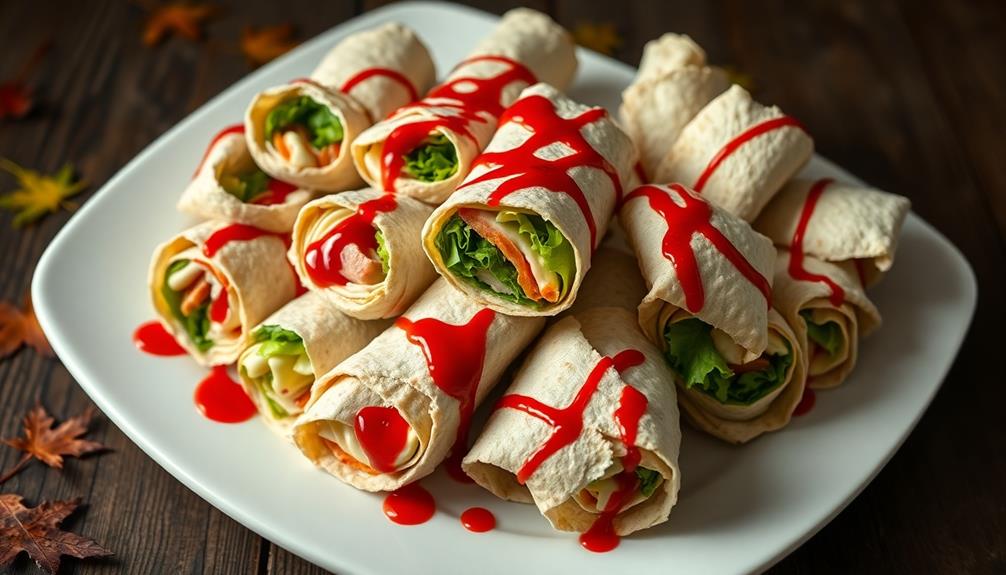
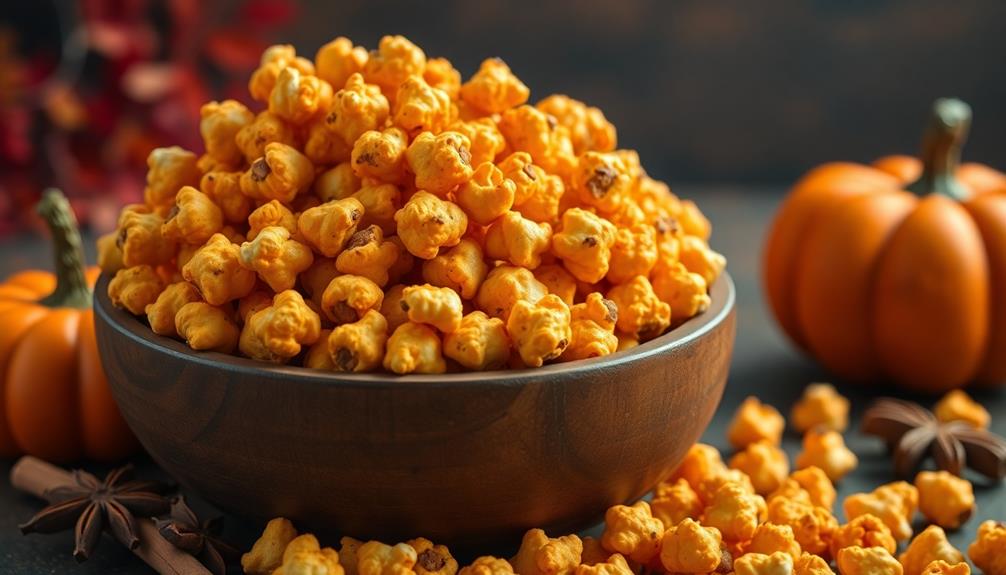
Bloody bandage wraps are a spooky Halloween staple that you can easily make at home. They're perfect for decorations or as creepy snacks. To create them, you'll need gauze strips, red food coloring, and some creativity. First, dye the gauze strips in a mixture of water and red food coloring. Then, wrap them around objects or food items like hot dogs. For extra gore, add fake blood splatters using a mix of corn syrup and food coloring. These versatile props can transform your Halloween party or scary movie night into a truly spine-chilling experience. There's so much more to explore about making these eerie decorations! For an extra gruesome touch, consider incorporating a “vampire’s bite recipe” into your spooky bandage wraps. This could involve using red fruit preserves or jelly as a substitute for fake blood, adding an element of surprise and fun to the snack. No matter how you choose to use them, these bloody bandage wraps are a must-have for any Halloween gathering. Get ready to spook your guests with these deliciously gory treats!
Key Takeaways
- Bloody Bandage Wraps are Halloween-themed food items made with crescent roll dough, hot dogs, and ketchup.
- They require baking at 350°F (175°C) for 12-15 minutes until golden brown.
- The wraps mimic bloody bandages by leaving gaps in the dough for a gory effect.
- Extra ketchup can be used for dipping and enhancing the bloody appearance.
- These wraps are versatile for Halloween parties, haunted houses, and spooky-themed events.
History
Bandages, in their most primitive form, have been a part of human history since ancient times. You might be surprised to learn that people have been using materials to cover wounds for thousands of years! In ancient Egypt, they used linen strips to wrap mummies, which is pretty similar to how we use bandages today.
As time went on, people got more creative with their bandages. In ancient Greece, they'd use spider webs to stop bleeding. Can you imagine that?
In the Middle Ages, soldiers would use moss to cover their injuries on the battlefield. It wasn't perfect, but it helped!
The modern bandage as you know it didn't come around until the 1920s. That's when a clever man named Earle Dickson invented the Band-Aid. He made it for his wife, who often cut herself while cooking. From there, bandages kept getting better and better.
Today, you can find all sorts of bandages, from waterproof ones to those with cool designs. They've come a long way from spider webs and moss!
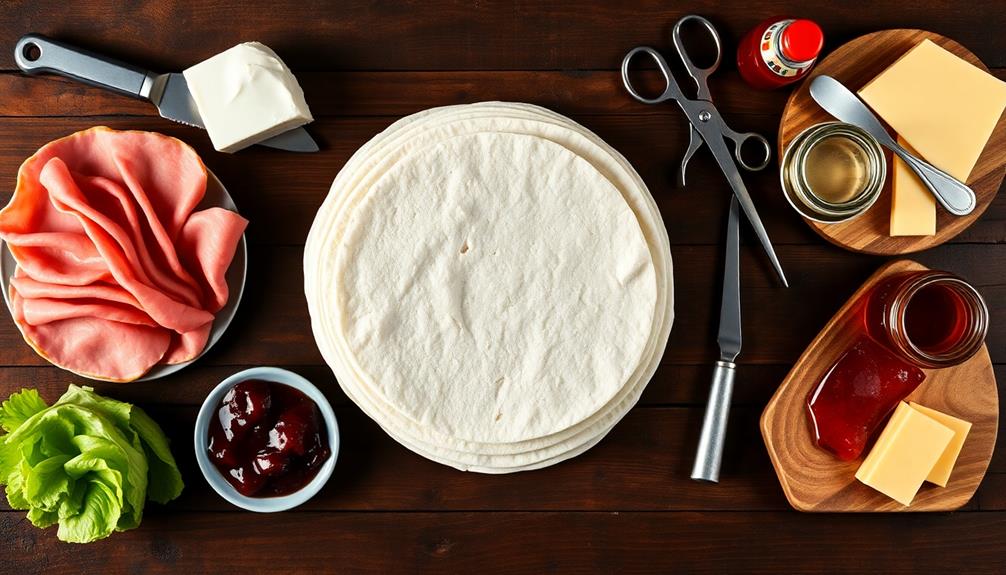
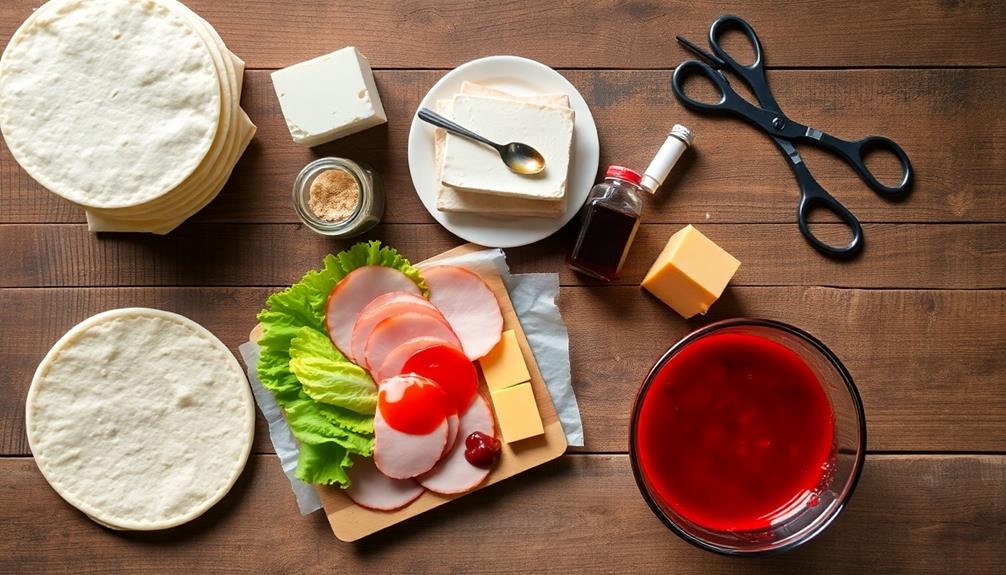
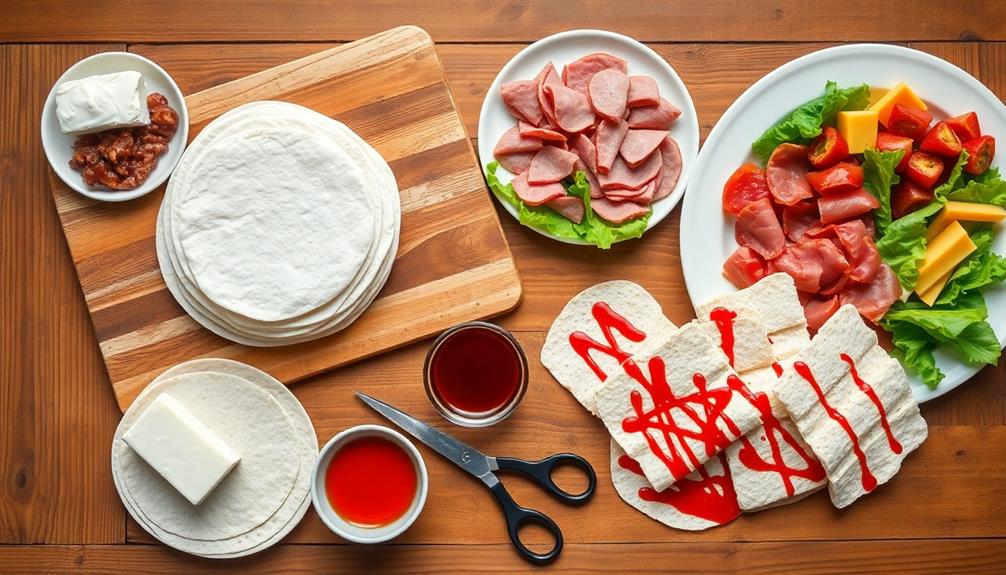
Cooking Steps
To create these gory-looking treats, start by preheating your oven to 350°F (175°C). You'll need crescent roll dough, hot dogs, and ketchup to make these spooky snacks.
First, unroll the dough and separate it into triangles. Wrap each hot dog with a triangle of dough, making sure to leave some gaps for the "bloody" effect.
Place your wrapped hot dogs on a baking sheet lined with parchment paper. Now, it's time to add the gore! Squeeze ketchup into the gaps and along the edges of the dough. Don't be shy – the messier, the better!
Pop the tray into the oven and bake for about 12-15 minutes, or until the dough is golden brown.
While they're baking, prepare some extra ketchup for dipping. When your Bloody Bandage Wraps are done, let them cool for a few minutes.
Arrange them on a platter with the ketchup dip, and watch your guests' eyes widen at the sight of these creepy-cool snacks. They're perfect for Halloween parties or any monster-themed event!
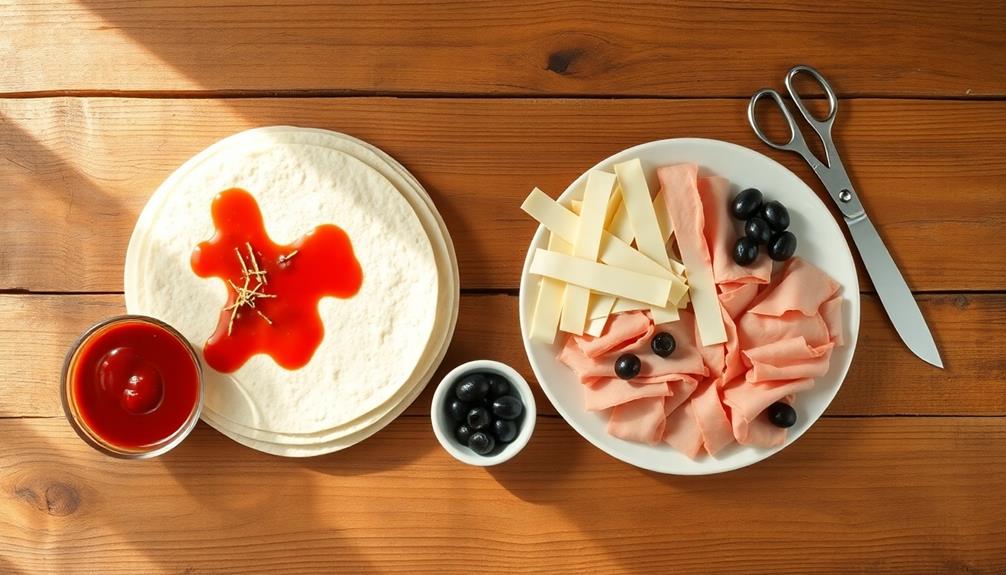
Step 1. Prepare the Gauze Strips
Preparation is key when creating realistic bloody bandage wraps. You'll need to start by getting your gauze strips ready. First, gather a roll of white gauze and some scissors. Unroll the gauze and cut it into strips about 2 inches wide and 12 inches long. You'll want to make at least 10 strips, but having extras is always a good idea.
Next, take each strip and carefully fray the edges. This will make them look more worn and realistic. To do this, gently pull at the loose threads along the sides of each strip. Don't overdo it, though! You just want a slightly ragged look.
Now, it's time to give your gauze some character. Crumple each strip into a ball and then smooth it out. This will create wrinkles and make the bandages look used.
If you want to go the extra mile, you can lightly sand the strips with fine-grit sandpaper. This will give them a softer, more weathered appearance.
Step 2. Mix Red Food Coloring
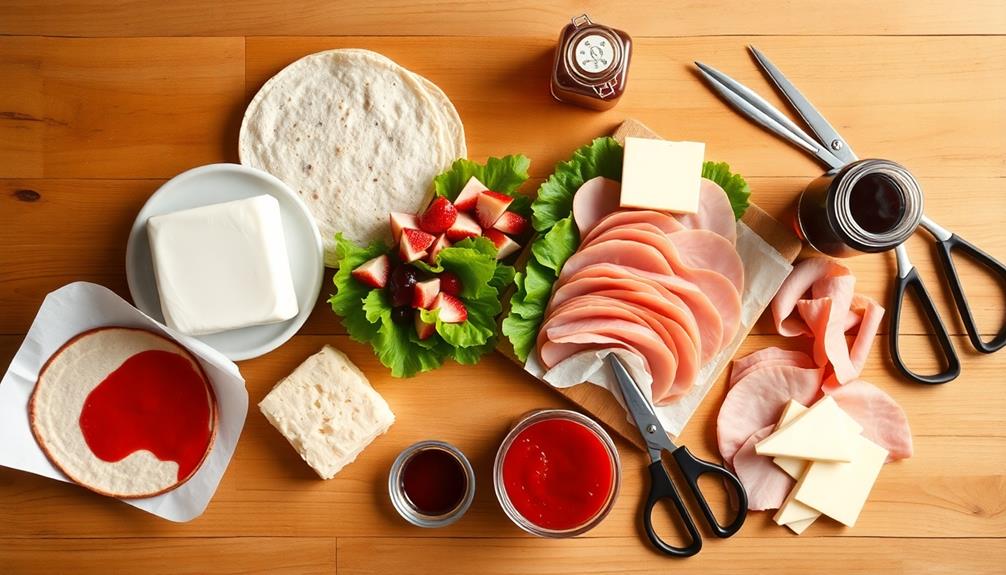
Now that your gauze strips are ready, it's time to create the fake blood. You'll need red food coloring, corn syrup, and water.
In a small bowl, mix 2 tablespoons of corn syrup with 1 tablespoon of water. This will give your blood a sticky, realistic texture. Next, add 5-6 drops of red food coloring and stir well. If you want a darker shade, add a drop of blue or green food coloring.
Keep mixing until you're happy with the color. It should look like real blood, but don't worry if it's not perfect. You can always adjust it later. If the mixture is too thin, add a bit more corn syrup. If it's too thick, add a little water. Remember, real blood isn't always bright red, so a slightly darker shade can look more realistic.
Once you're satisfied with your fake blood, it's time to apply it to your gauze strips. But be careful! This mixture can stain, so wear gloves and protect your work surface.
You're now ready to create some spooky, bloody bandage wraps for your Halloween costume or decorations.
Step 3. Soak Gauze in Dyed Liquid

Soaking the gauze in your homemade blood mixture is the next crucial step. You'll want to take your time with this part to ensure you get the best results.
First, grab a shallow dish or bowl that's big enough to fit your gauze strips. Pour your red food coloring mixture into the container, making sure there's enough to cover the gauze completely.
Now, it's time to dip your gauze strips into the liquid. Gently place each strip into the bowl, letting it soak up the red dye. You'll see the white gauze turn a deep, bloody red color. It's pretty cool to watch!
Make sure every part of the gauze is covered by pushing it down with a spoon or your fingers. Leave the gauze soaking for about 5-10 minutes. This gives it plenty of time to absorb the color.
While you're waiting, you can prepare a clean surface where you'll lay out the gauze to dry. Once the time's up, carefully remove each strip from the liquid. Let the excess drip off before moving them to your drying area.
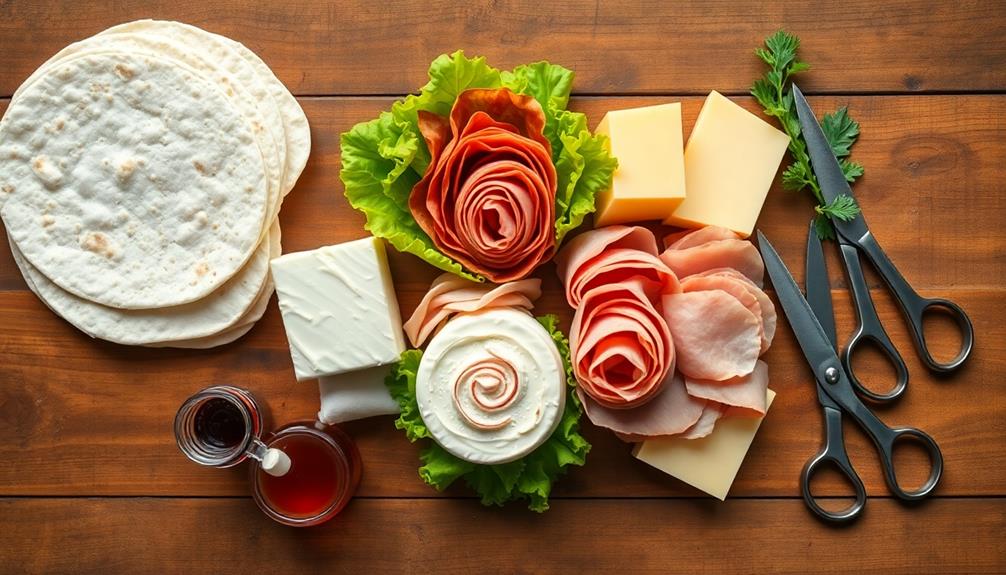
Step 4. Wrap Strips Around Food Item
Mummy-wrapped hot dogs make for a ghoulishly fun Halloween treat. You'll love how easy it's to create these spooky snacks! For the hot dogs, simply wrap each one in strips of crescent roll dough, leaving a small gap near one end for the “face.” Bake them until the dough is golden and the hot dogs are heated through. For a twist on this idea, try making savory mummy wrapped meatballs using the same technique with pre-cooked meatballs instead of hot dogs. These will surely be a hit at your next Halloween party!
First, take your dyed gauze strips and unroll them. Make sure they're not too wet, or they'll make your hot dogs soggy.
Now, grab a cooked hot dog and start wrapping. Begin at one end and wind the gauze around, slightly overlapping as you go. Don't wrap too tightly – you want it to look a bit messy and mummy-like.
As you wrap, leave small gaps here and there to let the "skin" of the hot dog peek through. This adds to the creepy effect!
When you reach the other end, tuck the loose end of the gauze under a previous wrap to secure it. If you want, leave a small space near the top to add candy eyes later.
Repeat this process for all your hot dogs. Once you're done, arrange them on a plate or serving tray. Your bloody bandage wraps are now ready to scare and delight your Halloween party guests!
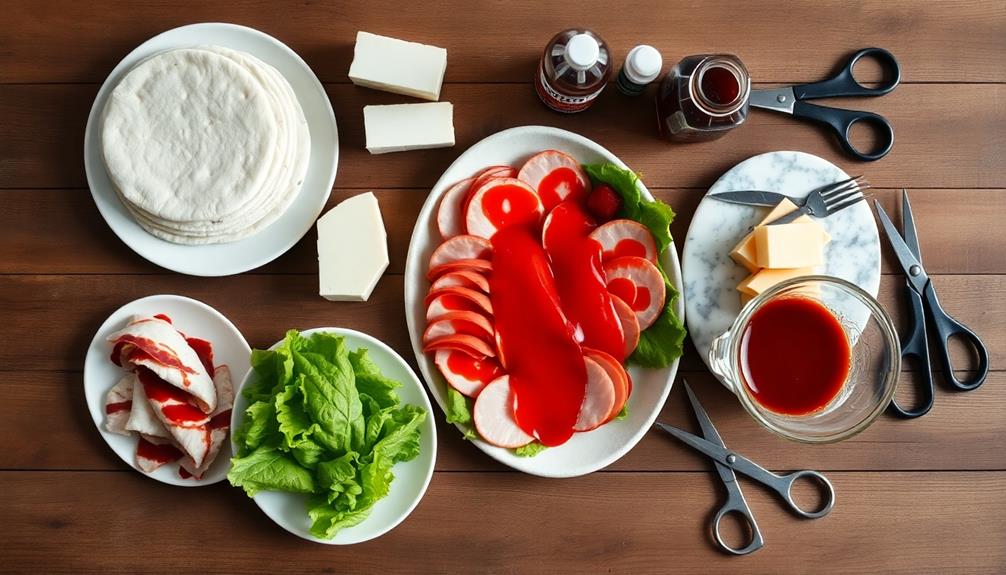
Step 5. Add Decorative Fake Blood Splatters
The final touch for your mummy-wrapped hot dogs is a generous splatter of fake blood. You'll need some red food coloring, corn syrup, and a small brush or spoon.
Mix a few drops of red food coloring with about a tablespoon of corn syrup in a small bowl. Stir well until you get a deep, blood-red color.
Now, it's time to get creative! Hold your wrapped hot dog over a plate or piece of wax paper. Dip your brush or spoon into the fake blood mixture and flick it onto the bandages.
You can create different patterns by changing how hard you flick or how close you're to the hot dog. Try making some big splatters and some tiny drops for variety.
Don't forget to add some drips! Use your brush to paint thin lines of fake blood running down the sides of your mummy dog. This will make it look extra spooky and realistic.
Final Thoughts
While creating bloody bandage wraps may seem gruesome, it's an essential skill for anyone interested in Halloween decorations or horror-themed props. You've learned how to make realistic-looking bloody bandages that will impress your friends and scare your neighbors!
Remember, practice makes perfect. Don't worry if your first attempts don't look exactly like you imagined. Keep trying, and you'll get better with each wrap you make. The key is to have fun and let your creativity shine through.
Safety is important, too. Always use non-toxic materials and be careful with sharp objects. If you're helping younger kids, make sure to supervise them closely.
These bloody bandage wraps are great for costumes, haunted houses, or spooky decorations. You can wrap them around dolls, mannequins, or even yourself for a creepy effect. The possibilities are endless!
Now that you know how to make these gory props, why not plan a Halloween party or a scary movie night? Your bloody bandage wraps will be the star of the show!