
Before adding a skylight to your home, consider installation costs, roof type, and local regulations. Budget between $1,000 and $2,700, and remember that professional help is often needed for safe installation. Make sure the skylight is energy-efficient to boost comfort and lower bills. Regular maintenance is essential to prevent leaks. You’ll also want to understand any permits required by your area. There’s plenty more to explore about this exciting home upgrade.
Key Takeaways
- Assess your budget, as skylight installation costs typically range from $1,000 to $2,700, and may require additional permits and inspections.
- Evaluate your roof’s condition and type, as these factors influence installation complexity and potential complications.
- Consider energy-efficient skylights for long-term savings, despite potentially higher upfront costs, and ensure proper insulation to prevent drafts.
- Check local building codes and zoning regulations before installation, as they dictate size, placement, and may require permits.
- Plan for regular maintenance, including inspections for leaks and cleaning, to ensure the skylight’s longevity and performance.
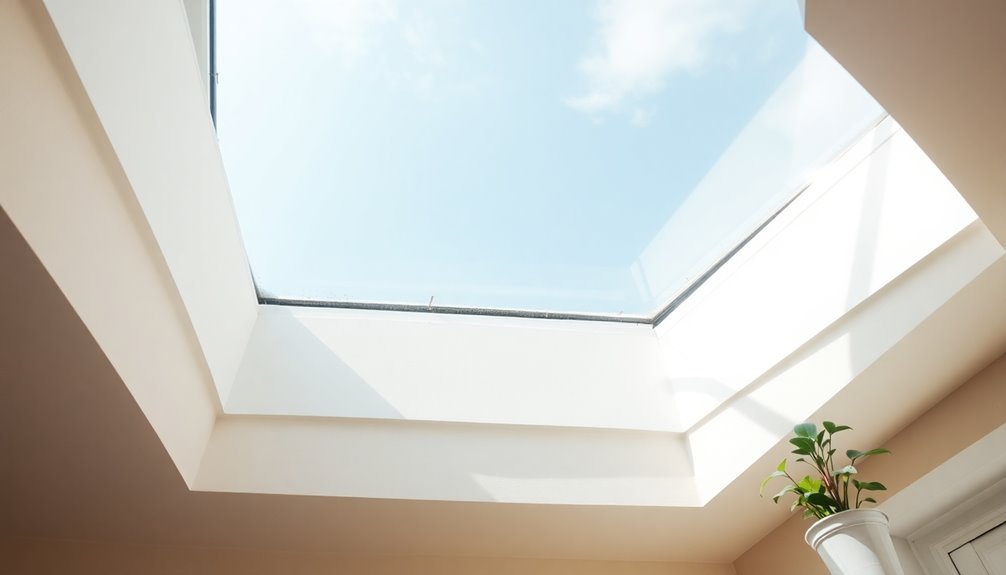
Benefits of Skylights in the Home
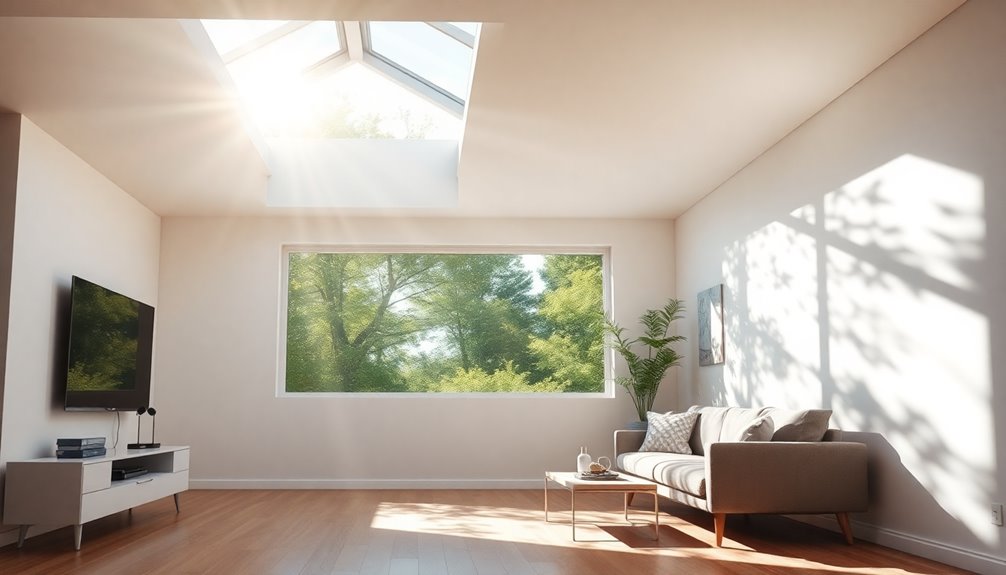
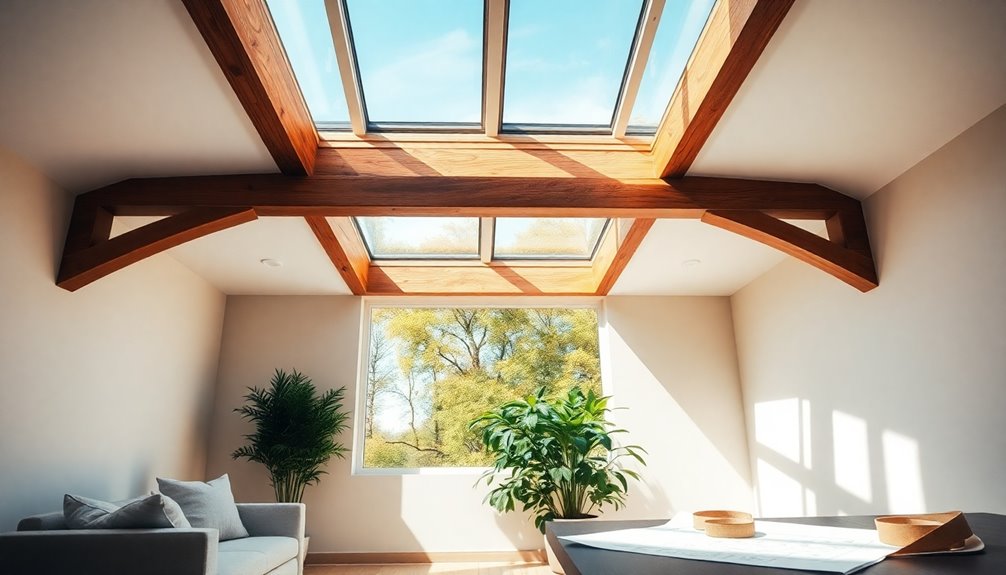
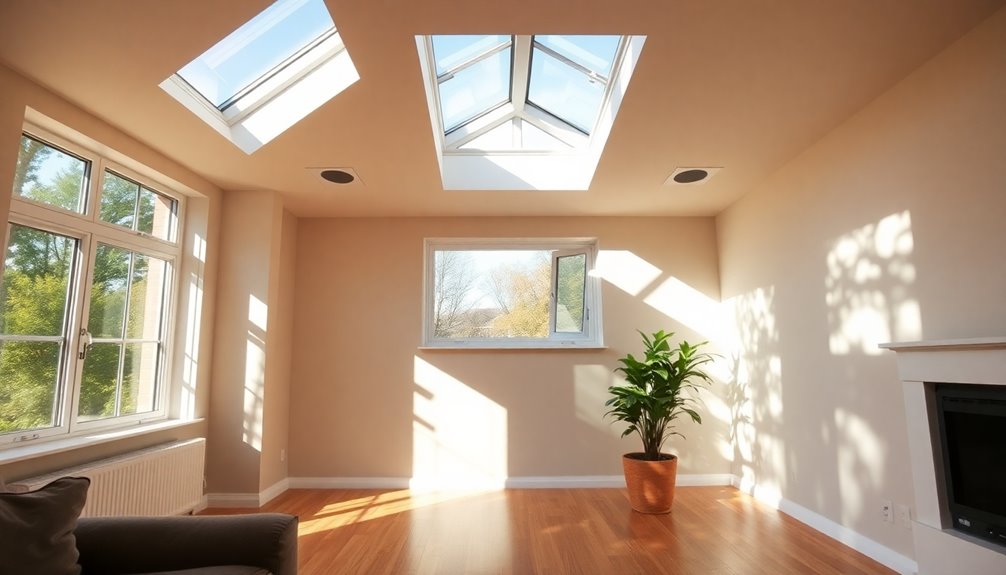
Skylights flood your rooms with natural light, cutting down on artificial lighting needs and potentially lowering your electricity costs by up to 30%. They also enhance the aesthetic appeal of your home, making it feel more open and spacious, which can increase its overall value.
Skylights illuminate your home, reduce electricity costs, and enhance its spaciousness and value.
Properly installed skylights improve indoor air circulation by expelling warm, stale air and bringing in fresh air, creating a healthier living space. Additionally, incorporating eco-friendly options can help maximize the energy efficiency of your home while supporting resource conservation goals.
For areas without direct roof access, tubular skylights are a practical choice, while vented skylights further boost energy efficiency and comfort by allowing fresh air to circulate.
Skylight Installation Considerations
When you’re considering installing a skylight, you’ll need to think about the project’s difficulty and your budget.
Costs can range from $1,000 to $2,700, so it’s smart to get quotes from multiple contractors.
Proper evaluation of your roof’s condition and type is essential to avoid complications down the road. Additionally, ensure that the skylight you choose has high-performance ratings to maximize energy efficiency and comfort in your home.
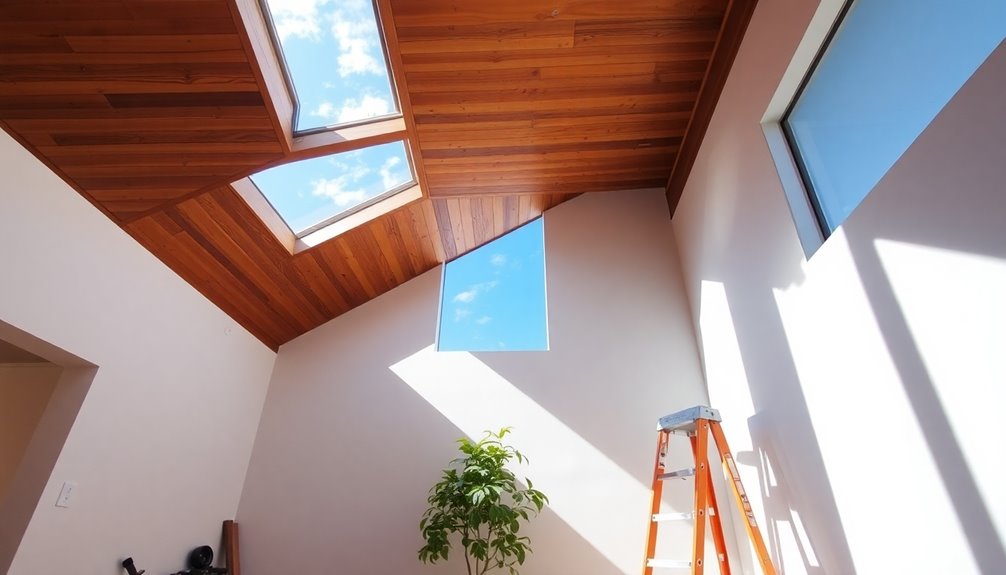
Installation Difficulty Levels
Adding a skylight to your home can be a rewarding project, but its installation complexity varies greatly based on several factors.
The installation process can be dangerous for inexperienced individuals, making it crucial to hire professional contractors. They’ll guarantee proper installation, preventing issues like leaks and energy loss that often stem from improper skylight installation.
Roof slope, size, and placement greatly influence the difficulty level and installation cost, which typically ranges from $1,000 to $2,700. If you’re considering a larger skylight, special engineering may be necessary, further complicating the project. Additionally, ensuring proper ventilation improvements is essential to maintain air quality and prevent moisture buildup after installation.
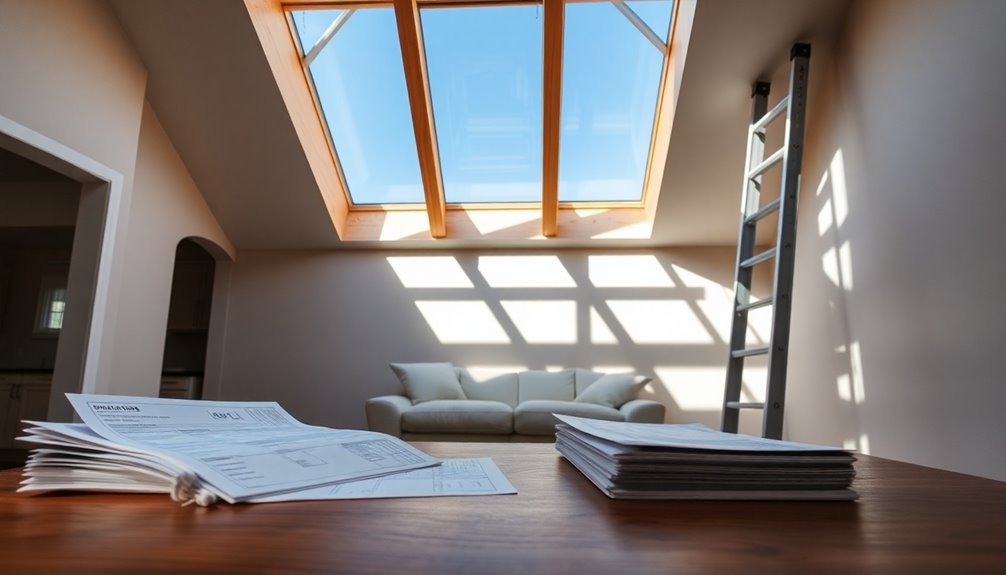
Cost and Budgeting Factors
After considering the installation difficulty levels, it’s important to focus on the financial aspects of adding a skylight to your home.
The average installation cost ranges from $1,000 to $2,700, with typical expenses around $1,860. Factors like roof type, slope, and local labor rates can greatly affect costs, so it’s wise to get quotes from at least three reputable companies.
Larger skylights may need special engineering, increasing costs further. Don’t forget to budget for permits and inspections, as these can vary based on local building codes.
While energy-efficient skylights might’ve higher upfront costs, they can save you money on energy bills in the long run, making them a smart investment for your budgeting needs. Additionally, consider how tax implications can impact your overall financial strategy when making home improvements.
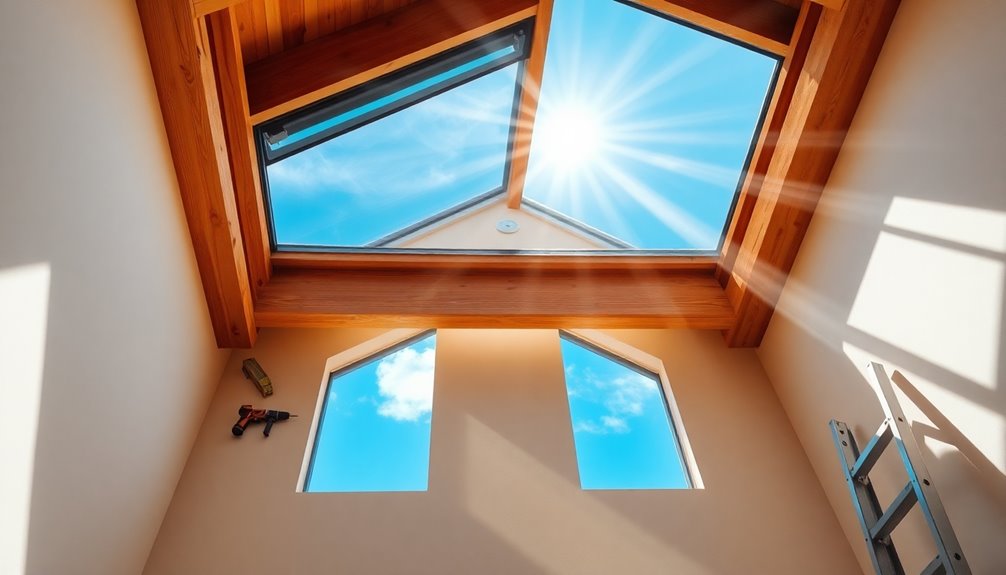
Skylight Installation Steps
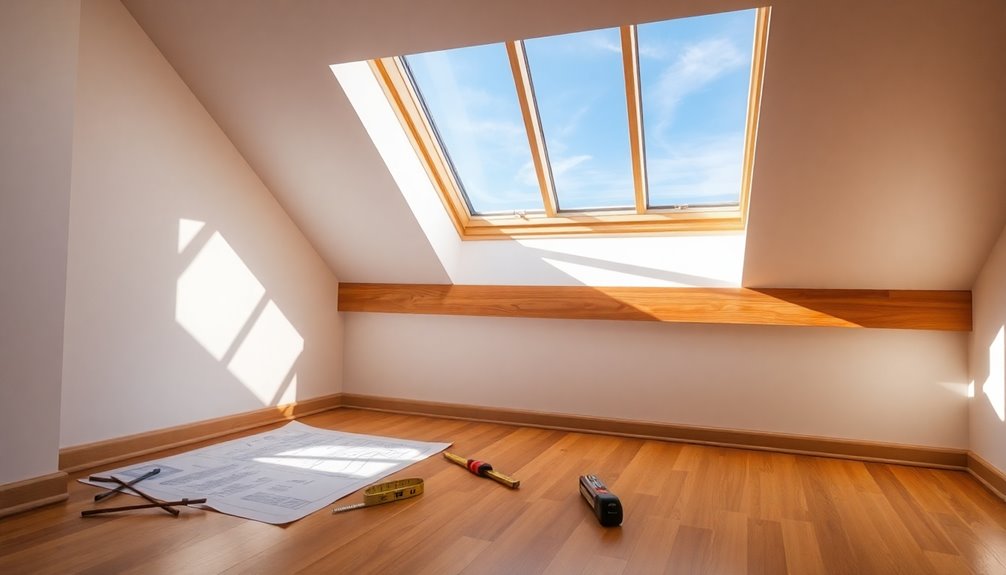
Installing a skylight involves several essential steps to guarantee a successful and leak-free addition to your home. First, carefully cut the roof with a circular saw while a helper holds the cutout. Once the opening is made, position the skylight and lower it into place, securing it with 2-inch roofing nails.
Next, you’ll need to seal the skylight by applying a waterproof membrane that extends beyond the sides, making 45-degree slits for effective sealing.
Finally, install the sill and flashing. Nail roofing shingles around the skylight and use U-shaped metal sill, followed by step-flashing and counterflashing for leak prevention. Additionally, ensure you understand the local building codes that may affect your installation process.
| Step | Action |
|---|---|
| 1. Cut the Roof | Use a circular saw and have a helper. |
| 2. Position Skylight | Lower it into place and secure it. |
| 3. Seal and Flashing | Apply waterproof membrane and install flashing. |
Can I Install a Skylight Myself?
Installing a skylight yourself might seem tempting, but it comes with significant safety risks.
You’ll need specific tools and skills to cut into your roof structure properly, which can be challenging if you’re inexperienced.
Consider whether you’re ready for the complexity of this project or if it’s wiser to hire a professional. Additionally, proper maintenance of your home’s structural integrity is crucial to avoid costly repairs later on.
Safety Risks Involved
While the idea of adding a skylight yourself might seem appealing, the safety risks involved can’t be overlooked.
Cutting into your roof requires careful handling, as improper techniques can lead to injuries. If you lack advanced skills in carpentry and roofing, attempting a DIY installation could result in structural damage and costly repairs down the line.
Professional installation is essential for minimizing the risk of leaks and ensuring proper sealing, which is vital for maintaining your roof’s integrity. Additionally, regular inspection of chimney and flue systems can prevent potential fire hazards during such renovations.
Hiring a contractor not only provides peace of mind but also guarantees that the job is done safely and effectively.
In the end, it’s worth considering the potential dangers before you take on this project yourself.
Required Tools and Skills
Adding a skylight can transform your home, but it demands a specific set of tools and skills that not everyone possesses.
Installing a skylight isn’t just a weekend project; it’s labor-intensive and requires proper equipment. If you’re not experienced, it’s wise to evaluate hiring professional contractors.
- The risk of leaks and energy loss from improper installation
- The need for assistance to safely position the skylight
- The complexity of using specific tools like saws and measuring tapes
While knowledgeable DIYers might tackle this, the hazards can be significant. An improperly installed skylight can also lead to increased energy loss and higher utility bills.
With average installation costs ranging from $1,000 to $2,700, professional help might ultimately be the smarter choice for your peace of mind.
Skylight Maintenance Tips
Maintaining your skylight is essential for maximizing its benefits and ensuring it lasts for years to come.
Regularly inspect the skylight for leaks every two weeks to catch any issues early and prevent water damage. Use a telescoping dust mop to dust the skylight, keeping it clear and allowing natural light to shine through.
Once a year, deep clean the skylight with a sponge and telescoping power washer to maintain its clarity and appearance. Additionally, keep your roof free of snow and ice to avoid ice dams that can lead to skylight leaking.
Finally, schedule professional inspections annually to check for cracks and damages, ensuring your skylight remains efficient and long-lasting. Incorporating energy-efficient systems can also enhance your home’s overall performance while maintaining the skylight’s functionality.
Energy Efficiency and Ventilation
Energy-efficient skylights can greatly enhance your home’s comfort and reduce energy bills. By featuring double or triple glazing and low-emissivity coatings, these skylights minimize heat loss in winter and heat gain in summer. Proper insulation around the frame is essential to prevent drafts.
Consider these benefits:
- Enjoy fresh air to circulate, reducing indoor temperatures.
- Utilize rain sensors that close skylights during bad weather, maintaining energy efficiency.
- Optimize placement for consistent light without excessive heat gain.
With the right skylight, you’ll not only boost energy efficiency but also create a comfortable living space. Regular cleaning of your skylights can also help maintain their efficiency and appearance.
Ventilated options allow for better airflow, lessening your dependence on air conditioning and ensuring your home stays cozy all year round.
Local Building Regulations and Permits
Before you plunge into installing a skylight, it’s crucial to understand your local building regulations and permit requirements.
Different areas have specific local building codes that dictate the size, placement, and type of skylights allowed. In some cases, you’ll need a building permit to guarantee your skylight installation meets safety and structural standards.
Additionally, local zoning laws may restrict where you can place your skylight, depending on its proximity to property lines and neighboring structures.
To avoid complications or fines, consult your local building authority for specific requirements and restrictions related to your project. Ignoring these regulations can lead to issues when selling your home in the future, so it’s best to be informed upfront.
Choosing the Right Skylight for Your Home
Skylights can transform your home by bringing in natural light and enhancing its overall appeal.
When choosing the right skylight, consider the following:
- Purpose: Will it provide light, ventilation, or aesthetics?
- Energy Efficiency: Look for double or triple glazing and low-emissivity coatings to save on energy bills.
- Roof Type: Different materials require specific installation methods.
Also, assess the orientation and placement—south-facing skylights maximize light but can add heat, while north-facing options offer diffused light.
Don’t forget to check local building codes to verify compliance regarding size and placement.
Frequently Asked Questions
What Are the Negatives of Skylights?
Skylights can have several downsides. You might experience increased heat gain during summer, leading to higher cooling costs if they aren’t properly shaded.
Poor installation can cause leaks, resulting in water damage and mold. If the skylights aren’t energy-efficient, you could deal with drafts in winter.
Plus, noise from rain or hail might disturb your peace, and improperly placed skylights can frame unappealing views or block natural light in other areas.
What You Need to Know Before Installing a Skylight?
Did you know that installing a skylight can increase your home’s natural light by up to 30%?
Before you install one, check your roof type and angle, as these factors impact feasibility and design. You’ll also want to take into account energy efficiency features to prevent drafts.
Don’t forget local building codes; they might dictate size or placement.
Finally, hiring a skilled contractor guarantees proper installation, minimizing potential leaks and maximizing benefits.
Where Not to Put a Skylight?
You shouldn’t place a skylight near valleys, ridgelines, or eaves, as these spots are prone to leaks and snow accumulation.
Avoid areas under large trees, which can block light and spoil your view.
Steer clear of low placements that interfere with attic insulation and poor roof drainage zones to prevent water buildup.
Also, be cautious of the sun’s path; south-facing skylights can lead to overheating, while north-facing options offer softer light.
What Is the Rule of Thumb for Skylight?
When it comes to skylights, think of them as your home’s little windows to the sky, brightening your space beautifully.
A good rule of thumb is to aim for a skylight area that’s about 10% of your room’s floor area.
For ventilation, install venting skylights at least 1 square foot for every 150 square feet of room.
This way, you’ll enjoy the perfect balance of light and airflow, creating a cozy, inviting atmosphere.
Conclusion
So, if you’re ready to transform your home into a sun-soaked paradise, just remember: skylights aren’t just fancy holes in your roof. They’re a commitment! From ensuring you don’t turn your living room into a sauna to steering through local building codes like a pro, it’s quite the adventure. But hey, who doesn’t want to feel like they’re living in a greenhouse? Just don’t forget your sunblock while you’re at it!