
Creating ice cream with kids can be easy, fun, and safe when you pick simple recipes like making vanilla in a bag or no-churn chocolate in jars. Incorporate vibrant fruits, colorful layers, and toppings to keep kids engaged while ensuring hygiene and safety. Supervise closely when handling ingredients and freezing. Want to discover more delicious ideas and helpful tips? Keep exploring for inspiring recipes that turn ice cream making into a delightful family activity.
Key Takeaways
- Use simple, age-appropriate recipes like no-churn or ice cream in a bag for safe, fun kid activities.
- Incorporate healthy ingredients such as fruits and yogurt to make nutritious, colorful frozen treats.
- Supervise children closely and teach proper hygiene for safe handling and assembly of ice cream recipes.
- Prepare ingredients in advance, like pre-cut fruits and pre-measured toppings, to minimize mess and ensure safety.
- Encourage creativity with toppings and layering while maintaining safety guidelines to make the experience enjoyable.

Tovla Jr. Kids Ice Cream Science Kit | Make Real Ice Cream with Reusable Tools | STEM Learning Activity & Gift Set Ages 5–12 | Includes Visual Recipes, Scoop, Bowls & Shaker
STEM Meets Sweet Treats – Kids discover the science of ice cream while making their own delicious creations….
As an affiliate, we earn on qualifying purchases.
As an affiliate, we earn on qualifying purchases.
Classic Vanilla Ice Cream in a Bag

Have you ever wondered how to make delicious vanilla ice cream right at home with just a few simple ingredients? This classic method connects to the ice cream history, where early recipes used basic ingredients and manual churning. Making vanilla ice cream in a bag is a fun, hands-on activity that’s perfect for kids. Once you mix the ingredients—cream, sugar, vanilla—you’ll place them in a small bag, then put that inside a larger bag filled with ice and salt. Shake vigorously until the mixture firms up. Proper ice cream storage is essential; transfer it to an airtight container and keep it in the freezer if you’re not eating it right away. This simple process makes homemade ice cream accessible and exciting. Additionally, understanding the importance of ice and salt in the process helps achieve the ideal texture and consistency. The role of salt in lowering the melting point of ice is a key factor that enhances the freezing process and texture. Using the right amount of salt can affect the melting point of the ice, which in turn influences how quickly and effectively your ice cream freezes. Incorporating the right Glycolic Acid benefits can also help in maintaining healthy skin after enjoying your cold treat. Moreover, choosing the correct storage methods ensures your ice cream stays fresh and maintains its quality.

Barney Butter Almond Butter, Bare Crunchy, 10 Ounce Jar, No Added Sugar or Salt, Skin-Free Almonds, No Stir, Non-GMO, Gluten Free, Keto, Paleo, Vegan
SCRUMPTIOUSLY SMOOTH: Contains a 10-ounce jar of classic, crunchy and spreadable Barney Bare Crunchy Almond Butter with NO…
As an affiliate, we earn on qualifying purchases.
As an affiliate, we earn on qualifying purchases.
No-Churn Chocolate Ice Cream in a Jar

Making no-churn chocolate ice cream in a jar is a simple and fun way to enjoy homemade dessert without any special equipment. Ice cream history shows how it evolved from a luxury to a popular treat, with flavor trends now favoring rich, indulgent chocolates. By mixing heavy cream, sweetened condensed milk, and cocoa powder, you create a creamy base that captures those classic chocolate flavors. Simply pour the mixture into a jar, seal it, and shake vigorously until well combined. Then freeze for a few hours until firm. This method allows you to experiment with different chocolate intensities or add-ins like chocolate chips. It’s an easy, kid-friendly activity that brings the joy of ice cream history and current flavor trends right into your kitchen. Using high-quality ingredients can enhance the overall flavor and texture of your homemade ice cream.

Ice Cream Mix, Kits for Home Ice Cream Makers, Ready in 30 Minutes. 100g Bags, 3.5 Ounces, Six Flavors (Pack of 6) Good Gifts for Christmas Halloween Birthday Party
✓Make fresh, delicious ice cream – Blend together the ice cream mix, and the ingredients you need. Pour…
As an affiliate, we earn on qualifying purchases.
As an affiliate, we earn on qualifying purchases.
Fruity Frozen Yogurt Pops

Fruity frozen yogurt pops are an invigorating and healthy treat that kids love, especially during warm weather. They’re simple to make and customizable with your child’s favorite fruits. You can add healthy toppings like chopped nuts or granola, but always consider allergy considerations to keep everyone safe. To create these pops, blend yogurt with fresh fruit, pour into molds, and insert sticks before freezing. For variety, try different combinations like berries, mango, or peach. Here’s a quick guide to flavor ideas:
| Fruit Base | Healthy Toppings | Allergy Notes |
|---|---|---|
| Strawberry | Granola, coconut | Nuts may trigger allergies |
| Mango | Chia seeds | Check for seed allergies |
| Blueberry | Honey drizzle | Honey not suitable for babies |
| Peach | Sliced almonds | Nut allergies to watch |
Enjoy making invigorating, allergy-aware frozen yogurt pops together! Additionally, choosing air purifiers with HEPA filters can help improve indoor air quality while your family enjoys their healthy treats. Being mindful of allergy considerations can ensure everyone stays safe and healthy during snack time. Incorporating nut-free options can also make the treats accessible to children with nut allergies. For added safety, consider using child-proof molds and sticks to prevent accidental injuries. Also, understanding retirement planning concepts can help adults prepare for a secure future, ensuring peace of mind as your family creates joyful memories.

URMUYJJ Ice Cream Cups with Spoons Cartoon Candy Colorice cream bowls Dessert Sundae Frozen Yogurt Bowls Icecream Cup Party Favors Dishes ice crem kits supplies for kids Set (6)
[BEAUTIFUL, DURABLE, HIGH-QUALITY, PLASTIC]: 6-Piece Ice Cream Sundae Bowl, Reusable Plasticice Cream Kids Bowl With Spoon. They Have…
As an affiliate, we earn on qualifying purchases.
As an affiliate, we earn on qualifying purchases.
Cookie Dough Ice Cream Cups

Ever wondered how to turn a classic cookie dough treat into a fun, kid-friendly ice cream experience? Start by filling small cups with vanilla or chocolate ice cream, then add bite-sized cookie dough pieces. Top each cup with healthy toppings like chopped nuts or fresh fruit for added flavor and nutrition. To keep everything fresh, store the cups in an airtight container in the freezer, making sure they’re well covered to prevent freezer burn. These cookie dough ice cream cups are perfect for a quick snack or party treat. Kids will love the combination of creamy ice cream and chewy cookie dough, and you’ll love knowing they’re enjoying a safe, homemade dessert with wholesome toppings. Using proper storage techniques helps maintain the quality and safety of your frozen treats.
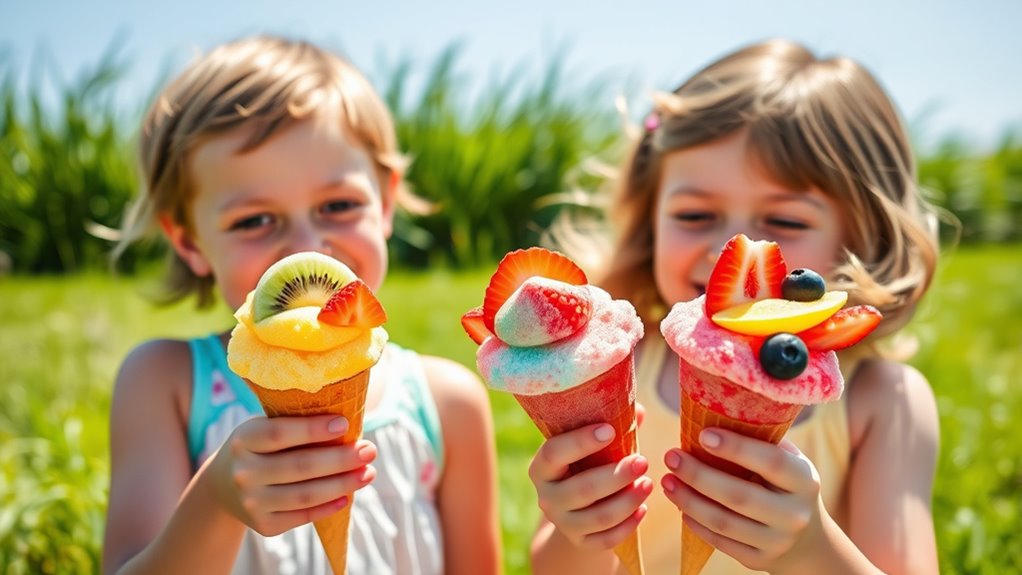
Rainbow Sherbet With Fresh Fruit
Start by choosing bright, colorful fruits like strawberries, kiwis, and oranges to make your sherbet pop. Next, prepare a smooth sherbet base by blending fruit juice or puree with a sweetened, frozen mixture. To ensure safety during preparation, always wash your hands and clean your tools thoroughly. Incorporating proper hygiene practices is essential to prevent any contamination while making and serving the ice cream. Additionally, understanding AI in Education can help develop innovative tools that support personalized learning experiences for children. Being aware of ethical hacking principles can also inform best practices for securing your devices during food prep. Moreover, adopting data-driven strategies can help you refine your recipes based on feedback and preferences.
Choosing Vibrant Fruits
Choosing vibrant fruits to complement rainbow sherbet adds a burst of color and flavor that kids love. When selecting fruits, focus on eye-catching options like strawberries, blueberries, mangoes, and kiwis, which create appealing fruit combinations. These vibrant color choices make the dessert more enticing and fun to eat. Opt for fruits that are ripe and fresh, ensuring natural sweetness and texture. Cutting fruits into small, uniform pieces helps distribute colors evenly across the sherbet, enhancing its visual appeal. Variety is key—mix different hues for a truly rainbow effect. Keep it simple by choosing fruits your kids enjoy, and you’ll create a stunning, delicious treat that’s both healthy and delightful. Remember, the right fruit choices turn a simple dessert into a colorful masterpiece.
Preparing Sherbet Base
To prepare the sherbet base for your rainbow treat, begin by combining fruit juice or puree with a sweetener such as sugar or honey until fully dissolved. This creates a smooth, flavorful mixture using basic sherbet ingredients. Once mixed, pour the base into a shallow, freezer-safe container. To achieve the best texture, use proper freezing techniques: stir the mixture every 30 minutes during the first few hours to prevent large ice crystals and ensure a creamy consistency. Keep the container uncovered or loosely covered to avoid ice formation. When the sherbet reaches a firm but scoopable texture, usually after about 4-6 hours, it’s ready for the next step. Using these techniques guarantees a vibrant, delicious sherbet that’s perfect for your colorful rainbow.
Combining for Colorful Treat
Once your sherbet base is frozen to the perfect consistency, it’s time to incorporate fresh fruit to create a vibrant, colorful treat. Start by gently folding in chopped fruit like strawberries, blueberries, or kiwi for natural bursts of color and flavor. For even brighter hues, you can add small drops of food coloring, but remember that fresh fruit already adds beautiful shades. When mixing, use a gentle hand to preserve the fruit’s shape and color. For a rainbow effect, layer different sections with various fruits and colors, creating a striking visual appeal. This approach combines color mixing with natural ingredients, making your sherbet both eye-catching and delicious, perfect for a fun, safe treat for kids. Incorporating AI security technologies can also help ensure your kitchen devices and digital recipes remain protected from cyber threats, adding an extra layer of safety to your fun cooking experience. Additionally, understanding state-specific tax laws can help in planning your ingredient purchases or sharing your culinary creations responsibly. Using nutritional knowledge about fruits can help you select the most colorful and healthful options for your rainbow sherbet. When selecting fruits, consider their antioxidant content to boost the health benefits of your colorful dessert.
Banana Ice Cream With a Twist

If you’re looking to elevate your banana ice cream, adding a surprising twist can make it even more delicious. Start with ripe bananas, which offer great banana nutrition and natural sweetness. Freeze the bananas beforehand for the best frozen banana recipes, giving your ice cream a creamy, smooth texture. To add a twist, mix in a spoonful of peanut butter, cocoa powder, or a handful of mini chocolate chips. For a hint of spice, sprinkle cinnamon or a dash of vanilla extract. These simple additions transform basic frozen bananas into a richer, more complex treat kids will love. Plus, it’s a healthy option that’s easy to customize. Incorporating raw food principles can also enhance the overall experience by keeping your skin clear and healthy. Recognizing the importance of angel number soulmate signs can inspire you to share your treats with loved ones, making the experience even sweeter.
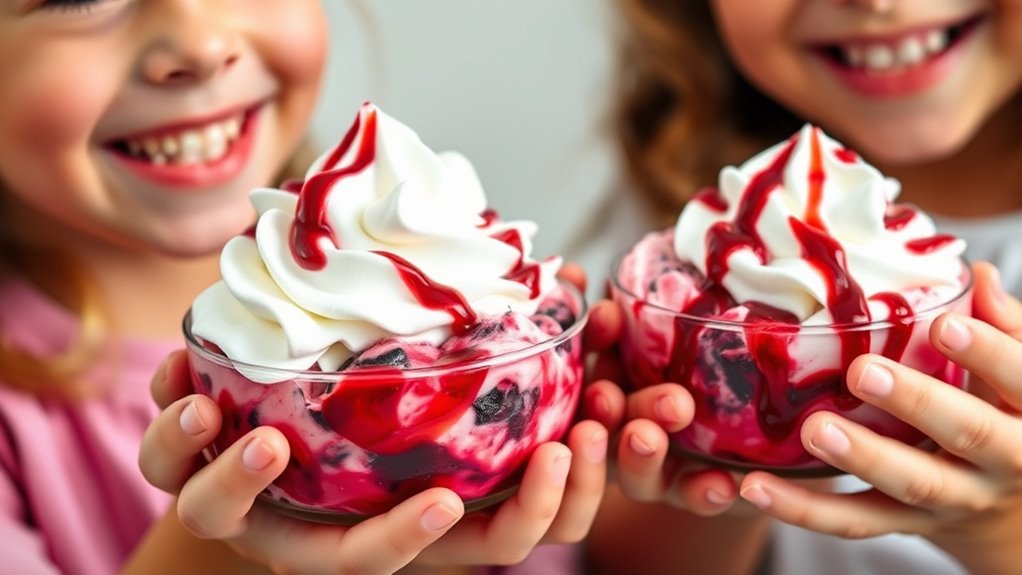
Whipped Cream and Berry Swirl Ice Cream
To make whipped cream and berry swirl ice cream, start by preparing a fresh berry mix that’s sweet and vibrant. Then, whip the cream until it forms soft peaks, ready for folding. Finally, swirl the berries into the cream and serve for a colorful, delicious treat.
Preparing the Berry Mix
Have you ever wondered how to create a vibrant and flavorful berry swirl for your ice cream? To start, focus on fruit selection—choose ripe, colorful berries like strawberries, blueberries, and raspberries. Proper berry washing is essential; rinse them gently under cold water to remove dirt and pesticides. Once cleaned, you can mash or blend the berries to create a luscious, natural swirl. Use the table below to keep track of your berry prep:
| Step | Tips |
|---|---|
| Fruit Selection | Pick ripe, vibrant berries |
| Berry Washing | Rinse gently under cold water |
| Mashing/Blending | Use a fork or blender for smoothness |
| Storage | Keep in a sealed container until use |
This quick prep guarantees your berry mix is fresh, safe, and bursting with flavor.
Whipping the Cream
Once your berry mixture is prepared and ready to go, the next step is to whip the cream until it reaches the perfect, fluffy consistency. Use your preferred whipping techniques—either a hand whisk, electric mixer, or stand mixer—to achieve this. Start on low speed and gradually increase to medium-high, watching for soft peaks to form. To prevent the cream from turning into butter, incorporate cream stabilization techniques, like adding a small amount of cream of tartar or cornstarch. This helps the whipped cream hold its shape longer and remain light and airy. Be careful not to over-whip, as it can quickly become grainy. Once your cream is just right, fold in the berry mixture gently for a beautifully swirled ice cream.
Swirling and Serving
How you swirl and serve your ice cream makes all the difference in presentation and flavor. To create a beautiful berry swirl, gently layer your ice cream with spoonfuls of berry sauce, then use a spatula or skewer to swirl it through, creating a marbled effect. When serving, consider sprinkle techniques—adding colorful sprinkles or mini chocolate chips around the edges for extra flair. Finish with decorative toppings like fresh berries, chopped nuts, or whipped cream to enhance visual appeal and taste. For a fun touch, try piping whipped cream into rosettes or shapes on top. These simple steps make your ice cream look irresistible and add delightful textures and flavors, turning an ordinary treat into a memorable, kid-friendly dessert.
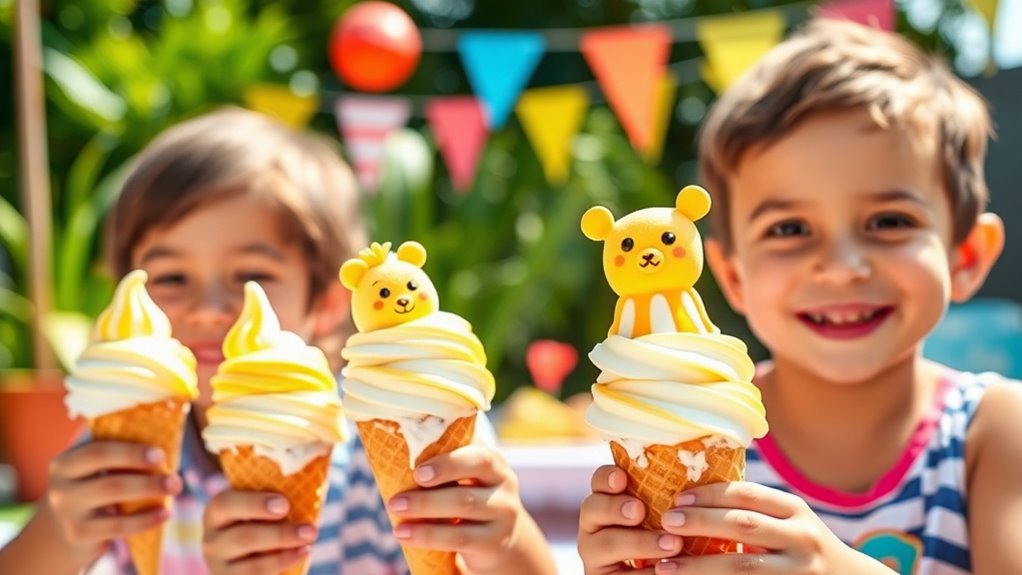
Mint Chocolate Chip in a Cone
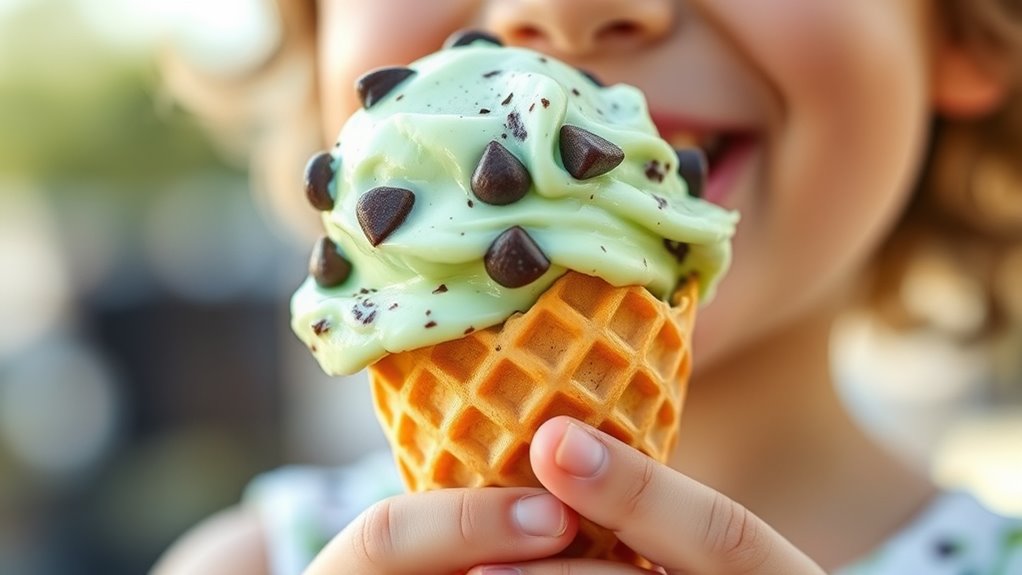
Mint chocolate chip in a cone offers an invigorating and satisfying treat that kids love. Its revitalizing mint flavor combined with chocolate chips creates a perfect balance of coolness and sweetness. To make it special, try cone decorating with colorful sprinkles, chocolate drizzles, or crushed cookies. These toppings add visual appeal and extra flavor, making the experience even more fun. When preparing, fill the cone with mint chocolate chip ice cream, then personalize with your favorite decorations. Here’s a simple guide:
| Decoration Type | Tips |
|---|---|
| Sprinkles | Use vibrant colors for fun |
| Chocolate Drizzle | Melt and drizzle evenly |
| Crushed Cookies | Add crunch and texture |
Enjoy creating a delightful, kid-friendly mint chocolate chip cone that’s both tasty and visually appealing.
Coconut Pineapple Ice Cream Boppers
Getting started with Coconut Pineapple Ice Cream Boppers is easy with simple ingredients like coconut milk, pineapple chunks, and a touch of honey. You can involve kids in assembling these fun treats by letting them place the fruit and press the molds. Plus, they offer nutritional benefits like healthy fats and vitamins, making them a tasty and wholesome option.
Ingredients and Preparation
To make Coconut Pineapple Ice Cream Boppers, start by gathering your ingredients: shredded coconut, fresh pineapple or pineapple juice, sweetened condensed milk, and a splash of vanilla extract. These ingredients create a tropical flavor that kids will love and can be customized with different ice cream flavors if you want variety. Begin by blending the pineapple with the sweetened condensed milk and vanilla until smooth. Mix in shredded coconut for added texture. Pour the mixture into molds or cups, then freeze until firm. Proper ice cream storage is key—keep your boppers covered tightly after freezing to prevent freezer burn and preserve freshness. Once frozen, these boppers are easy to serve and perfect for a fun, kid-friendly treat.
Kid-Friendly Assembly Tips
Since kids can be enthusiastic to enjoy their treats, it’s best to make assembly simple and fun. Keep food safety in mind by washing hands before starting and using clean utensils. Child supervision is essential to ensure they handle ingredients safely and avoid accidents. Offer pre-cut pineapple and coconut flakes to make the process easier and reduce mess. Let kids gently press the ingredients onto the ice cream, encouraging their creativity without overhandling or unsafe actions. Explain each step clearly so they understand how to assemble their Coconut Pineapple Ice Cream Boppers properly. Always check that ingredients are fresh and stored correctly. By staying attentive and guiding them, you make the activity enjoyable and safe, creating a positive experience around food preparation.
Nutritional Benefits Overview
Are you curious about the health benefits of Coconut Pineapple Ice Cream Boppers? These treats pack a nutritious punch while satisfying your sweet tooth. They offer a good vitamin content, particularly vitamin C from the pineapple, which supports your immune system. Plus, the coconut provides healthy fats that boost energy and promote brain health. Here’s what makes them beneficial:
- Low to moderate calorie count, making them a guilt-free indulgence.
- Rich in vitamin C, aiding immune function and skin health.
- Contains healthy fats from coconut, supporting digestion.
- Natural sweetness from pineapple reduces the need for added sugars.
Enjoy these ice cream boppers as a fun, nutritious snack that fuels your body without overloading on calories or sacrificing flavor.
Chocolate-Dipped Banana Bites
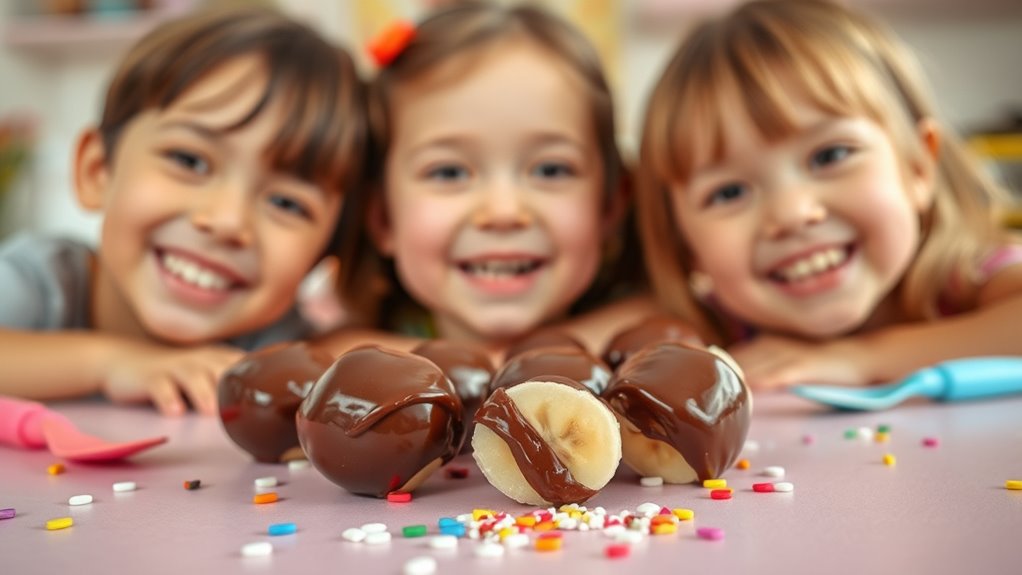
Chocolate-dipped banana bites make a simple and delicious treat that kids love. To elevate them, try adding healthy toppings like chopped nuts, shredded coconut, or a drizzle of honey. These options boost flavor and nutrients. When preparing, use storage tips such as placing the bites on a parchment-lined tray and freezing until firm. Once frozen, transfer them to an airtight container for easy handling. Keep in mind, these bites are best enjoyed within a couple of days to maintain freshness. Here’s a quick overview:
| Step | Tip |
|---|---|
| 1 | Use ripe bananas for natural sweetness. |
| 2 | Dip bananas in melted dark chocolate. |
| 3 | Add healthy toppings before freezing. |
| 4 | Freeze on a tray, then store in an airtight container. |
| 5 | Thaw briefly before serving. |
Enjoy this fun, safe, and nutritious treat!
Frequently Asked Questions
Can These Recipes Be Made Allergen-Free for Kids With Food Allergies?
You can make these recipes allergy-friendly by using suitable substitutions for common allergens, like dairy or nuts. Be sure to employ allergy-friendly substitutions to keep everyone safe. To prevent cross-contamination, clean all utensils and surfaces thoroughly and separate allergen-containing ingredients from others. Always check labels carefully, and consider using dedicated tools to ensure your kid’s ice cream remains safe for their specific allergies.
What Are Some Healthy Alternatives to Sugar in These Ice Cream Recipes?
Imagine your ice cream as a canvas, craving vibrant, natural colors instead of dull sweetness. You can swap out sugar with natural sweeteners like honey, maple syrup, or agave nectar, which add flavor without the crash. Sugar substitutes like stevia or monk fruit work as gentle whispers of sweetness. These choices keep your treat healthy, bright, and delightful, turning every scoop into a colorful celebration of better-for-you ingredients.
How Long Can Homemade Ice Cream Be Stored Safely in the Freezer?
You can store homemade ice cream in the freezer for up to 2-3 months, following proper storage duration and freezer guidelines. To keep it fresh, guarantee it’s in an airtight container and at a consistent, cold temperature. After this period, the quality may decline, and ice crystals could form. Always check for signs of freezer burn or spoilage before enjoying, and aim to consume it within the recommended time frame.
Are These Recipes Suitable for Very Young Children or Only Older Kids?
When considering if these recipes are suitable for very young children, you should evaluate if they’re age appropriate. For very young kids, tasks like pouring ingredients or using blenders may require close supervision needed to guarantee safety. Older kids can handle more of the process independently, but always supervise to prevent accidents. Adjust recipes to match your child’s age, skill level, and comfort, making sure everyone stays safe and has fun.
What Safety Precautions Should Parents Take During the Preparation Process?
Imagine guiding a tiny ship through calm waters—you must stay vigilant. Always supervise your child closely, like a lighthouse guiding ships safely ashore. Keep the kitchen hygienic, like a pristine harbor, to prevent accidents or illness. Use child-safe utensils, wash hands thoroughly, and teach safe handling of ingredients. These precautions make certain your little adventurer explores the kitchen safely, turning the process into a joyful, memorable voyage for both of you.
Conclusion
Now that you’ve discovered these fun and safe ice cream recipes, imagine the exciting moments ahead. Picture your kids’ faces lighting up as they create their own tasty treats, each scoop bringing smiles and laughter. But wait—there’s one secret recipe that could turn your summer into an unforgettable adventure. Are you ready to unveil the magic of homemade ice cream? Stay tuned—your sweet journey has just begun, and the best is yet to come.