
To install a pressure-side pool cleaner, start by selecting a suitable location with proper plumbing support, like a skimmer or dedicated pressure line. Turn off your pool pump before connecting hoses, ensuring they are secure without kinks or twists. Attach the hoses properly, then connect the cleaner to the pressure line. After setup, turn your pump back on and monitor the cleaner’s movement; if issues arise, fine-tune hose placement or pressure for ideal performance. Keep reading to learn detailed steps for a seamless installation.
Key Takeaways
- Choose a suitable location for the booster pump and connect it to the skimmer or pressure line with proper fittings.
- Assemble and secure hose segments, ensuring they are free of twists or kinks, then connect to the pressure line or skimmer fitting.
- Turn on the pool pump and observe the cleaner’s movement, making adjustments if it shows sluggishness or lacks debris pickup.
- Troubleshoot by checking for leaks, debris blockages, or misaligned hoses, and verify water pressure levels for optimal flow.
- Regularly inspect hoses and fittings, adjust pressure levels, and ensure the cleaner’s intake and hoses remain clear for effective operation.
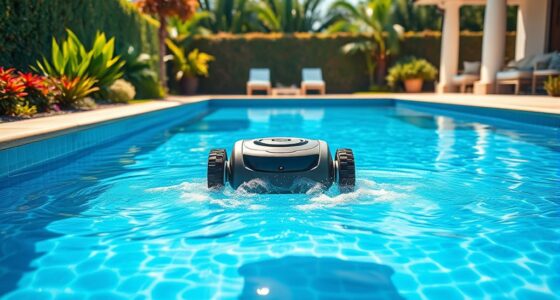
Installing a pressure-side pool cleaner is a straightforward process that can substantially reduce your pool maintenance time. Once set up correctly, it handles debris collection efficiently, freeing you from daily skimming and vacuuming. The key to a successful installation lies in understanding the basic steps and knowing how to troubleshoot common equipment issues that might arise along the way.
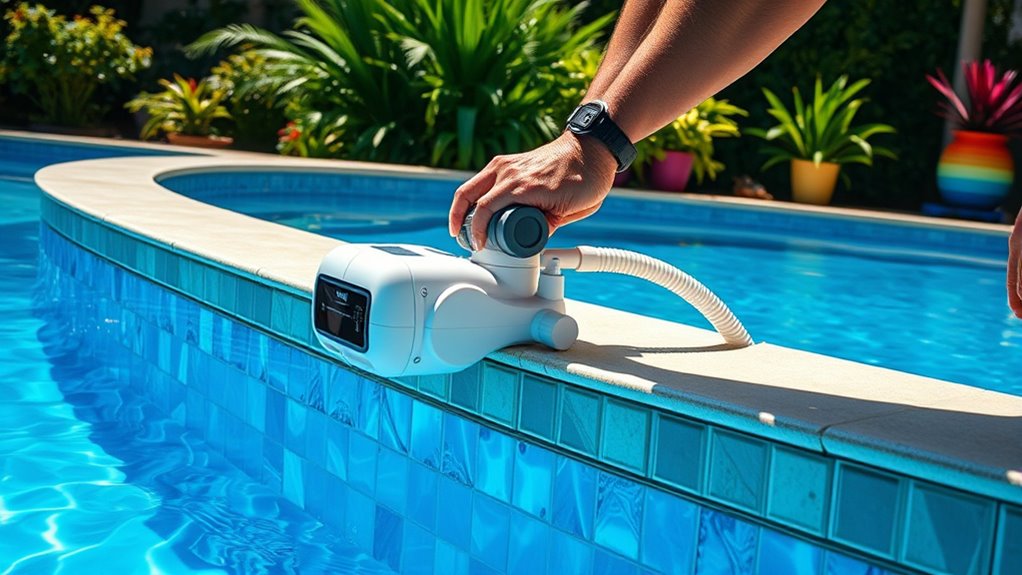
Begin by choosing the right location for your cleaner’s booster pump and ensuring your pool’s plumbing system can support it. Most pressure-side cleaners connect to the skimmer or dedicated pressure line, so it’s important to verify that your existing system has the necessary fittings. Before installing, turn off your pool’s pump and ensure the water level is adequate—usually at least halfway up the skimmer opening—to facilitate proper suction and flow. Proper water circulation is essential for optimal cleaning performance. Additionally, verifying the water pressure levels can help prevent issues and improve efficiency.
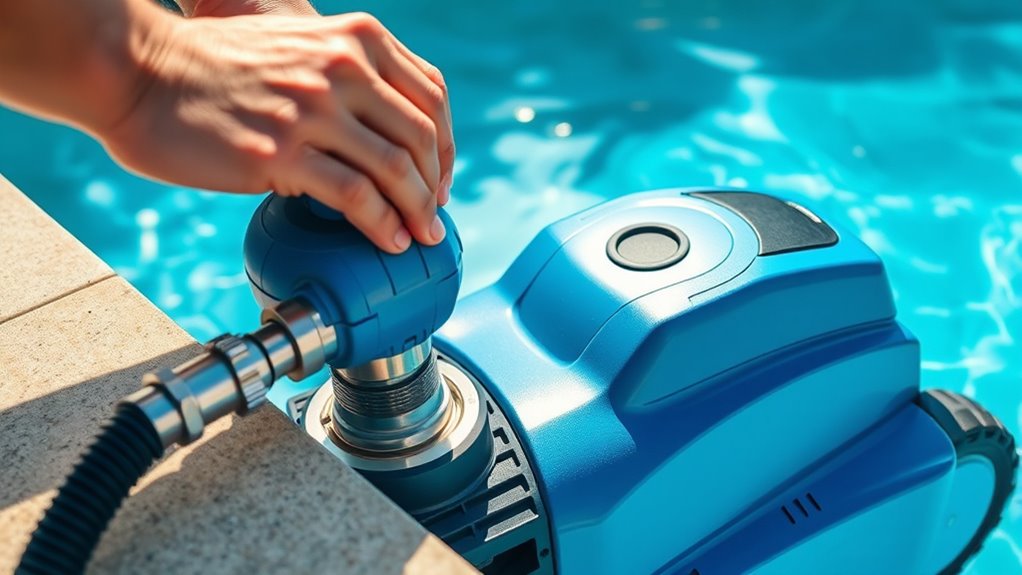
Next, attach the cleaner’s hose segments, making sure each piece is securely connected. Many models come with adjustable hoses; you can trim or extend them as needed to fit your pool’s dimensions. When connecting the hose to the cleaner, ensure it’s not twisted or kinked, as this can impede water flow and compromise cleaning performance. Connect the hose to the dedicated pressure line or skimmer fitting, following the manufacturer’s instructions carefully to prevent leaks or disconnections during operation.
Once everything’s connected, turn the pool pump back on and observe the cleaner’s movement. It should start to move around the pool, picking up debris. If it doesn’t move or seems sluggish, you might need to check the equipment troubleshooting guides. Common issues include clogged hoses, improper connections, or insufficient water pressure. Clearing out any debris from the hoses or fittings can often restore proper function. Also, ensure that the return jets are properly directed to promote good water flow, which helps the cleaner operate smoothly. Regular maintenance and inspections are crucial for ongoing performance. Check the hoses periodically for leaks or wear, and make sure the cleaner’s intake is clear of obstructions. If you notice the cleaner isn’t functioning as it should, revisit the equipment troubleshooting tips—sometimes, small adjustments to hose connections or pressure settings can make a big difference.
Additionally, understanding the importance of pressure regulation can help optimize your cleaner’s performance and prevent unnecessary strain on your pool’s system. Properly managing water pressure ensures your pressure-side cleaner works efficiently and extends its lifespan.

EUHOMY Countertop Dishwasher Portable with 6 Programs, 5L Built-in Water Tank for Apartments & RV, 167℉ High-Temp, No Hookup Needed, Mini Dishwasher with Baby Care, Air Dry/Quick/ECO/Fruit/Normal Mode
𝐂𝐨𝐦𝐩𝐚𝐜𝐭 𝐏𝐨𝐫𝐭𝐚𝐛𝐥𝐞 𝐃𝐢𝐬𝐡𝐰𝐚𝐬𝐡𝐞𝐫: Euhomy Portable Countertop Dishwasher: Compact yet powerful, measuring just 16.83 x 16.73 x 18.03 inches....
As an affiliate, we earn on qualifying purchases.
Frequently Asked Questions
How Often Should I Clean or Replace the Cleaner’s Filter?
You should clean your pressure-side pool cleaner’s filter regularly to ensure peak performance. Usually, filter maintenance is needed every few weeks, but it depends on your pool’s usage and debris levels. Follow the manufacturer’s replacement schedule for the filter, typically every 1-2 seasons, or sooner if it shows signs of damage or clogging. Consistent cleaning and timely replacements keep your cleaner working efficiently.
Can I Use the Cleaner With an Automatic Pool Cover?
You can use a pressure-side pool cleaner with an automatic cover, but check the automatic cover compatibility first to prevent damage. To guarantee smooth operation, store your cleaner properly when not in use—clean the filter and keep the hose dry. Regularly inspect for obstructions or wear, and avoid running the cleaner over the cover’s edges. Following these cleaner storage tips helps maintain efficiency and prolongs your cleaner’s lifespan.
Is There a Recommended Pool Size for This Cleaner?
When considering pool size recommendations for your pressure-side cleaner, you should focus on the cleaner capacity guidelines. Most cleaners work best with pools between 10,000 and 20,000 gallons, guaranteeing ideal performance. Larger pools may require a more powerful cleaner or multiple units, while smaller pools might need a less robust model. Always check your cleaner’s specific capacity guidelines to ensure it will effectively clean your pool without overworking the system.
How Do I Troubleshoot if the Cleaner Isn’t Moving Properly?
If your cleaner isn’t moving properly, start by checking for common issues in pool maintenance and cleaner troubleshooting. Confirm the skimmer and pump baskets are clean, and the pressure line isn’t kinked or blocked. Verify the hose connections are secure and the pressure is adequate. Sometimes, debris or algae buildup can hinder movement. Adjust the cleaner’s trajectory or replace worn parts to restore peak operation and keep your pool spotless.
Does the Cleaner Work With Saltwater Pools?
Your pressure-side pool cleaner generally works with saltwater pools, but you should check its saltwater compatibility first. Many models are designed with corrosion resistance to handle saltwater environments, ensuring longevity. If your cleaner isn’t specifically labeled as saltwater-compatible, consider upgrading to one that is. Proper maintenance, like rinsing after use, also helps prevent corrosion and keeps your cleaner functioning smoothly in saltwater pools.

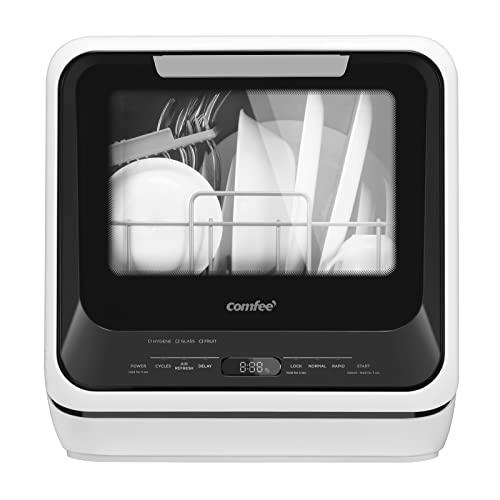
COMFEE’ Countertop Dishwasher, Energy Star Portable Dishwasher, 6 Place Settings & 8 Washing Programs, Speed, Baby-Care, ECO& Glass, Dish Washer for Dorm, RV& Apartment, Black
6 Place Setting- A perfect size (H17.2″×W21.6″×D19.7″) for 2-3 people, COMFEE’ compact dishwasher is suitable for dorms, RVs,...
As an affiliate, we earn on qualifying purchases.
Conclusion
Now that you’ve installed your pressure-side pool cleaner, enjoy the effortless glide across your sparkling pool. It’s like watching a tiny helper diligently work while you relax nearby, soaking up the sun. The silent, steady movement contrasts with the busy effort you put in earlier, transforming your pool maintenance into a simple, almost meditative routine. With your cleaner in place, you can focus on savoring those warm days, knowing your pool stays pristine without any extra hassle.
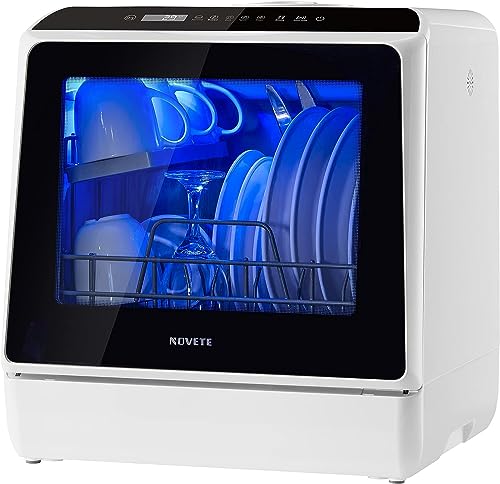
NOVETE Portable Countertop Dishwashers, Compact Dishwashers with 5L Built-in Water Tank & Inlet Hose, 5 Washing Programs, Baby Care, Air-Dry Function and LED Light for Small Apartments
【SMALL SIZE, LARGE CAPACITY】This portable dishwasher only measures 16.9 x 16.8 x 18.1 inches, but holds 4 full...
As an affiliate, we earn on qualifying purchases.
COMFEE' Portable Mini Dishwasher Countertop with 1.32Gal Built-in Water Tank for Apartments& RVs, No Hookup Needed, 6 Programs, 360° Dual Spray, 162℉ High-Temp& Air-Dry Function
Please make sure the distance between your countertop and wall cupboard is more than 19.6" No installation needed:...
As an affiliate, we earn on qualifying purchases.