
The most common mistakes in DIY upgrades happen when you skip proper planning, underestimate costs, or rush safety. Not creating detailed designs, ignoring permits, or buying low-quality materials can lead to costly fixes later. Poor time estimates and ignoring hidden expenses cause delays. Failing to prioritize safety with the right tools and precautions increases the risk of accidents. If you keep these tips in mind, you’ll be better prepared to tackle your project confidently.
Key Takeaways
- Failing to plan thoroughly leads to mistakes, delays, and increased costs during DIY upgrades.
- Underestimating budget, hidden costs, and time requirements can cause project setbacks.
- Ignoring safety protocols and proper tool checks increases the risk of accidents and injuries.
- Choosing incompatible or low-quality materials results in durability issues and safety hazards.
- Skipping permits or regulatory compliance can cause project delays and potential legal issues.

Deluxe Home Maintenance Log Book: Organize, Schedule, Journal, Planner for Home Maintenance, Repairs and Upgrades | 12 Years of Record Keeping, … Monthly | DIY Projects Inventory Forever Home
As an affiliate, we earn on qualifying purchases.
As an affiliate, we earn on qualifying purchases.
Plan Your DIY Home Upgrade Carefully
Have you ever jumped into a DIY project without a clear plan? It’s tempting to start quickly, but taking time to plan saves headaches later. Begin by gathering creative inspiration—browse magazines, online galleries, or social media to define your style. Consider aesthetic considerations early on; decide on colors, textures, and overall vibe to guarantee your project feels cohesive. Sketch out your ideas and measure your space accurately. This step helps you avoid costly mistakes and ensures your vision is achievable. Planning also helps you identify necessary tools and materials beforehand. When you approach your project with a thoughtful plan, you’ll feel more confident, and your results will better reflect your personality and taste. Proper planning is the foundation for a successful DIY upgrade.

AHANDMAKER 600Pcs Letters Planner Stickers Self-Adhesive Decals Daily Bills Due Stickers for Planner Calendar Scrapbook Crafting Arts Gift Bag Seal Theme Party Decor
Abundant Quantity: This collection offers 600 self-adhesive planner stickers, providing an extensive selection to fuel your creativity. With…
As an affiliate, we earn on qualifying purchases.
As an affiliate, we earn on qualifying purchases.
Avoid Costly Mistakes When Budgeting

When budgeting for your DIY project, don’t assume costs will stay within your initial estimate. You might overlook hidden expenses or underestimate how long tasks will take, leading to unexpected costs. To stay on track, plan for extra funds and time to handle surprises without derailing your project. Incorporating landscaping considerations can also add unforeseen expenses if not properly planned. Additionally, understanding storage solutions can help prevent costly mistakes by ensuring your project remains organized and efficient from the start. Being aware of budget planning strategies can further help you anticipate and allocate funds more effectively, especially when considering potential material costs that may fluctuate during the project. Being mindful of cost tracking can also help you stay within your overall budget and avoid overspending.
Overestimating Project Costs
Overestimating your project costs can lead to unnecessary stress and wasted money. When you overestimate, you might set aside too much for your upgrade, which can tie up funds that could be better used elsewhere. Cost miscalculations are common when you don’t research prices thoroughly or assume prices will stay the same. This often results in unexpected expenses that catch you off guard. To prevent this, get detailed quotes and create a flexible budget. Track expenses carefully and include a contingency fund—about 10-15%—to cover surprises. Being realistic about costs helps you stay on track and prevents you from over-allocating resources. Accurate budgeting ensures your DIY project remains enjoyable, not a financial burden.
Ignoring Hidden Expenses
Are you overlooking expenses that aren’t immediately obvious? Hidden expenses can quickly turn your DIY project into a budget surprise. These costs might include tools you need but didn’t plan for, permits, or additional materials required for unexpected issues. Ignoring these hidden expenses can lead to delays and extra trips to the store, increasing costs further. It’s easy to underestimate what’s needed, but failing to account for these expenses risks blowing your budget. To avoid this, research potential hidden costs beforehand and include a contingency fund—around 10-15% of your total budget. Being aware of hidden expenses ensures you’re financially prepared for surprises, helping you stay on track and avoid frustration as your DIY upgrade progresses. Additionally, understanding hidden expenses in tech projects can help you better anticipate unforeseen costs in complex upgrades. Recognizing the potential for unforeseen costs in interior upgrades can further improve your budgeting accuracy and prevent unexpected financial setbacks, especially since unexpected issues often arise when working on home improvements without thorough planning.
Underestimating Time Needed
Underestimating the time needed for a DIY project is a common mistake that can lead to unexpected expenses. Poor time management and lack of task prioritization often cause delays, increasing costs and frustration. To avoid this, plan realistically and break the project into manageable steps.
- Allow extra time for unforeseen issues or delays
- Prioritize tasks based on importance and sequence
- Schedule dedicated work sessions to stay on track
- Keep a detailed timeline to monitor progress
- Incorporate effective planning strategies to better align your schedule with project demands
- Understanding the liquidity of available resources can help you allocate time more effectively during complex tasks. Additionally, recognizing the importance of angel number guidance can offer motivational insights during challenging phases of your project.

3 Foot Safety Tool Lanyard, Tough Scaffold Hard Hat Lanyard with Carabiner, Adjustable Loop End, Ultra-Durable, Premium Quality Materials Ideal for Scaffold, Tools, Construction 1PK Green (0921GS)
One of BearTOOLS' Tool Lanyards for Hand Tools: a versatile tool tether suitable for home renovation tools, scaffolding…
As an affiliate, we earn on qualifying purchases.
As an affiliate, we earn on qualifying purchases.
Prioritize Safety and Use the Right Tools

Safety should always come first when tackling DIY upgrades, so make certain you’re prepared before you start. Prioritize tool safety by inspecting your tools before use—check for damage or loose parts. Using the right tools for the job prevents accidents and ensures better results. Always wear protective gear, such as gloves, goggles, and masks, to shield yourself from debris, sparks, or chemicals. Keep your workspace clean and organized to avoid tripping hazards. Never bypass safety features on tools or rush through tasks—injuries happen when safety is overlooked. Remember, taking a few extra moments to ensure safety measures are in place can save you from costly accidents or setbacks. Being mindful of your emotional well-being can help you stay focused and calm during potentially stressful tasks. Additionally, understanding tool safety protocols can significantly reduce the risk of accidents and promote a safer working environment. Incorporating eco-friendly safety practices, such as proper disposal of hazardous materials, can enhance both safety and sustainability. Recognizing potential hazards in your workspace and addressing them proactively is essential for maintaining a safe environment. Astrological signs and other personal traits can influence how people approach safety, so stay mindful of your own tendencies. Safety isn’t an extra step; it’s the foundation of a successful DIY upgrade.
permits and regulatory compliance for home upgrades
As an affiliate, we earn on qualifying purchases.
As an affiliate, we earn on qualifying purchases.
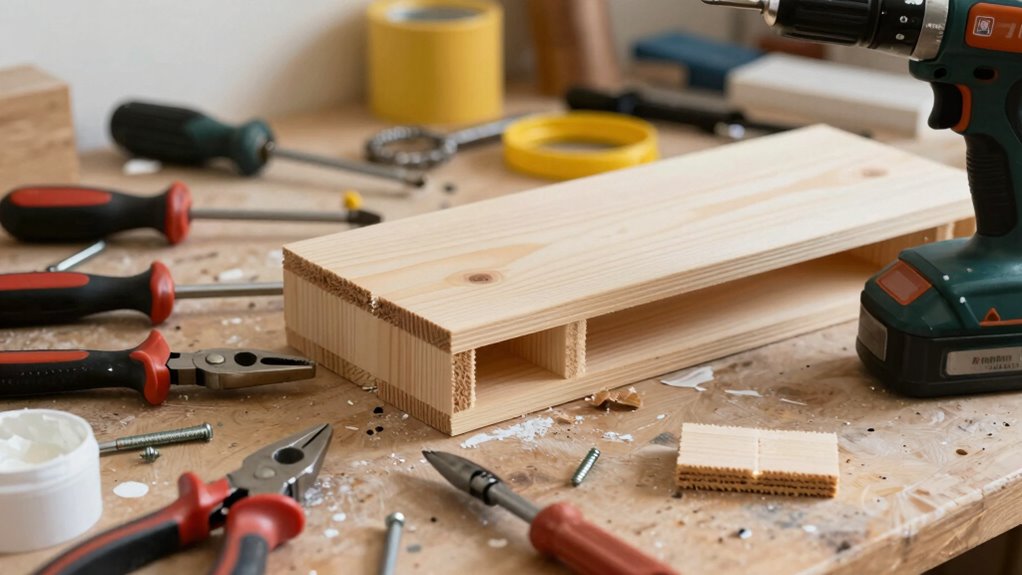
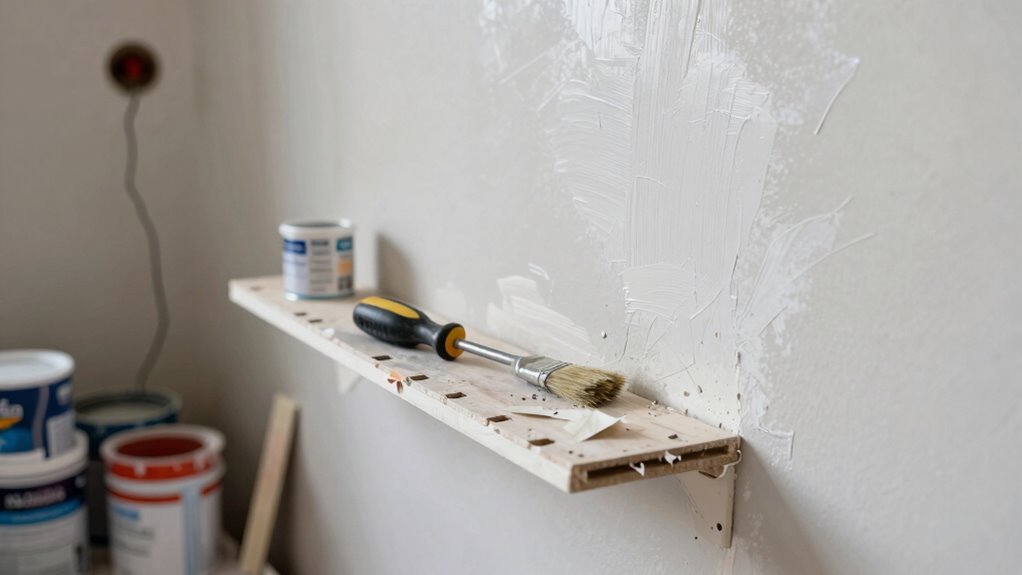
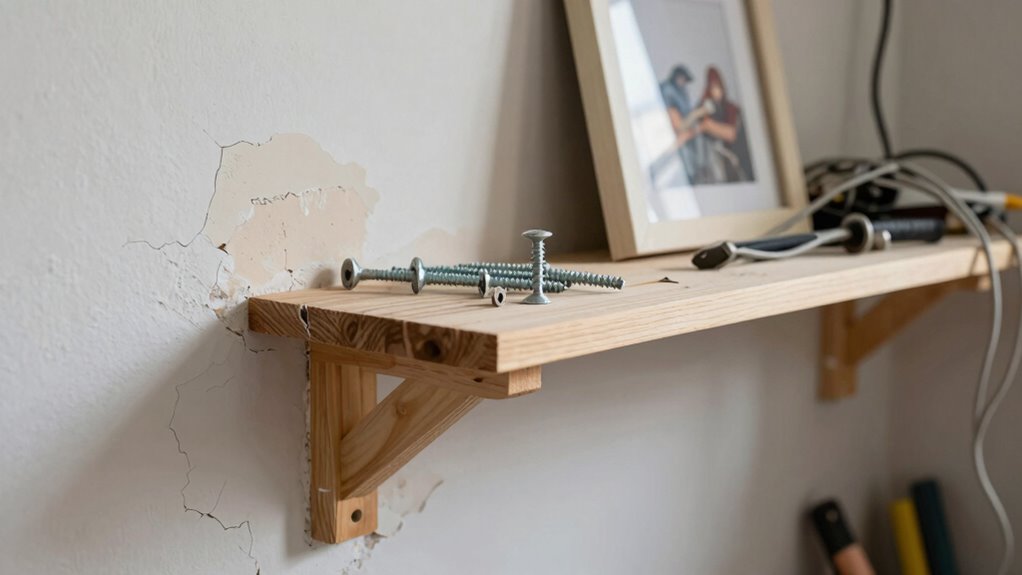
Choose the Best Materials for Your Project

Choosing the right materials is essential for a successful project; you need to assess their durability to guarantee they last. Make certain the materials you pick are compatible with each other to prevent issues down the line. Also, consider your budget carefully so you don’t compromise quality for cost or vice versa. Incorporating water-resistant materials can enhance the longevity of your upgrades, especially in outdoor or humid environments. Additionally, understanding how different materials may react to environmental factors, such as climate considerations, can help you select options that will withstand seasonal changes and prevent future damage. Being aware of household care tips can also extend the lifespan of your upgrades by ensuring proper maintenance over time. Regularly reviewing materials compatibility can help avoid potential issues caused by incompatible choices, saving you time and money. Consulting with architectural solutions professionals can provide valuable insights into selecting the best materials for your specific needs.
Assess Material Durability
When selecting materials for your project, evaluating their durability is essential to guarantee they withstand daily use and environmental conditions. Conducting proper material testing and durability assessment helps you choose options that won’t fail prematurely. Look for specifications that highlight resistance to moisture, temperature changes, and wear. Consider the material’s lifespan and how it reacts over time. Skipping this step can lead to costly repairs or replacements later. To confirm durability, check reviews and expert advice on each material’s performance. Keep in mind that not all durable materials are suitable for every project—matching the right material to your needs is key. By thoroughly assessing durability, you avoid common mistakes and increase your chances of a successful, long-lasting upgrade. Additionally, understanding the transformative power of curiosity can inspire you to explore innovative materials and techniques that enhance your project’s longevity. Exploring measurement tools used in testing material durability can also provide valuable insights to make more informed choices, especially given the importance of selecting materials with proven resistance to environmental stressors.
Match Material Compatibility
After evaluating material durability, the next step is ensuring the materials you select are compatible with each other and suited for your specific project. Proper material pairing is essential to prevent issues like corrosion, warping, or failure over time. Conduct compatibility testing by checking manufacturer guidelines or consulting experts to confirm that different materials can coexist without adverse reactions. For example, pairing metal with incompatible coatings can lead to rust, while certain woods may not bond well with specific adhesives. Always verify that the materials’ properties align with your project’s demands. Failing to match materials correctly can compromise the entire upgrade, leading to costly repairs or safety hazards. Take the time for compatibility testing—it’s a critical step toward a successful DIY project.
Consider Budget Constraints
Balancing your project needs with your budget is essential to making smart material choices. Effective budget planning helps you avoid overspending and guarantees you select quality materials within your financial limits. Keep track of expenses with diligent expense tracking so you can adjust as needed. When choosing materials, consider durability versus cost, and look for alternatives that fit your budget without sacrificing quality.
- Prioritize essential materials over luxury options
- Look for sales or discounts on bulk purchases
- Research cost-effective substitutes with similar performance
- Set aside an emergency fund for unexpected expenses
Get the Necessary Permits Before You Start
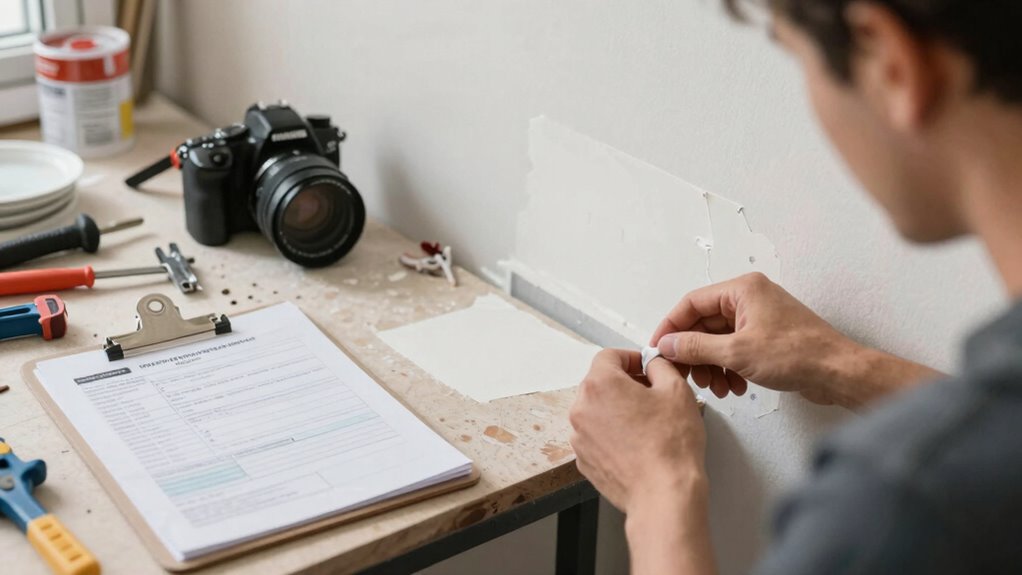
Before diving into your DIY upgrades, it’s essential to obtain the necessary permits. Ignoring permit requirements can lead to costly fines, delays, or even having to undo your work. Start by researching local building codes and understanding the permit processes in your area. Many projects, like electrical work or structural changes, require official approval before you begin. Skipping this step might seem like a shortcut, but it can cause bigger problems down the line. Contact your city or county building department to confirm what permits are needed for your specific project. Obtaining permits ensures your work complies with safety standards and legal regulations. Taking the time to navigate the permit process upfront saves you headaches and potential expenses later.
Measure Twice, Cut Once: The Importance of Accurate Planning

Accurate measurements help you avoid costly mistakes and rework, saving both time and materials. When you plan carefully and measure twice, you guarantee everything fits as intended. Taking the time to create detailed plans keeps your project on track and prevents unnecessary errors.
Precise Measurements Prevent Errors
Taking the time to measure carefully can save you from costly mistakes down the line. Accurate measurement guarantees your project fits perfectly and reduces rework. Focus on measurement accuracy by double-checking dimensions before cutting. Select the right tools—like a quality tape measure or a square—to improve precision. Proper tool selection makes all the difference in getting reliable results. Remember, even small errors can cause big setbacks later. Always measure multiple times, especially for critical cuts, to confirm your calculations. Use consistent units and record measurements clearly. By prioritizing precise measurements and choosing suitable tools, you’ll avoid mistakes that can delay your project and increase costs. Staying meticulous now helps ensure your DIY upgrade is successful and stress-free.
Detailed Plans Save Time
Having a detailed plan before you start cutting or assembling can save a lot of time and frustration. It helps you visualize the project, guaranteeing your creative design flows smoothly. Proper planning also streamlines material sourcing, preventing delays caused by missing or incorrect supplies. Use this table to imagine your process:
| Step | Action | Outcome |
|---|---|---|
| Sketching | Draw your design with measurements | Clear vision and accuracy |
| Material list | List needed supplies and quantities | Efficient sourcing |
| Tool check | Gather tools and verify they’re functional | Prepared workspace |
| Timeline | Set realistic deadlines | Keeps project on track |
A well-thought-out plan minimizes mistakes, saves time, and ensures your DIY upgrade turns out exactly as you envisioned.
Learn From Tutorials and Expert Advice
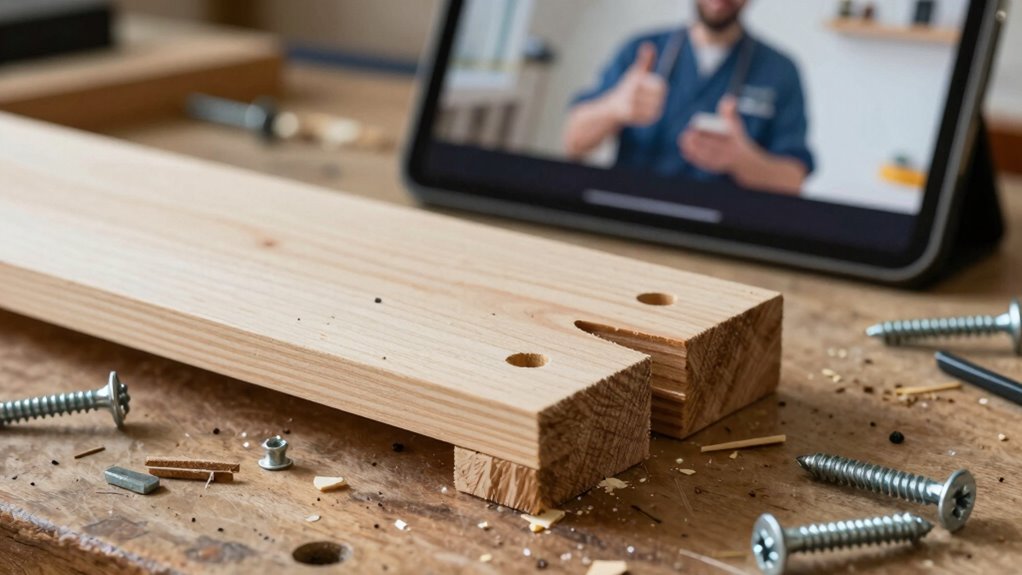
While tutorials and expert advice can be invaluable resources for DIY upgrades, it’s easy to overlook their importance or misinterpret the instructions. Learning from trusted sources helps you adopt creative design solutions and sustainable practices that improve your project’s quality. By watching step-by-step guides, you gain insights into proper techniques and avoid costly mistakes. Remember, experts often share tips on selecting eco-friendly materials and maximizing efficiency.
- Follow tutorials closely to understand proper methods
- Look for videos demonstrating creative design ideas
- Note advice on using sustainable practices for eco-friendliness
- Cross-reference multiple sources for clarity and accuracy
Utilizing expert advice ensures your upgrade is both innovative and environmentally conscious, leading to a more successful DIY experience.
Prepare for Unexpected Challenges and Delays
Even with careful planning and reliance on expert tutorials, unexpected challenges and delays can still catch you off guard during your DIY upgrade. Unexpected delays may arise from supply chain issues, unforeseen structural problems, or equipment failures. To handle these setbacks, it’s crucial to incorporate contingency planning into your project. Set aside extra time and budget to absorb surprises without derailing your progress. Keep flexible schedules and maintain open communication with suppliers or professionals when needed. Staying prepared helps reduce stress and keeps your project on track. Remember, delays are common in DIY projects, but proper contingency planning ensures you’re ready to adapt quickly, minimizing frustration and preventing small setbacks from turning into major issues.
Tips for a Successful DIY Home Renovation

To guarantee your DIY home renovation is successful, it’s essential to set clear goals and plan each step carefully. Start with a creative design that matches your style and needs, ensuring your vision is well-defined. When sourcing materials, prioritize quality and affordability, and double-check availability to avoid delays. Proper planning helps prevent costly mistakes and keeps the project on track.
Key tips include:
- Sketch detailed plans before starting.
- Research reliable material sourcing options.
- Allocate extra time for creative design adjustments.
- Keep a checklist to track progress and supplies.
Common Mistakes to Watch Out For in DIY Projects
Starting a DIY project can be rewarding, but it’s easy to fall into common pitfalls that can derail your progress. One mistake is neglecting a creative design plan, which can lead to a mismatched or cluttered look, hurting your project’s aesthetic appeal. Rushing without proper planning often results in poor craftsmanship or missed details. Overlooking measurements or instructions can cause costly errors or safety hazards. Additionally, choosing materials based solely on price rather than quality can compromise durability and the overall finish. To avoid these mistakes, take your time planning, focus on cohesive design elements, and prioritize quality. Remember, a well-thought-out plan boosts both the aesthetic appeal and the success of your DIY upgrades, making the effort more rewarding and less frustrating.
Frequently Asked Questions
How Do I Choose the Right DIY Project for My Skill Level?
To choose the right DIY project for your skill level, start by honestly evaluating your experience with similar projects. Pick a project that matches your comfort with material selection and tool safety, avoiding overly complex tasks. Research tutorials and gather all necessary tools beforehand. If a project feels too challenging, break it into smaller steps or practice skills on scrap materials first. This approach helps you build confidence and avoid costly mistakes.
What Are Signs I’M Overestimating My DIY Abilities?
You’re biting off more than you can chew if you find yourself skipping safety gear or rushing through tasks. Watch for signs like struggling with tool safety, overspending on materials, or feeling overwhelmed. If you keep running into issues, it’s a sign to step back and reassess your skills. Knowing your limits helps you manage your budget wisely and avoid costly mistakes, ensuring your project stays on track and safe.
How Can I Avoid Damaging Existing Structures During Upgrades?
To avoid damaging existing structures during upgrades, prioritize understanding the structural integrity of your home. Follow safety precautions, such as turning off power and wearing protective gear. Use proper tools and techniques, and consult plans or professionals when unsure. Take your time, double-check measurements, and avoid force or shortcuts. These steps help protect your home’s integrity while ensuring your safety throughout the project.
What Should I Do if I Encounter Unexpected Issues Mid-Project?
When you encounter unexpected issues mid-project, stop and assess the situation carefully. Prioritize tool safety by disconnecting power tools and wearing protective gear. If needed, consult online resources or ask for expert advice to troubleshoot problems. Keep an eye on your budget management—avoid rushing into expensive fixes. Stay patient, adapt your plan as necessary, and remember that careful problem-solving guarantees a successful upgrade without risking damage or overspending.
How Can I Ensure My DIY Upgrades Increase Home Value Effectively?
Did you know that smart upgrades can boost your home’s value by up to 10%? To guarantee your DIY projects pay off, focus on budget planning and material selection. Prioritize high-quality materials that appeal to buyers and fit your budget. Proper planning helps you avoid costly mistakes, making sure your upgrades are both beautiful and valuable. Keep your goals in mind, stay organized, and choose materials wisely for the best return on investment.
Conclusion
Remember, DIY home upgrades can be rewarding, but they’re not foolproof. It’s often said that “practice makes perfect,” but in DIY projects, preparation and knowledge are key. By planning carefully, avoiding common pitfalls, and learning from tutorials, you increase your chances of success. Think of it like cooking—start with simple recipes and build your skills. With patience and the right approach, you’ll turn your home into a space you’re proud of—without the costly mistakes.