
To wire your LiftMaster opener correctly, start by gathering tools and disconnecting the power supply for safety. Follow the color-coded wiring diagrams: red for power, white for the motor, black for ground, green for safety sensors, and blue for wall control. You usually need at least two wires, sometimes three for specific models. Tighten all connections to avoid malfunctions. Regularly check your wiring for wear and verify everything's secure. Following these guidelines will help prevent issues and keep your opener running smoothly. Stick around for more tips on Enhancing your LiftMaster experience.
Key Takeaways
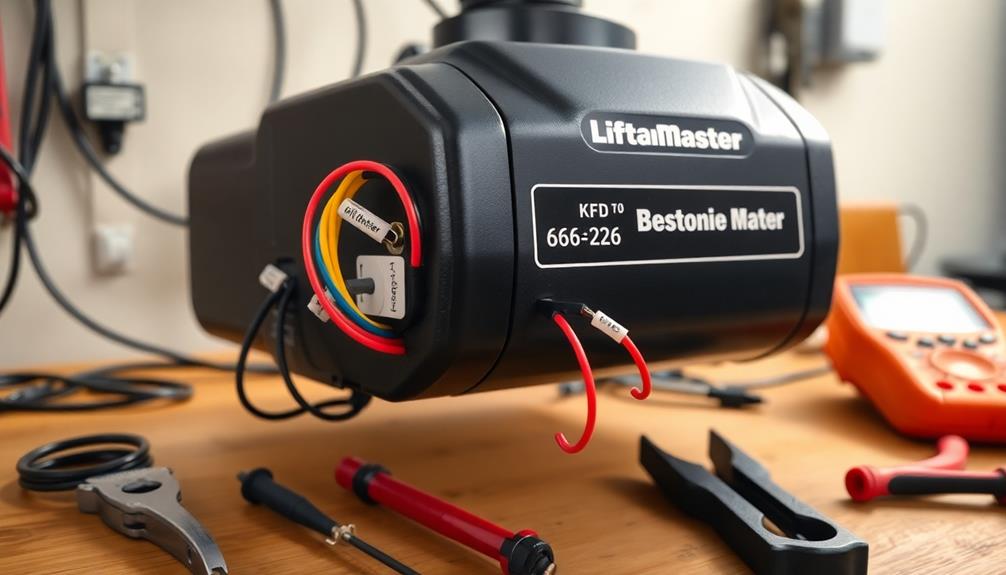
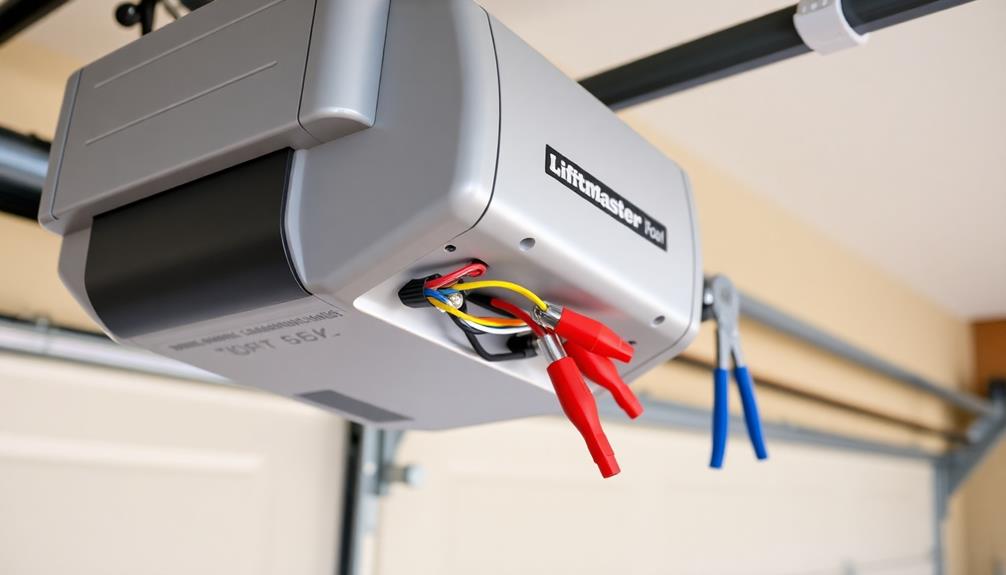
- Use color-coded wiring: red for power supply, white for motor, black for ground, green for safety sensors, and blue for wall control.
- Minimum two wires are required for installation; some models may require three for proper functionality.
- Ensure correct terminal identification to avoid electrical issues and ensure reliable operation of the garage door opener.
- Disconnect the power supply before starting any wiring to prevent electrical shock and hazards during installation.
- Consult the user manual for specific wiring diagrams and installation steps tailored to your LiftMaster model.
Overview of LiftMaster Products
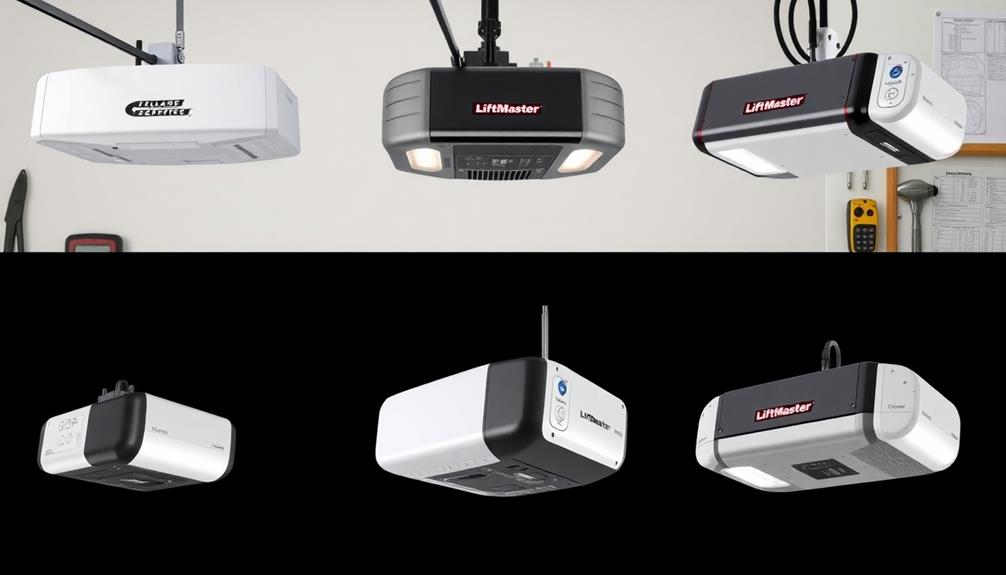
When it comes to garage door openers, LiftMaster offers a variety of reliable products designed to enhance your home's security and convenience.
Homes equipped with security systems, like those from LiftMaster, have shown to deter potential intruders considerably, as the presence of security systems deters 60% of potential burglars.
You'll appreciate the LiftMaster 882LMW wall mount control panel, which uses Security+ 2.0 technology for added protection. This innovative system ensures that only encrypted signals are used to operate your garage door, safeguarding your home from potential intrusions. Additionally, the sleek, compact design of the control panel fits seamlessly into any garage setup, offering both style and functionality. While you’re upgrading your home setup, you might also want to check out a *Yaber Pro V9 projector review* to find out how it can enhance your home entertainment experience with crystal-clear visuals and modern features.
With MyQ technology, you can control your garage doors from your smartphone, allowing for remote opening, closing, and monitoring the status of your door anytime.
The LiftMaster 877LM is a wireless, keyless entry keypad that works perfectly for both garage doors and gate openers.
Key features include encrypted signals to prevent unauthorized access and a multi-function wall control for various operation options.
Easy installation means you can set things up quickly, enhancing both security and ease of use for your home.
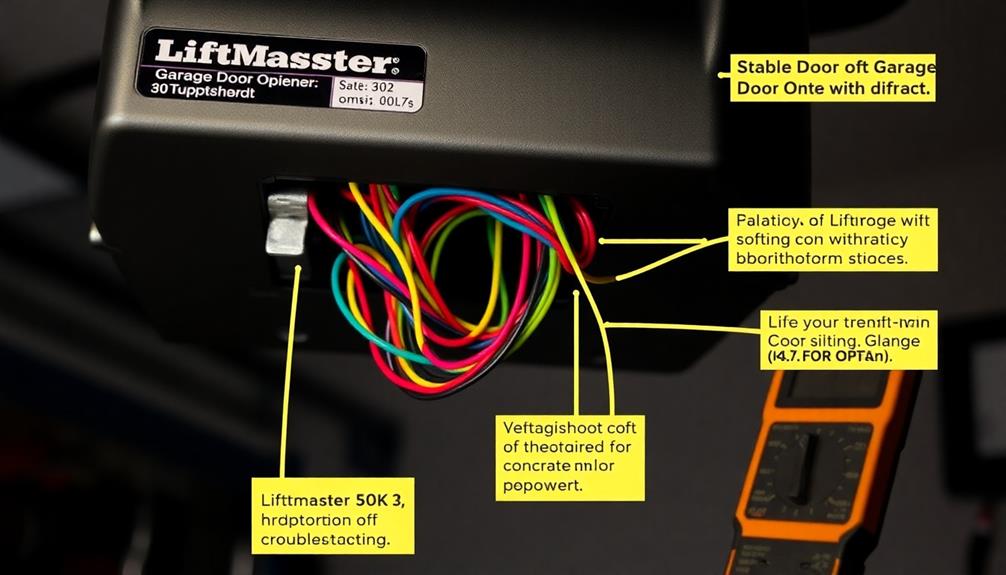
Wiring Diagrams Explained

Understanding wiring diagrams is essential for successfully installing your LiftMaster garage door opener. These diagrams provide a clear visual representation of how to connect various components, like motors and sensors, ensuring you follow the correct procedures.
Just as astrology claims to influence personality traits, the color-coded system in these diagrams helps simplify the installation process. You'll notice a color-coded system, where red indicates power supply, white is for the motor, black represents ground, green is for safety sensors, and blue is designated for wall control.
Typically, a minimum of two wires is needed, but some models may require three based on their features. It's important to adhere to this color scheme and reference the manufacturer's diagrams to avoid electrical issues.
Correctly identifying terminals and securing connections is essential for reliable operation of your opener.
Installation Procedures
Before diving into the installation procedures for your LiftMaster garage door opener, make sure you've gathered all the necessary tools and materials.
It's also beneficial to take into account the energy efficiency of your opener, as energy-efficient appliances can help reduce overall power consumption.
Start by carefully reading the user manual specific to your model, as it contains essential installation steps.
Verify the power supply is disconnected before beginning any wiring to avoid electrical hazards.
Following the wiring diagrams, connect the color-coded wires properly—red for power, white for the motor, black for ground, green for safety sensors, and blue for wall control.
Secure all connections tightly to prevent malfunctions.
Once everything is wired, mount the opener according to the manual's instructions.
Safety Precautions
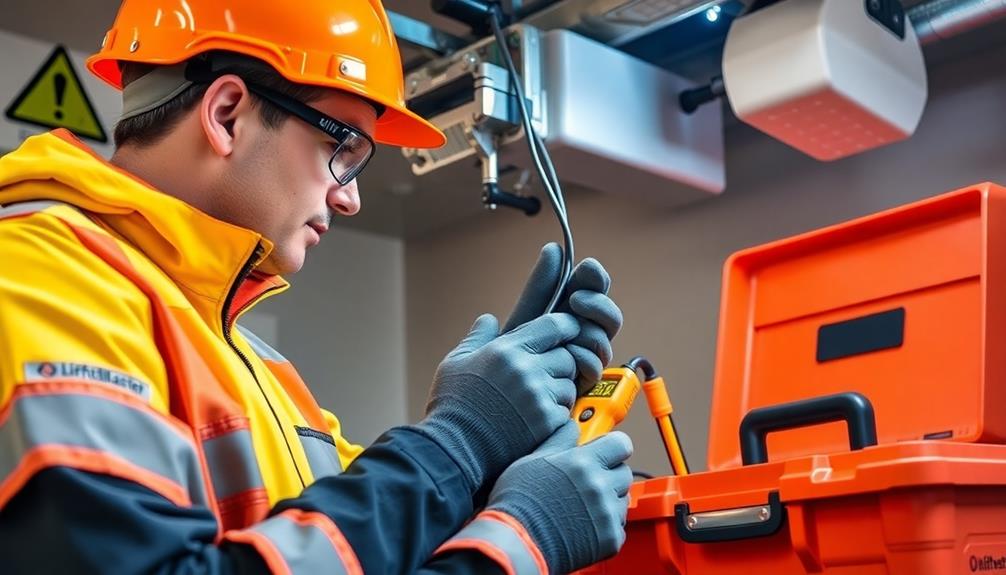
Installing a LiftMaster garage door opener involves several safety precautions to guarantee a secure and hazard-free experience.
First, disconnect power to the garage door opener before starting any wiring work. This prevents electrical shock and accidental activation. Always use insulated tools to minimize risks. Confirm all connections are secure, and double-check the wiring diagram to avoid mistakes.
Keep your work area clear of clutter, and never attempt installation alone; having a partner can enhance safety. Additionally, be cautious of moving parts during testing; ensure no one is in the path of the door.
Maintenance Practices

After guaranteeing a safe installation process, regular maintenance practices are key to keeping your LiftMaster garage door opener running smoothly.
Start by checking the batteries in your wireless keypads and remotes regularly, replacing them when needed. Inspect the wiring for any signs of wear and tear, and guarantee all connections are secure.
Clean the sensors and tracks to prevent obstructions, allowing for smooth operation. It's also important to test the garage door opener's functionality periodically.
If you notice any irregularities, consult the user manual for reset instructions. Scheduling professional maintenance annually can help catch potential issues early, guaranteeing your system operates at peak performance and extends its lifespan.
Troubleshooting Common Issues
Many homeowners encounter common issues with their LiftMaster garage door openers, but troubleshooting these problems can often be straightforward.
Here are some steps you can take to resolve typical issues:
- Check Power Supply: Verify that the opener is plugged in and that the circuit breaker isn't tripped. A simple reset might solve the problem.
- Inspect Remote Batteries: Weak or dead batteries in the remote can prevent it from functioning. Replace them if necessary.
- Clean Safety Sensors: Dirt or obstructions can interfere with the safety sensors. Wipe them clean and verify they're properly aligned.
Future Trends in Garage Openers
Garage door openers are evolving rapidly, driven by advancements in technology and consumer demand for smarter, more secure solutions. You can expect features like enhanced connectivity and automation in the near future. For instance, many openers will integrate seamlessly with smart home systems, allowing you to control them via voice commands or your smartphone. Security is also a priority, with innovations in encryption and access controls.
| Feature | Current Offerings | Future Trends |
|---|---|---|
| Connectivity | MyQ technology | Full smart home integration |
| Security | Security+ 2.0 | Biometric access |
| Automation | Basic remote control | AI-driven operation |
Frequently Asked Questions
What Tools Are Needed for Liftmaster Opener Wiring?
For wiring your LiftMaster opener, you'll need a screwdriver, wire stripper, pliers, and a voltage tester. These tools guarantee you can safely connect and secure the wiring, making the installation process smoother and more efficient.
Can I Use Non-Liftmaster Parts With My Opener?
Using non-LiftMaster parts might sound like a wild west idea, but it's risky. You could face compatibility issues or safety hazards. Stick with recommended parts to guarantee your opener runs smoothly and securely.
How Do I Choose the Right Wiring Gauge?
To choose the right wiring gauge, consider the length and current load of your installation. Generally, thicker wires handle more current over longer distances, reducing voltage drop. Always refer to manufacturer guidelines for specific recommendations.
Is Professional Installation Necessary for Liftmaster Openers?
You don't necessarily need professional installation for LiftMaster openers, but it can guarantee proper setup and functionality. If you're unsure about electrical work, hiring an expert might save you time and potential issues later.
What Is the Warranty on Liftmaster Products?
When it comes to warranties, LiftMaster products usually come with a limited warranty, covering defects in materials and workmanship for a specified period. Always check your product details for specific warranty terms and conditions.
Conclusion
In summary, wiring your LiftMaster garage door opener doesn't have to be intimidating. With the right knowledge, you can confidently install your opener and enjoy its benefits. Did you know that over 70% of homeowners now prefer smart garage door openers for their convenience and security features? By following this guide, you're not just enhancing your home's functionality; you're joining a growing trend that prioritizes safety and ease of use. Happy wiring!