
TL;DR

Get kitchen staples and gadgets delivered free with Prime
- Fast, free delivery on millions of items
- Prime Video, Amazon Music and more included
- Member-only deals all year
Handmade orecchiette are small Puglian pasta shapes made with durum wheat semolina and water, then formed by dragging dough pieces with a knife and turning them over a fingertip. You can make a usable batch in an afternoon with a clean surface and a little practice; aim for a thin center, a thicker rim, and a rough surface that catches sauce.
Your first handmade orecchiette may look more like tiny hats than little ears. That is a good start. In Puglia, especially around Bari, cooks shape this pasta with a knife, a work surface, and a fingertip; the simple dough asks for patience more than special equipment.
This guide takes you through a practical afternoon session: mixing a firm semolina dough, shaping each piece, fixing common sticking and tearing problems, and serving the pasta with a sauce that suits its hollow. You can make a batch worth cooking on your first try, even if your pieces come out in different sizes. Consistent shaping comes with repetition.
Orecchiette means “little ears.” Their round shape with a shallow dimple is more than a charming detail: that hollow catches olive oil, greens, and small pieces of sauce. Once you learn the motion, you can bring a small piece of Bari’s pasta tradition to your own kitchen.
Traditional Puglian orecchiette use durum wheat semolina and water; egg is generally not part of the classic dough.
Rest the covered dough for about 20 to 30 minutes so it rolls and curls more easily.
Drag each small dough piece with a knife, then turn it over a fingertip to form the shallow hollow.
Keep the center thin enough to cook evenly and the rim a little thicker for bite.
Serve with cime di rapa, garlic, and olive oil, or freeze extra shapes in a single layer before packing.
A hands-on guide to Puglia
Handmade Orecchiette: The Puglian Shape You Can Learn in an Afternoon
Turn semolina, water, a knife, and your fingertip into little pasta cups made to catch sauce. A first batch can be ready to cook even when every piece looks a little different.
“Orecchiette” means “little ears.”
The shallow dimple gives small bits of sauce and vegetables a place to settle.
Two ingredients. One firm, supple dough.
Semolina absorbs water at different rates. Add it gradually and let the dough tell you when it is ready.
Build the dough
Mix durum wheat semolina with water a little at a time. Knead until cohesive and smooth: firm beneath your palm, without crumbly edges or sticky fingers. Cover and rest for about 20 to 30 minutes.
Read the feel, then adjust
Use wet hands to bring a crumbly dough together before adding more water. If it sticks or smears, knead in a small pinch of semolina. Make one modest adjustment at a time.
Roll. Cut. Drag. Turn.
Keep unused dough covered while you work. Slow, steady pressure helps each piece curl without tearing.
Roll a rope
Work a manageable piece into a rope about as thick as your finger.
Cut small pieces
Slice off bean-sized nuggets. Similar sizes help them cook evenly.
Drag with a knife
Press and pull each piece across the board until it curls over itself.
Turn over a fingertip
Flip it so the rough side faces out and a shallow hollow forms inside.
A small cup with a useful job.
Orecchiette need not match. Focus on the center, rim, and surface that help each piece meet the sauce.
Keep it thin
A thin middle cooks more evenly and keeps the bite from staying firm after the outside is tender.
Leave an edge
A slightly thicker rim gives the pasta its satisfying chew and helps preserve the little cup.
Keep it rough
The knife leaves texture that helps oil and sauce coat the outside of the pasta.
Make a shallow dimple
The hollow can hold garlic, greens, or small pieces of a chunky sauce.
Welcome variation
Hand-shaped pieces vary naturally. A dozen practice pieces are enough to check your pressure.
Use what you have
A clean counter or board, a rounded-edge table knife, and a fingertip are enough. A ridged board is optional.
When the dough misbehaves
Sticks or smears: dust the surface lightly or knead in a pinch of semolina. Cracks or tears: cover and rest, or add a touch of water with wet hands if it is dry. Stays a nugget: use a little more steady pressure. Flattens or splits: ease up and check the dough before shaping the rest.
Let the hollow meet the sauce.
Cook fresh shapes after a short rest and taste one to check doneness. Size and thickness vary, so the pasta gives the best timing cue.
Cime di rapa, garlic & olive oil
This Puglian favorite brings tender greens, fragrant oil, and small savory pieces into the pasta’s shallow center. Anchovy or chili can add another layer, if you like.
Four cues to carry into the kitchen.
The basic shape is within reach in an afternoon. Consistency comes with repetition.
Semolina and water make a firm, smooth dough. Add water gradually.
Cover it for 20 to 30 minutes so it rolls and curls more easily.
Drag each piece with a knife, then turn it over a fingertip.
Thin center, slightly thicker rim, and rough outer surface.
Fresh pasta cooks quickly. Taste a piece instead of relying on a fixed time.
Choose greens, vegetables, or another sauce with little pieces for the hollow to catch.
Gather two ingredients and make a dough that feels right
Handmade orecchiette begin with durum wheat semolina and water, mixed into a firm, smooth dough that holds together without sticking. Traditional Puglian dough generally contains no egg, so the pasta tastes of wheat and has a pleasantly sturdy bite. For a first batch, set out semolina, water, a pinch of salt if you like, and a clean work surface.
Semolina comes in different grinds and absorbs water at different rates. Add water a little at a time instead of pouring it all in at once; if the dough feels crumbly after mixing, wet your hands and knead again before adding more. You want a cohesive ball that feels firm under your palm, not a dry lump that cracks at the edges or a sticky mass that clings to your fingers. This gradual approach matters because excess water is harder to correct: adding semolina to a sticky dough can change its proportions and leave it tough, while a little water can be worked into a dry dough a bit at a time.
Knead until the dough looks even and feels supple, then cover it and let it rest for about 20 to 30 minutes. This gives the flour time to hydrate and makes the dough easier to roll. Resting also lets the dough relax after kneading, so it is less likely to spring back or split when shaped. Imagine preparing it before lunch: while the dough rests, clear a small board, put a knife within reach, and choose a tray for the finished shapes.
A wooden board is traditional and gives your hands a comfortable surface, but a clean counter works too. A ridged board is optional; the knife and fingertip create the signature hollow without it. Keep a small amount of semolina nearby for dusting, but use it sparingly so dry flour does not make the pasta tough or prevent the knife from gripping the dough.
The basic ingredients are modest, but texture carries the result. If the dough tears as you roll a rope, cover it and let it rest another 10 minutes; if it smears under the knife, knead in a little semolina. Make one small adjustment at a time, and you will learn how your flour behaves without swinging from dough that is too wet to dough that is too dry.

As an affiliate, we earn on qualifying purchases.
Shape your first orecchiette with one steady knife motion
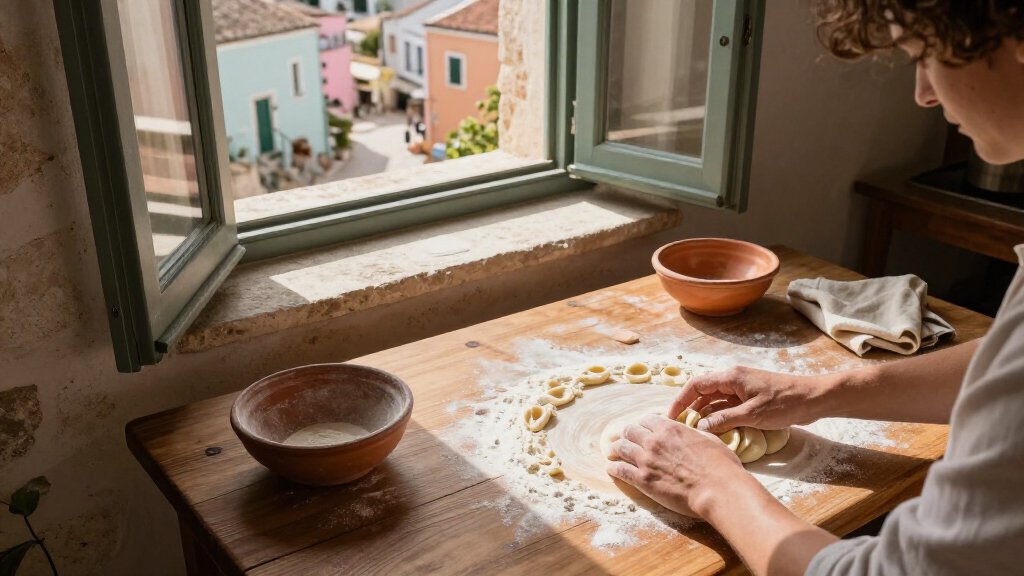
To shape handmade orecchiette, roll dough into a rope, cut off small pieces, drag each piece across the counter with a knife, then turn it over your fingertip. That four-part rhythm creates the rough outside and the shallow center that hold sauce. Your first few pieces may be uneven; focus on a controlled motion rather than speed, because the amount of pressure determines both how thin the center gets and whether the dough curls or tears.
- Cut a manageable piece of dough. Keep the rest covered so it does not dry out while you work. Dry edges become brittle and are more likely to crack during the drag.
- Roll it into a rope about the thickness of your finger. If the rope springs back, pause briefly and roll again; forcing it can make the dough tear instead of lengthening evenly.
- Cut small nuggets across the rope, aiming for pieces roughly the size of a small bean. They do not need to match perfectly, though similar sizes will finish cooking at about the same time.
- Drag one piece across the board with the blunt or rounded edge of a table knife, pressing enough to curl it over itself. The drag both thins the middle and leaves a textured surface; too little pressure leaves a dense nugget, while too much can split it.
- Turn the curled piece over your fingertip so the rough side faces outward and a shallow dimple forms inside. The hollow is useful because it gives small bits of sauce a place to settle, but it need not be deep to work.
Try the motion slowly with a few pieces before shaping the full batch. If the knife catches, your dough may be too sticky; dust the board lightly or add a pinch of semolina to the dough. If a piece breaks instead of curling, it may be too dry, too thick, or in need of more rest. These clues help you distinguish a moisture problem from a pressure problem before making the same adjustment to the whole batch.
In a kitchen in Bari, the movement can look quick because practiced hands repeat it all day. At home, let your left hand feed the pieces and your right hand drag them, or reverse that arrangement to suit yourself. A blunt knife is easy to control and helps you feel the dough give way beneath it; the feedback from the dough is more useful at first than trying to copy someone else’s speed.
Shape a dozen, then pause to check them. The center should be thin enough to cook through, while the rim stays a little thicker for a pleasant chew. Your earliest batch is a lesson in pressure: press too lightly and the piece stays a nugget; press too hard and it may flatten or tear. A small variation in shape is harmless, but a very thick center can remain firm after the outside is tender, which is why checking a sample before shaping the rest can save a batch.
Use the rough hollow to make sauce cling
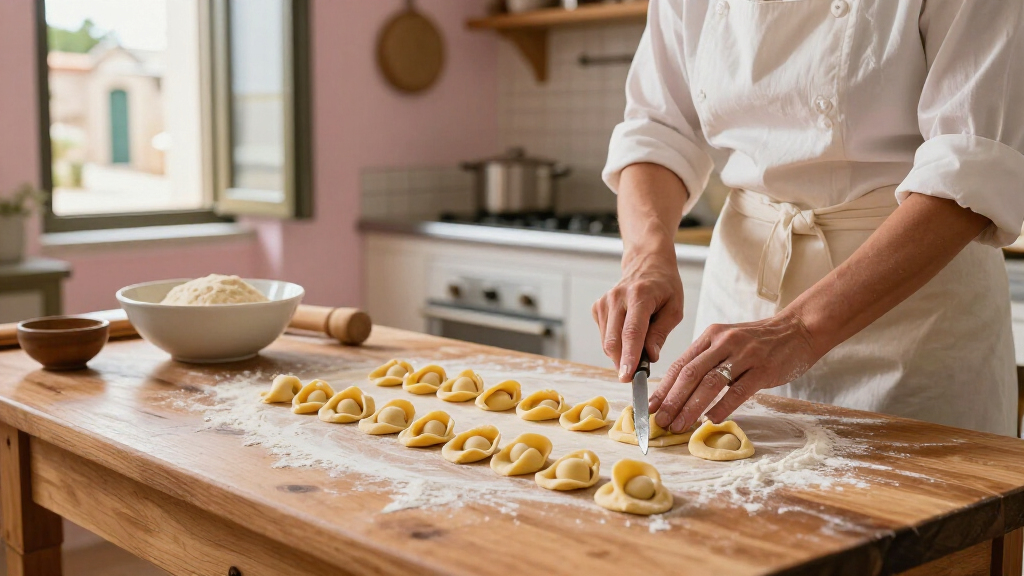
An orecchietta is a small pasta cup with a rough outer surface and a slightly thicker rim. Its shape gives sauce somewhere to settle, while the semolina dough keeps a firm bite. The term refers to the little ear shape, though handmade pieces vary from cook to cook and do not need to look identical. The hollow and roughness do different jobs: the hollow holds small ingredients, and the textured surface helps oil and sauce coat the pasta.
That variation is part of the pleasure. One piece may be round and shallow; another may have a more pronounced curl. What matters at the table is that the dough is thin enough in the center to cook evenly and that the hollow can hold a little sauce, a fleck of garlic, or a tender piece of vegetable. A deeper curl can catch more sauce, but it also creates a thicker fold that may take longer to soften, so a modest dimple is a practical balance.
For a classic Puglian pairing, serve orecchiette with cime di rapa, or broccoli rabe, garlic, and olive oil. Some versions include anchovy or chili. The greens turn silky around the pasta, and their slightly bitter edge meets the sweet, wheaty flavor of semolina. If broccoli rabe is unavailable, try broccoli florets or leafy greens with garlic and olive oil; the dish will change, but the shape still does its job. The bitter greens and savory additions provide contrast to the mild pasta, while a little pasta water helps the oil cling rather than pool at the bottom of the bowl.
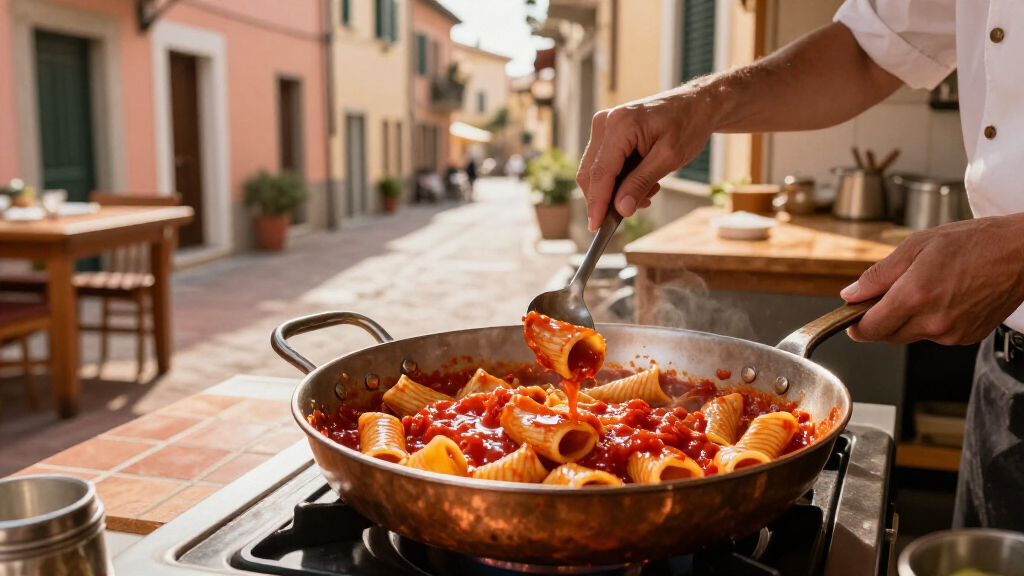
Orecchiette also work well with chunky tomato sauce, sausage, beans, or vegetables. A thin, watery sauce can slide away from the pasta, while small pieces of tomato or greens gather in its hollow. Picture a weeknight bowl with white beans, chopped kale, and a spoonful of olive oil: the pasta gives each forkful enough texture to feel complete. For a lighter sauce, tossing the pasta with a splash of starchy cooking water can help it coat the shapes without needing to make the sauce heavier.
Do not flatten every piece in pursuit of a perfect dimple. A shallow center is enough. The roughness left by the knife helps sauce cling, and the small differences make a handmade batch feel at home on the table.
Fix dough that sticks, cracks, or refuses to curl
Orecchiette that stick, crack, or refuse to curl usually need a small change in dough moisture, resting time, or knife pressure. Sticky dough needs a light dusting of semolina; cracking dough may need a little water or more rest. Change one thing at a time so you can tell which adjustment helped. This matters because the same symptom can have different causes: a piece that will not curl may be dry and brittle, or it may be too thick for the knife to fold.
If a piece sticks to the board, first check whether your hands or work surface are damp. Dust the surface lightly, then drag the next piece with a steady stroke. Too much loose semolina can make the dough gritty and stop the knife from gripping, so brush away excess rather than burying the pieces in flour. A light dusting is a compromise: enough to release the dough, but not so much that it loses contact with the board needed for the curl.
If the dough crumbles as you roll a rope, pinch off a small piece and knead it with damp fingers. Avoid pouring water straight onto the full batch, which can turn one dry corner into a sticky patch. When the rope rolls but springs back or tears under pressure, cover it and give it another 10 minutes to relax. In the first case the dough needs moisture; in the second it may already contain enough water but need time to become workable.
Pieces that stay thick in the middle often need firmer, more even pressure from the knife. Pieces that tear need less pressure, a thinner starting piece, or a longer rest. If your first tray contains several different sizes, sort the largest ones together so you can check their doneness separately when cooking. Keeping sizes similar is useful for timing, but it is not worth making the dough overly thin just to achieve uniformity; a slightly uneven handmade batch can still cook well if you test the thickest pieces.
A useful practice session looks like this: shape 10 pieces, cook one, and inspect its texture. If the center feels dense, roll the next rope a little thinner or drag each piece farther. The pasta gives you quick feedback, and each adjustment is easier to judge than trying to fix the whole batch at once. You are learning a relationship between dough feel, knife pressure, and cooking time, so taking notes on what changed can make the next session more predictable.
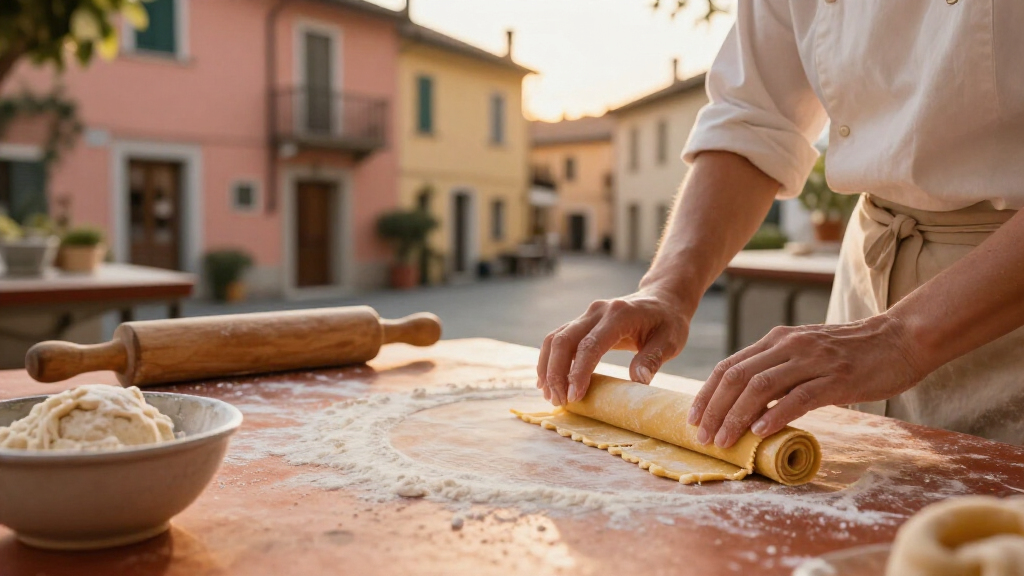
Cook fresh pasta by taste, then serve it the Puglian way
Fresh orecchiette cook quickly, but their exact timing depends on size and thickness, so taste one instead of relying on a fixed minute count. Bring a pot of salted water to a boil, add the pasta, and stir gently so the pieces do not settle together. When the center tastes tender but still pleasantly firm, transfer them to the sauce. Tasting is especially useful for handmade pasta because a thick center can lag behind the thin edges; a timer alone cannot tell you whether the shape is evenly cooked.
Depending on your shaping and how long the pasta has rested, fresh pieces may need only a few minutes. Test one of the larger pieces first, since a thick center takes longer than a thin one. If your batch has uneven sizes, use a slotted spoon to lift the smaller pieces as they finish and give the larger ones a little more time. This avoids leaving small pieces to soften while waiting for the largest ones.
To make the familiar broccoli rabe pairing, cook the greens until tender and briefly sauté garlic in olive oil. Add the cooked orecchiette and a splash of pasta water; toss until the oil, starchy water, and greens coat the pasta. Anchovy or chili can add savory depth or heat, but garlic, greens, and oil make a satisfying plate on their own. Add the pasta water gradually: a little helps the oil and cooking starch come together, while too much can dilute the sauce.
If you use anchovies, check the label for fish, a common allergen. Wheat semolina contains gluten, so this pasta is not suitable for people avoiding gluten. Serve the dish while the sauce still glistens and the greens have not lost their color.
Food safety stays simple: keep the dough covered while you shape it, refrigerate any fresh pasta you are not cooking soon, and use clean hands and utensils. For a longer wait, freeze the shapes in one layer until firm, then pack them in a freezer-safe container. Cook frozen orecchiette straight from the freezer, allowing extra time and tasting for doneness. Freezing them separately first helps preserve their shape because the pieces cannot press together into a frozen clump.
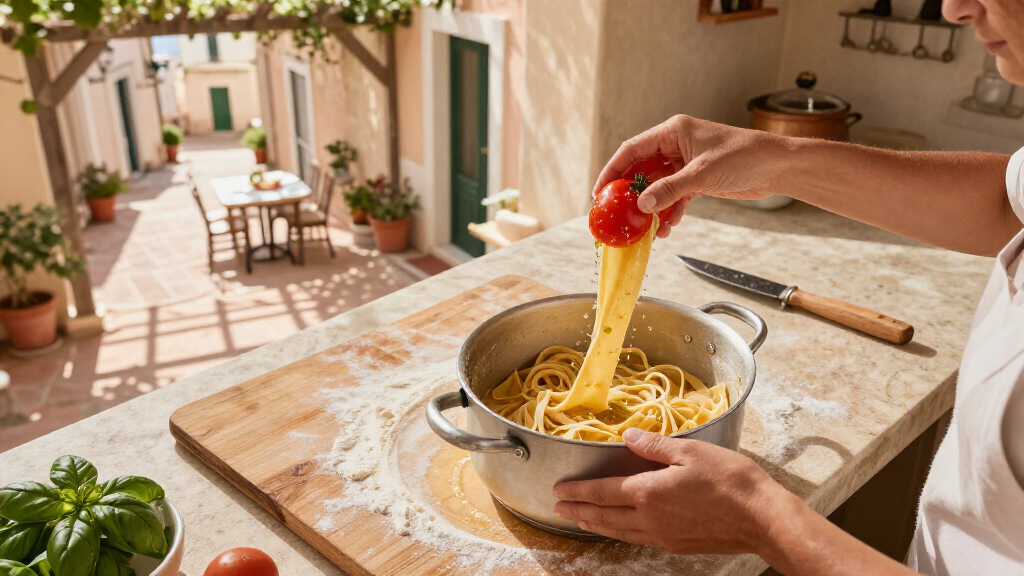
Dry or freeze extra pasta without losing the shape
You can cook orecchiette fresh after a short rest, dry them for later, or freeze them for another meal. Drying time varies with humidity, room temperature, and the size of each piece, so check that the pasta is fully dry before storing it at room temperature. A dry, airy spot and a lightly dusted tray help keep the shapes from sticking together. The choice is a tradeoff: drying gives you shelf-ready pasta if conditions allow it, while freezing is quicker and avoids waiting for the centers to dry completely.
For a small batch, spread the pieces in one layer with space between them. Turn them occasionally so air can reach the underside. In a humid kitchen, they may take longer than expected; do not seal them in a jar or bag while they still feel cool or pliable, since trapped moisture can spoil the pasta. The center of a curled piece can hold moisture after the outside feels dry, so check a few of the largest shapes before packing the whole batch.
Freezing is more forgiving when you want to save time. Arrange the orecchiette on a semolina-dusted tray without letting them touch, freeze until firm, then transfer them to a freezer-safe container. When dinner comes, add them frozen to boiling water and check a piece for tenderness, since the extra cooking time depends on their size. Freezing on the tray first takes a little more space, but it keeps individual shapes intact and makes it easier to take out only the amount you need.
For example, if you shape pasta on a Sunday afternoon, freeze half on a tray while you cook the rest with greens. The frozen batch can become a quick weeknight meal later, especially with canned beans, garlic, and vegetables already in the refrigerator. Labeling the container with the date helps you keep track of what you have stored.
Use your senses and good storage habits. Fresh dough should not sit uncovered on the counter for hours, and dried pasta belongs in storage only once it is truly dry. If you spot damp patches, an off smell, or signs of mold, discard it rather than trying to cook it away. Taking the time to confirm dryness protects the whole container, since moisture in even a few pieces can affect the rest.
Frequently Asked Questions
Can a beginner make orecchiette in an afternoon?
Yes. You can make a usable batch in an afternoon with semolina, water, a knife, and practice. Expect the first pieces to vary in size; speed and consistency improve with repetition.
Do traditional orecchiette contain eggs?
Classic Puglian orecchiette generally use durum wheat semolina and water, sometimes with a little salt. Egg is not usually part of the traditional dough.
What should the dough feel like?
The dough should feel firm and smooth, hold together, and avoid sticking to your hands. Add water gradually if it crumbles, or knead in a little semolina if it smears on the board.
Why do my orecchiette tear instead of curling?
The dough may be too dry, too thick, or not rested enough. Cover it for another 10 minutes, then try a thinner piece and a steady knife stroke with moderate pressure.
How long should I cook fresh orecchiette?
Fresh orecchiette often cook in a few minutes, but size and thickness change the timing. Taste a larger piece and cook until the center is tender with a little firmness.
Can I freeze handmade orecchiette?
Yes. Freeze the pieces in a single layer until firm, then transfer them to a freezer-safe container. Cook them from frozen in boiling water and allow extra time before checking for doneness.
Conclusion
Give yourself one afternoon, a handful of semolina, and permission for the first pieces to look a little different from the last. A firm rested dough, a steady knife drag, and a fingertip turn are enough to make pasta that catches sauce and tastes unmistakably handmade.
Remember the shape by what it does: a thin center holds the sauce, and a thicker rim gives each bite its chew. Put a bowl of orecchiette with greens on the table, and let the little hollows carry a taste of Puglia into your kitchen.

Columbus Day / Indigenous Peoples' Day Picks
long weekend sales
As an affiliate, we earn on qualifying purchases.