Sushi rice is the heart and soul of any sushi dish, and with the right techniques, you can easily master making it to perfection. Start by thoroughly rinsing the short-grain Japanese rice to remove excess starch. Then, cook the rice and stir in a flavorful mixture of rice vinegar, sugar, and salt. Allow the seasoned rice to cool completely before gently fluffing it with a fork. This ensures the rice achieves the ideal texture – sticky yet separated. With these simple steps, you'll be crafting restaurant-quality sushi in no time. And if you're eager to take your sushi skills to the next level…
Key Takeaways
- Use short-grain Japanese rice for optimal stickiness and texture.
- Thoroughly rinse the rice to remove excess starch before cooking.
- Gently fold in a seasoning mixture of rice vinegar, sugar, and salt for balanced flavor.
- Allow the cooked rice to cool to room temperature and fluff it with a fork for a light, airy consistency.
- Properly storing and handling the sushi rice is crucial for maintaining freshness and quality.

Nishiki Premium Sushi Rice, 10lbs
Store rice in a cool, dry place in an airtight container to preserve freshness and prevent moisture or…
As an affiliate, we earn on qualifying purchases.
As an affiliate, we earn on qualifying purchases.
History
Although sushi has been a staple in Japanese cuisine for centuries, the history of sushi rice can be traced back to the 8th century. During this time, people in Japan discovered that lightly vinegared rice could be used to preserve fish, creating a dish that would eventually evolve into modern sushi.
Over the centuries, the preparation of sushi rice has been refined and perfected. The rice is first steamed, then seasoned with a mixture of rice vinegar, sugar, and salt. This process helps the rice achieve a perfect balance of sweetness, acidity, and stickiness – essential qualities for creating high-quality sushi.
As sushi gained popularity throughout Japan, different regional styles emerged, each with their own unique approaches to preparing the rice. From the lightly seasoned sushi of Edo (now Tokyo) to the more strongly flavored varieties of Kansai, the diversity of sushi rice recipes reflects the rich culinary heritage of Japan.

Mizkan Vinegar Sushi Seasoning for Sushi or Salad – 24 fl oz (710ml)
As an affiliate, we earn on qualifying purchases.
As an affiliate, we earn on qualifying purchases.
Recipe
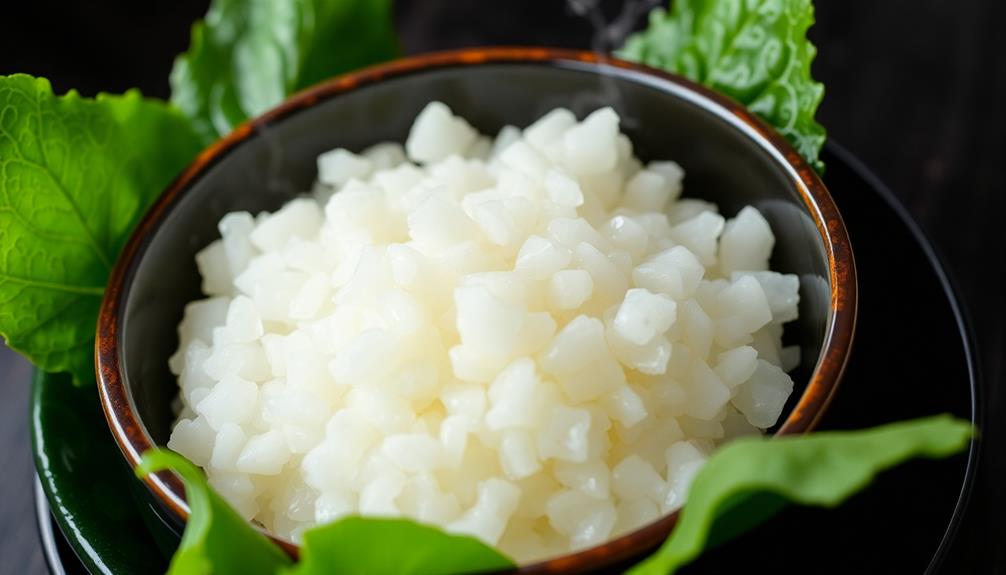
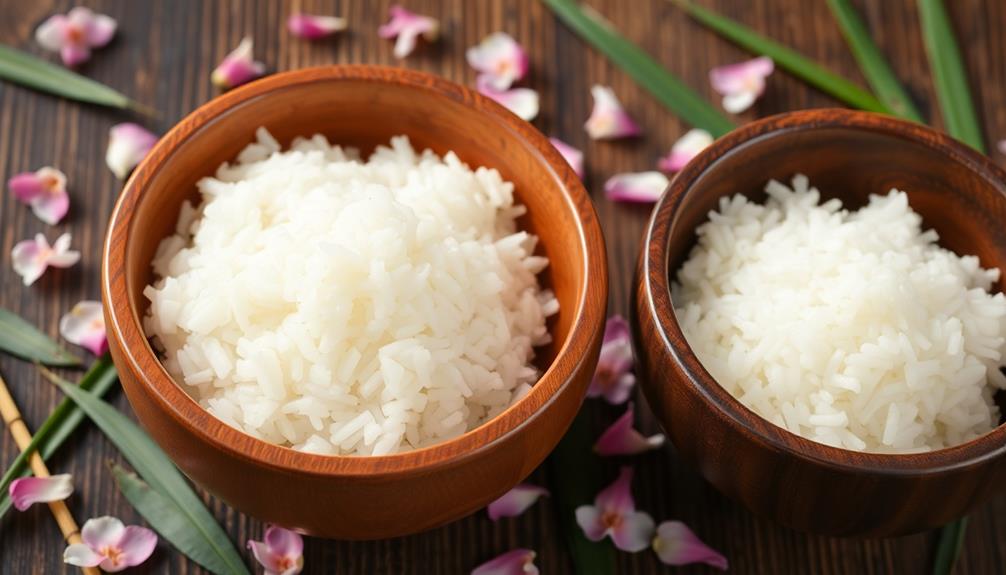
Sushi rice is the foundation of any great sushi dish. It's important to get the texture and flavor just right. The key is to use the right type of rice, properly cook and season it, and handle it with care.
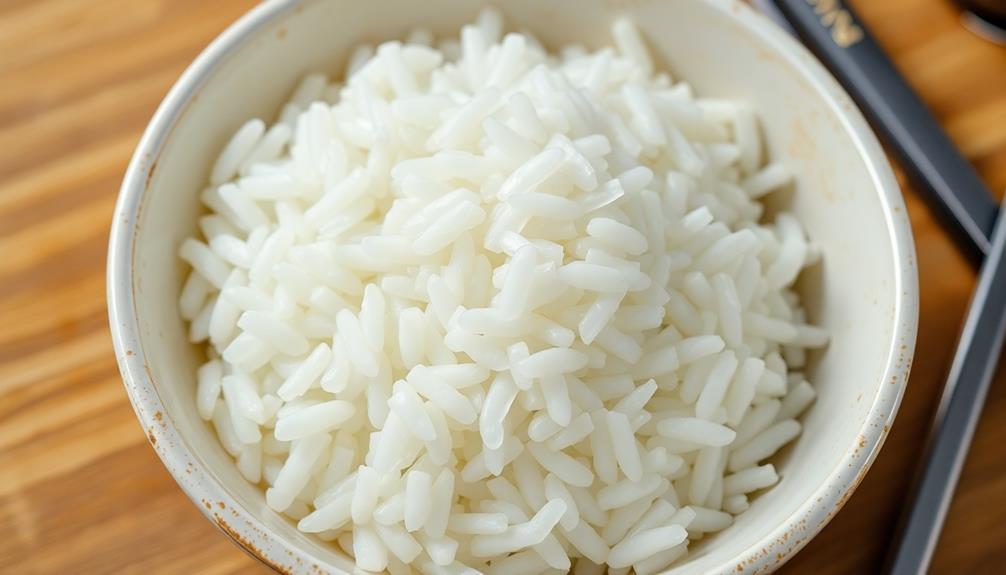
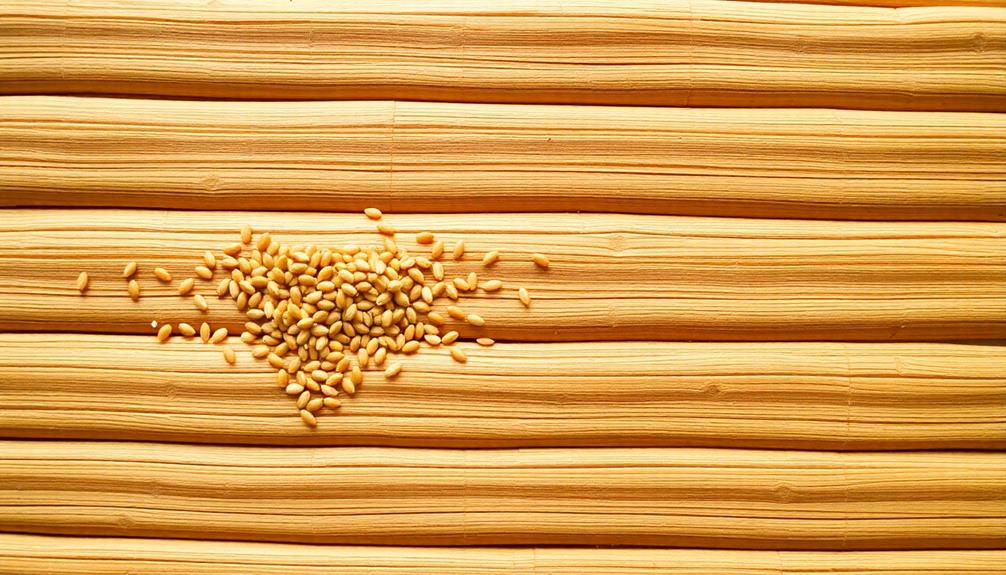
Sushi rice is made from short-grain Japanese rice. This type of rice has a higher starch content, which gives it a sticky, slightly sweet flavor and texture that's perfect for sushi. It's crucial to use the right rice to achieve the authentic sushi experience.
Ingredients:
- 2 cups short-grain Japanese rice
- 2 cups water
- 3 tablespoons rice vinegar
- 2 tablespoons sugar
- 1 teaspoon salt
In a saucepan, combine the rice and water. Bring to a boil, then reduce heat to low, cover, and simmer for 15-20 minutes, or until the rice is tender and the water is absorbed. Remove from heat and let stand, covered, for 10 minutes.
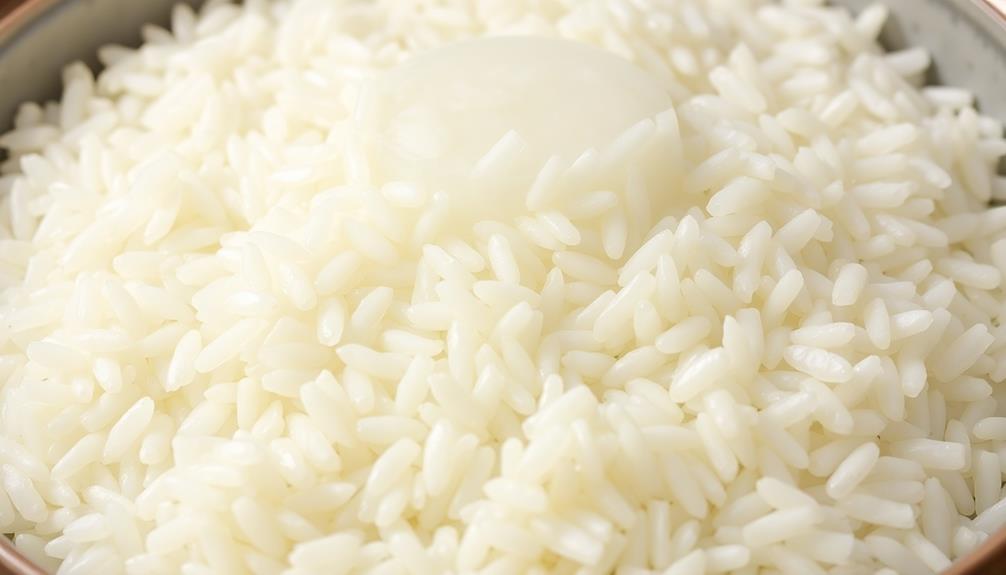
Transfer the cooked rice to a large, shallow bowl. Add the rice vinegar, sugar, and salt. Gently fold the mixture until the rice is evenly seasoned and has a shiny, glossy appearance. Be careful not to overmix, as this can make the rice become sticky and gloppy. Allow the rice to cool slightly by spreading it out in the bowl, which helps achieve the desired texture for sushi or other dishes. This process is essential for creating the perfect white rice recipe that is light and flavorful, yet maintains its delicate stickiness. Remember, patience is key to getting the consistency just right without making the rice overly mushy.
Allow the seasoned rice to cool to room temperature before using.
When making sushi, it's important to handle the rice gently and work quickly to prevent it from drying out. Lightly moistening your hands can help prevent the rice from sticking. Enjoy your perfectly prepared sushi rice!

Japanese 14" L Wooden Sushi Rice Paddle Spatula"Dohkan" Shamoji/Made in Japan
Rice paddle
As an affiliate, we earn on qualifying purchases.
As an affiliate, we earn on qualifying purchases.
Cooking Steps
Rinse the sushi rice thoroughly to remove excess starch, then drain it well.
Next, stir in rice vinegar to season the rice and give it that signature sushi flavor.
Once the rice has cooled to room temperature, gently fluff it with a fork before covering and letting it stand, allowing the flavors to meld.
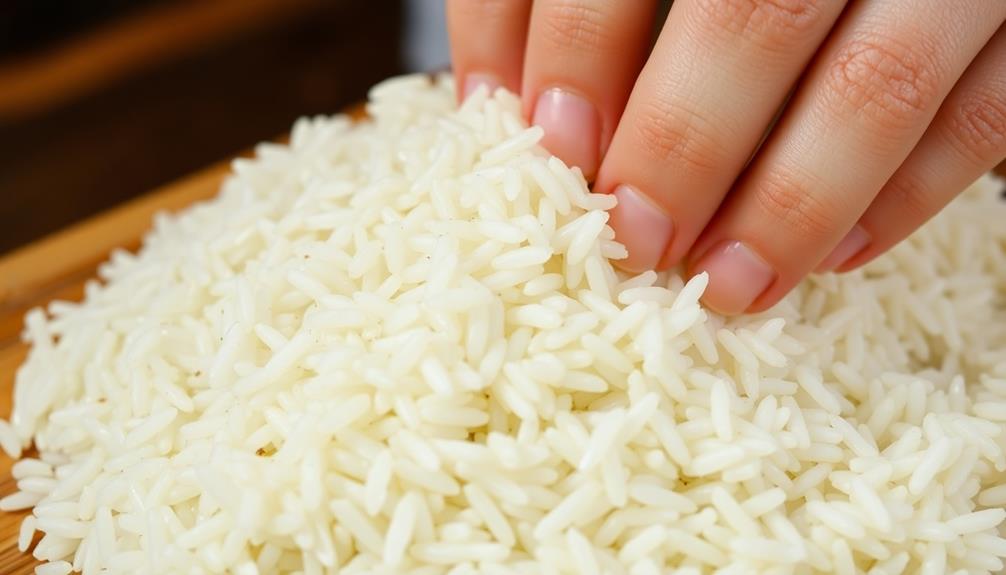
Step 1. Rinse and Drain Sushi Rice
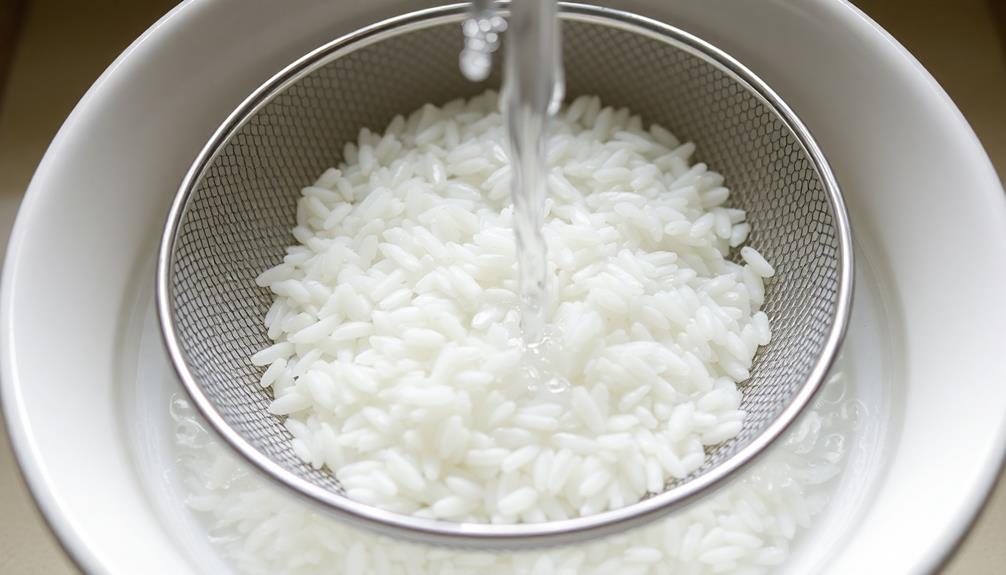
Start by rinsing the sushi rice under cold running water until the water runs clear. This step is crucial for removing excess starch, which can make the rice sticky and clump together. Gently rub the grains between your palms as you rinse to help release the starch. Continue rinsing until the water appears translucent, which may take several minutes.
Next, drain the rinsed rice in a fine-mesh strainer. Allow it to sit for a few minutes, shaking the strainer occasionally, to help remove as much excess water as possible. This step ensures the rice cooks evenly and achieves the desired texture.
After draining, the sushi rice is ready to be cooked according to the instructions in the previous section. Proper rinsing and draining are essential for creating the perfect sushi rice foundation, so be sure to take the time to complete these steps carefully.
With a little attention to detail, you'll be well on your way to making delicious sushi rice at home. To make sushi rice at home, start by selecting high-quality short-grain Japanese rice, as its texture is ideal for achieving the perfect consistency. Be sure to rinse the rice thoroughly until the water runs clear, removing excess starch for a fluffier result. With a precise balance of rice vinegar, sugar, and salt, you’ll elevate the flavor to recreate an authentic sushi experience right in your own kitchen.
Step 2. Add Rice Vinegar

After draining the rice, it's time to add the seasoning. This is a crucial step in making perfect sushi rice. In a small bowl, combine rice vinegar, sugar, and salt. Stir until the sugar and salt have fully dissolved.
The exact measurements will depend on the amount of cooked rice you have, but a general guideline is 2-3 tablespoons rice vinegar, 1-2 tablespoons sugar, and 1/2 teaspoon salt per 1 cup of cooked rice.
Gently fold the vinegar mixture into the warm, drained rice using a wooden or plastic spoon. Be careful not to overmix, as this can lead to gummy, sticky rice. The goal is to evenly distribute the seasoning throughout the rice.
Once the vinegar mixture is incorporated, spread the seasoned rice out on a rimmed baking sheet or large, shallow bowl. This will help the rice cool quickly and evenly.
Now your sushi rice is ready to be formed into rolls, nigiri, or used in any sushi dish you desire.
Step 3. Let Rice Cool to Room Temperature
Once the vinegar mixture is incorporated, spread the seasoned rice out on a rimmed baking sheet or large, shallow bowl. This allows the rice to cool down to room temperature, which is crucial for achieving the perfect sushi rice texture.
As the rice cools, it'll release excess moisture, helping to achieve that signature stickiness and shine.
Avoid letting the rice sit for too long, though, as it can begin to dry out. Aim to cool it within 15-20 minutes, gently folding and fluffing the rice every few minutes to help it release heat and moisture evenly.
You'll know the rice is ready when it no longer feels warm to the touch and has a slightly tacky, malleable consistency.
Once cooled, the rice is now primed for forming into neat sushi rolls or molding into perfect nigiri. The gradual cooling process ensures the grains hold their shape and create that satisfying bite.
With this technique, you'll enjoy sushi rice that's perfectly balanced and ready for your favorite fillings or toppings.
Step 4. Cover and Let Stand
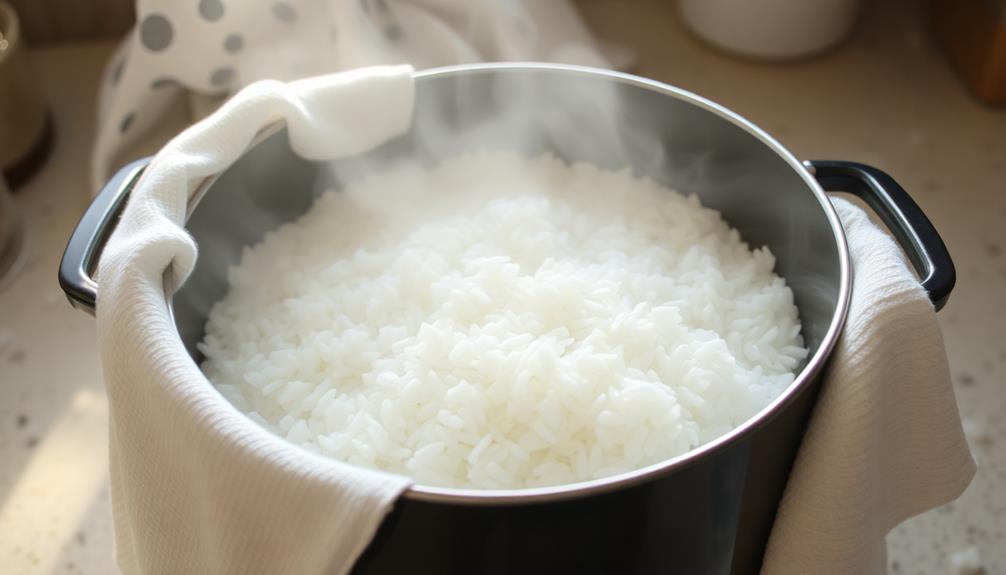
Next, cover the pot with a tight-fitting lid and let the rice stand off the heat for 15 minutes. This step is crucial for allowing the rice to finish cooking and develop its signature texture.
The residual heat trapped under the lid will continue to gently steam the grains, ensuring they become tender and sticky – the hallmarks of perfectly cooked sushi rice.
During this time, the rice will also absorb any remaining liquid, resulting in grains that are perfectly separated yet still cohesive. This resting period allows the starch molecules to settle, giving the rice its signature glossy sheen and preventing it from becoming overly sticky or gloppy.
Once the 15 minutes are up, uncover the pot and fluff the rice with a rice paddle or fork, being careful not to overmix.
The rice is now ready to be seasoned and prepared for rolling into delicious sushi.
Step 5. Fluff Rice With Fork Gently
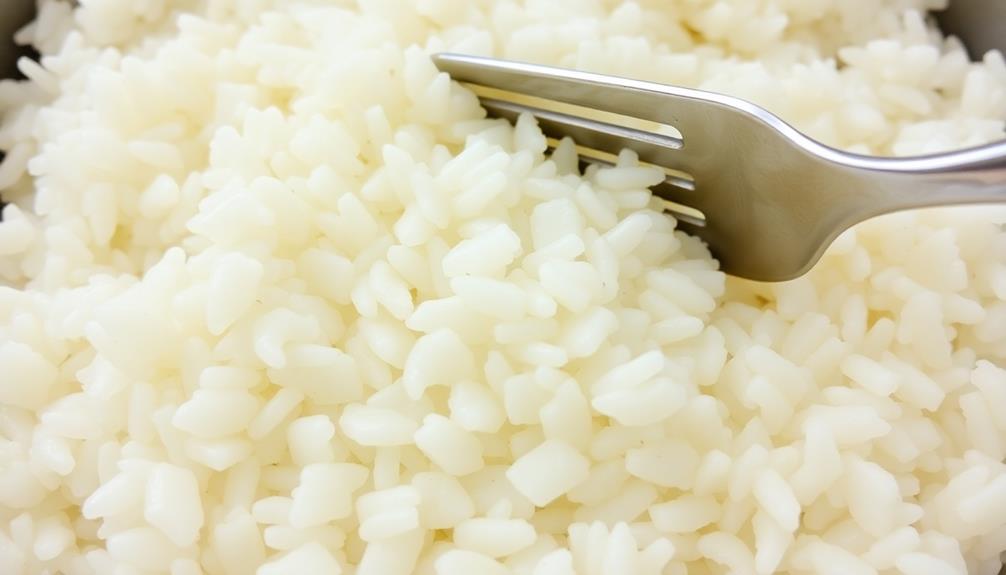
Gently fluff the rice with a fork, taking care not to overmix it. This step is crucial for achieving the perfect texture – light, fluffy, and free of clumps. By using a fork, you'll aerate the grains, separating them and allowing excess moisture to evaporate.
Be mindful of your technique. Avoid vigorous stirring or mashing, which can lead to a gloppy, gummy consistency. Instead, use a gentle, lifting motion, folding the rice over itself to incorporate air. Work from the bottom of the pot, gently bringing the rice up and over. This will help to evenly distribute any added ingredients without breaking the delicate texture of the rice. Patience is key here—too much agitation can easily ruin your dish. Similarly, knowing **how to make perfect guacamole** requires a delicate balance of gentle mashing and thoughtful mixing to maintain the creamy yet chunky texture that defines this classic dip.
This fluffing process serves two purposes. First, it ensures even cooling, preventing the rice from sticking together as it cools. Second, it helps the rice develop its signature glossy shine and sticky, yet distinct texture – essential qualities for perfect sushi rice.
Take your time with this step, treating the rice with care. When done right, you'll be rewarded with rice that's ready to be seasoned and shaped into delectable sushi.

Viretec Rice Airtight Storage Container, 3 to 5Lbs Cereal Dry Food Flour Bin, Pet Dog Cat Food Dispenser with Measuring Cup, BPA Free Clear Plastic Kitchen and Pantry Organization Bin for Sugar
SMART KITCHEN STORAGE CONTAINER: make your pantry perfectly organized with this smart container. Suitable for Beans, Flour, Sugar,…
As an affiliate, we earn on qualifying purchases.
As an affiliate, we earn on qualifying purchases.
Final Thoughts
Although sushi rice can seem daunting at first, with a bit of practice, you'll find it's quite easy to master. The key is to follow the steps carefully and be patient with the process.
Once you've got the hang of it, you'll be able to whip up a batch of perfect sushi rice in no time.
Remember, the quality of your sushi rice is crucial to the overall success of your sushi-making endeavors. By taking the time to properly rinse, cook, and season the rice, you'll be rewarded with a delightful, sticky, and flavorful foundation for your sushi creations.
Don't be afraid to experiment with different techniques and adjustments to find what works best for your preferences and kitchen setup.
With a little trial and error, you'll soon become a sushi rice master, impressing your friends and family with your homemade sushi rolls.
Frequently Asked Questions
Can I Use Regular Rice Instead of Sushi Rice?
You can use regular rice instead of sushi rice, but the texture and flavor won't be the same. Sushi rice is specially prepared to achieve the perfect sticky, sweet, and tangy consistency for sushi.
How Long Does Sushi Rice Last in the Fridge?
Sushi rice can last in the fridge for up to 5 days when stored properly. Make sure to keep it in an airtight container and reheat it before using to ensure the perfect texture for your sushi.
Do I Need a Rice Cooker to Make Sushi Rice?
You don't need a rice cooker to make sushi rice. You can use a pot on the stovetop, but a rice cooker makes the process easier and can help you achieve the perfect texture every time.
Can I Make Sushi Rice Ahead of Time?
You can certainly make sushi rice ahead of time. It'll store well in the fridge for 3-5 days. Just be sure to let it cool completely before storing it in an airtight container.
What Is the Best Way to Store Leftover Sushi Rice?
The best way to store leftover sushi rice is to store it in an airtight container in the refrigerator for up to 3 days. You can reheat it in the microwave with a splash of water to restore its texture.