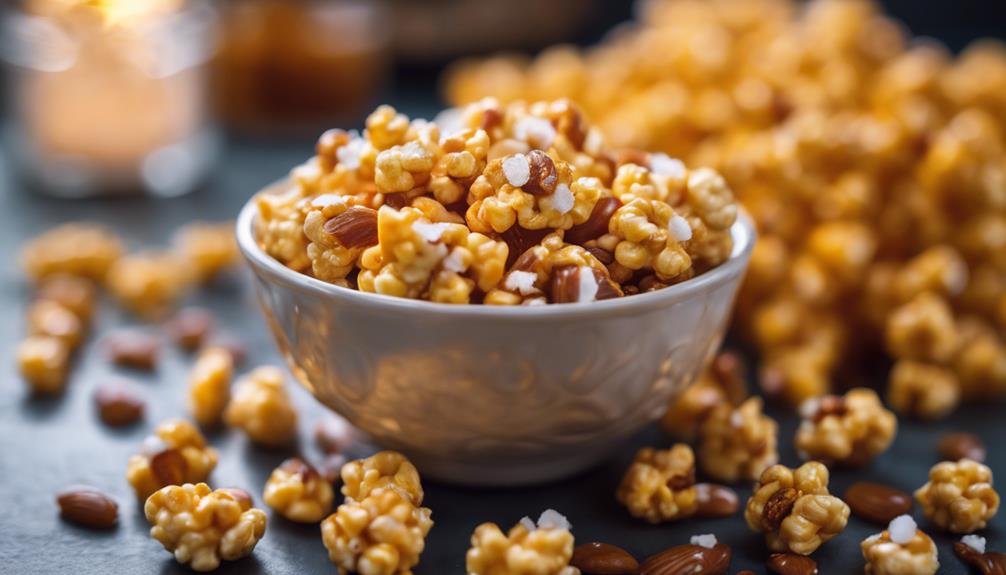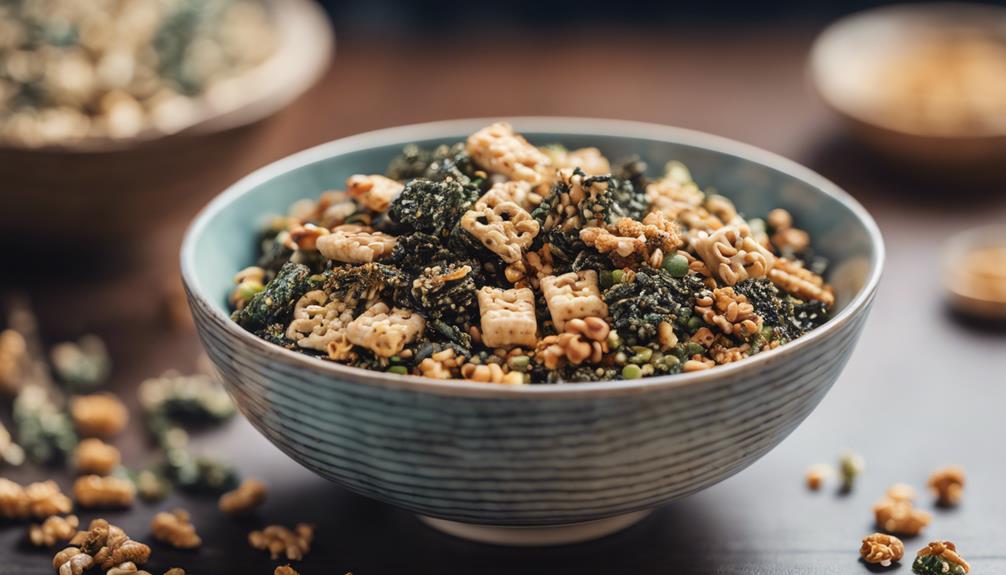

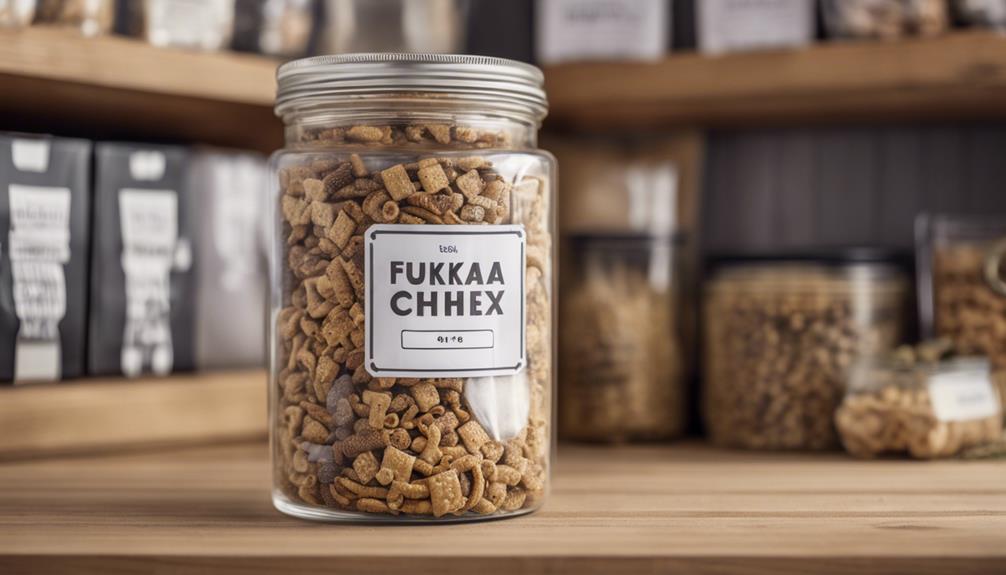
Enhance your snacking experience with Furikake Chex Mix, a combination of Chex cereals, pretzels, nori strips, rice crackers, and furikake seasoning. This mixture provides a unique twist with a variety of textures and umami flavors. To make the perfect batch, mix Chex cereal, furikake seasoning, nori strips, rice crackers, and pretzels, then bake at 250°F for an hour. Customize with nuts, seeds, or dried fruits and experiment with different seasoning blends for a personalized touch. Present in decorative bowls for a delightful snack. Elevate your snack time with a burst of flavors and textures that will leave you wanting more.
Key Takeaways
- Elevates snacking with unique umami flavors.
- Offers customizable options for personal taste preferences.
- Provides a delightful mix of textures and tastes.
- Perfect for sharing and enjoying on various occasions.
- Incorporates a blend of sweet, salty, and savory notes.
Amazon Product B0CBZHG2Q5
As an affiliate, we earn on qualifying purchases.
Recipe Overview
Prepare yourself to immerse in the delicious world of Furikake Chex Mix with this simple and flavorful recipe overview. The sweet and savory snack mix combines the crunch of Chex cereals and pretzels with the unique umami flavor of furikake seasoning. This upgraded version of traditional Chex Mix offers a delightful twist that's perfect for any occasion, be it parties, gatherings, or cozy movie nights.
The key to this delectable snack lies in the harmonious mix of different textures and tastes. The Chex cereals and pretzels provide a satisfying crunch, while the furikake seasoning adds a burst of savory umami flavor that elevates the entire snack mix. The blend of seaweed, sesame seeds, and sugar in the furikake creates a delicate balance that keeps you coming back for more.

Heated Seat Cover with Expanded Heating Area, Heated Seat Cushion for Full Back and Seat, Seat Warmer with 3 Levels Temperature Control for Home Office and More, Warm Gift for Winter
[Total-Body Warmth & Comfort]: Crafted for ultimate comfort, our larger heated seat cover (38.5" x 17.5") delivers full-body...
As an affiliate, we earn on qualifying purchases.
Ingredients Needed
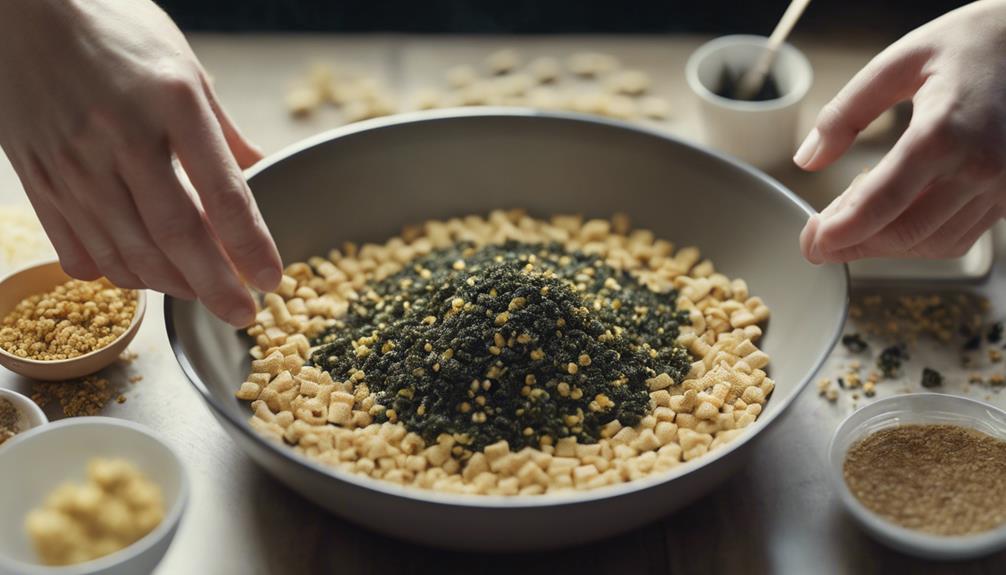
To create Furikake Chex Mix, gather the following ingredients:
- Chex cereal: Acting as the base, the Chex cereal provides a crunchy foundation for the mix.
- Furikake seasoning: This essential ingredient adds a unique umami flavor that enhances the overall taste of the snack.
- Nori strips and rice crackers: These components introduce a delightful texture and a hint of seaweed flavor to the mix.
- Pretzels: With their savory taste, pretzels bring a satisfying contrast to the other ingredients in the snack.
The combination of these ingredients results in a snack that boasts a perfect blend of flavors and textures.
The Chex cereal provides a crisp bite, while the Furikake seasoning imparts a savory and umami-rich taste.
The addition of nori strips, rice crackers, and pretzels further elevates the snack, creating a harmonious mix that's sure to satisfy your cravings for a delicious and addictive treat.

LUSRAIT Universal Seat Cushion, Comfortable Seat Cover with Full Back Support in Winter
【Easy to Install】Designed with a fixed position rubber bottom and adjustable shoulder straps for attaching to the car...
As an affiliate, we earn on qualifying purchases.
Cooking Steps
For ideal baking conditions, preheat the oven to 250°F. To make Furikake Chex mix, start by combining Chex cereal, furikake seasoning, nori strips, rice crackers, and pretzels in a large bowl. In a saucepan, melt butter and mix in a sweet combination of syrup and soy sauce. Thoroughly coat the dry mix with this flavorful syrup mixture to guarantee a delicious taste throughout.
Next, spread the coated mixture on a baking sheet and bake it for an hour at 250°F. Remember to stir every 15 minutes to promote even cooking and achieve the perfect crunchiness.
Here is a table to summarize the cooking steps:
| Cooking Steps |
|---|
| Preheat oven to 250°F |
| Mix dry ingredients in a bowl |
| Melt butter, syrup, and soy sauce in a saucepan |
| Coat dry mix with syrup mixture |
| Spread mixture on baking sheet |
| Bake for 1 hour, stirring every 15 minutes |
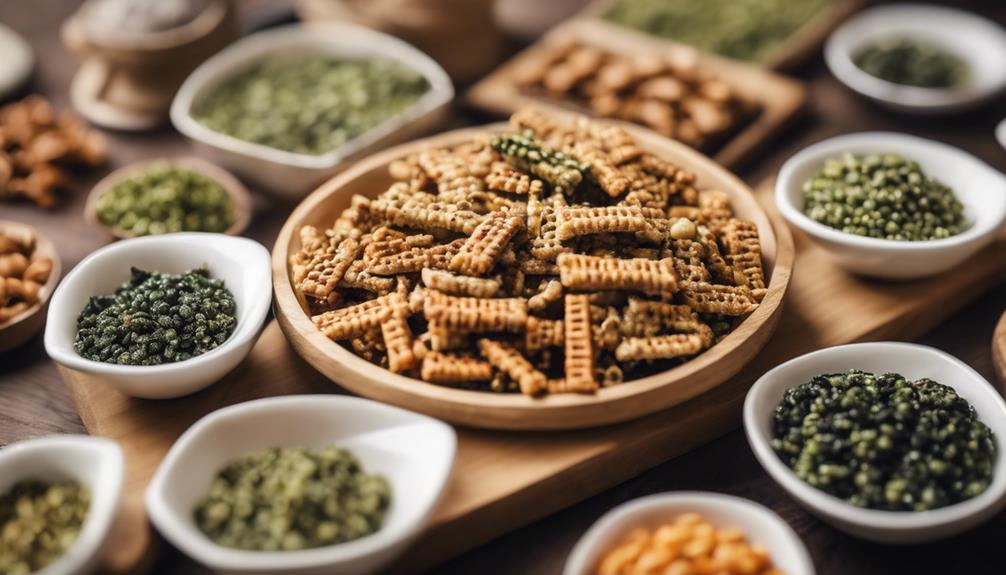
Once ready, enjoy the savory and crunchy Furikake Chex Mix as a delightful snack for parties, movie nights, or whenever you need a tasty treat.

TAILERRI 2 Pack Seat Cushion Winter Cover for Full Back and Seat (Black)
Universal Fit: With an adjustable strap system, this seat cover can accommodate most car, truck, and SUV seats
As an affiliate, we earn on qualifying purchases.
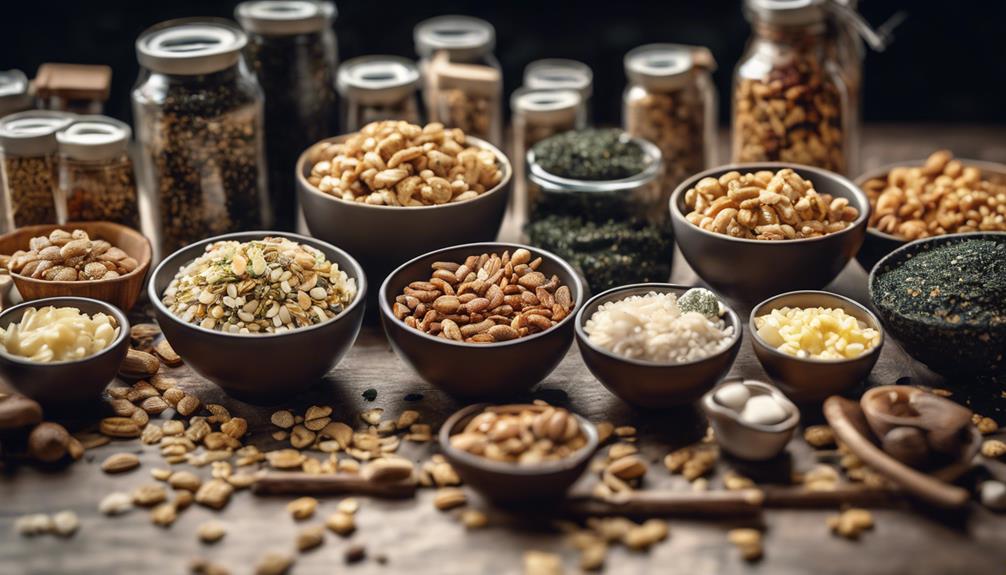
Customization Ideas
Enhance your Furikake Chex Mix with a variety of personalized additions to tailor the snack to your taste preferences. Here are some customization ideas to elevate your Chex mix:
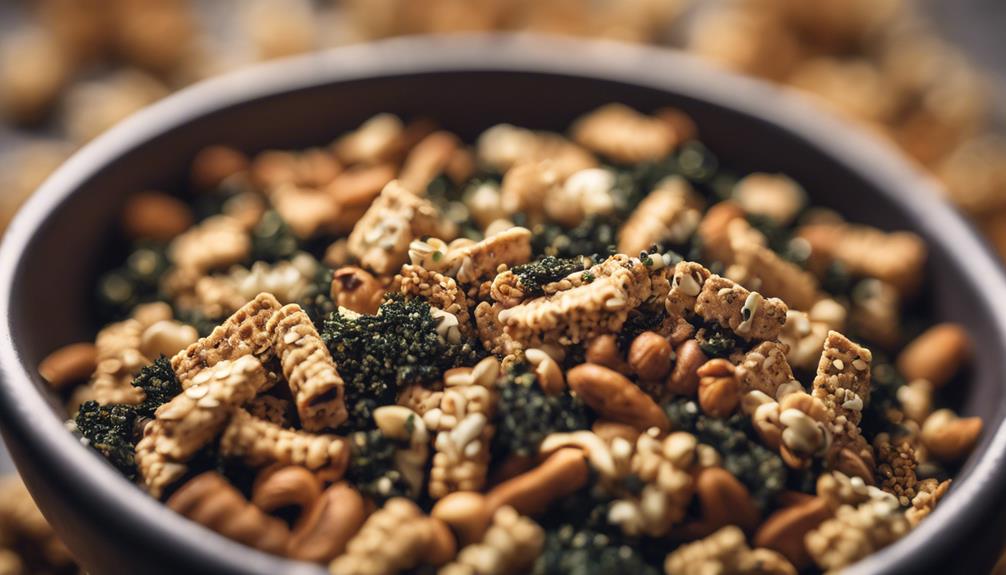
- Add your favorite snacks: Incorporate nuts, seeds, or dried fruits for a personalized touch.
- Experiment with Chex cereal: Try different types like Corn Chex, Rice Chex, or Wheat Chex to vary texture and flavor.
- Play with furikake seasoning: Explore unique flavors such as wasabi furikake or spicy furikake for a twist.
- Spice it up: Include Togarashi for a spicy kick that adds an extra burst of flavor.
- Cater to your taste: Get creative by adding ingredients that match your preferences, whether sweet, savory, or spicy.
Tips for Perfecting Flavor
Guarantee the flavor of your Furikake Chex Mix by incorporating a generous amount of furikake for a bold umami taste. The umami flavor of furikake mix adds depth and richness to your snack upgrade, enhancing its overall appeal.
To balance out the savory notes of furikake, consider adding nori strips to introduce a slight saltiness that complements the umami essence perfectly. Experiment with different furikake blends to craft personalized flavor profiles that cater to your taste preferences.
By combining crispy rice crackers and savory pretzels in your mix, you can also enhance the texture, creating a delightful crunch with every bite.
To make sure your Furikake Chex Mix stays fresh and maintains its crunchiness, store it in an airtight container. This simple step helps preserve the flavors and textures, allowing you to enjoy your snack at its best.
Perfecting the flavor of your Furikake Chex Mix involves a thoughtful blend of ingredients and careful storage, resulting in a satisfying snacking experience.
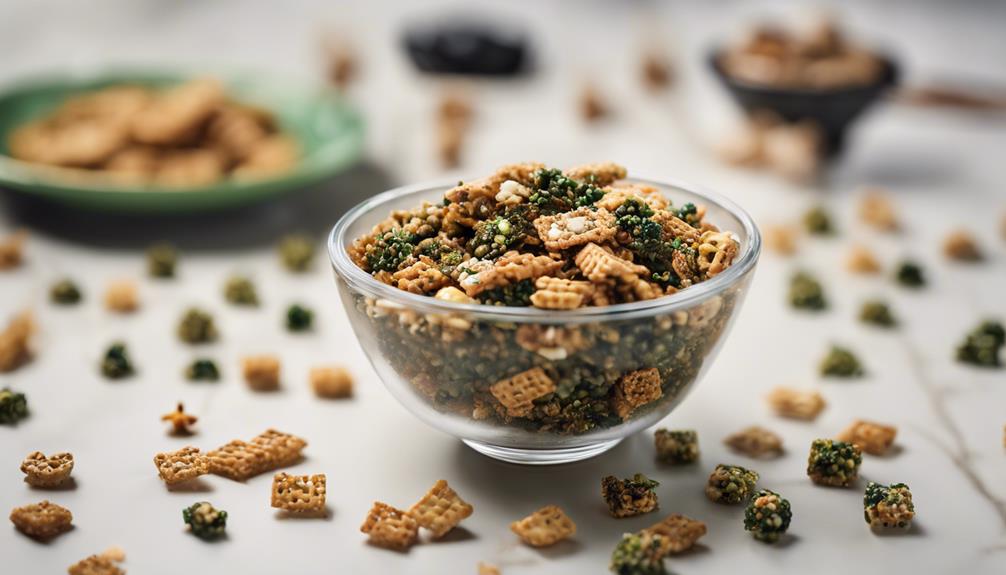
Serving Suggestions
When it comes to serving Furikake Chex Mix, consider the flavor combinations and presentation ideas to elevate your snacking experience.
Experiment with different furikake blends, nuts, seeds, or dried fruits to create unique taste profiles that suit your preferences.
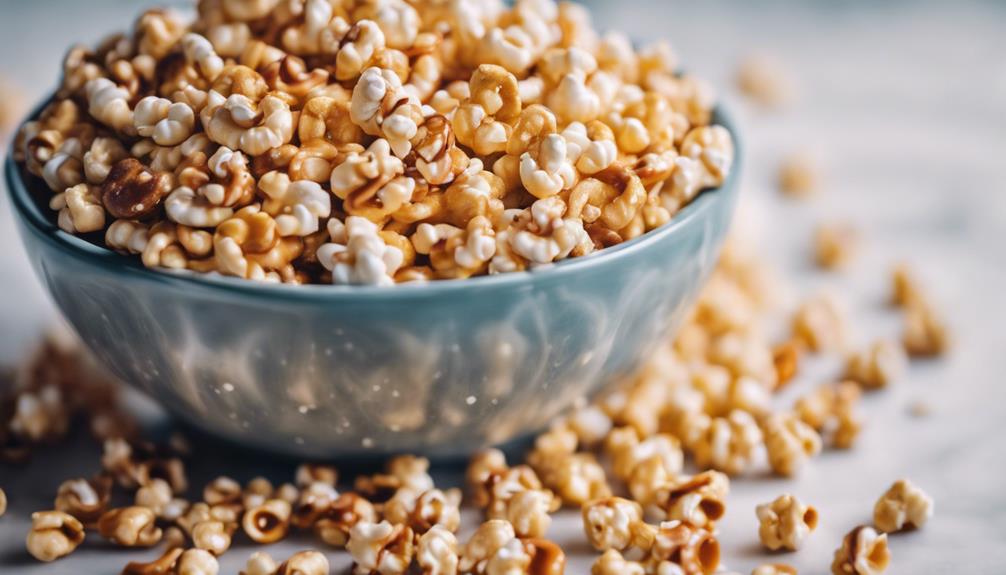
Enhance the visual appeal by serving the mix in decorative bowls or portioning it into individual bags for convenient sharing.
Flavor Combinations
Experimenting with various ingredient combinations allows you to create unique and personalized flavor profiles for your Furikake Chex Mix. To achieve the perfect balance of sweet and salty, consider these flavorful additions:
- Honey-roasted peanuts: Add a touch of sweetness to complement the umami-rich furikake.
- Wasabi peas: Infuse a spicy kick for those who enjoy a bit of heat in their snacks.
- Dried cranberries: Introduce a tart and chewy element that contrasts beautifully with the savory notes.
- Soy sauce-roasted almonds: Enhance the umami flavors with a crunchy and salty twist.
- Toasted coconut flakes: Bring a hint of tropical sweetness to the mix, creating a delightful complexity of tastes.
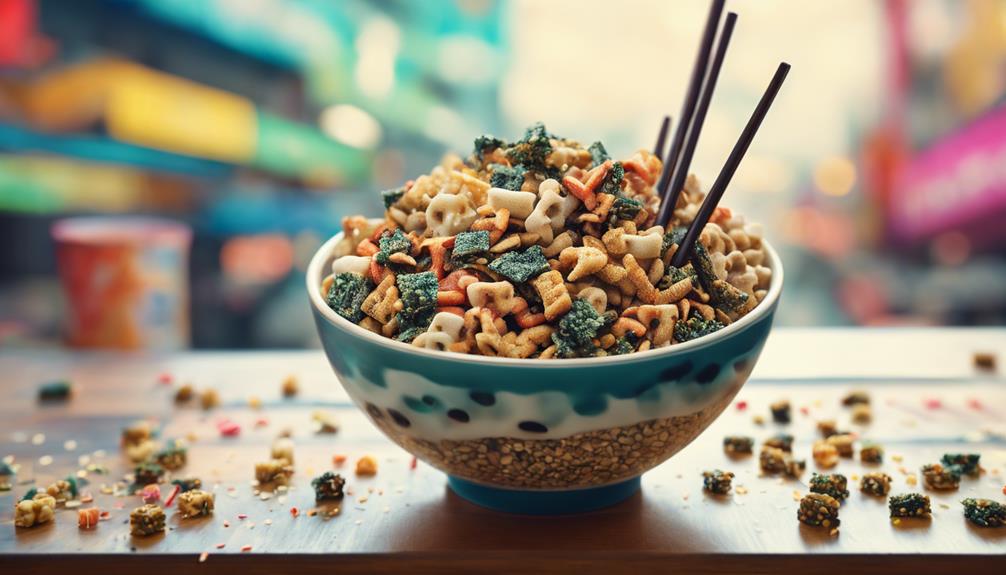
Presentation Ideas
For an eye-catching presentation of your Furikake Chex Mix, consider serving it in vibrant bowls or Japanese-style bento boxes. To make it even more visually appealing, garnish the mix with additional furikake seasoning or nori strips on top for an extra burst of flavor.
For a complete Japanese experience, pair your Furikake Chex Mix with traditional Japanese tea like green tea or genmaicha, as the flavors complement each other perfectly.
For easy serving at gatherings or on-the-go snacking, create individual snack bags or containers filled with your delicious Furikake Chex Mix. This won't only make it convenient for your guests but also add a touch of elegance to the presentation.
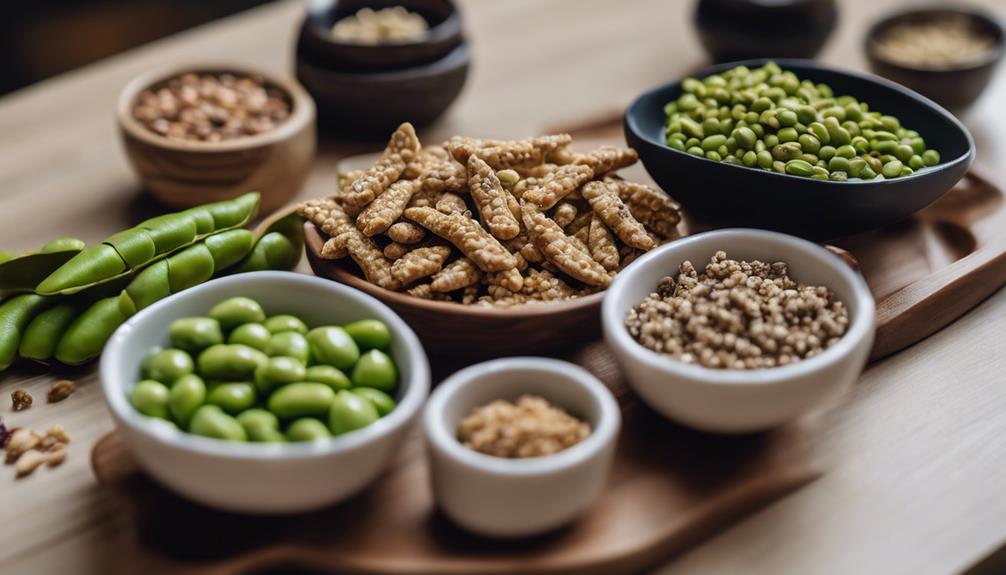
To enhance the Japanese theme further, consider serving your Furikake Chex Mix alongside other Japanese snacks like edamame, mochi, or tempura. This will create a delightful spread of Japanese flavors for everyone to enjoy.
Storage and Shelf Life
Wondering about how long your Furikake Chex Mix will stay fresh and crunchy? To safeguard your snack maintains its delicious taste and satisfying crunch, proper storage is key. Here are some essential tips to help you prolong the shelf life of your Furikake Chex Mix:
- Store your Furikake Chex Mix in an airtight container to prevent exposure to moisture.
- Keep it at room temperature for best freshness and crunchiness.
- Aim to consume the mix within 1 to 2 weeks of preparation for the greatest taste.
- Avoid storing in areas with high humidity or direct sunlight to maintain its quality.
- Remember that a cool, dry place is the ideal location to preserve the flavor and texture of your Furikake Chex Mix.
Following these storage guidelines will ensure you enjoy every bite of this delightful snack.
Variations and Add-Ins
To elevate the flavor and texture of your Furikake Chex Mix, consider incorporating a variety of add-ins and unique twists. Experiment with different Chex cereal varieties such as Corn Chex, Rice Chex, and Wheat Chex to introduce diverse textures into your mix.
For a spicy kick, add Japanese dried chili peppers or Togarashi to infuse a fiery twist. Enhance the flavor profile by including a mix of savory and sweet elements like pretzels, Fritos, or even honeycomb cereal.
Don't forget to incorporate the traditional Japanese seasoning, Furikake, known for its blend of seaweed, sesame seeds, and sugar, to achieve an umami-rich taste. To truly customize your Furikake Chex Mix, consider adding nuts, seeds, or dried fruits for a personalized touch that elevates the overall snack experience.
Final Thoughts
When considering the final thoughts on Furikake Chex Mix, it's crucial to highlight its ability to enhance your snacking experience.
The flavorful crunch it provides is unmatched, offering a unique blend of sweet, salty, and savory notes that are sure to upgrade your snack time.
With its versatility and customizable options, Furikake Chex Mix stands out as a go-to choice for those seeking a delicious and satisfying treat.
Flavorful Crunch Enhancement
For an added layer of crunch that elevates the overall snacking experience, consider incorporating toasted sesame seeds into your Furikake Chex Mix. These tiny seeds not only provide a satisfying crunch but also bring a nutty flavor that complements the umami-rich furikake seasoning. Here are five ways adding toasted sesame seeds can enhance your snack:
- Extra Texture: The sesame seeds add a delightful crispy texture to each bite, enhancing the overall snacking experience.
- Nutty Flavor: Their nutty taste pairs well with the savory elements of the Chex Mix, creating a harmonious blend of flavors.
- Visual Appeal: The speckled appearance of sesame seeds adds visual interest to the mix, making it even more appetizing.
- Healthy Boost: Sesame seeds are packed with nutrients like healthy fats and minerals, offering a nutritional bonus to your snack.
- Versatile Addition: These seeds are versatile and can be easily customized to suit your taste preferences, allowing for a personalized snacking experience.
Snack Time Upgrade
Consider incorporating a variety of textures and flavors to elevate your snacking experience with Furikake Chex Mix. Originating from Hawaii, this snack upgrade combines the savory umami richness of furikake seasoning, the satisfying saltiness of nori strips, the enjoyable crunch of rice crackers, and the delightful savory notes from pretzels.
Perfect for any occasion, whether it's a party snack, a movie night treat, a picnic essential, or a quick on-the-go munch. What makes Furikake Chex Mix stand out is its adaptability. By customizing the recipe, you can swap out different Chex cereal varieties, experiment with diverse furikake blends, incorporate nuts or seeds for added texture, include dried fruits for a touch of sweetness, and adjust seasoning levels to match your taste preferences.
Once prepared, store this delectable mix in an airtight container for future enjoyment. Upgrade your snacking game with Furikake Chex Mix and savor a burst of flavors and textures in every bite.
Frequently Asked Questions
Can I Use a Different Type of Cereal Instead of Chex?
You can absolutely use a different type of cereal instead of Chex. Just choose a cereal that you enjoy and think will work well with the flavors in the recipe. Get creative and have fun!
How Long Does It Take for the Furikake Chex Mix to Cool Completely?
Imagine waiting for a hot air balloon to gently descend. Your Furikake Chex Mix needs about 20-30 minutes to cool completely. Embrace the anticipation, then savor the crunchy, flavorful goodness once it's ready.
Can I Make This Snack Ahead of Time for a Party?
You can definitely make this snack ahead of time for a party. Prepare it a day in advance to save time on the event day. Just store it in an airtight container to keep it fresh until the party.
Is It Possible to Make a Sweet Version of Furikake Chex Mix?
Yes, you can definitely create a sweet version of furikake Chex Mix. By incorporating ingredients like honey, cinnamon, and a touch of vanilla, you can transform this savory snack into a delightful treat.
Can I Substitute Any Ingredients for a Gluten-Free Version?
You can easily substitute gluten-free alternatives for a celiac-friendly version of the recipe. Swap regular Chex cereal for gluten-free versions and make sure all other ingredients are free of gluten. Enjoy your upgraded snack without worries!
Can Potato Chip Krispie Treats be Enhanced with Furikake for an Ultimate Snack Upgrade?
Looking for an ultimate snack upgrade? Try adding furikake to your potato chip krispie treats. The savory flavor of the furikake enhances the crunchiness of the potato chip krispie treats, creating a unique and delicious snack that will surely impress your taste buds. Go ahead, give it a try! You can easily customize this treat by experimenting with different types of furikake to match your preferred flavor profile, whether you like it sesame-rich, seaweed-heavy, or with a hint of dried fish. The salty-sweet combination brings a whole new level of excitement to your snacking routine, making it perfect for parties, movie nights, or just a special indulgence. Follow the potato chip krispie treats recipe to create this next-level snack that’s bound to become a crowd favorite!
Conclusion
To sum up, Furikake Chex Mix offers a delightful twist on a classic snack, elevating its flavor profile with a unique blend of savory seasonings.
With simple ingredients and easy preparation, this recipe is a must-try for snack enthusiasts looking to upgrade their munching experience.
So why settle for ordinary when you can enjoy a delicious and satisfying treat that's sure to impress your taste buds?
Give Furikake Chex Mix a try today and elevate your snacking game to a whole new level.