
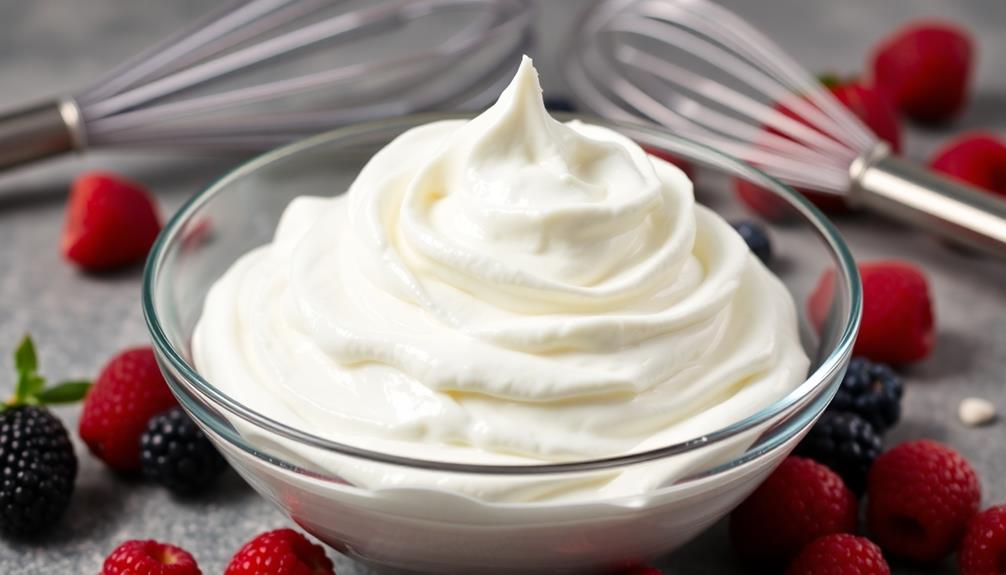
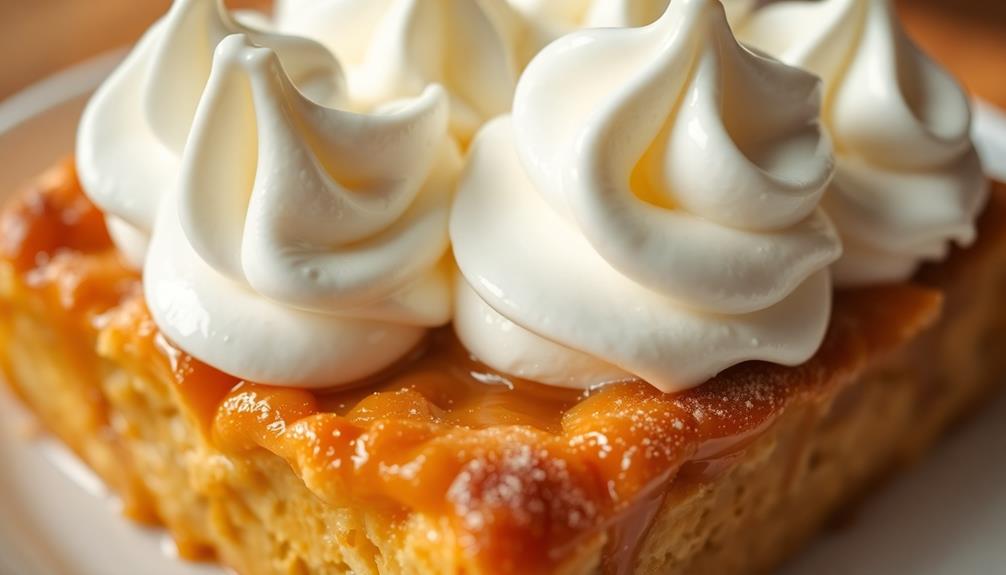
Making lush, homemade whipped cream is a breeze – all you need are a few simple ingredients and some elbow grease. First, chill your mixing bowl and beaters to help the cream whip up faster and thicker. Then, gently whip in a bit of powdered sugar to stabilize the texture. Watch closely as the cream transforms into soft, airy peaks. For an extra flavor boost, stir in a touch of vanilla extract. Serve immediately for the best quality, or store up to 2 days in the fridge. It's a rich, versatile topping that elevates all sorts of desserts – let's dive in to explore more creative ways to use your homemade whipped cream.
Key Takeaways
- Chill the mixing bowl and beaters for 15-20 minutes to help the cream whip faster and thicker, as cold equipment aids in coagulating fat globules.
- Add 1-2 tablespoons of powdered sugar per cup of heavy cream to stabilize the whipped cream texture and provide sweetness.
- Whip the cream on medium-high speed until soft peaks form, which hold their shape but gently fold over, to maintain a light, airy texture.
- Add 1/2 to 1 teaspoon of vanilla extract per cup of heavy cream to enhance the flavor, as the intensity will increase as the whipped cream chills.
- Serve the homemade whipped cream immediately for optimal freshness and quality, as the air pockets created during whipping are delicate.
handheld electric whisk for whipped cream
As an affiliate, we earn on qualifying purchases.
As an affiliate, we earn on qualifying purchases.
History
Whipped cream has a rich history dating back to the 15th century, when it was first mentioned in European cookbooks. Over the centuries, this light and airy delicacy has evolved from a rare luxury to a staple in many households.
In the 18th century, the invention of the hand-cranked whisk revolutionized the process, making whipped cream more accessible. By the 19th century, it had become a popular topping for desserts, from cakes and pies to hot chocolate and ice cream. In the early 20th century, electric mixers further simplified the task, allowing whipped cream to be made in a fraction of the time. Today, it remains a beloved addition to a variety of dishes, whether it’s dolloped on fruit or served alongside perfect homemade waffles for breakfast. Its light, airy texture continues to be a staple in kitchens around the world, elevating both sweet and savory creations.
The advent of electric mixers in the 20th century further streamlined the whipping process, allowing home cooks to create fluffy, homemade whipped cream with ease.
Today, whipped cream remains a beloved ingredient, prized for its ability to add richness, texture, and elegance to a wide variety of sweet and savory dishes. Its history reflects the evolution of cooking technology and the enduring appeal of this simple yet indulgent treat.
stainless steel mixing bowls with lids
As an affiliate, we earn on qualifying purchases.
As an affiliate, we earn on qualifying purchases.
Recipe
Making homemade whipped cream is a simple and rewarding process that can elevate any dessert or topping. The light, fluffy texture and fresh flavor of homemade whipped cream are unmatched by store-bought alternatives.
This recipe requires just a few basic ingredients and minimal effort, making it an accessible and versatile addition to your culinary repertoire. Whether you're topping a pie, dressing up a sundae, or simply enjoying a spoonful on its own, homemade whipped cream is a delightful treat that's sure to impress.
- Heavy whipping cream
- Granulated sugar
- Vanilla extract (optional)
In a chilled bowl, combine the heavy whipping cream, granulated sugar, and vanilla extract (if using). Using a hand mixer or stand mixer fitted with the whisk attachment, whip the ingredients on high speed until soft peaks form, approximately 2-3 minutes.
Be careful not to overbeat, as the cream can quickly turn to butter. Homemade whipped cream is best used immediately, but can be stored in an airtight container in the refrigerator for up to 3 days.
Be sure to give it a quick whisk or stir before using, as the cream may separate slightly during storage. Enjoy your fresh, homemade whipped cream on a variety of desserts or as a standalone treat.
vanilla extract for baking
As an affiliate, we earn on qualifying purchases.
As an affiliate, we earn on qualifying purchases.
Cooking Steps
First, you'll need to chill your mixing bowl and beaters to ensure the cream whips up nicely.
Then, add a bit of powdered sugar to sweeten the whipped cream.
Finally, whip the mixture until soft peaks form, and stir in a splash of vanilla extract for extra flavor.
Serve the homemade whipped cream immediately for the best quality and texture.
Step 1. Chill Mixing Bowl and Beaters
Before whipping the cream, you'll want to ensure your mixing bowl and beaters are thoroughly chilled. Chilling the equipment helps the cream whip up faster and reach a thicker, fluffier consistency. To get the bowl and beaters cold, place them in the freezer for 15-20 minutes before you start. You can also run them under very cold water and dry them completely.
The reason this step is important is that cold equipment helps the fat globules in the cream to coagulate quickly, trapping air bubbles and resulting in a beautifully whipped cream.
If the equipment is warm, the cream may not whip up as well or may even separate. So don't skip this crucial preparatory step – take the time to properly chill your mixing tools for the best whipped cream results.
Step 2. Add Powdered Sugar
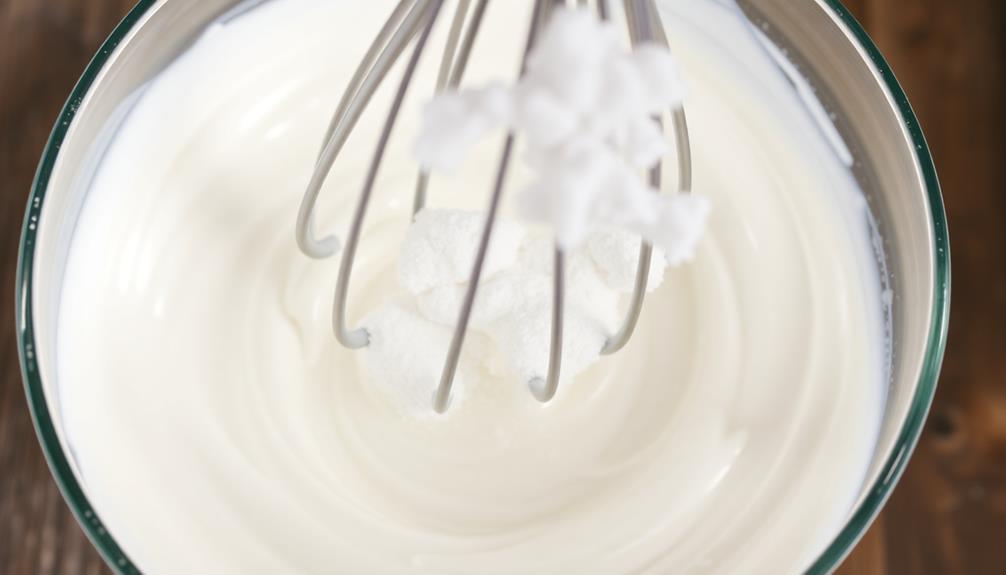
Once your mixing bowl and beaters are thoroughly chilled, you'll want to add a bit of powdered sugar to the heavy cream. This step is crucial for achieving the perfect texture and sweetness. The powdered sugar, also known as confectioners' sugar or icing sugar, helps to stabilize the whipped cream, preventing it from becoming grainy or weeping over time.
Generally, you'll want to add about 1-2 tablespoons of powdered sugar per cup of heavy cream. Start with the lower amount and taste the whipped cream as you go, adding more sugar if needed. The exact amount will depend on your personal preference and the sweetness of the cream itself.
Be sure to sift the powdered sugar before adding it to the bowl. This will help it incorporate smoothly and prevent any lumps from forming.
Once the sugar is added, gently fold it into the cream using a whisk or hand mixer, being careful not to overmix and deflate the whipped cream.
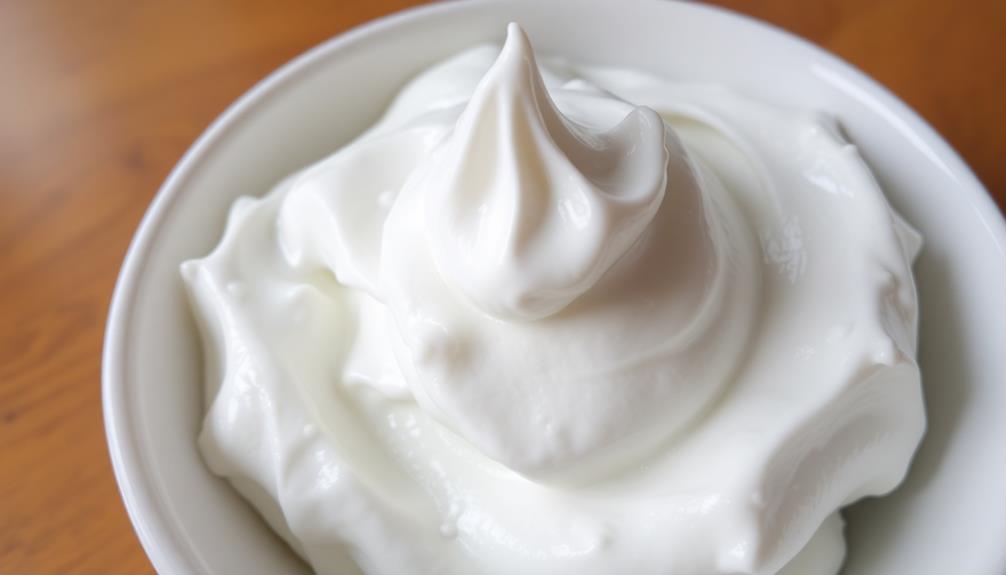
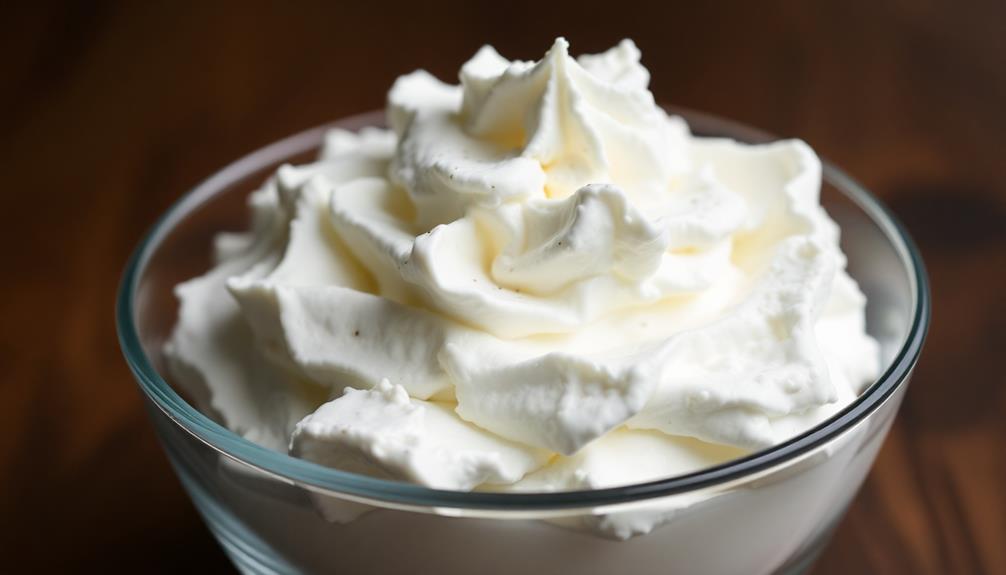
Step 3. Whip Until Soft Peaks Form

With your chilled bowl and beaters, begin whipping the cream on medium-high speed.
You'll notice the cream start to thicken and increase in volume as you whip it. Keep an eye on the consistency, looking for the formation of soft peaks. This means the cream will hold its shape when you lift the beaters, but the peaks will gently fold over themselves.
It's important not to overwhip at this stage. Soft peaks are the ideal consistency for most whipped cream applications – you want the cream to be light and airy, but still smooth and spreadable. If you continue whipping past this point, the cream will become stiff and grainy.
Once you reach soft peaks, you can stop whipping. At this point, the cream is ready to use as a topping, filling, or ingredient in your recipe.
Gently fold in any remaining powdered sugar or flavorings, being careful not to deflate the whipped cream.
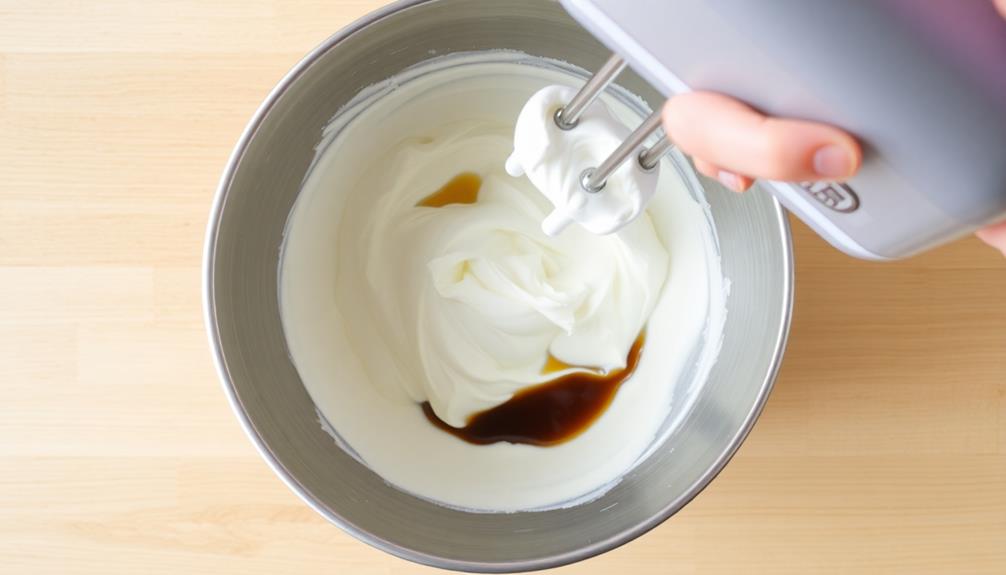
Step 4. Add Vanilla Extract
To enhance the flavor of your whipped cream, you can add a touch of vanilla extract. This simple ingredient can elevate the overall taste, creating a richer, more aromatic whipped cream. Just a small amount, usually around 1/2 to 1 teaspoon per cup of heavy cream, is all you need.
When adding the vanilla, be sure to do so after the cream has reached the soft peak stage. This will ensure the flavors blend seamlessly, without overpowering the delicate dairy notes.
Gently fold the vanilla extract into the whipped cream, being careful not to deflate the volume you've worked so hard to achieve.
The amount of vanilla you use is largely a matter of personal preference. Start with the lower end of the recommended range and taste as you go, adding more if you'd like a stronger vanilla presence.
Keep in mind that the flavor will intensify as the whipped cream chills, so it's best to err on the side of subtlety.
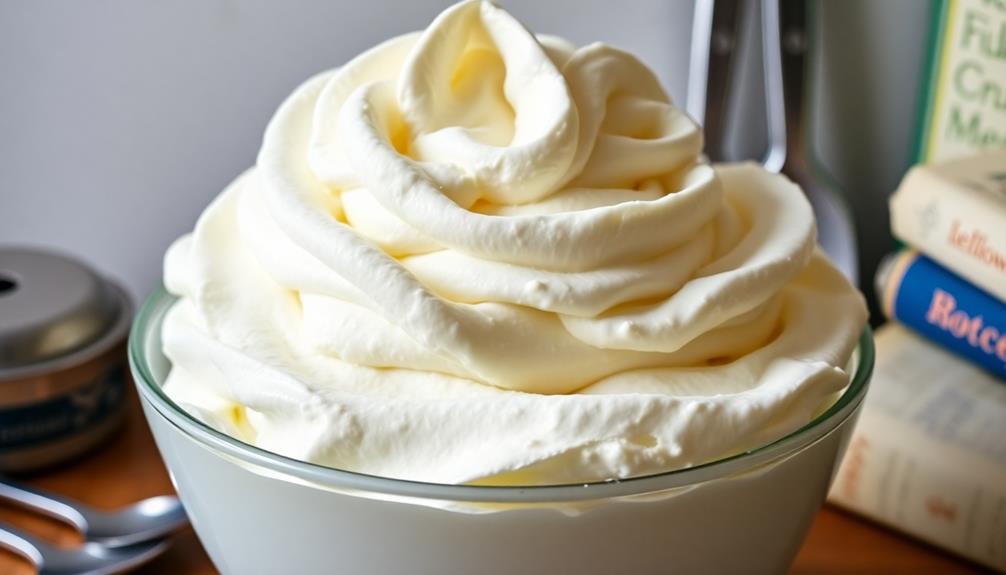
Step 5. Serve Immediately for Best Quality
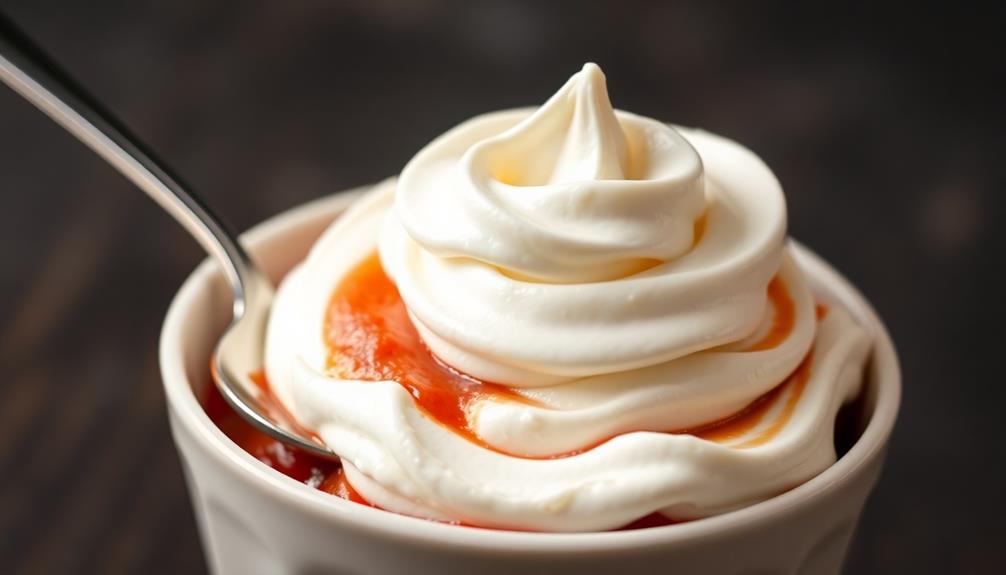
Freshness is paramount when it comes to homemade whipped cream. This ethereal topping reaches its peak flavor and texture immediately after whipping. The air pockets created during the whipping process are delicate and can't be preserved indefinitely. As time passes, the cream will start to separate and lose its light, fluffy consistency.
For the best results, serve your fresh whipped cream right away. It's the perfect finishing touch for pies, cakes, sundaes, or even just a spoonful on its own. The vibrant flavor and airy texture make it worth the small effort required to prepare.
Simply scoop or pipe the whipped cream onto your desired dessert, and enjoy it at its absolute prime. If you do have any leftover, it can be stored in the refrigerator for up to 2 days, though the quality will diminish over time.
For optimal enjoyment, savor your homemade whipped cream as soon as possible.
heavy whipping cream
As an affiliate, we earn on qualifying purchases.
As an affiliate, we earn on qualifying purchases.
Final Thoughts
Homemade whipped cream is a delightful addition to countless desserts and drinks. Whether you're topping a slice of pie, a mug of hot chocolate, or a fresh fruit salad, this versatile ingredient can elevate any dish.
While it may seem intimidating to make at home, the process is surprisingly simple and the results are well worth the minimal effort.
As you've learned, the key to achieving the perfect whipped cream is to chill your tools and keep the cream cold throughout the process. This helps the fat molecules in the cream expand and trap air, resulting in a light and fluffy texture.
Remember, the faster you whip the cream, the better – overmixing can lead to a grainy or curdled consistency.
With these tips in mind, you're now equipped to whip up homemade whipped cream anytime the craving strikes. Enjoy experimenting with different flavors and pairings, and don't be afraid to get creative in the kitchen.
Frequently Asked Questions
Can I Use a Hand Mixer Instead of a Stand Mixer?
You can absolutely use a hand mixer instead of a stand mixer. The hand mixer will whip the cream just as effectively, though it may take a bit more time and effort on your part. Feel free to use either option.
How Long Will the Whipped Cream Last in the Fridge?
When stored properly in the fridge, your homemade whipped cream can last 3-4 days. Keep it covered and make sure to use it within a few days for the best texture and flavor.
Can I Add Any Flavorings to the Whipped Cream?
Absolutely! You can add all sorts of flavorings to your homemade whipped cream. Try vanilla extract, cocoa powder, citrus zest, or even a touch of liqueur for a grown-up twist. Get creative and make it your own!
Is It Possible to Make Whipped Cream Without Heavy Cream?
You can absolutely make whipped cream without heavy cream. Try using canned coconut milk or cashew cream for a dairy-free alternative that whips up just as beautifully. Just be sure to chill the ingredients first for best results. For those looking for a richer texture, you could even try an easy homemade heavy cream recipe by blending whole milk with unsalted butter as a substitute. Keep in mind that while this mixture won’t whip up like traditional heavy cream, it works wonderfully in recipes that call for it. Experimenting with these alternatives opens up versatile options for both dairy and non-dairy whipped cream lovers alike.
What Is the Best Way to Store Leftover Whipped Cream?
To store leftover whipped cream, place it in an airtight container and refrigerate it. It'll keep for 3-4 days, but the texture may become a bit grainy over time. Be sure to use it up quickly for best results.