
Quinoa is a nutritional powerhouse you can easily incorporate into any meal. First, rinse the grains to remove bitterness. Then, cook it using a 1:2 quinoa-to-liquid ratio, simmering for 15-20 minutes. Fluff it with a fork after cooking, and let it cool slightly before serving. Quinoa's mild, slightly nutty flavor pairs well with endless ingredient combinations, whether you're making a protein-packed salad, savory stir-fry, or hearty breakfast bowl. With its versatility, quinoa can elevate the nutrition of just about any dish. And if you're interested in more tips for cooking this superfood to perfection… …consider experimenting with seasoning or cooking it in broth for added flavor. You can even toast the grains before boiling to enhance their nuttiness. In addition to quinoa, why not boost your meals with gut-friendly beverages like kombucha? For a refreshing drink, check out our **easy homemade kombucha recipe**—it pairs wonderfully with your favorite quinoa dishes for a wholesome, balanced meal. Quinoa’s nutrient-rich profile, combined with a refreshing, probiotic-packed drink, creates a balanced, nutritious meal perfect for any time of day. For a complete dining experience, try pairing your quinoa dish with a homemade brew by following our **easy kombucha recipe at home**, which brings a tangy, fizzy complement to your savory meals. Together, quinoa and kombucha are an excellent way to nourish both your body and your taste buds.
Key Takeaways
- Rinse quinoa under cool running water to remove bitterness-causing saponins and ensure even cooking with a pleasant, nutty flavor.
- Cook quinoa using a 1:2 ratio of quinoa to liquid (water or broth) by bringing it to a boil, then simmering for 15-20 minutes.
- Fluff the cooked quinoa with a fork to distribute moisture evenly and prevent stickiness or mushiness.
- Allow quinoa to cool for 3-5 minutes before serving to maintain its fluffy texture and prevent sogginess.
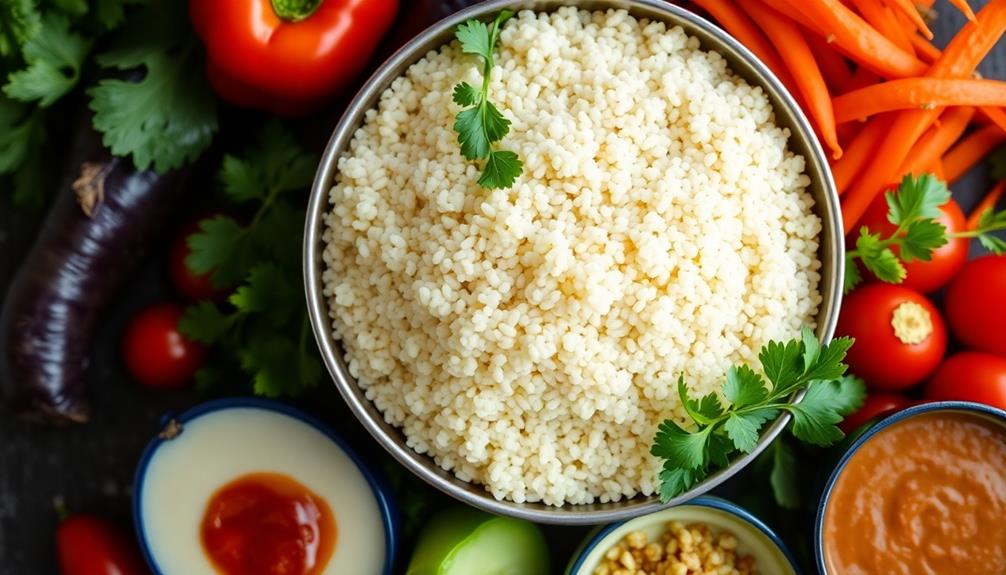
- Experiment with different seasonings, vegetables, and proteins to incorporate quinoa into a wide variety of dishes.

Natural Food Flavoring Powder Variety Pack, 12x5g Assorted Fruit Flavors, Edible Flavor Extracts for Baking, Candy, Beverage, Dessert & Yogurt Making
- Includes 12 Natural Fruit Flavors: Assorted 5g bottles of popular flavors
- Made with Natural Ingredients: Pure, safe, and high-quality flavoring agents
- ISO Certified Food Safety: Ensures reliable and safe edible products
As an affiliate, we earn on qualifying purchases.
History
Although quinoa has been a dietary staple in South America for centuries, it's only recently gained popularity worldwide.
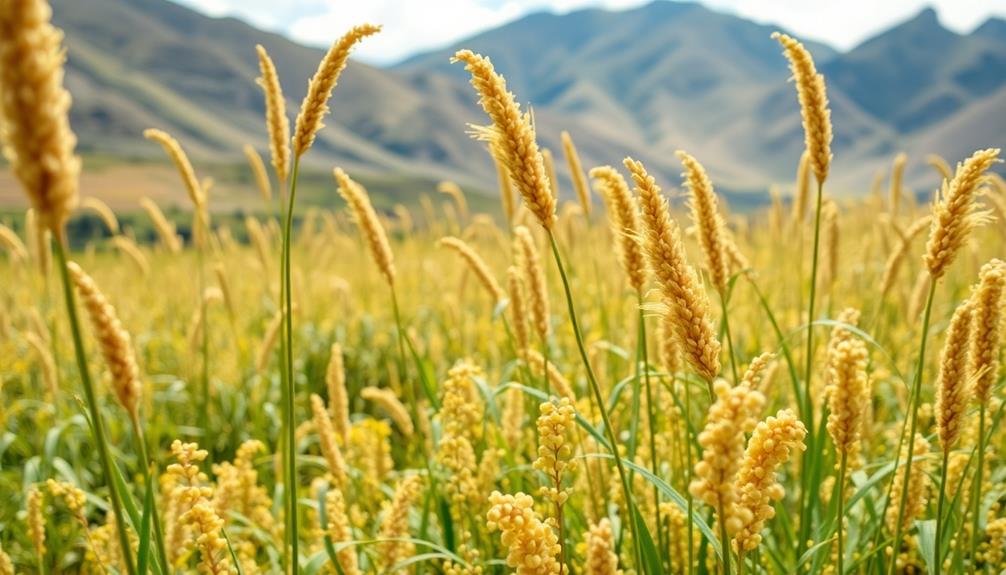
Originating in the Andean region, quinoa has been cultivated by the Incas and other indigenous communities for over 6,000 years. These ancient civilizations recognized quinoa as a superfood, praising its nutritional profile and versatility in their cuisine.
Quinoa was considered sacred by the Incas, who referred to it as the "mother grain" or "chisaya mama." It played a crucial role in their diet and was often used in religious ceremonies.
Despite its long history, quinoa was largely unknown to the rest of the world until the 1970s, when it began to be exported and promoted as a health food.
Today, quinoa is grown in various parts of the world, with Bolivia, Peru, and Ecuador remaining the primary producers.
Its rising popularity can be attributed to its exceptional nutritional value, gluten-free status, and adaptability in both savory and sweet dishes.
Recipe

Quinoa is a versatile and nutritious grain that has gained popularity in recent years. It's a gluten-free superfood packed with protein, fiber, and essential vitamins and minerals. Cooking quinoa is a straightforward process that yields a fluffy, flavorful result.
To begin, it's important to rinse the quinoa before cooking. This helps to remove the natural coating called saponin, which can give the grain a bitter taste. Once rinsed, the quinoa is ready to be cooked.
Ingredients:
- 1 cup quinoa
- 2 cups water or broth
- 1/4 teaspoon salt
Instructions:
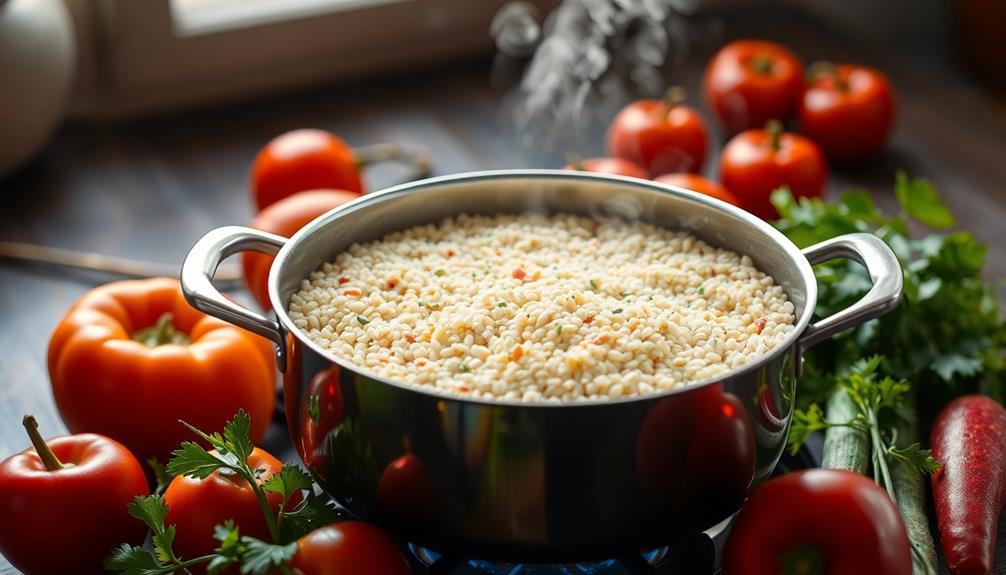
Combine the quinoa, water or broth, and salt in a medium saucepan. Bring the mixture to a boil, then reduce the heat to low, cover, and simmer for 15-20 minutes, or until the quinoa is tender and the liquid has been absorbed. Fluff the quinoa with a fork before serving.
When cooking quinoa, it's important to use the correct quinoa-to-liquid ratio, which is typically 1 part quinoa to 2 parts liquid. This ensures that the quinoa cooks evenly and doesn't become too dry or too mushy.
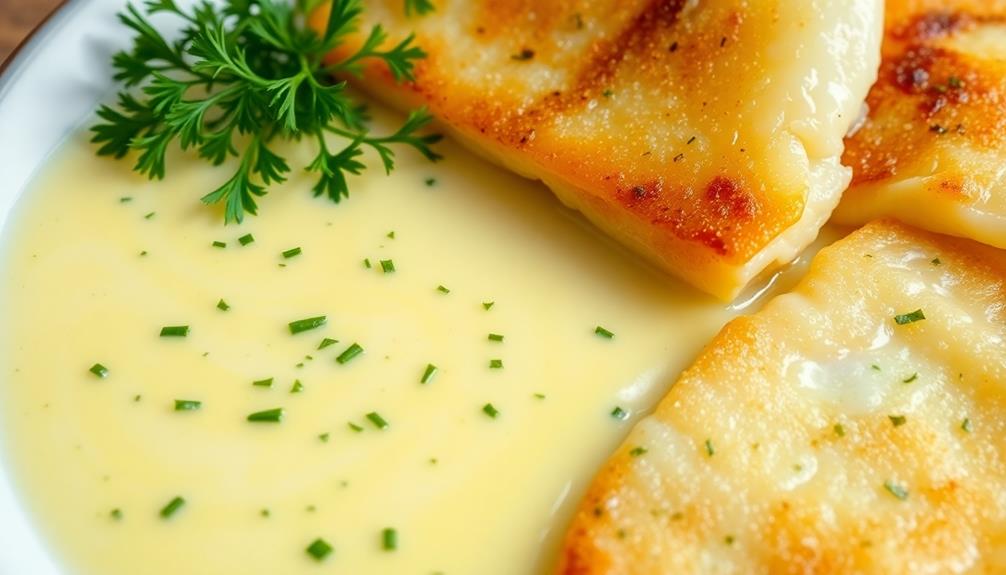
Additionally, you can experiment with different cooking liquids, such as vegetable or chicken broth, to add extra flavor to the quinoa. Additionally, you can experiment with different cooking liquids, such as vegetable or chicken broth, to add extra flavor to the quinoa. For an even heartier dish, consider using the broth as a base to make rich flavorful gravy, which can be drizzled over the quinoa for added texture and depth. Pair this with roasted vegetables or grilled protein to create a balanced and satisfying meal that’s both nourishing and delicious.
Cooking Steps

First, you'll want to rinse the quinoa before cooking it to remove any bitter saponins.
Next, add the cooking liquid – usually water or broth – and let the quinoa simmer on low heat until it's light and fluffy.
Step 1. Rinse Quinoa Before Cooking

Before cooking quinoa, it's important to give it a good rinse. Quinoa naturally contains a coating called saponin, which can make the grain taste bitter or soapy if not removed. Rinsing the quinoa helps eliminate this unwanted flavor.
To rinse quinoa, place it in a fine-mesh strainer and hold it under cool running water, gently stirring the quinoa with your fingers. Continue rinsing for 30 seconds to 1 minute, until the water runs clear. This step is crucial for ensuring your quinoa has a pleasant, nutty taste.
Some benefits of rinsing quinoa include:
- Removes bitterness
- Improves texture and flavor
- Helps quinoa cook more evenly
- Prevents it from becoming mushy
After rinsing, you're ready to cook the quinoa according to your recipe. Be sure to drain it well before adding it to the pot.
Rinsing quinoa takes just a minute but makes a big difference in the final dish.
Step 2. Add Cooking Liquid
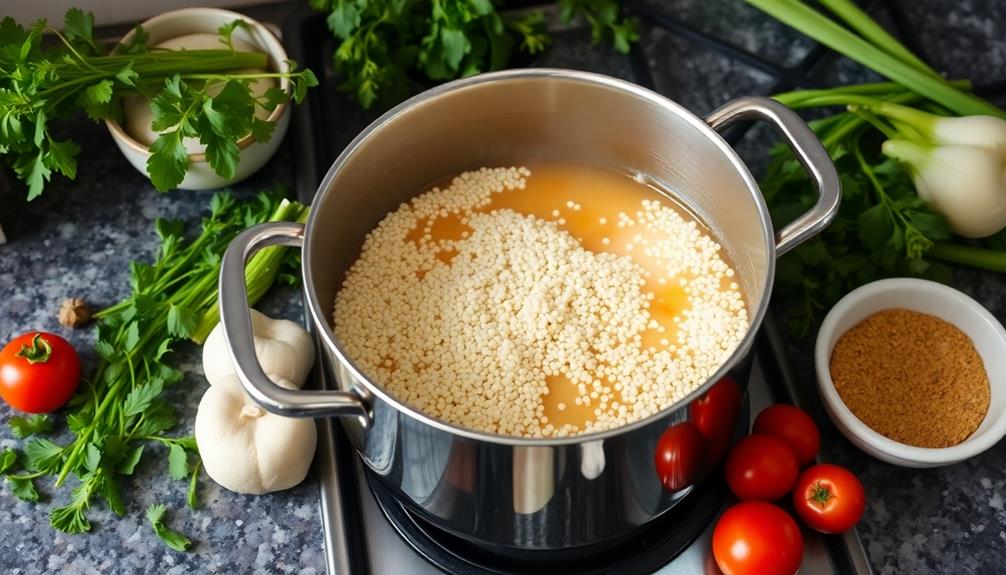
Once you've rinsed the quinoa, it's time to add the cooking liquid. The ratio of quinoa to liquid is typically 1:2, meaning for every 1 cup of quinoa, you'll need 2 cups of liquid. Water is the most common choice, but you can also use broth or a combination of broth and water for added flavor.
Pour the measured liquid into the saucepan with the rinsed quinoa. Bring the mixture to a boil over high heat. Once it reaches a boil, reduce the heat to low, cover the saucepan with a tight-fitting lid, and let the quinoa simmer for 15-20 minutes.
Avoid lifting the lid during this time, as this allows steam to escape and can affect the cooking process.
The quinoa is ready when it has absorbed all the liquid and the grains have become light and fluffy. Fluff the quinoa with a fork before serving to ensure it has the desired texture.
Step 3. Simmer Quinoa on Low Heat
After bringing the liquid and quinoa mixture to a boil, it's time to let the quinoa simmer. Reduce the heat to low, cover the pot with a tight-fitting lid, and let the quinoa cook for 15-20 minutes.
During this time, you'll want to resist the urge to peek under the lid, as this can release valuable steam and disrupt the cooking process.
As the quinoa simmers, you may notice small holes forming on the surface, and the grains will become soft and fluffy. Keep an eye on the pot, and if the liquid seems to be evaporating too quickly, you can add a bit more water or broth to prevent the quinoa from drying out.
Once the time is up, remove the pot from the heat and let it sit, covered, for an additional 5 minutes.
This resting period allows the quinoa to finish absorbing any remaining liquid, resulting in a perfectly cooked, fluffy texture.
Step 4. Fluff With a Fork Before Serving
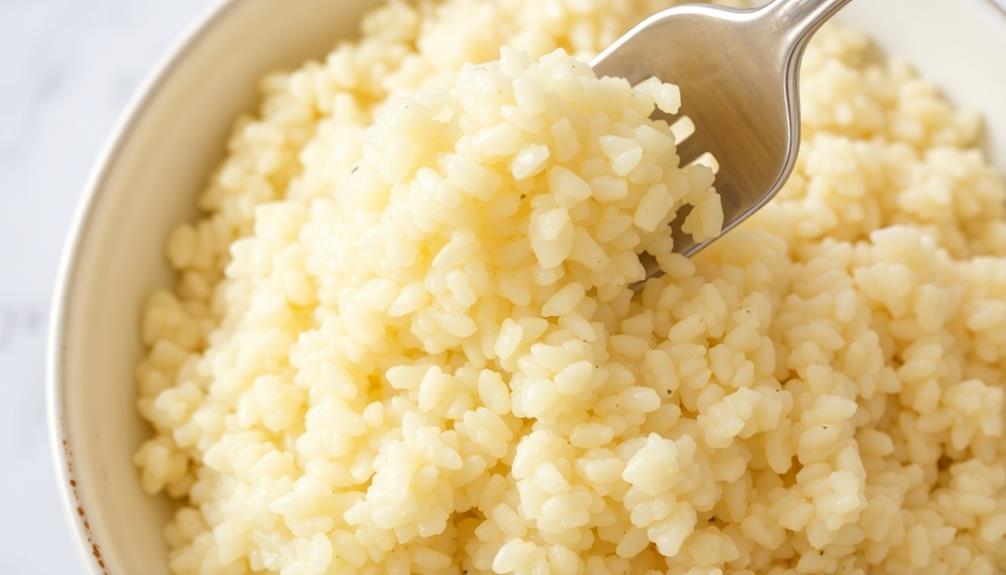
Once the quinoa has finished its resting period, it's time to fluff it with a fork before serving. This simple step helps to separate the grains, making the quinoa light and fluffy. Start by gently running a fork through the quinoa, lifting and turning the grains to introduce air pockets. Be careful not to overmix, as this can make the quinoa sticky or mushy.
Fluffing the quinoa serves a few important purposes. First, it helps to evenly distribute any remaining liquid or moisture, ensuring a consistently cooked texture throughout. Additionally, the act of fluffing aerates the quinoa, resulting in a lighter, more appealing presentation on the plate.
This step also allows you to break up any clumps that may have formed during the simmering process. Once the quinoa has been fluffed to your desired texture, it's ready to be served.
This simple step takes just a minute or two but makes a big difference in the final appearance and mouthfeel of your quinoa dish.
Step 5. Let Quinoa Cool Before Serving

After fluffing the quinoa, let it sit and cool for a few minutes before serving. This resting period is crucial to ensure the grains retain their fluffy, light texture.
As the quinoa cools, the steam will gradually dissipate, allowing the individual grains to separate and develop a more pleasant, delicate mouthfeel.
During this cooling phase, you'll notice the quinoa gradually transitions from a vibrant, steaming hot state to a more relaxed, room temperature consistency. This transformation is key to enhancing the overall flavor and texture of the dish.
Allowing the quinoa to cool prevents it from becoming overly soggy or mushy when served.
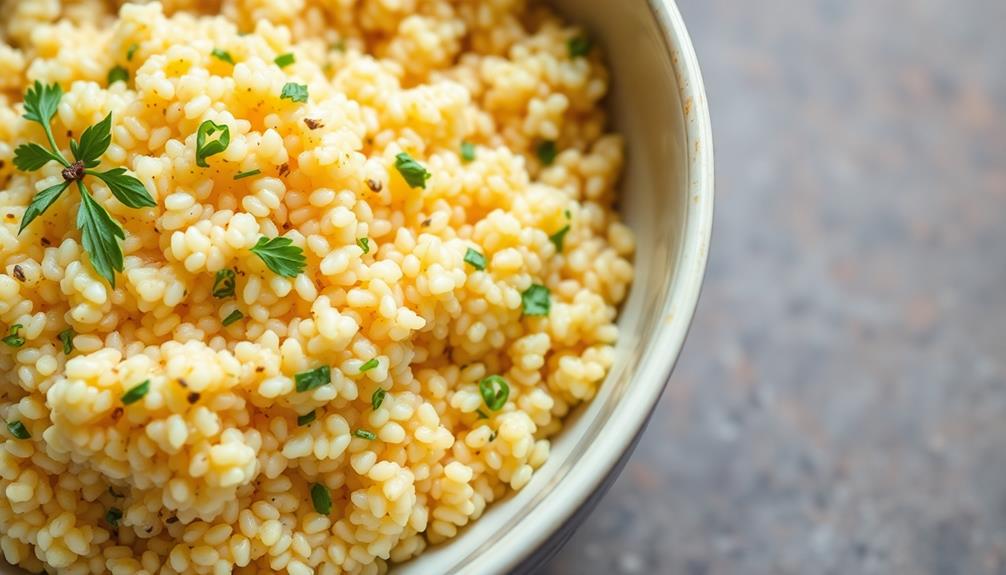
Once the quinoa has had a chance to cool for 3-5 minutes, it's ready to be served. Fluff it one more time with a fork to ensure an even distribution of the grains, then add any desired seasonings or toppings.
Serving the quinoa at the perfect temperature will ensure it's a delightful addition to your meal.
Final Thoughts
Ultimately, quinoa is a versatile and nutritious grain that can be enjoyed in a variety of dishes. With its fluffy texture and mild, nutty flavor, it's a fantastic base for salads, pilafs, and even breakfast bowls. Quinoa's high protein content and array of essential vitamins and minerals make it a nutritious addition to any meal.
When cooking quinoa, be sure to thoroughly rinse the grains before cooking to remove any bitterness. Fluff the quinoa with a fork after cooking, and let it cool slightly before serving. This will help maintain the grain's light and fluffy texture.
Quinoa is an incredibly versatile ingredient that can be used in both sweet and savory dishes. Experiment with different seasonings, vegetables, and proteins to find your favorite quinoa-based meals.
With its impressive nutritional profile and easy preparation, quinoa is a fantastic choice for healthy, delicious eating.
Frequently Asked Questions
How Long Does Cooked Quinoa Last in the Fridge?
Cooked quinoa can last 3-5 days in the fridge when stored properly. Keep it in an airtight container and enjoy it as a tasty, nutritious side or addition to your meals throughout the week.
Can I Freeze Cooked Quinoa?
You can absolutely freeze cooked quinoa! Just let it cool completely, then portion it out into airtight containers or freezer bags. It'll keep for up to 3 months in the freezer, ready to thaw and reheat whenever you need it.
Is Quinoa Gluten-Free?
Yes, quinoa is naturally gluten-free, making it a great option for those following a gluten-free diet. Its grain-like texture and mild flavor makes it versatile for use in a variety of dishes.
What Is the Best Way to Reheat Quinoa?
To reheat quinoa, you can use the microwave or a skillet on the stove. Just add a splash of water and reheat until it's warm and fluffy. The key is to avoid overcooking to prevent it from drying out.
How Do I Know When Quinoa Is Fully Cooked?
You'll know quinoa is fully cooked when the grains become translucent and the white outer shell has popped open, revealing the spiral-shaped germ. The texture should be fluffy and tender, not crunchy or mushy.