
The perfect omelette is a cherished breakfast classic, tracing its roots to ancient Greece before evolving through Europe into the beloved dish we enjoy today. The key to success? Balance technique and ingredients for a fluffy, evenly cooked omelette that allows for endless customizations. Start by whisking eggs, then gently fold them in a preheated pan as you monitor the heat. Customize with savory or sweet fillings, and don't forget to garnish for a visually appealing presentation. Mastering the omelette takes practice, but the rewarding process and delicious final product make it well worth the effort. Let's dive deeper into the art of the perfect omelette.
Key Takeaways
- The perfect omelette relies on a balance of technique and ingredients, including 3 eggs, 2 tbsp butter, 2 tbsp milk/water, salt, and pepper.
- Proper preparation techniques, such as whisking the eggs until smooth, heating the pan with butter, and gently folding the omelette, are crucial for achieving a fluffy and evenly cooked texture.
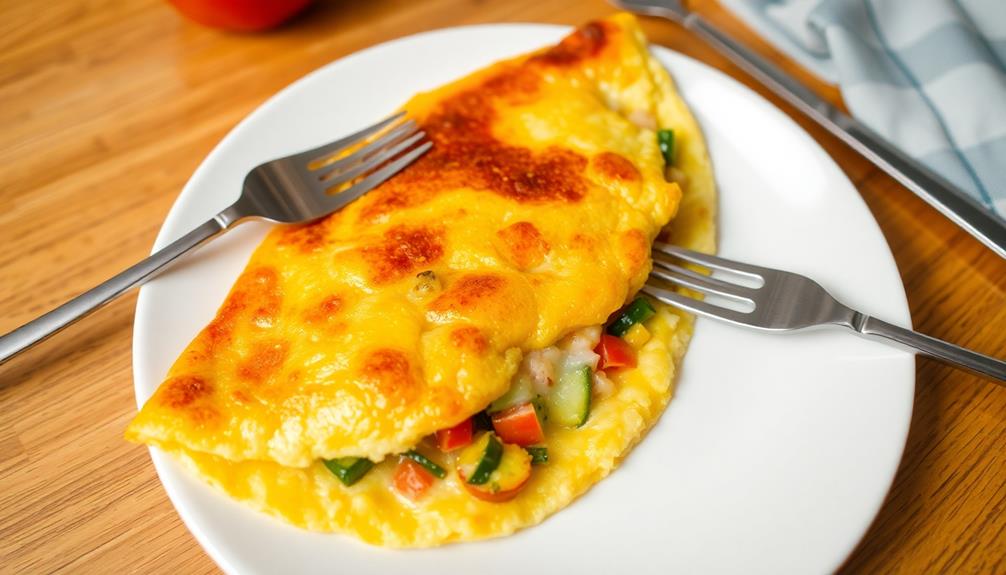
- The omelette can be customized with a variety of fillings, both savory (cheese, ham, vegetables) and sweet (fruit, chocolate), to suit personal preferences.
- Presentation tips, such as garnishing with fresh herbs, sprinkling with paprika, and serving on a warm plate, can enhance the overall dining experience.
- Mastering the omelette requires practice and patience, but the process can be a creative outlet, and the end result can be a delicious and satisfying breakfast.
History
The origins of the humble omelette can be traced back to ancient Greece, where early iterations of the dish were prepared using eggs, herbs, and a variety of fillings.
Over the centuries, the omelette evolved, spreading throughout Europe and taking on regional variations. In France, for example, the classic French omelette emerged, characterized by its smooth, creamy texture and delicate folds.
As the omelette gained popularity, chefs and home cooks experimented with different ingredients and cooking techniques. The Spanish tortilla, a thick, potato-based omelette, and the fluffy, American-style omelette both emerged during this time.
Today, the omelette remains a beloved breakfast staple, with countless variations enjoyed around the world. From the simple, classic French omelette to the endless possibilities of fillings and flavors, the omelette's rich history continues to inspire culinary creativity and delight taste buds.
Recipe

Achieving the perfect omelette requires a careful balance of technique and ingredients. The key to a fluffy, evenly cooked omelette lies in the preparation and execution. Mastering this seemingly simple dish can elevate any breakfast or brunch experience.
Omelettes are versatile, allowing for a wide range of fillings and customizations to suit individual tastes. Whether you prefer a classic cheese omelette or a more elaborate creation, the foundation remains the same: properly beaten eggs, a well-heated pan, and a gentle hand.
Ingredients:
- 3 large eggs
- 2 tablespoons unsalted butter
- 2 tablespoons milk or water
- Salt and freshly ground black pepper, to taste
Cooking Instructions:
Crack the eggs into a bowl and beat them lightly with a fork or whisk until the yolks and whites are fully combined. Add the milk or water and season with salt and pepper, then whisk again until the mixture is smooth and airy.
Heat a non-stick skillet over medium heat and add the butter, swirling it around to coat the pan. Once the butter is melted and foaming, pour in the egg mixture.
As the eggs begin to set, use a spatula to gently push the cooked edges towards the center, tilting the pan to allow the uncooked egg to flow to the edges. Continue this process until the omelette is mostly set but still slightly runny in the center, about 2-3 minutes.
Extra Tips:
For best results, use a non-stick pan and avoid overcrowding the omelette. Experiment with different fillings, such as cheese, vegetables, or meats, to create your perfect omelette.
Serve the omelette immediately, as it will continue to cook and firm up off the heat.
Cooking Steps

Crack your eggs into a bowl and whisk them until they're smooth.
Next, heat a pan with a pad of butter over medium heat.
Once the pan is hot, pour in the eggs and gently fold them with a spatula as they cook.
Step 1. Crack Eggs Into a Bowl
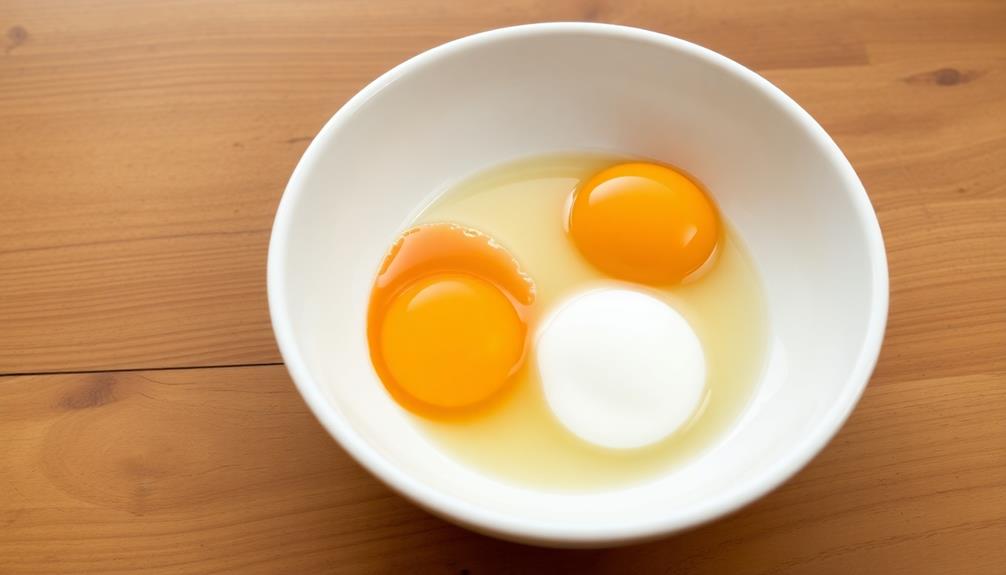
With a gentle tap, crack the eggs against the side of a bowl.
Be careful not to break the yolks – you want to separate the whites and yolks intact. Gently let the eggs slide into the bowl, taking care not to let any shells fall in.
Next, use a fork or whisk to lightly beat the eggs.
Don't overbeat them – you just want to incorporate the whites and yolks together until they're fully combined. Avoid creating too many air bubbles, as this can make the omelette tough.
For best results, crack 2-3 eggs into the bowl.
This will give you a nicely sized omelette that's easy to handle and cook through. If you'd like to add any fillings, you can do so now – just be sure to distribute them evenly throughout the egg mixture.
With the eggs ready, you can now move on to the next step: heating the pan.
Step 2. Whisk Eggs Until Smooth
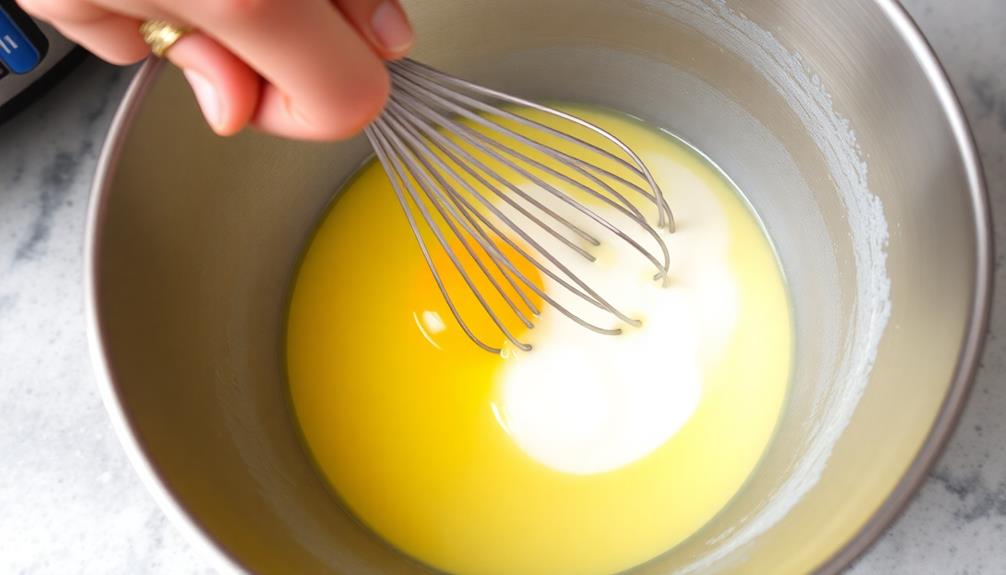
Go ahead and whisk the eggs until they're smooth and well-combined. This step is crucial for achieving a light and fluffy omelette. Use a fork or a small whisk to beat the eggs vigorously for about 30 seconds to a minute. You want to incorporate air into the eggs, which will help them puff up when cooking.
Be sure to whisk the eggs in a bowl, not directly in the pan. This allows you to evenly distribute the eggs and ensures the mixture is thoroughly mixed. Whisk the eggs until they're a consistent, pale yellow color without any visible streaks of white or yolk.
Once the eggs are whisked, you're ready to move on to the next step – heating the pan and adding the filling ingredients. Properly whisking the eggs is a simple but essential technique for creating a perfect omelette every time.
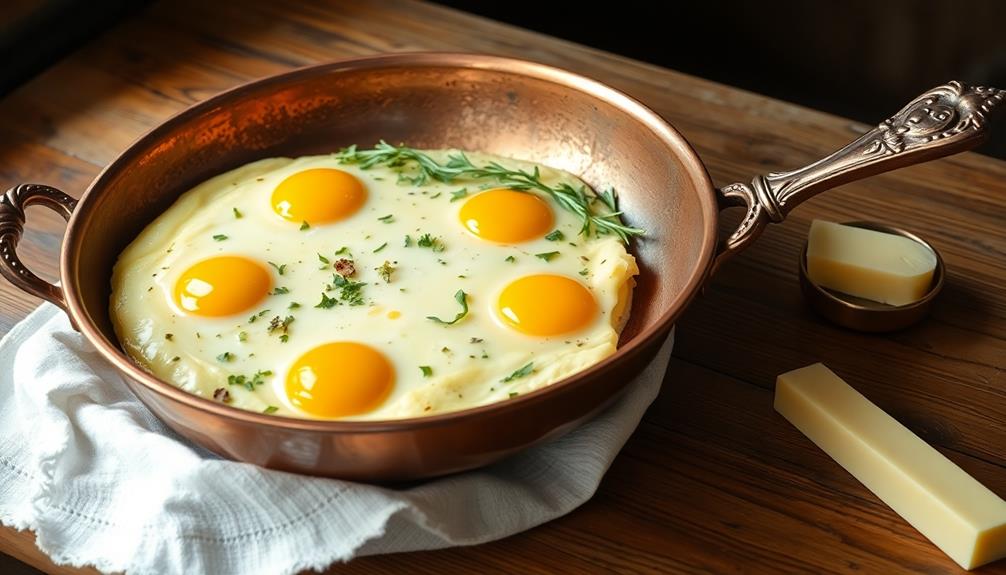
Step 3. Heat Pan With Butter

Next, you'll want to heat a non-stick skillet or omelette pan over medium heat. This is a crucial step for achieving that perfect, golden-brown omelette.
Once the pan is hot, add a small knob of butter and let it melt, swirling the pan to coat the surface evenly. Using a good quality butter is essential, as it not only enhances the flavor but also contributes to the overall texture of the omelette, making it richer and creamier—a key element in butter's culinary uses.
The butter should sizzle gently, but not burn. This creates the ideal surface for your eggs to cook on, helping them release smoothly and develop that lovely, fluffy texture.
As the butter melts, you may notice it starts to foam a bit. This is normal and just indicates the milk solids are browning, which adds delicious nutty notes to your omelette.
Keep a close eye on the pan, adjusting the heat as needed, to ensure the butter doesn't burn before you're ready to add the whisked eggs.
Step 4. Pour Eggs Into Hot Pan
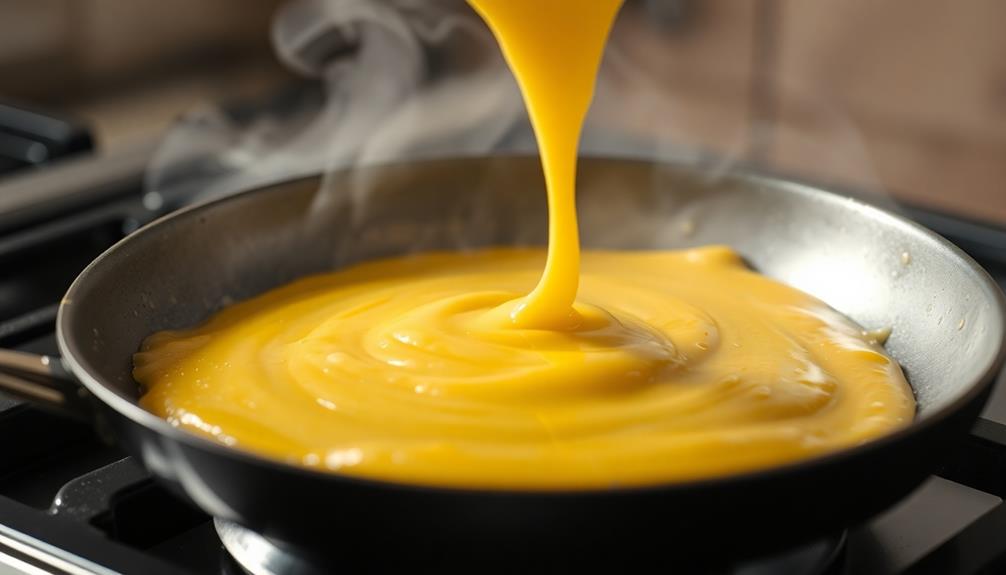
Once the butter is melted and the pan is hot, pour the whisked eggs into the center of the pan. Gently tilt the pan to allow the uncooked egg to flow to the edges, creating an even layer.
As the eggs begin to set, use a spatula to gently lift the edges, tilting the pan to let the uncooked egg flow underneath. For a flavorful twist, consider adding some fresh herbs or cheese, similar to the Egg Rollup and Dumpling Sauce breakfast option that enhances the taste.
Continuously fold the cooked egg towards the center, pushing the uncooked egg to the edges. This gentle folding technique helps create the signature soft, fluffy texture of a perfect omelette.
Be mindful not to overcrowd the pan or stir the eggs too vigorously, as this can result in a dense, rubbery omelette.
Once the eggs are mostly set, but still slightly wet on top, remove the pan from the heat. The residual heat will continue to cook the omelette to your desired doneness.
Adjust the filling ingredients now, if desired, and fold the omelette in half before serving.
Step 5. Gently Fold Eggs With Spatula
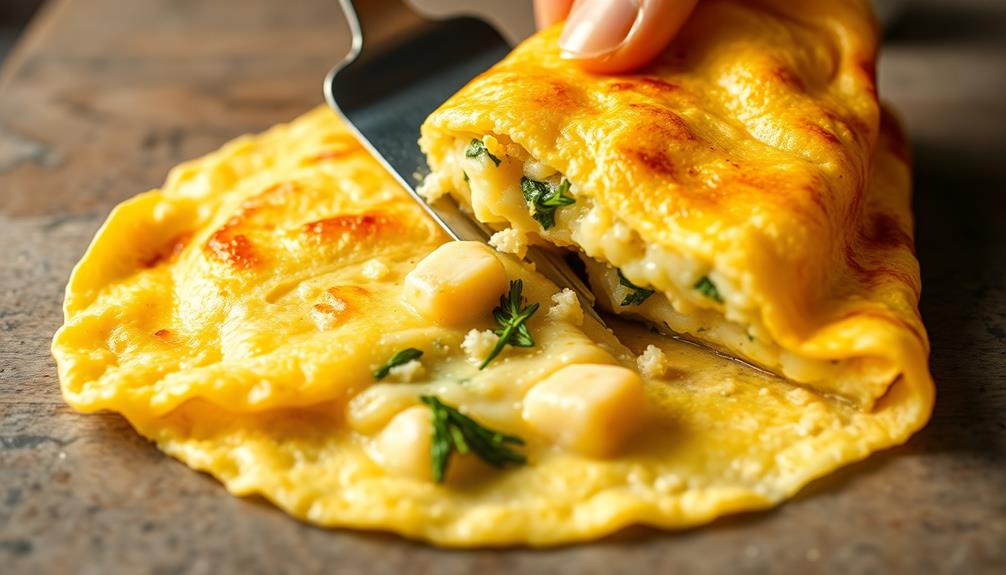
With the eggs now poured into the hot pan, it's time to gently fold them using a spatula.
The key is to use a light touch and slowly incorporate the uncooked egg into the cooked portions. Start by sliding the spatula under the edge of the omelette, lifting it slightly to allow the uncooked egg to flow underneath.
Gently fold this section over onto itself, creating a soft, pillowy texture. Continue this process, working your way around the pan, folding the omelette in half or thirds as desired.
Avoid vigorous stirring or chopping motions, which can result in a scrambled, rather than folded, texture. The goal is to maintain the omelette's delicate structure while ensuring the egg cooks evenly throughout.
With patience and a gentle hand, you'll soon have a beautifully folded omelette ready to be served.
Final Thoughts
You've now learned the essential steps to crafting a perfect omelette. With the proper technique, you can create a fluffy, customizable breakfast that's sure to impress.
Remember, the key is to gently fold the eggs with a spatula, allowing the uncooked portions to flow to the bottom of the pan.
Once your omelette is cooked to your liking, feel free to experiment with a variety of delicious fillings. From savory options like cheese, ham, or vegetables, to sweet choices like fruit or chocolate, the possibilities are endless.
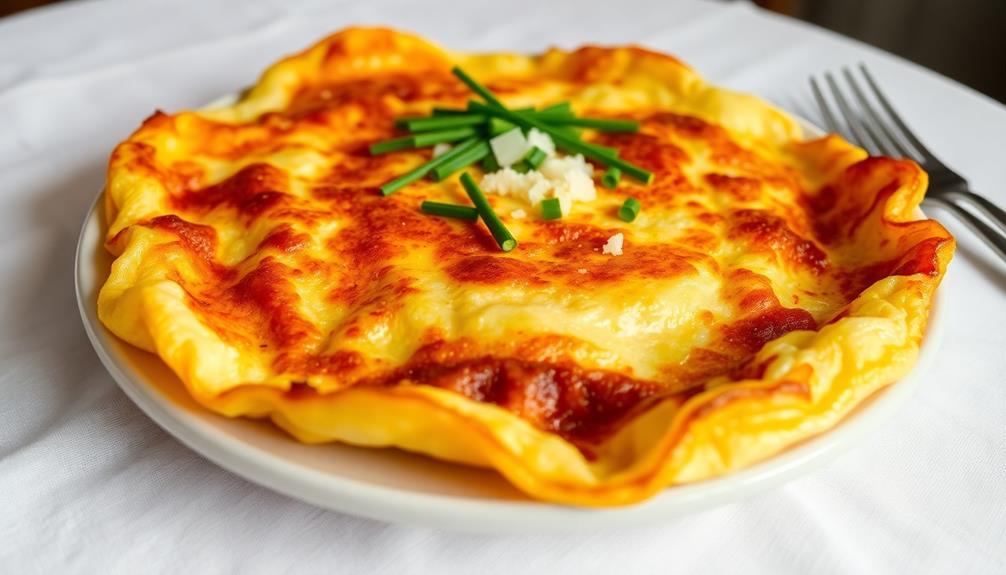
Serve your creation hot, garnished with fresh herbs or a sprinkle of paprika for an elegant touch.
Mastering the omelette takes practice, but with these guidelines, you're well on your way to becoming a breakfast champion.
Enjoy the process and savor each bite of your homemade masterpiece.
Frequently Asked Questions
Can I Use a Non-Stick Pan for the Omelette?
Yes, you can use a non-stick pan for your omelette. Non-stick pans make it easier to flip and slide the omelette out of the pan when it's done. Just be sure to use a moderate heat to prevent the eggs from sticking.
Is It Better to Use Fresh or Frozen Eggs?
When making an omelette, you can use either fresh or frozen eggs. Fresh eggs will typically result in a lighter, fluffier texture, while frozen eggs may have a slightly denser consistency. The choice is up to your personal preference.
How Can I Prevent the Omelette From Sticking?
To prevent your omelette from sticking, use a non-stick pan and a small amount of butter or oil. Make sure the pan is hot before adding the eggs, and use a spatula to gently loosen the edges as it cooks.
Can I Add Cheese or Other Fillings to the Omelette?
Absolutely! You can absolutely add cheese or other fillings to your omelette. Just be sure to add them after you've poured the egg mixture into the pan and before you start cooking it.
How Long Should I Cook the Omelette For?
The cooking time for the omelette depends on how you like it. Generally, you'll want to cook it for 2-3 minutes, flipping it halfway through, until it's set but still slightly runny in the center. For a creamier texture, you can cook it for a little less time, or let it cook slightly longer for a firmer result. The key is to keep the heat moderate so it doesn't overcook or burn. By following this *perfect omelette stepbystep*, you'll be able to find the balance that suits your taste. Experimenting with the filling ingredients, such as cheese, vegetables, or herbs, can also enhance the flavor and make the dish more enjoyable. Pay close attention to the edges as they begin to lift from the pan—this is a good indicator that it’s ready to flip. By sticking to the perfect omelette recipe instructions and adjusting based on your preferences, you’ll master this versatile dish in no time.