Crafting your own delectable homemade ice cream is a time-honored tradition that's easier than you might think. Start with a basic formula of dairy, sweetener, and flavorings, then let your creativity shine through with unique mix-ins and seasonal ingredients. After whisking the chilled mixture in your ice cream maker, you'll be rewarded with a soft, scoopable texture. For a firmer consistency, simply freeze the ice cream for a couple extra hours. Serving your homemade creation is the ultimate culinary delight, so why not gather your friends and family to share in the sweet, frozen fun? The full recipe and pro tips are just a scroll away. Experimenting with different flavors is one of the most exciting parts of following a homemade ice cream recipe. From classic vanilla bean to adventurous combinations like lavender honey or espresso chocolate chip, the possibilities are endless. Don’t forget to garnish your scoops with fresh fruit, a drizzle of sauce, or a sprinkle of nuts to elevate your dessert to the next level!
Key Takeaways
- The basic formula for homemade ice cream consists of a dairy base, sweetener, and flavorings.
- The key ingredients include heavy cream, whole milk, granulated sugar, vanilla extract, and a pinch of salt.
- The ice cream mixture requires heating to dissolve the sugar without boiling, followed by chilling for at least 2 hours before churning.
- An ice cream maker, along with other essential tools like a large mixing bowl and a saucepan, are necessary for the preparation process.
- Homemade ice cream can be customized with various flavors, mix-ins, and toppings to enhance the culinary experience.
History
Throughout history, ice cream has captivated the taste buds of people across the globe. The origins of this beloved dessert can be traced back to ancient civilizations, where frozen confections made from snow, ice, and various flavors were enjoyed by the elite.
In the 17th century, ice cream evolved as a culinary delight, with recipes and techniques being refined and shared among the aristocracy.
The industrial revolution in the 19th century brought about a significant shift, as ice cream became more accessible to the masses. Advancements in refrigeration and manufacturing processes allowed for the mass production and distribution of this creamy treat.
As a result, ice cream parlors and soda fountains flourished, providing a social gathering place for people to indulge in this sweet indulgence.
Today, ice cream remains a beloved dessert, with countless flavors, styles, and methods of preparation available to satisfy every palate. The rich history of this frozen delight continues to evolve, captivating generations of ice cream enthusiasts.
Recipe
Making homemade ice cream is a delightful and rewarding experience. The rich, creamy texture and customizable flavors make it a superior alternative to store-bought options. With just a few simple ingredients and minimal equipment, you can create a frozen dessert that will impress your friends and family. For those looking for a healthier option, consider trying a sugar-free vanilla ice cream recipe that utilizes natural sweeteners.
The basic ice cream formula consists of a dairy base, sweetener, and any additional flavorings or mix-ins you desire. The type of dairy used, whether it's whole milk, cream, or a combination, will affect the final texture and richness of the ice cream. The sweetener, often sugar or honey, provides the necessary sweetness and helps with the overall structure of the frozen treat.
- 2 cups heavy cream
- 1 cup whole milk
- 3/4 cup granulated sugar
- 1 teaspoon vanilla extract
- Pinch of salt
To make the ice cream, combine the cream, milk, sugar, vanilla, and salt in a medium saucepan. Heat the mixture over medium, stirring constantly, until the sugar has completely dissolved and the liquid is steaming, but not boiling.
Remove from heat and let cool completely, then transfer to a covered container and refrigerate for at least 2 hours, or until thoroughly chilled.
Once chilled, pour the mixture into an ice cream maker and churn according to the manufacturer's instructions, typically 20-30 minutes. The ice cream will thicken and increase in volume as it churns.
When the ice cream has reached your desired consistency, transfer it to a freezer-safe container and freeze for at least 2 hours before serving. For best texture, allow the ice cream to sit at room temperature for 5-10 minutes before scooping and serving.
Cooking Steps
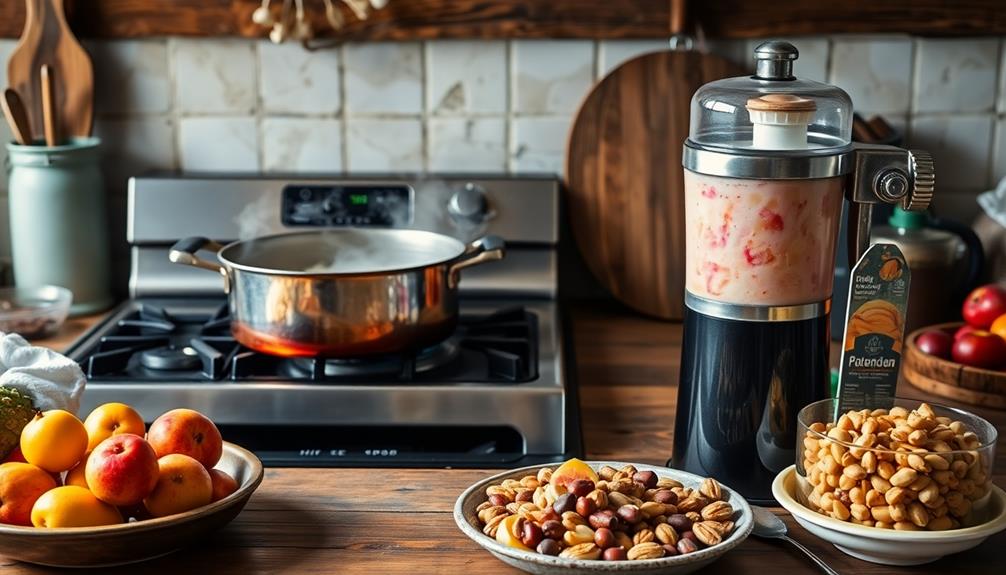
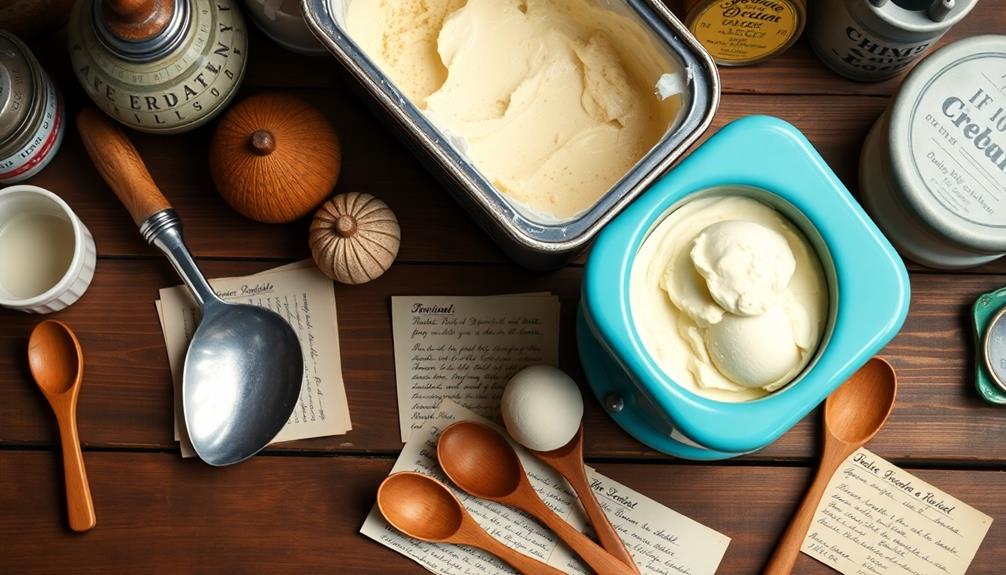
First, gather the necessary ingredients and equipment like a large bowl, whisk, and ice cream maker.
Next, add the milk mixture to the machine and freeze it according to the manufacturer's instructions.
Finally, be sure to whisk the mixture at regular intervals as it freezes to achieve the perfect creamy texture.
Enjoy your homemade ice cream!
Step 1. Gather Necessary Ingredients and Equipment
To make your homemade ice cream, you'll need a few essential ingredients and equipment. First and foremost, you'll need a high-quality ice cream maker. This can be a stand-alone machine or a bowl that fits inside your existing stand mixer.
You'll also need a few key ingredients: heavy cream, whole milk, sugar, and any additional flavorings you desire, such as vanilla extract, chocolate chips, or fresh fruit.
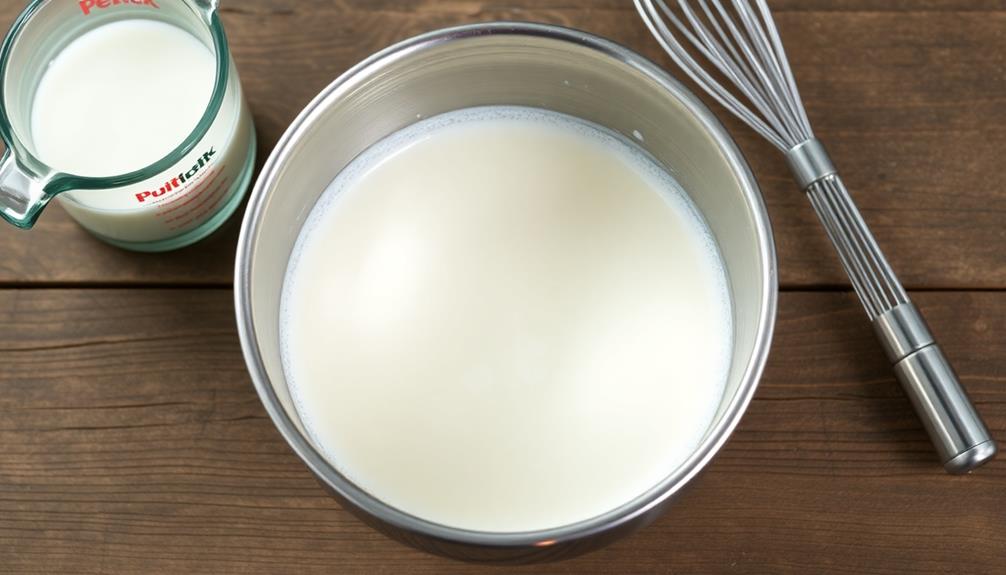
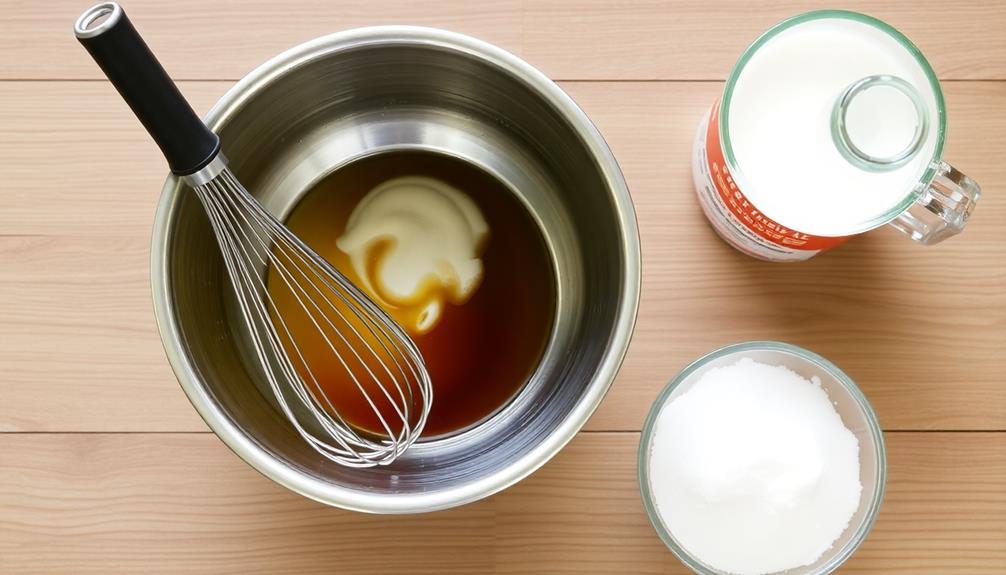
Gather a large mixing bowl, a whisk, and a saucepan. You'll use the mixing bowl to combine the cream, milk, and sugar, and the saucepan to heat the mixture gently until the sugar dissolves. Once the sugar has dissolved completely, remove the saucepan from the heat and allow the mixture to cool slightly. For extra richness, you can also add vanilla extract or any other flavorings you prefer. If you’re wondering how to make heavy cream from scratch, it’s typically a combination of milk and butter, but using store-bought heavy cream will save time and ensure the right consistency.
Additionally, you'll want to have a spatula on hand to scrape down the sides of the ice cream maker as it churns. Finally, prepare a freezer-safe container to store your homemade ice cream once it's done.
With all the necessary tools and ingredients assembled, you'll be ready to begin the ice cream-making process.
Step 2. Add Milk Mixture
After gathering all the necessary ingredients and equipment, you can now begin the process of making your homemade ice cream.
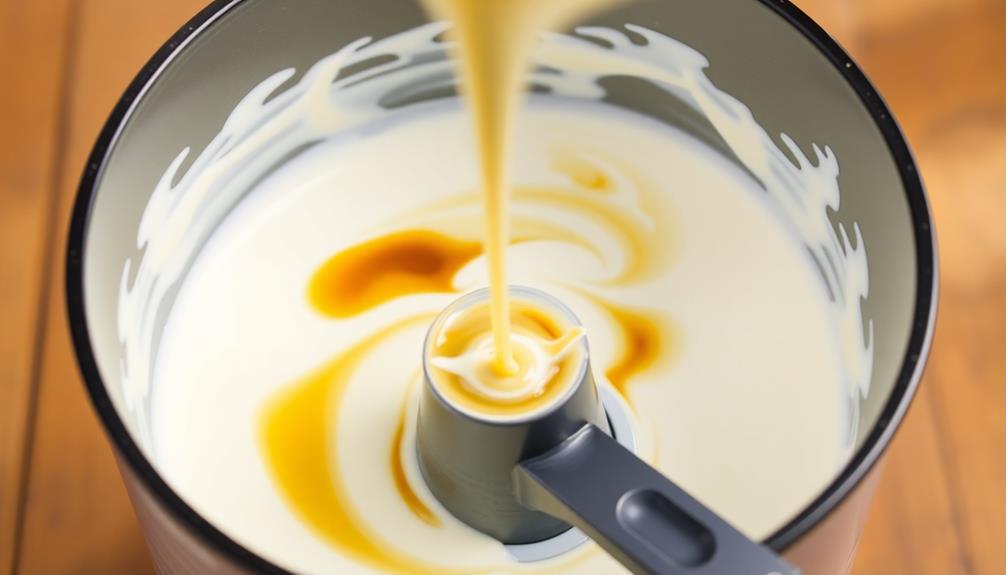
First, in a medium-sized bowl, combine the milk, cream, and sugar. Whisk the mixture until the sugar has fully dissolved, ensuring a smooth and consistent texture. The quality of your ingredients can significantly impact the final product, so consider using fresh, high-quality milk for optimal flavor. If you're using any additional flavorings, such as vanilla extract or fresh fruit, now is the time to incorporate them. Gently stir the mixture until the flavors are evenly distributed.
Next, pour the milk mixture into the frozen ice cream maker bowl. Turn on the machine and let it churn the mixture for 20-30 minutes, or until the ice cream reaches your desired consistency.
During this process, the mixture will gradually thicken and transform into a creamy, frozen treat. Keep a close eye on the ice cream to avoid over-churning, as this can result in a grainy texture.
For an extra treat, consider serving your ice cream with toppings that enhance the flavor profile, much like how color accuracy impacts overall image quality in projectors.
Step 3. Freeze Mixture in Ice Cream Maker
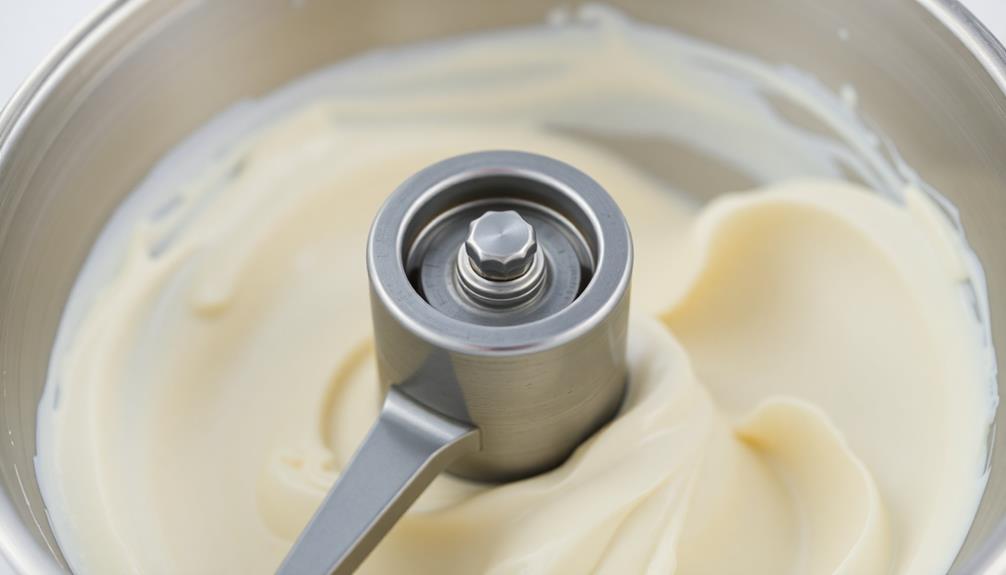
Once the milk mixture is prepared, go ahead and pour it into the frozen ice cream maker bowl. This pre-chilled bowl will help start the freezing process right away.
Turn on the ice cream maker and let it work its magic, churning the mixture for 20-25 minutes. As it churns, the mixture will thicken and become smooth and creamy.
Keep an eye on it during this process, as the ice cream maker will signal when the ice cream is ready, usually with an automatic shut-off.
Resist the urge to remove the ice cream too soon, as it needs this full churning time to reach the perfect consistency.
Once the cycle is complete, the ice cream will have a soft, scoopable texture. For a firmer, more scoopable ice cream, transfer the mixture to a freezer-safe container and freeze for an additional 2-4 hours before serving.
Step 4. Whisk Mixture at Intervals

While the ice cream maker is churning, take a moment to whisk the mixture at intervals. This step helps incorporate air into the ice cream, resulting in a smooth, creamy texture. Set a timer to whisk the mixture every 5 minutes during the churning process.
Whisking aerates the mixture, which is crucial for achieving the desired light and fluffy consistency. As the ice cream churns, the mixture will thicken. Periodically whisking it prevents the formation of ice crystals and ensures even freezing.
- Whisk the mixture vigorously for 30 seconds to 1 minute each time.
- Focus on the edges and bottom of the container to fully incorporate all the ingredients.
- Scrape down the sides of the container to incorporate any partially frozen portions.
Repeat this process until the ice cream reaches your desired consistency, usually 20-30 minutes.
Whisking at intervals creates a creamier, more scoopable ice cream. This extra step is well worth the effort for homemade perfection.
Step 5. Enjoy Homemade Ice Cream

With the ice cream mixture properly aerated, it's time to enjoy the fruits of your labor. Grab a spoon and dig in – this homemade delight is sure to tantalize your taste buds. The rich, creamy texture and bold flavors will have you savoring every bite.
Remember to consider health aspects while enjoying your treat; ice cream health considerations suggest moderation, especially if you're managing dietary concerns.
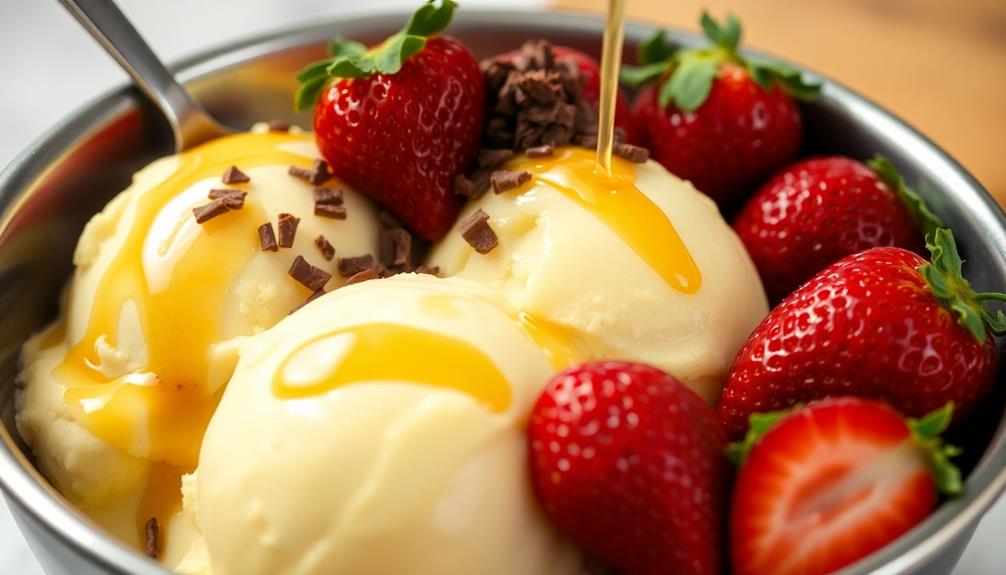
To fully appreciate your creation, serve the ice cream in chilled bowls or cups. For an extra special touch, consider topping it with your favorite garnishes:
- Fresh berries or sliced fruit
- Chopped nuts or crumbled cookies
- Drizzles of chocolate sauce or caramel
- Sprinkles or shaved chocolate
Don't be afraid to experiment and find the perfect flavor combinations to suit your preferences. The beauty of homemade ice cream is that you can customize it to your heart's content.
As you indulge, take a moment to revel in your accomplishment. Crafting this delectable treat from scratch is a testament to your culinary skills.
Savor each spoonful, knowing that you've created a frozen masterpiece worthy of any ice cream lover's delight.
Final Thoughts

Making homemade ice cream can be a rewarding and fun experience. The process allows you to customize the flavors, textures, and ingredients to suit your personal preferences.
Whether you're a seasoned cook or trying it for the first time, the sense of accomplishment in creating a delicious frozen treat from scratch is unparalleled.
As you embark on your DIY ice cream journey, remember to have patience and embrace the occasional hiccup along the way. The learning curve can be part of the adventure.
Don't be discouraged if your first batch doesn't turn out exactly as planned – use it as an opportunity to experiment and refine your technique.
Ultimately, the joy of homemade ice cream lies in the process as much as the final product. Savor the experience, get creative with your flavors, and enjoy sharing your creations with family and friends.
The memories you make will be just as sweet as the ice cream itself.
Frequently Asked Questions
Can I Use Regular Milk Instead of Heavy Cream?
You can use regular milk instead of heavy cream, but your ice cream won't have the same rich, creamy texture. It'll be lighter and less indulgent, but it'll still be homemade and delicious.
How Long Does Homemade Ice Cream Last in the Freezer?
Homemade ice cream can typically last 2-4 months in the freezer, though the exact lifespan depends on how it's stored. Be sure to keep it tightly covered to prevent freezer burn and maintain its creamy texture.
Can I Add Mix-Ins Like Chocolate Chips or Fruit?
You can absolutely add mix-ins like chocolate chips or fruit to your homemade ice cream. Just be sure to fold them in gently after the ice cream has finished churning to prevent them from getting crushed.
Do I Need an Ice Cream Maker to Make Homemade Ice Cream?
You don't necessarily need an ice cream maker to make homemade ice cream. You can use a simple no-churn method that involves whipping cream and condensed milk for a creamy, delicious result without any special equipment.
How Can I Make My Ice Cream Creamier and Smoother?
To make your homemade ice cream creamier and smoother, you can add more heavy cream, use an ice cream maker, and incorporate egg yolks or a stabilizer like cornstarch. This will give your ice cream a rich, creamy texture.