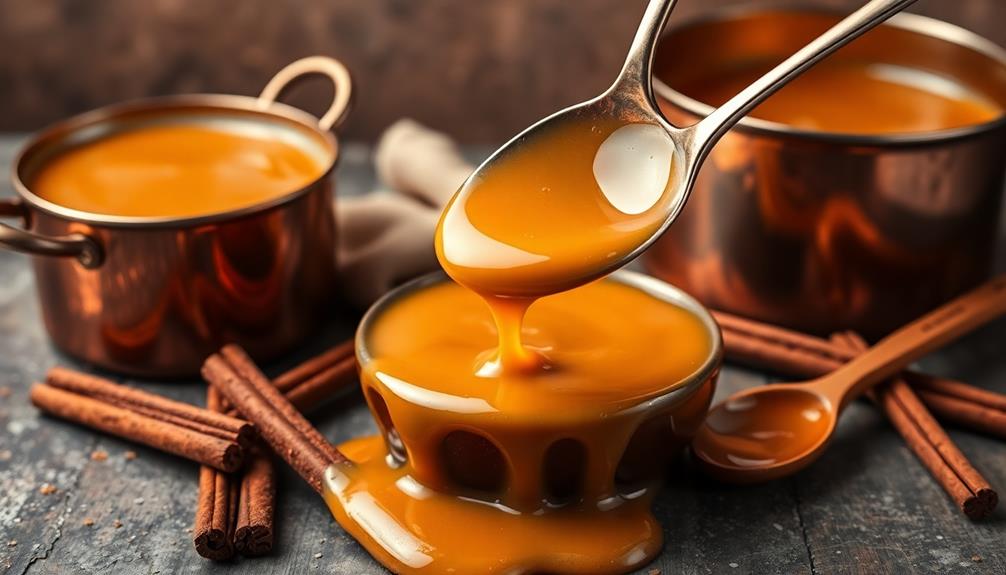
To make rich, flavorful gravy, start by melting butter in a saucepan over medium heat. Whisk in flour to create a smooth roux, then gradually add warm milk or broth, stirring continuously to prevent lumps. Simmer for 5-10 minutes, allowing the flavors to meld and the gravy to thicken. Season with salt and pepper to taste. The key is balancing the right ingredients and techniques – and with a little patience, you'll have a velvety, mouthwatering gravy that elevates any dish. Continue reading for more detailed tips on perfecting your gravy.
Key Takeaways
- Develop a rich, flavorful gravy base by sautéing aromatics like onions and garlic, deglazing the pan with wine or vinegar, and incorporating a roux for thickening and richness.
- Patience is crucial when making gravy, as allowing the flavors to meld fully and adjusting seasoning as needed are essential for achieving a well-balanced, deeply flavored sauce.
- Use high-quality, fresh ingredients, such as homemade stock or broth, to ensure the best possible flavor profile, and experiment with herbs and spices to add uniqueness.
- Avoid common mistakes like overcooking, using too much thickener, or neglecting to taste during the cooking process, which can lead to a burnt, gummy, or imbalanced gravy.
- Properly store and reheat leftover gravy to maintain its consistency and texture, and consider freezing it for future use as a base for soups or sauces.

Descaler (2 Pack, 2 Uses Per Bottle) - Made in the USA - Universal Descaling Solution for Keurig, Nespresso, Delonghi and All Single Use Coffee and Espresso Machines
- Pack Size: 2 bottles, 4 uses total
- Made in: USA
- Compatibility: Universal for coffee machines
As an affiliate, we earn on qualifying purchases.
History
Gravy has been a culinary staple for centuries, with its origins tracing back to ancient civilizations. In ancient Greece and Rome, gravies were made by simmering meat juices and thickening them with flour or bread.
During the Middle Ages, gravies evolved, incorporating roux – a mixture of fat and flour – to create a more velvety texture. The preparation and serving of dishes, much like in a traditional tea ceremony, emphasizes mindfulness and respect for ingredients. By the 1700s, gravy had become a staple accompaniment to roasted meats across Europe.
In the Americas, Native tribes had their own versions of gravy, using thickened broths from stewed meats and vegetables. As European settlers arrived, they adapted these local techniques, blending them with their own traditions.
This cultural exchange led to the development of beloved regional gravies, from the rich, dark gravies of the southern United States to the creamy white gravies of the Midwest.
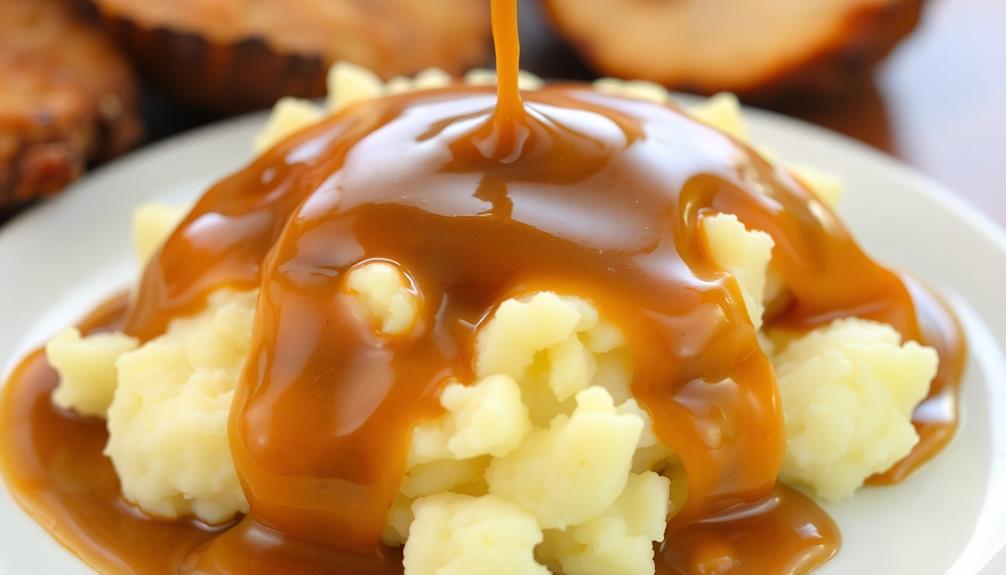
Today, gravy remains a beloved comfort food, versatile enough to complement everything from mashed potatoes to biscuits. Its enduring popularity is a testament to its ability to bring warmth, flavor, and a touch of nostalgia to any meal.
Recipe

Gravy is a classic accompaniment to many dishes, from roasted meats to mashed potatoes. Whether you're preparing a holiday feast or a cozy weeknight meal, a well-made gravy can truly elevate the entire dining experience.
The key to a delicious gravy lies in the balance of flavors and the proper technique. To create a warm and inviting atmosphere while cooking, consider incorporating elements of modern farmhouse design that promote simplicity and functionality in your kitchen.
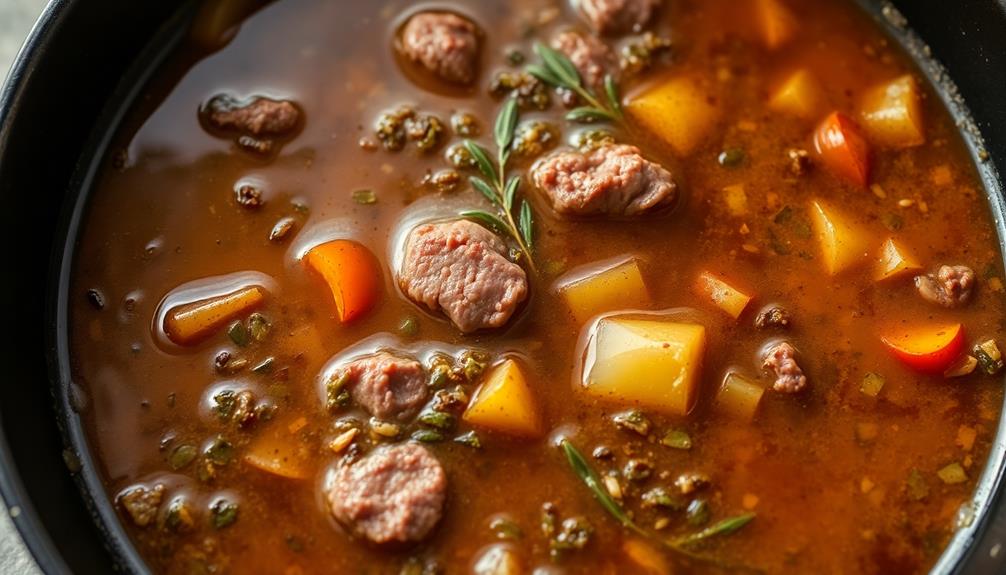
To begin, it's essential to have a flavorful base. This can be achieved by using the drippings from your roasted meat or poultry. If you're vegetarian or prefer a meat-free gravy, you can substitute the drippings with a combination of sautéed vegetables, such as onions, celery, and mushrooms.
Ingredients:
- 4 tablespoons unsalted butter
- 4 tablespoons all-purpose flour
- 2 cups warm milk
- 2 cups warm chicken or vegetable broth
- 1 teaspoon Worcestershire sauce (optional)
- Salt and freshly ground black pepper to taste
In a saucepan, melt the butter over medium heat. Whisk in the flour to create a roux, cooking for 2-3 minutes to remove the raw flour taste.
Gradually whisk in the warm milk and broth, stirring constantly to prevent lumps from forming. Bring the mixture to a simmer and cook, stirring occasionally, until the gravy has thickened to your desired consistency, about 5-10 minutes.
If you'd like to add more depth of flavor, consider including a splash of Worcestershire sauce. Season the gravy with salt and pepper to taste.
Cooking Steps
Melt the butter in a saucepan over medium heat.
Once melted, whisk in the flour until it's smooth and lump-free.
Gradually pour in the milk or broth, whisking constantly to prevent any lumps from forming as the mixture thickens.
Step 1. Melt Butter in a Saucepan
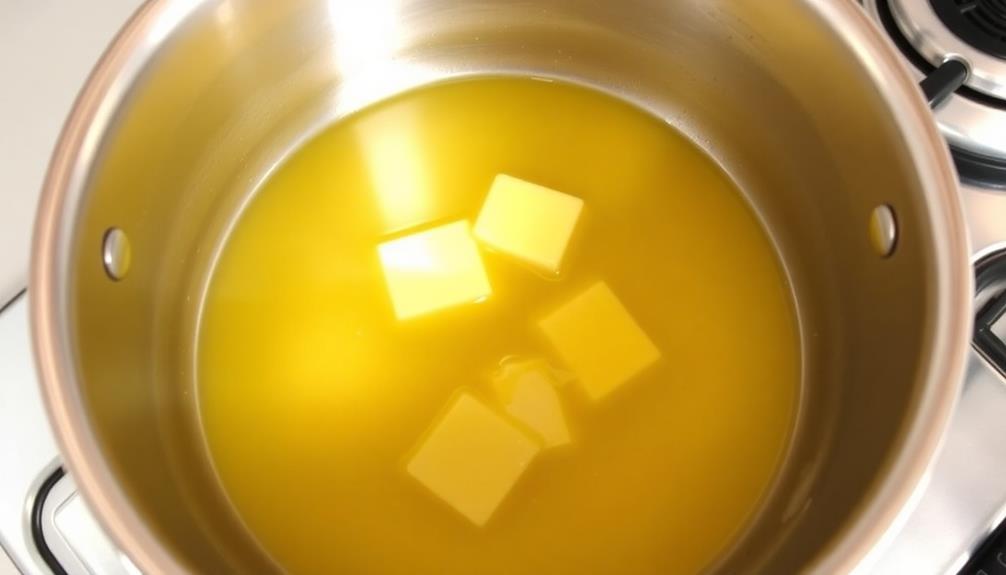
Nestled in a saucepan, the butter begins to sizzle and shimmer as you gently apply heat. This is the first crucial step in crafting a rich, velvety gravy. As the butter melts, it's essential to maintain a medium heat, ensuring it doesn't burn or turn brown. Stir the butter occasionally, allowing it to coat the bottom of the pan evenly.
Once the butter has fully melted, it's time to add the next key ingredient: flour. Sprinkle the flour over the melted butter, using a whisk to incorporate it seamlessly.
Continuously whisk the mixture, creating a smooth, lump-free roux. This process should take about 2-3 minutes, allowing the flour to cook and develop a nutty aroma.
The roux serves as the thickening agent for your gravy, so it's important to get the consistency right. If the roux seems too thick, add a bit more butter. Conversely, if it's too thin, incorporate a little more flour.
With the perfect roux established, you're ready to move on to the next step in your gravy-making journey.
Step 2. Whisk in Flour Until Smooth
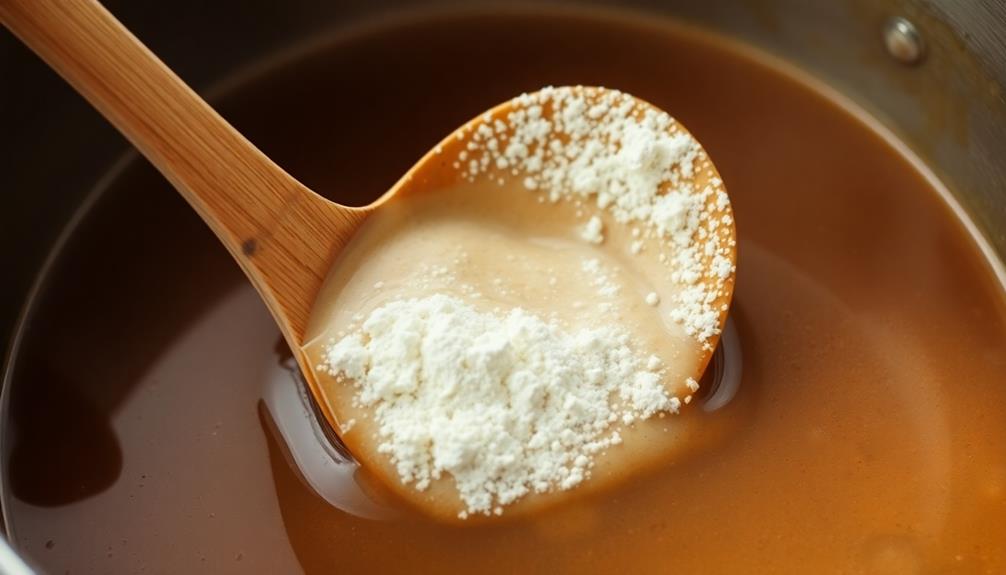
Next, whisk the flour into the melted butter until the mixture forms a smooth, lump-free roux. This step is crucial for creating the foundation of your gravy. The flour will help thicken the liquid, while the butter provides richness and flavor.
Keep whisking continuously to prevent any clumps from forming – you want a silky-smooth texture.
Once the roux is ready, gradually whisk in the liquid, whether it's stock, milk, or a combination. This gradual addition is key, as it allows the flour to fully incorporate and prevents the gravy from becoming too thick or lumpy.
Whisk vigorously as you pour in the liquid, ensuring a seamless blend.
Adjust the heat to medium and let the gravy simmer, stirring occasionally, until it reaches your desired consistency.
Taste and season with salt and pepper as needed. The gravy should coat the back of a spoon nicely without being overly thick or thin.
Step 3. Gradually Whisk in Milk or Broth
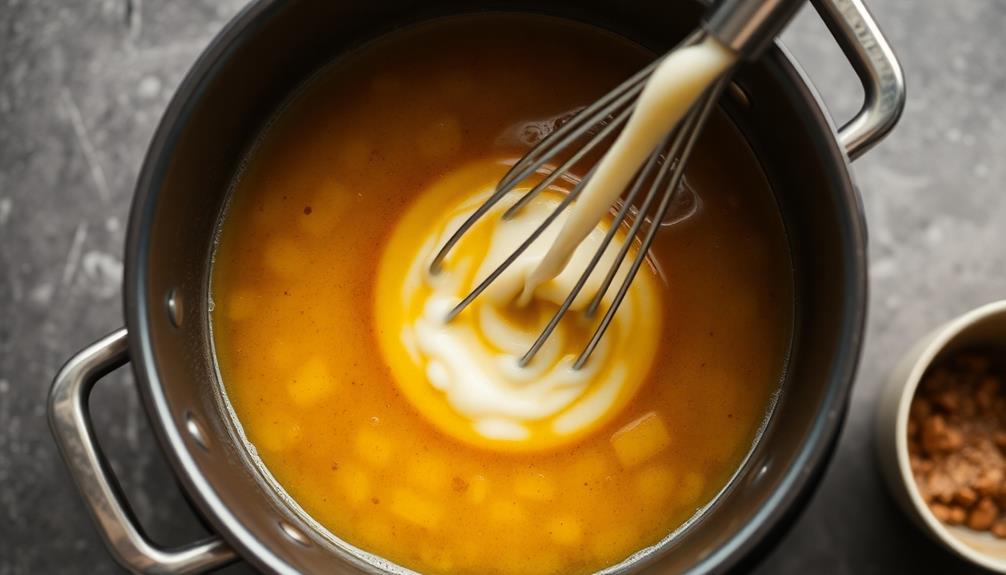
Once the roux has reached a smooth consistency, you can begin gradually whisking in the liquid, whether it's milk, broth, or a combination of the two.
Start by adding a small amount of the liquid, about 1/4 cup, and whisk continuously until it's fully incorporated. This helps prevent any lumps from forming.
Continue adding the liquid in small increments, whisking well after each addition, until you've reached the desired consistency. Keep in mind that the gravy will thicken as it simmers, so you may want to make it a bit thinner than your final desired texture.
If you're using both milk and broth, start with the milk first, then gradually introduce the broth. This helps ensure a smooth, creamy texture.
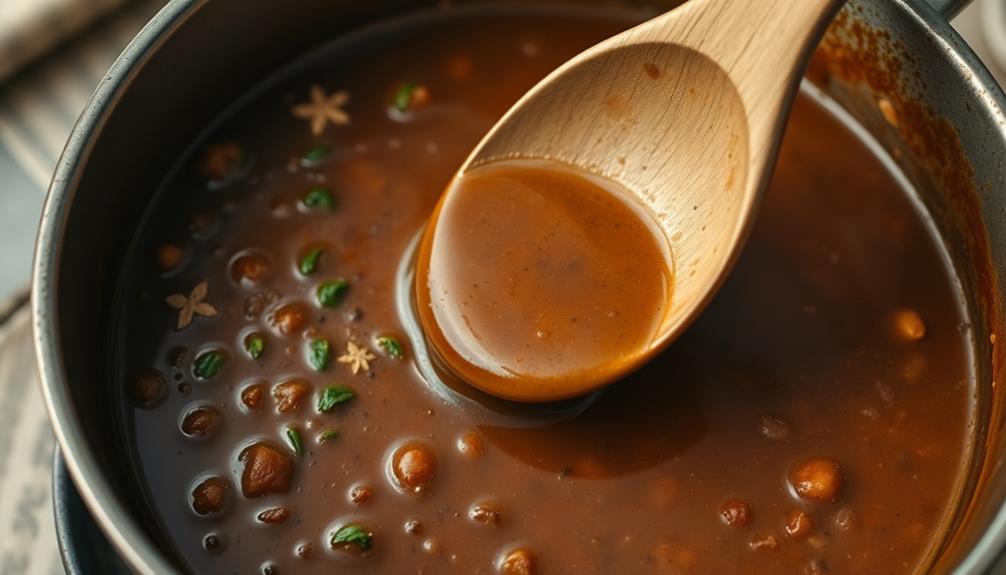
Once all the liquid has been incorporated, let the gravy simmer for 5-10 minutes, stirring occasionally, to allow the flavors to meld and the gravy to thicken to your liking.
Step 4. Simmer Until Thickened
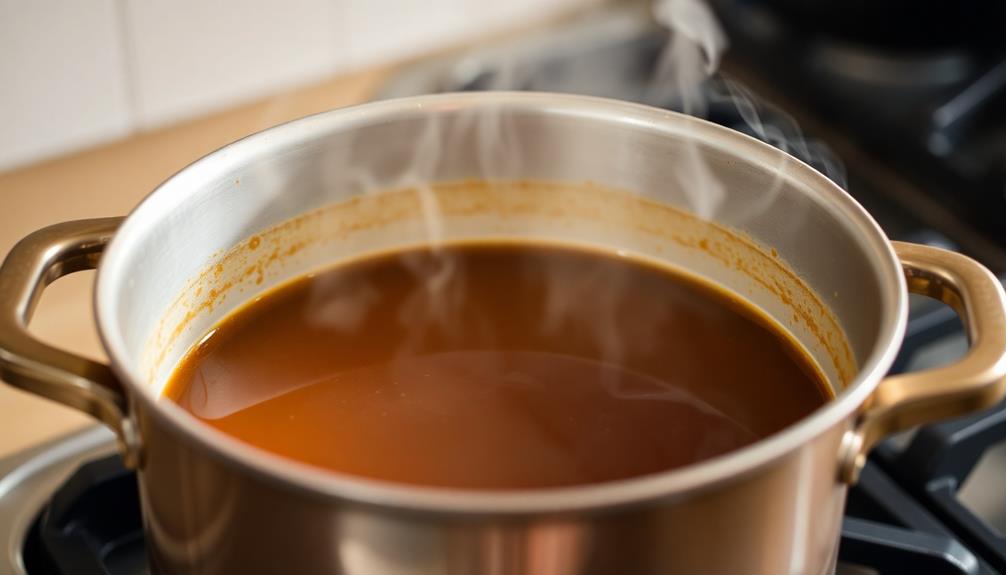
After you've gradually whisked in the milk or broth, allow the gravy to simmer for 5-10 minutes, stirring occasionally. This gentle simmering helps the starch granules swell, thickening the gravy to your desired consistency. Keep a close eye, as the gravy can go from thin to thick quickly.
- Simmer the gravy over medium heat, stirring frequently with a whisk or wooden spoon. This prevents the gravy from scorching on the bottom of the pan.
- As the gravy thickens, you may need to add a bit more milk or broth to reach your preferred texture. Start with small amounts, about 1-2 tablespoons at a time, and whisk thoroughly to incorporate.
Once the gravy has thickened to your liking, taste and adjust seasoning as needed. You may want to add a touch more salt, pepper, or any other herbs or spices you've included.
The simmering process typically takes 5-10 minutes, but keep in mind that thickening time can vary based on the ingredients and your personal preference.
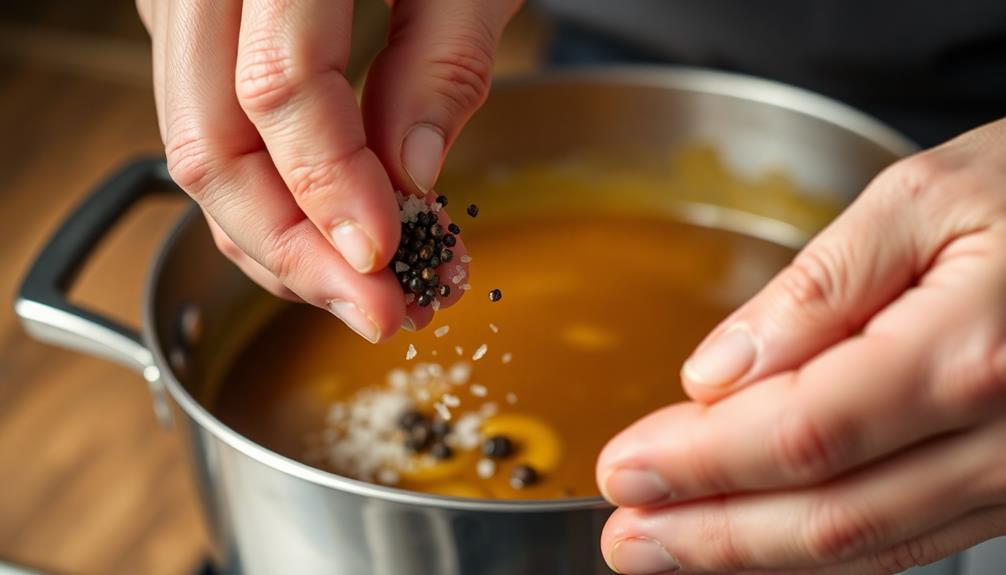
Step 5. Season With Salt and Pepper
Taste the gravy and add salt and pepper to your liking. The key is to season judiciously, as too much can overpower the other flavors. Let the gravy simmer for a few more minutes, allowing the flavors to meld together. Once you’re satisfied with the balance of seasoning, remove it from heat and serve it over your favorite dishes. Whether you’re perfecting this gravy or trying to make hearty chili at home, the same principle applies—season gradually and taste as you go to build layers of flavor. This careful approach to seasoning ensures that each ingredient shines without being overpowered, creating a harmonious and satisfying dish. Whether you’re preparing a rich gravy or deciding how to make hearty chili at home, patience and attention to detail are crucial in achieving the perfect taste. Remember, the best dishes are built layer by layer, with each addition enhancing the overall flavor experience.
Start with a light hand, tasting as you go. A good rule of thumb is 1/4 teaspoon of salt and 1/8 teaspoon of pepper per cup of gravy.
Freshly cracked black pepper will provide a bolder, more robust flavor compared to pre-ground pepper. Similarly, a high-quality sea salt or Kosher salt will elevate the taste compared to standard table salt.
Adjust the seasoning until the gravy tastes balanced and the flavors harmonize.
Final Thoughts
Ultimately, making a delectable gravy comes down to a few key principles.
First and foremost, patience is paramount. Rushing the process can result in a thin, lackluster sauce. Take your time, allowing the flavors to meld and develop fully.
Additionally, the quality of your ingredients plays a pivotal role. Opt for fresh, high-quality stock or broth, and don't be afraid to experiment with different herbs and spices to find your signature blend.
Frequently Asked Questions
How Long Can the Gravy Be Stored in the Refrigerator?
Your homemade gravy can be stored in the refrigerator for up to 3-4 days. Be sure to store it in an airtight container to maintain its freshness and flavor. Reheat it gently before serving.
Can I Substitute Vegetable Stock for the Meat Drippings?
Yes, you can substitute vegetable stock for the meat drippings. The resulting gravy won't have the same rich, meaty flavor, but it'll still be a tasty option for vegetarians or those without pan drippings.
Do I Need to Use Fresh Herbs or Can I Use Dried?
You can definitely use dried herbs instead of fresh for your gravy. The dried versions will still provide great flavor, and they're more convenient if you don't have fresh herbs on hand.
How Can I Thicken the Gravy if It's Too Thin?
If your gravy's too thin, don't worry – you've got a few options. Try mixing a little flour or cornstarch with some cold water, then stir it into the gravy. Or let it simmer longer to allow it to thicken naturally.
Is It Possible to Make the Gravy in Advance?
Yes, you can make gravy in advance. Simply let it cool, then refrigerate it for up to 4 days. When ready to serve, reheat the gravy and adjust the consistency if needed.