For an irresistible frosting that'll take your cakes to the next level, try this classic buttercream recipe. You'll start by creaming softened butter until it's light and fluffy, then gradually incorporate powdered sugar, vanilla, and a splash of cream for a silky-smooth texture. The key is whipping the frosting thoroughly to incorporate air, resulting in a frosting that's both stable and airy. After chilling briefly, you'll be able to spread it evenly over your cake for a professional-looking finish. With this versatile recipe, the decorative possibilities are endless – continue reading to discover more frosting tips and techniques.
Key Takeaways
- Prepare a classic buttercream frosting using softened unsalted butter, powdered sugar, vanilla extract, and heavy cream or milk for a smooth, creamy texture.
- Cream the butter until light and fluffy, then gradually incorporate the powdered sugar and milk to achieve the desired consistency.
- Whip the frosting for 3-5 minutes to ensure even mixing and a light, airy texture, then chill for 30-45 minutes before spreading on the cake.
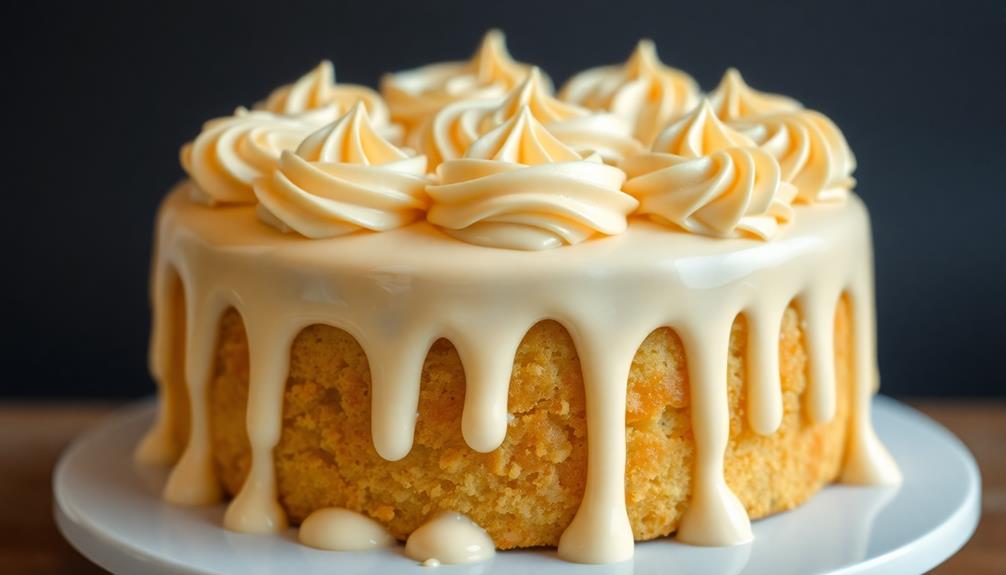
- Apply the frosting evenly on a cooled cake, using a spatula to create a smooth, professional-looking finish.
- Store the frosted cake in the refrigerator for up to one week, or freeze the frosting for up to three months for longer-term storage.

Piping Bags and Tips Set, 100Pcs 12 Inch Pastry Bags, Icing Bags Disposable for Cakes Decorating Kit Supplies with 1 Reusable Piping Bags, 1 Couplers, 12 Frosting Tips, 2 Bag Ties, 3 Cake Scraper
Affordable Piping Bags Combo: Package include 100 x disposable pastry bags, 1 x silicone pastry bags, 12 x…
As an affiliate, we earn on qualifying purchases.
As an affiliate, we earn on qualifying purchases.
History
Frosting has been an integral part of cake decorating for centuries. Its origins can be traced back to the ancient Egyptians, who used honey and beeswax to create a sweet glaze for their baked goods.
Over time, the art of cake frosting evolved, with the introduction of ingredients like sugar, butter, and cream. In the 17th century, European bakers began experimenting with more elaborate frosting recipes, using techniques like piping and decorating to transform simple cakes into edible works of art.
The rise of the middle class in the 19th century further fueled the popularity of frosted cakes, as they became a symbol of wealth and social status.
Today, frosting remains a beloved component of cake-making, with a wide variety of recipes and techniques available to suit every taste and occasion. From classic buttercream to rich chocolate ganache, the possibilities are endless when it comes to creating the perfect frosting for your cakes.
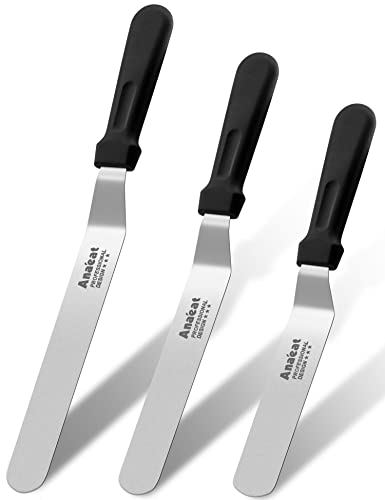
Anaeat Icing Spatulas, Set of 3 Professional Cake Angled Offset Spatula with 6", 8", 10" Stainless Steel Blades – Thickened Frosting Knife with Plastic Handle for Cake Decorating, Pastry & Baking
PERFECT BALANCE BETWEEN STIFFNESS & FLEXIBILITY: Anaeat Spatula gives you more control when icing your cake. The Professional…
As an affiliate, we earn on qualifying purchases.
As an affiliate, we earn on qualifying purchases.
Recipe
Frosting is an essential component in cake decorating and can transform a simple cake into a showstopping dessert. This classic buttercream frosting recipe is easy to make and versatile enough to pair with a variety of cake flavors.
To achieve the perfect frosting consistency, it's important to use high-quality butter and to cream it thoroughly with the powdered sugar. The addition of a touch of vanilla extract enhances the flavor, while a small amount of heavy cream or milk helps to create a smooth, spreadable texture. For an extra touch of personalization, you can experiment by adding different flavorings or even a dash of food coloring to suit the theme of your dessert. If you’re looking for another fun way to complement your homemade treats, check out a DIY homemade ice cream tutorial to make a creamy, delicious pairing. With both elements made from scratch, you’ll have a dessert that’s sure to impress!
- 1 cup (2 sticks) unsalted butter, softened
- 4 cups powdered sugar
- 2 teaspoons vanilla extract
- 2-3 tablespoons heavy cream or milk
In a large mixing bowl, beat the softened butter with an electric mixer until light and fluffy, about 2-3 minutes. Gradually add the powdered sugar, one cup at a time, beating well after each addition.
Stir in the vanilla extract and 2 tablespoons of heavy cream or milk, adding an additional tablespoon if needed to achieve the desired consistency.
When applying the frosting to the cake, use an offset spatula to create smooth, even layers. For a more decorative touch, consider piping the frosting using a piping bag and various tip shapes.
The frosting can be stored in an airtight container in the refrigerator for up to one week.

Hamilton Beach 6-Speed Electric Hand Mixer with Whisk, Dough Hooks and Easy Clean Beaters, Powerful 275 Watt Motor, Snap-On Storage Case, Black
EASY CLEAN BEATERS REDUCE CLOGGING AND PROVIDE GREAT MIXING PERFORMANCE. Their smooth, innovative design glides through ingredients to…
As an affiliate, we earn on qualifying purchases.
As an affiliate, we earn on qualifying purchases.
Cooking Steps

Cream the butter and sugar together until light and fluffy.
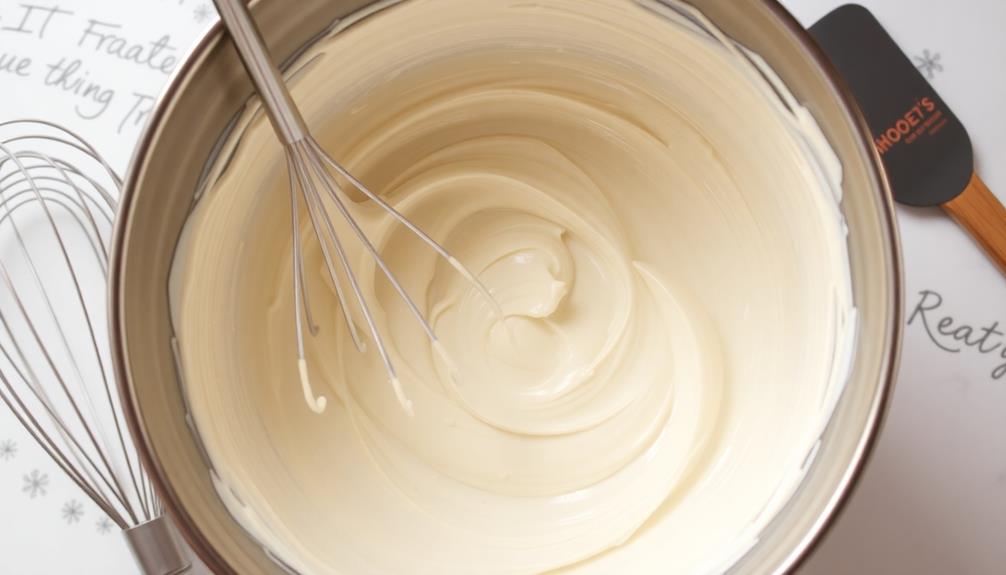
Slowly add the milk and vanilla, then whip the frosting until it's light and airy.
Once chilled, spread the frosting evenly over the surface of the cake.
Step 1. Cream Butter and Sugar Together
To begin the process, you'll want to cream the butter and sugar together. This is a crucial step in making a light, fluffy frosting.
Start by placing the unsalted butter in a large mixing bowl. Using a handheld or stand mixer fitted with the paddle attachment, beat the butter on medium speed until it's smooth and creamy, about 2-3 minutes.
Next, gradually add the granulated sugar a little at a time, continuing to beat on medium speed. Scrape down the sides of the bowl as needed. Beat the butter and sugar together for 3-5 minutes until the mixture is light and fluffy. This process incorporates air into the frosting, resulting in a smooth, creamy texture.
Be sure to use room temperature butter for best results. Cold butter won't cream properly. If the mixture appears curdled at any point, simply keep beating, and it will come together.
Once the butter and sugar are perfectly creamed, you're ready for the next step in the frosting-making process.
Step 2. Add Milk and Vanilla
After creaming the butter and sugar, you'll want to add the milk and vanilla extract. This step not only adds delicious flavor but also helps achieve the smooth, creamy texture that's essential for a perfect frosting.
Start by pouring in the milk, a little at a time, while continuing to mix on medium speed. The milk will help thin out the frosting, making it easier to spread and pipe. Be sure to scrape down the sides of the bowl to ensure all the ingredients are fully incorporated.
Next, stir in the vanilla extract. The vanilla adds a warm, comforting flavor that complements the sweetness of the frosting. Start with 1 teaspoon and taste, adding more if you'd like a stronger vanilla presence.
Once the milk and vanilla are fully blended, your frosting is ready to use! The addition of these two ingredients creates a silky-smooth texture that will make your cakes and cupcakes shine.
Step 3. Whip the Frosting Until Fluffy
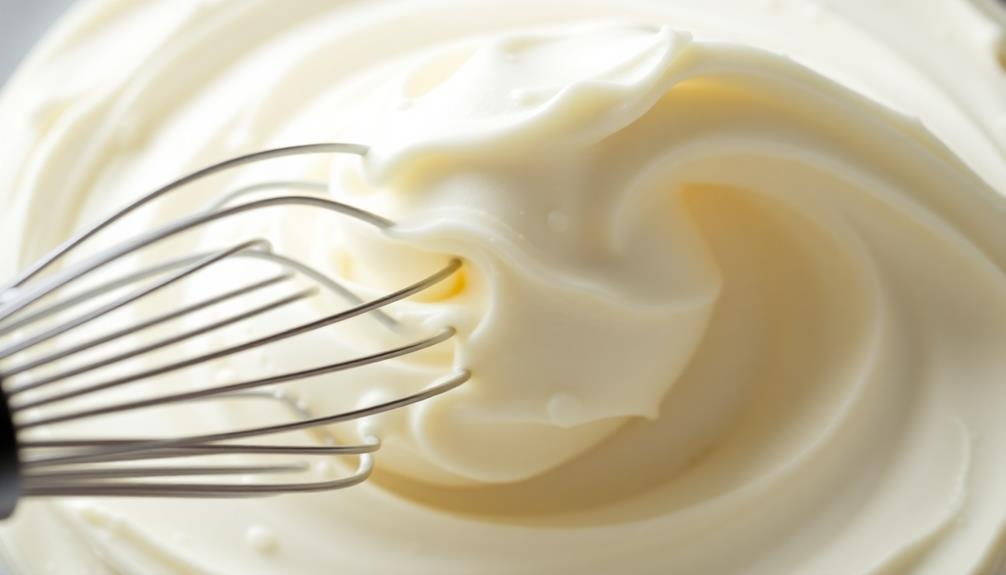
Once you've added the milk and vanilla, it's time to whip the frosting until it's light and fluffy. This is a crucial step that will give your frosting the perfect texture.
Using a stand mixer or hand mixer, start whipping the frosting on medium-high speed. As the frosting begins to incorporate air, it will become lighter and fluffier. Be sure to scrape down the sides of the bowl periodically to ensure even mixing.
Whip the frosting for 3-5 minutes, or until it has reached a light and airy consistency. You'll know it's ready when the frosting holds its shape and forms soft, fluffy peaks.
Avoid over-mixing, as this can cause the frosting to become grainy or separated.
Once your frosting is whipped to perfection, it's ready to be used to top your cakes or cupcakes. Enjoy the delightfully smooth and creamy texture that perfectly complements your baked treats.
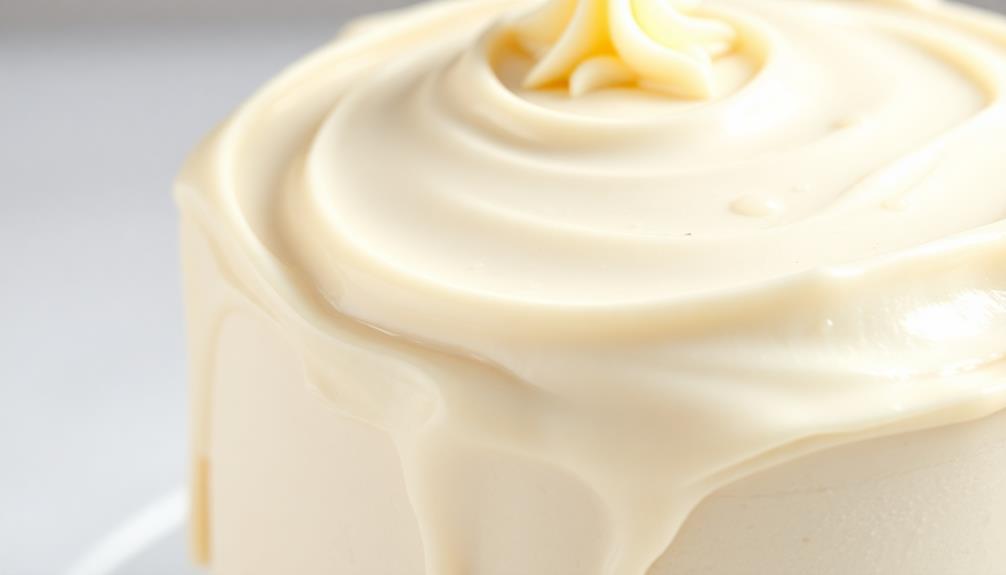
Step 4. Chill Frosting Before Applying
Why chill the frosting before applying it? Chilling the frosting is an essential step in achieving a smooth, spreadable consistency. As the frosting cools, the ingredients come together and the texture firms up, making it easier to work with.
Once you've whipped the frosting to a light and fluffy state, pop it in the fridge for 30-45 minutes. This gives the butter and other ingredients time to set, resulting in a thicker, more stable frosting that won't slide off the cake.
Chilled frosting also holds its shape better when piping decorations or applying to the cake's surface. Additionally, working with cool frosting prevents it from becoming too soft and melty, ensuring a tidy and professional-looking final result.
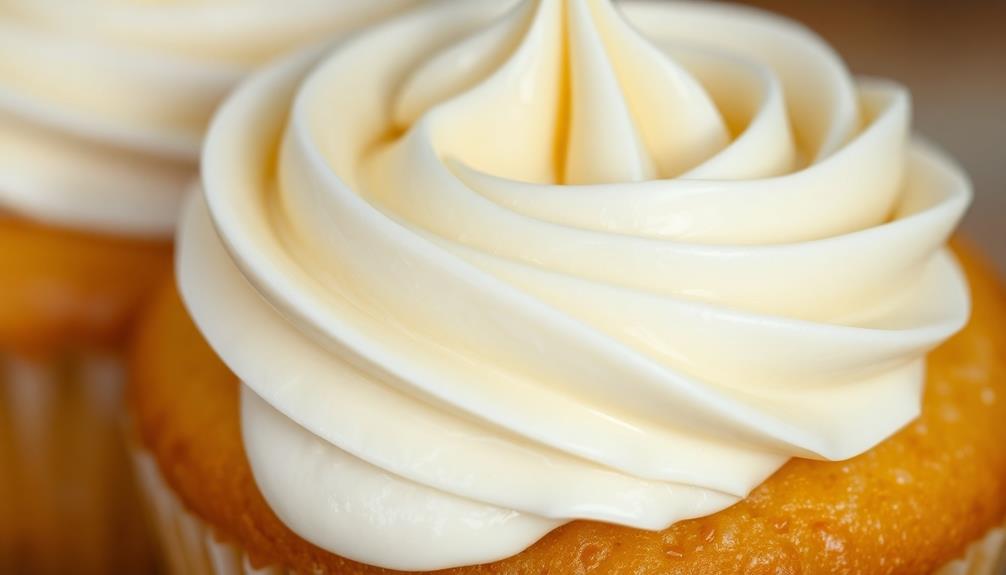
Step 5. Spread Frosting Evenly on Cake
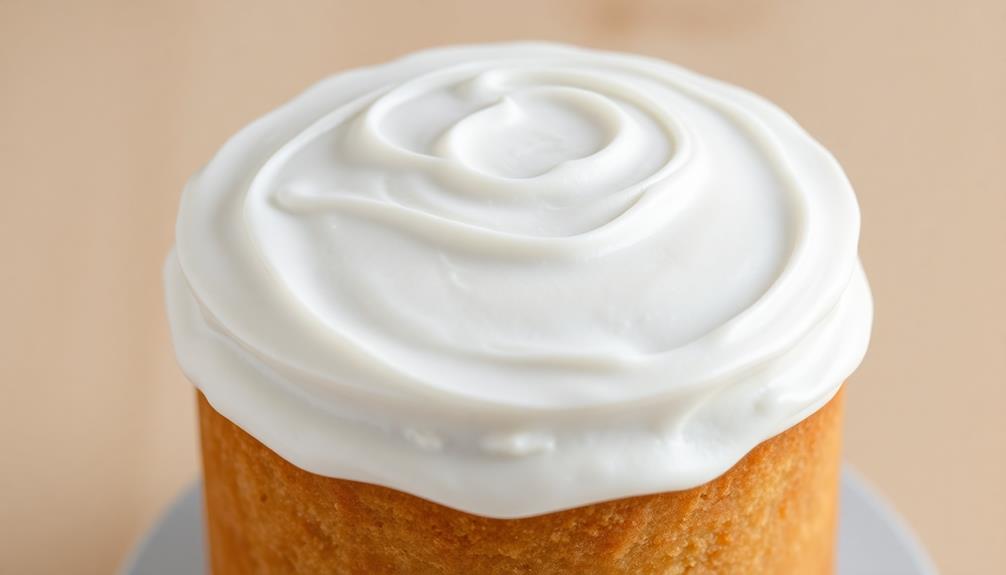
With the frosting chilled to the perfect consistency, you can now start spreading it evenly over the cake.
Begin by using a large, offset spatula to apply a thick layer of frosting to the top of the cake. Gently smooth it out, working from the center and moving towards the edges in circular motions. Once the top is evenly coated, use the same spatula to guide the frosting down the sides, ensuring full coverage. Take your time to create a smooth, polished finish, or leave natural swirls for a rustic look that complements any design. If you’re looking for another creative treat, consider trying a delicious cake pops recipe to use up any leftover cake and frosting!
Next, use the spatula to apply frosting to the sides of the cake. Start at the top and work your way down, spreading the frosting evenly and ensuring there are no gaps or bare spots.
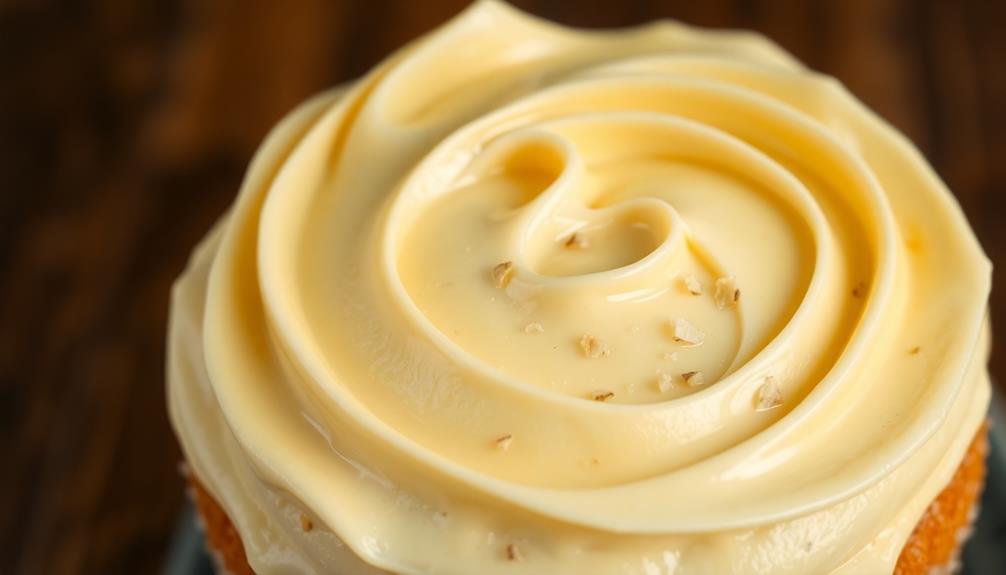
If needed, dip the spatula in hot water to help smooth out the frosting.
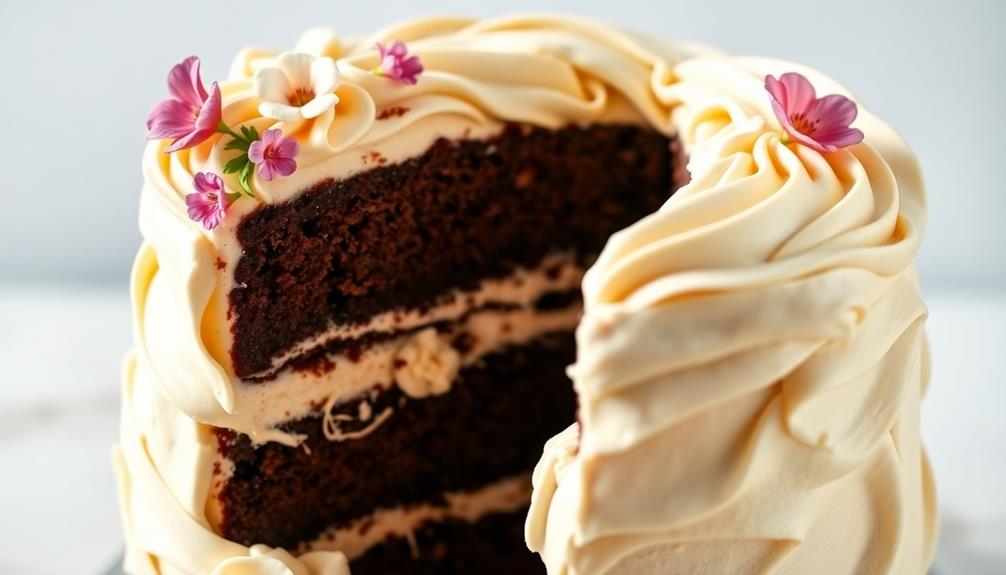
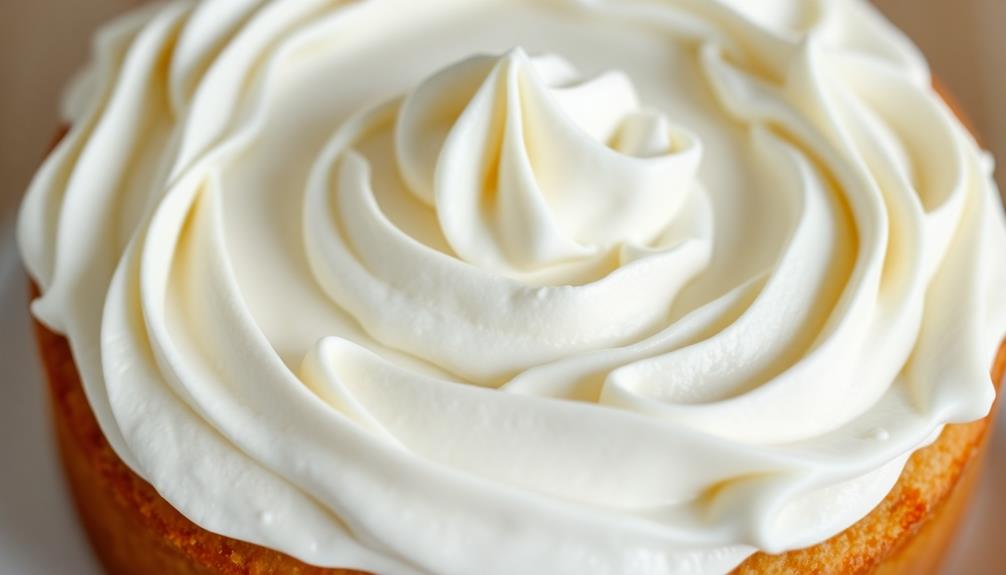
Once the top and sides are covered, use the spatula to create swoops, swirls, or other decorative patterns on the surface of the frosted cake. This not only enhances the visual appeal but also helps to create a professional-looking finish.

Piping Tip Organizer Box, 36 Grids Storage Container with Adjustable Dividers, Made with Clear Plastics, Compartment Container for Cake Decorating Tools, Baking Tools, Jewelry, Beads and Small Crafts
Piping Tip Organizer Box: This box is designed specifically for organizing piping tips. Box dimensions: 10.7” D x…
As an affiliate, we earn on qualifying purchases.
As an affiliate, we earn on qualifying purchases.
Final Thoughts
After trying this frosting recipe, you'll likely find it to be a delightful addition to your cake repertoire. The combination of rich, creamy butter and the subtlety of vanilla creates a harmonious balance of flavors that complements a wide variety of cakes.
Whether you're baking a classic chocolate layer cake or a whimsical unicorn-themed confection, this versatile frosting will be the perfect finishing touch.
One of the standout features of this recipe is its adaptability. You can easily customize the flavor by incorporating additional ingredients, such as citrus zest, spices, or even a touch of liqueur.
Additionally, the smooth and spreadable texture ensures a seamless application, allowing you to achieve a professional-looking finish with minimal effort.
As you continue to hone your cake-decorating skills, this frosting will become a reliable ally, empowering you to create visually stunning and delicious desserts that will impress your family and friends.
Embrace the joy of baking and let this frosting recipe inspire your culinary creativity.
Frequently Asked Questions
Can I Use Unsalted or Salted Butter for the Frosting?
You can use either unsalted or salted butter for the frosting. Unsalted butter will provide a more neutral flavor, allowing the other ingredients to shine. Salted butter can add a slight salty contrast, complementing the sweetness of the frosting.
How Long Can the Frosted Cake Be Stored?
You can store a frosted cake in the refrigerator for up to 5 days. Be sure to keep it covered to prevent it from drying out. Enjoy your delicious, frosted creation!
Is It Possible to Make the Frosting Ahead of Time?
Yes, you can make the frosting ahead of time. Simply store it in an airtight container in the refrigerator for up to 5 days. This will save you time when you're ready to assemble and frost your cake.
Can I Use a Hand Mixer Instead of a Stand Mixer?
Yes, you can use a hand mixer instead of a stand mixer to make your frosting. The process may take a little longer, but you can still achieve the same smooth, creamy texture.
What Is the Best Way to Achieve a Smooth Frosting?
To achieve a smooth frosting, you should use a hand mixer or stand mixer and beat the ingredients thoroughly until the texture is light and creamy. Proper mixing is key for a silky-smooth finish.