
Get ready to make mouthwatering homemade donuts with this step-by-step guide! Tracing back to "olykoeks" of Dutch immigrants in the 1800s, donuts have become an American classic, with their popularity skyrocketing thanks to donut-cutting and frying innovations. Start by whipping up a simple dough with flour, sugar, baking powder, and other pantry staples. Proof the dough, then cut and fry the donuts, draining excess oil before glazing or coating them in your desired toppings. Mastering these basic techniques opens the door to endless creativity, from unique flavor profiles to eye-catching designs. Ready to dive deeper into the world of homemade donuts?
Key Takeaways
- Prepare the donut dough by combining dry ingredients (flour, sugar, baking powder, salt) and wet ingredients (melted butter, milk, egg).
- Proof the dough by letting it rise in a warm area until doubled in size, then punch down to release air bubbles.
- Cut the dough into donut shapes and fry them in 350°F oil for 1-2 minutes per side until golden brown.
- Glaze or coat the warm donuts with a simple sugar glaze, chocolate glaze, or other flavored glazes for enhanced flavor and appearance.
- Master the basic donut recipe and experiment with various flavors, fillings, and toppings to create unique and visually appealing donuts.

Reach Barrier 3009 Garage Door Insulation Kit
Reach Barrier(Tm) Reflective Insulation And Bubble Barrier Technology Blocks Up To 95-Percent Of Radiant Heat Which Will Help...
As an affiliate, we earn on qualifying purchases.
History
Donuts have a rich and storied history, dating back to the early 19th century when Dutch immigrants brought their beloved "olykoeks" to the United States.
These early donuts were often ring-shaped, fried pastries that were dusted with sugar or spices. Over time, the donut evolved, with bakers experimenting with various fillings and toppings.
The donut's popularity surged in the late 19th century, as the introduction of the donut cutter and improvements in frying technology made them more accessible.
During World War I, American soldiers affectionately dubbed the treat "donuts," and the name stuck. By the 1920s, commercial donut shops were popping up across the country, solidifying the donut's place in American culture.
Today, donuts come in a dazzling array of flavors and styles, from classic glazed to decadent crème-filled.
Whether you prefer them baked or fried, plain or fancy, donuts remain a beloved comfort food, steeped in a rich history and cherished by generations of Americans.

Owens Corning Garage Door Insulation Kit
Significantly improves thermal performance over uninsulated doors
As an affiliate, we earn on qualifying purchases.
Recipe
Donuts are a classic treat that can be enjoyed any time of day. Whether you prefer them glazed, sprinkled, or filled, homemade donuts are a delicious and satisfying indulgence. Making donuts from scratch may seem intimidating, but with a little practice, you'll be whipping up batches of these fluffy, golden treats in no time.
The key to successful donut-making is to have the right equipment and follow the recipe closely. A deep fryer or heavy-duty pot for frying, a donut cutter or biscuit cutter, and a few simple ingredients are all you need to get started.
Ingredients:
- 2 cups all-purpose flour
- 1/4 cup granulated sugar
- 2 teaspoons baking powder
- 1/2 teaspoon salt
- 1/4 cup unsalted butter, melted
- 3/4 cup milk
- 1 large egg
- Vegetable oil for frying
Instructions:
In a large mixing bowl, whisk together the flour, sugar, baking powder, and salt. In a separate bowl, combine the melted butter, milk, and egg. Pour the wet ingredients into the dry ingredients and stir just until a sticky dough forms. Using a spoon or your hands, scoop small portions of the sticky dough and gently roll them into uniform balls. If you’re planning to make tanghulu at home, these dough balls can serve as a fun and creative twist on the traditional fruit-based treat when coated in hardened sugar. Place the prepared dough balls onto a lined baking sheet, ready for the next step in your recipe adventure!
On a lightly floured surface, roll the dough out to a thickness of about 1/2 inch. Use a donut cutter or biscuit cutter to cut out the donut shapes, reserving the donut holes. In a deep fryer or heavy-duty pot, heat 2-3 inches of vegetable oil to 350°F. Fry the donuts and donut holes in batches for 1-2 minutes per side, or until golden brown. Drain on a paper towel-lined plate and serve warm, with your desired toppings or fillings.
To ensure your donuts turn out perfectly, be sure to let the dough rest for at least 30 minutes before rolling and cutting. This helps the gluten relax, resulting in a lighter, fluffier donut. Additionally, make sure to maintain the oil temperature throughout the frying process for consistent results.

NASA TECH White Reflective Foam Core 2 Car Garage Door Insulation Kit 18FT (WIDE) x 8FT (HIGH) R Value 8.0 Made in USA New and Improved Heavy Duty Double Sided Tape (ALSO FITS 18X7)
This Kit Includes: 4 rolls of 2ft x 18ft White/Foil Foam Core Insulation, Heavy Duty Double Sided Tape,...
As an affiliate, we earn on qualifying purchases.
Cooking Steps
First, you'll need to mix the dry ingredients in a large bowl.
Then, you'll need to proof the dough before frying it to ensure it rises properly.
Once the dough has proofed, you can cut it into your desired shapes, whether that's classic rounds or fun shapes like twists or holes.
Step 1. Mix Dry Ingredients
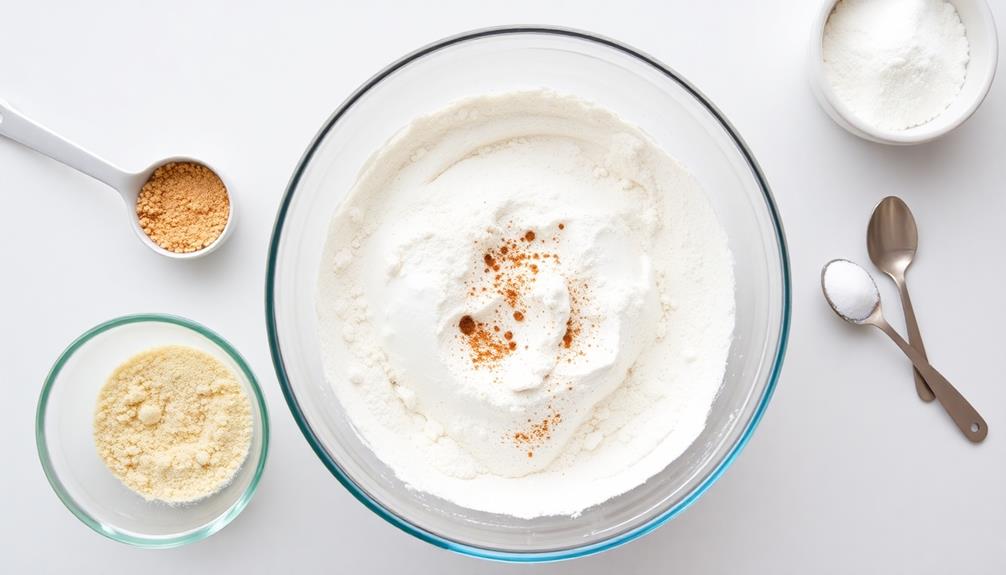
To begin, gather the dry ingredients in a medium-sized bowl. This includes 2 cups of all-purpose flour, 1/4 cup of granulated sugar, 2 teaspoons of baking powder, 1/2 teaspoon of salt, and 1/4 teaspoon of ground nutmeg. Whisk these ingredients together until they're well combined.
The flour acts as the base, providing structure to the dough. Sugar adds a touch of sweetness, while the baking powder helps the donuts rise and become light and airy. A pinch of salt enhances the overall flavor, and the nutmeg lends a warm, subtly spiced note.
Once the dry ingredients are mixed, create a well in the center. This will be where you'll add the wet ingredients later on.
Be sure to use a whisk or fork to ensure the dry mixture is thoroughly incorporated, with no pockets of unmixed flour remaining. With the foundation laid, you're ready to move on to the next step: incorporating the wet ingredients.
Step 2. Proof the Dough Before Frying

After mixing the dry ingredients, you'll need to proof the dough before frying. Proofing is the process of allowing the dough to rise, which helps develop the flavor and texture of your homemade donuts.
Start by transferring the dough to a lightly greased bowl, then cover it with a damp towel or plastic wrap.
Place the bowl in a warm, draft-free area and let the dough rise for 30 to 60 minutes, or until it has doubled in size. As the yeast ferments, it produces gas that causes the dough to expand. This step is crucial, as properly proofed dough will result in light, fluffy donuts.
Once the dough has finished proofing, you can move on to shaping and frying the donuts. Punch down the dough to release any trapped air bubbles, then roll or stretch it out to your desired thickness.
From here, you're ready to cut out the donut shapes and fry them to golden, crispy perfection.
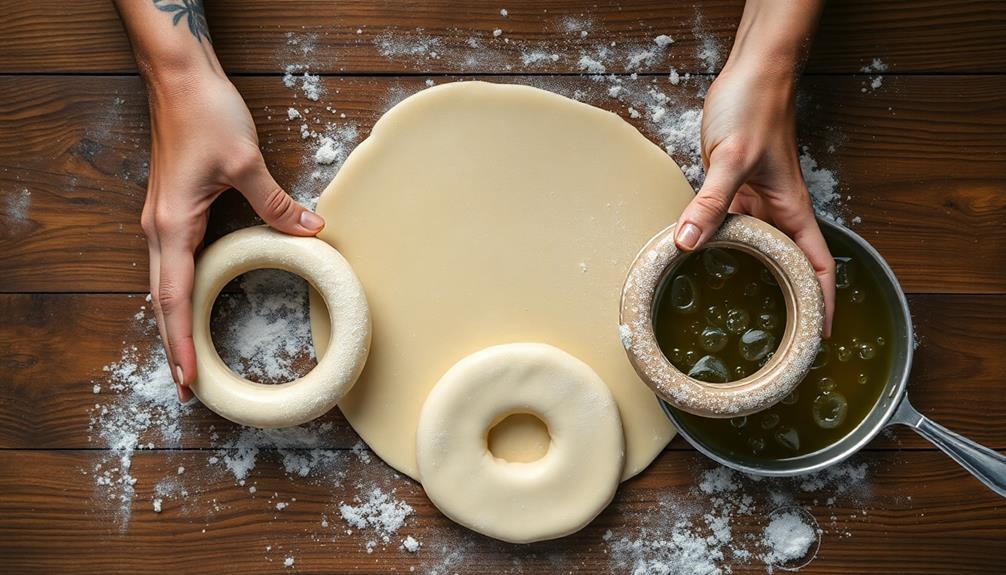
Step 3. Cut Dough Into Shapes
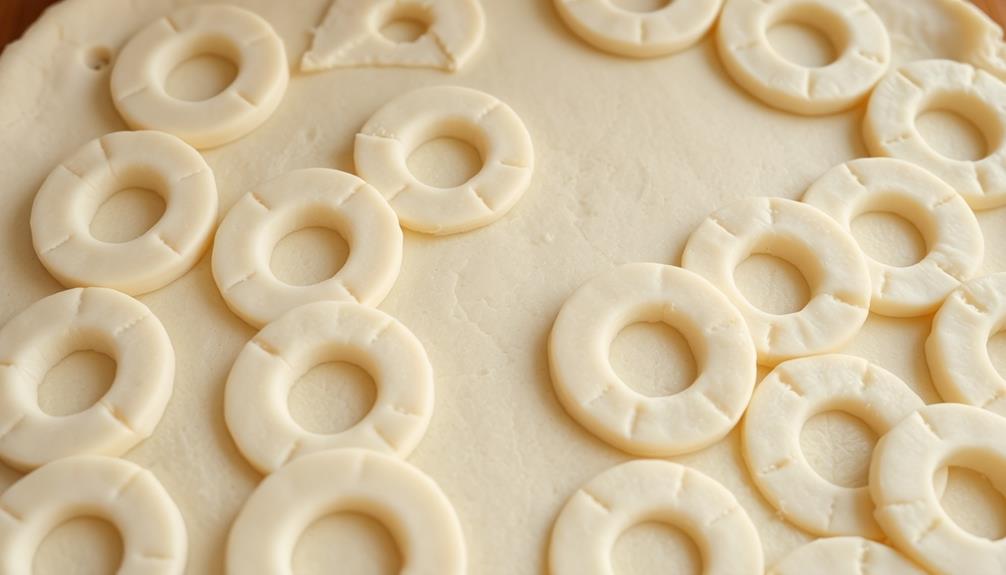
Once the dough has finished proofing, you'll want to punch it down to release any trapped air bubbles. This will help ensure the donuts maintain their shape during frying.
Next, lightly flour a clean work surface and roll the dough out to about 1/2-inch thickness. Using a donut cutter or round cookie cutter, cut the dough into your desired shapes – traditional rings, filled doughnut rounds, or even mini doughnut holes.
Be sure to cut the shapes as close together as possible to minimize dough waste. Carefully transfer the cut dough pieces onto a parchment-lined baking sheet, spacing them about an inch apart. If making filled donuts, use a smaller round cutter to cut out the centers.
Once all the dough is cut, cover the shapes with a clean kitchen towel and let them rest for 10-15 minutes before frying. This final proofing will help the donuts puff up and develop a light, airy texture.
Step 4. Fry Donuts to Golden Brown

Heat a few inches of neutral oil, such as vegetable or canola oil, in a heavy-bottomed pot or Dutch oven to 350°F.
Once the oil is at the right temperature, gently lower the dough shapes into the hot oil using a slotted spoon. Fry the donuts for 1-2 minutes per side, flipping them occasionally, until they're a beautiful golden brown.
Be careful not to overcrowd the pot, as this can cause the oil temperature to drop and result in greasy, unevenly cooked donuts. Fry the donuts in batches if needed, adjusting the heat to maintain the 350°F temperature.
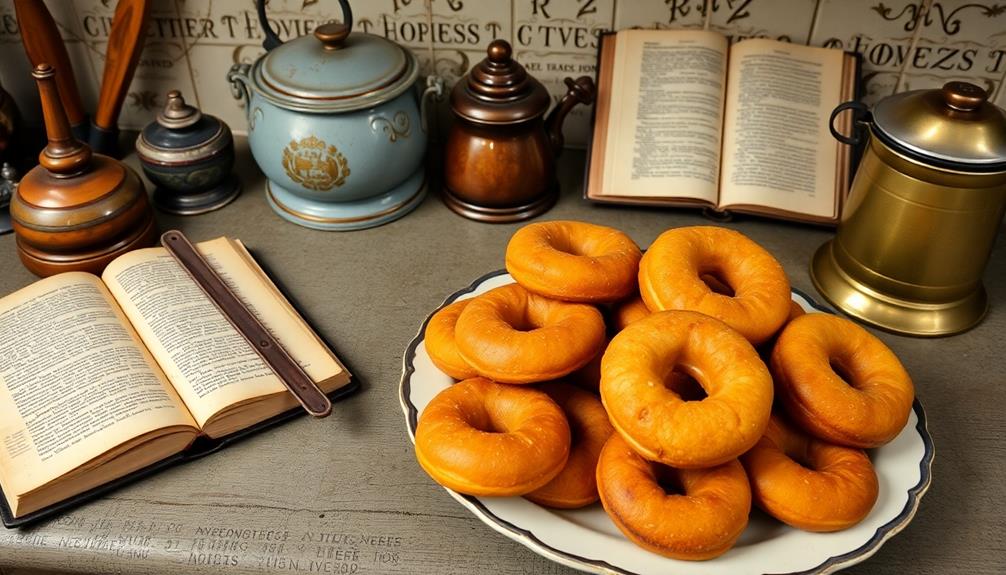
Once the donuts are fried to perfection, use the slotted spoon to transfer them to a paper towel-lined plate or wire rack to drain any excess oil.
Allow them to cool slightly before glazing, tossing in cinnamon-sugar, or enjoying them plain. The key is to fry the donuts until they're a rich, golden brown, creating a crisp exterior and a soft, fluffy interior.
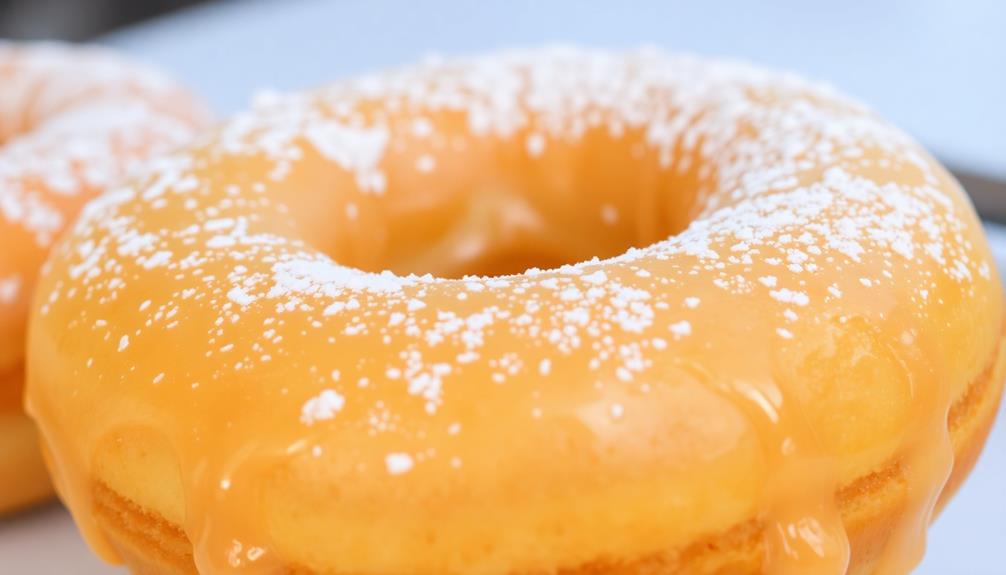
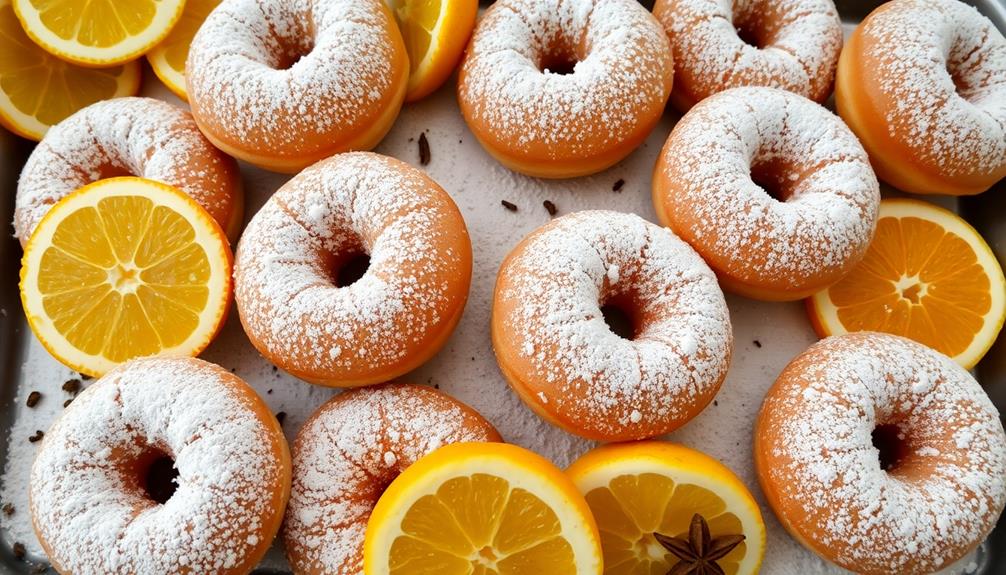
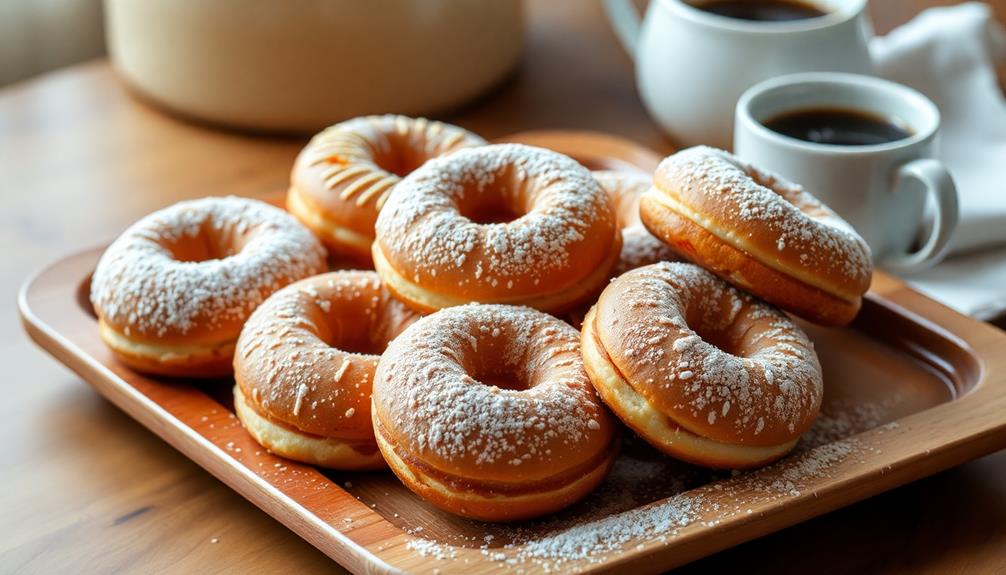
Step 5. Glaze or Coat Donuts
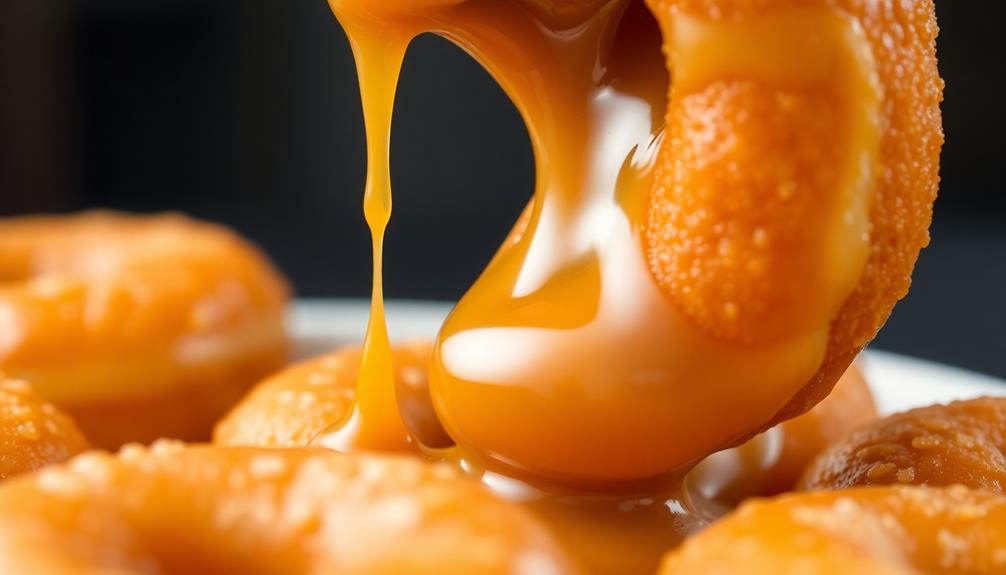
With the donuts fried to perfection, it's time to add the finishing touch. Glazing or coating your donuts is the perfect way to enhance their flavor and appearance.
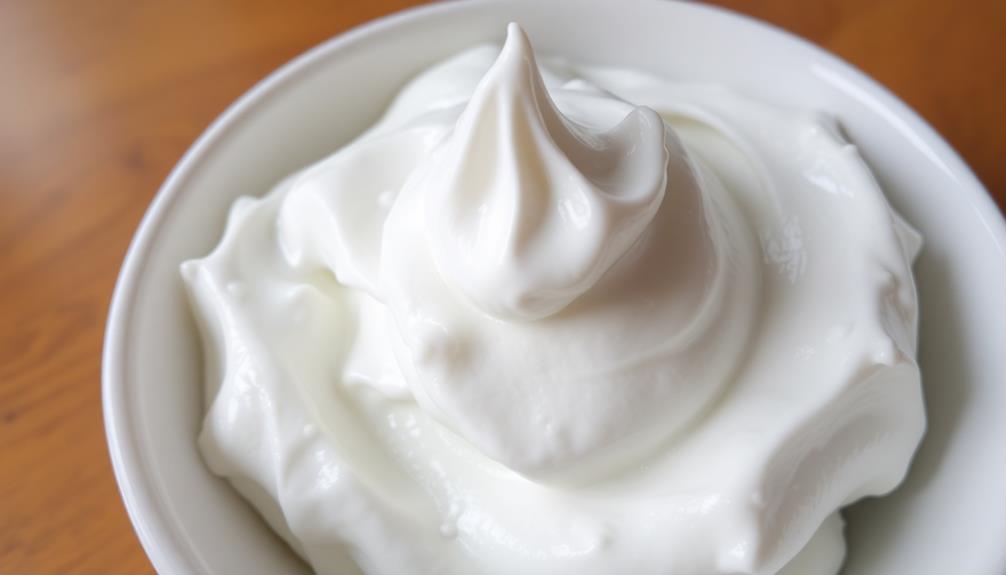
The most classic donut glaze is a simple sugar glaze. To make it, whisk together powdered sugar and milk or cream until it reaches a smooth, pourable consistency. Dip the tops of the warm donuts directly into the glaze, allowing the excess to drip back into the bowl.
For a chocolate glaze, melt chocolate chips or chopped chocolate with a bit of oil or butter. Stir until glossy, then dip or spoon the glaze over the donuts. You can also drizzle the chocolate over the tops for a decorative look.
Get creative with flavored glazes, too – try vanilla, maple, or even fruit preserves. Simply whisk in the desired flavorings to the powdered sugar base.
Sprinkle with nuts, sprinkles, or crumbled cookies for an extra special touch.

ToLanbbt Garage Door Insulation Kit 16P Double Bubble Window Heat Insulation Panels, 6MM 24" x 48" Reflective Aluminum Foil Summer/Winter Barrier Sheets with 120 Adhesive Tapes for Garage Attic Wall
【More Tapes】Package contains 16 pcs 24"x 48" garage door insulation kit. We have many sizes and quantities for...
As an affiliate, we earn on qualifying purchases.
Final Thoughts
Now that you've mastered the art of donut-making, you can confidently whip up these delectable treats anytime the craving strikes.
With the techniques you've learned, you can experiment with various flavors, fillings, and toppings to create your own unique donut creations.
Don't be afraid to get creative! Try different dough recipes, play with unique glazes, or stuffed fillings. The possibilities are endless.
Additionally, consider making batches in advance and freezing them for quick access later on.
Homemade donuts make a wonderful treat to share with friends and family. Bring a box to the office, surprise your kids after school, or enjoy them as a weekend indulgence. No matter the occasion, these sweet, fluffy delights are sure to bring smiles all around. If you’re wondering how to make homemade donuts, it’s easier than you might think! With just a few simple ingredients and a little bit of time, you can whip up a fresh batch that rivals any bakery creation.
Your loved ones will be impressed by your newfound donut-making skills.
Frequently Asked Questions
How Long Do Homemade Donuts Last?
Homemade donuts typically last 2-3 days at room temperature when stored in an airtight container. They'll stay fresh longer in the fridge, up to a week, but may dry out faster. Enjoy them soon for the best taste and texture.
Can I Fry Donuts in Air Fryer?
Yes, you can fry donuts in an air fryer. The air fryer's circulating hot air will cook the donuts and give them a crispy exterior, without the need for deep frying in oil.
Do I Need to Proof Donut Dough Twice?
Yes, you'll need to proof the donut dough twice. The first proof helps develop the gluten, while the second proof allows the dough to rise and become lighter before frying or baking. This step is crucial for achieving the perfect donut texture.
Can I Use Yeast-Free Dough for Donuts?
Yes, you can use yeast-free dough for donuts. However, the texture and rising won't be the same as traditional yeast-based donuts. The dough may be denser, and the donuts won't have that signature light and fluffy interior.
How Do I Store Leftover Donuts?
You can store leftover donuts in an airtight container at room temperature for up to 3 days. Alternatively, you can refrigerate them for 5-7 days or freeze them for 2-3 months for longer storage.