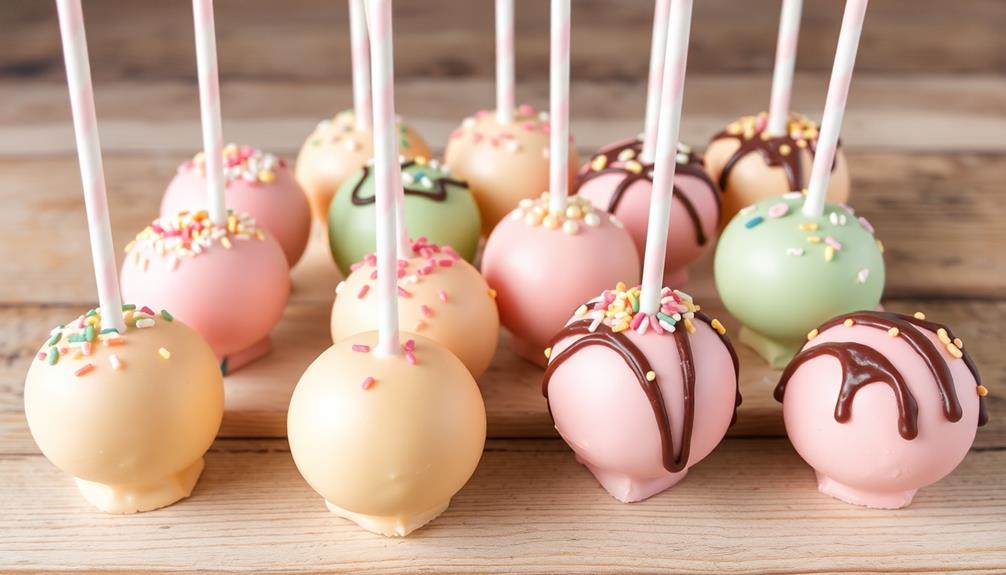
Cake pops have captivated dessert lovers with their delightful bite-sized appeal. Tracing their origins to the 19th century, these visually stunning treats surged in popularity thanks to social media. To make your own, you'll need just a few ingredients like crumbled cake, frosting, and candy melts. Start by baking and crumbling the cake, then mix it with a binding agent. Roll the mixture into balls, dip them in melted chocolate, and let them set. Customize with colorful sprinkles or drizzled toppings. With a little practice, you'll be whipping up professional-looking cake pops that are sure to impress. And there's so much more to discover about these versatile treats.
Key Takeaways
- Cake pops originated in the 19th century and gained modern popularity in the late 2000s due to trends in visually appealing desserts.
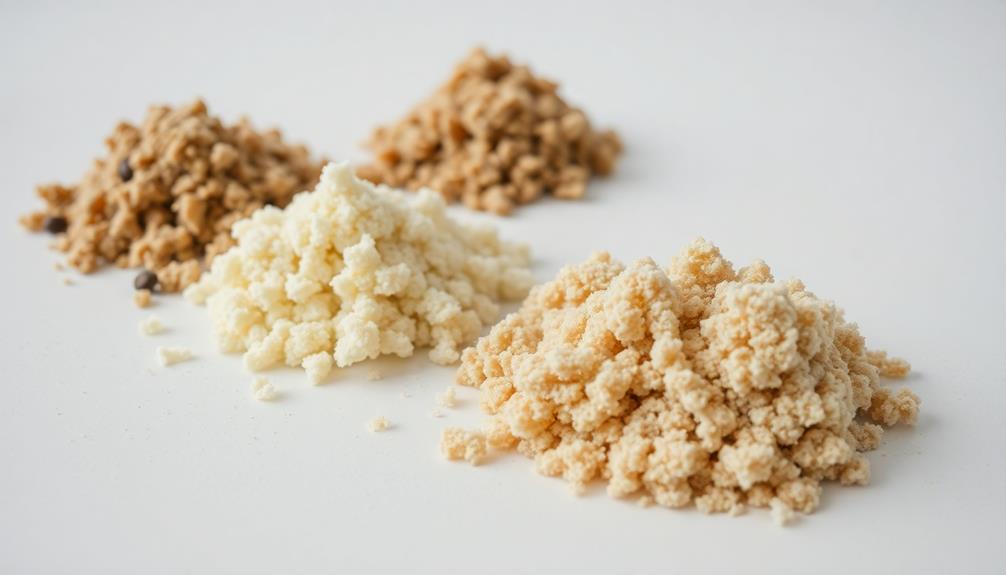
- The essential recipe includes crumbled baked cake, buttercream or cream cheese frosting, and candy melts or white chocolate for coating.
- The process involves mixing the cake and frosting, shaping into balls, dipping in melted chocolate, and decorating with optional toppings.
- Proper chilling and setting of the chocolate coating ensures the cake pops retain their shape and achieve a delightful texture.
- Cake pops are highly customizable in terms of flavors and designs, allowing for creative expression and a rewarding baking experience.

Calmootey Portable Closet Organizers, Clothing Storage, Wardrobe with 6 Shelves and Hanging Rod, Non-Woven Fabric Cover with 4 Side Pockets, Black
Multifunctional - The proable closet consists of 4 small shelves and 2 large shelves for sorting and stacking...
As an affiliate, we earn on qualifying purchases.
History
Although the exact origins of cake pops are unclear, they've become a popular and versatile treat in recent years. Cake pops are essentially bite-sized pieces of cake that are coated in a hard shell, often decorated with vibrant colors and fun toppings.
While the concept of cake on a stick can be traced back to the 19th century, the modern cake pop phenomenon really took off in the late 2000s. The appeal of cake pops resonates with the growing trend of unique and visually appealing desserts, reflecting the influence of celebrity lifestyles and events in popular culture.
Cake pops gained widespread popularity thanks to the rise of social media and food bloggers sharing their creative designs. Bakeries and home bakers alike began experimenting with flavor combinations and decorative techniques, transforming the humble cake pop into a visually stunning dessert.
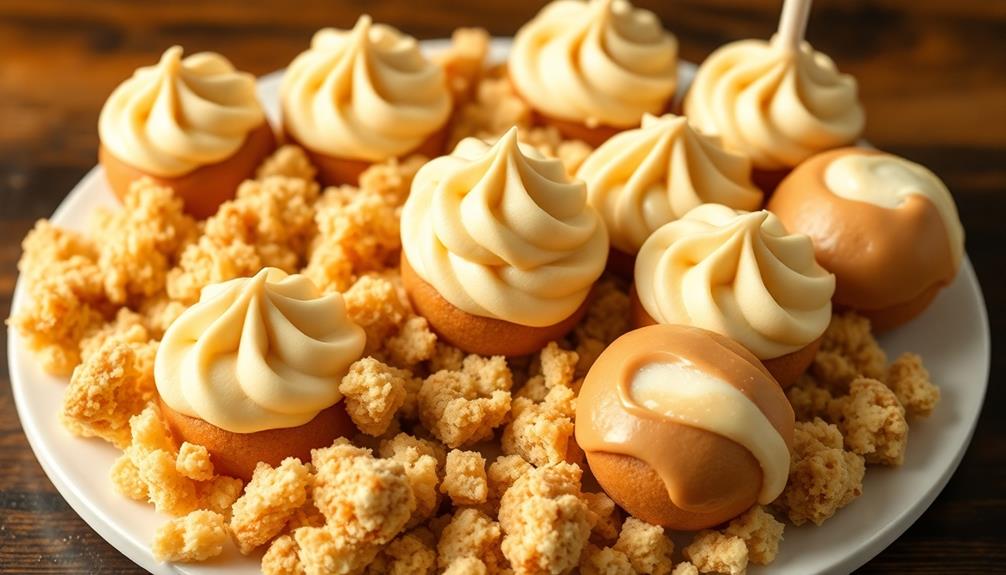
Today, cake pops are a staple at events, parties, and even wedding receptions, offering a delightful and portable way to enjoy cake. With their endless possibilities for customization, it's no wonder cake pops have become a beloved treat for sweet-toothed fans of all ages.

TOLEAD Low Bunk Bed Twin Over Twin, Floor Bunk Bed with Ladder, Twin Bunk Bed with Full Guardrails, Wooden Bunk Bed for Juniors, Boys, Girls, Kids, Bedrooms (Natural)
Solid Wood Construction for Durability: Constructed from premium wood material, this low bunk bed is built to last....
As an affiliate, we earn on qualifying purchases.
Recipe
Baking cake pops is a delightful way to transform a classic cake into a fun and portable treat. These bite-sized delights not only satisfy your sweet tooth but also allow for endless creativity in their decoration and presentation.
The key to successful cake pops lies in the perfect balance of a moist, flavorful cake and a smooth, creamy coating. With some simple ingredients and a bit of patience, you can create a batch of irresistible cake pops that will impress your family and friends.
- 1 baked cake, crumbled (about 2 cups)
- 1/2 cup buttercream frosting (or cream cheese frosting)
- 1 package (12 ounces) candy melts or white chocolate, melted
- Lollipop sticks or paper straws
- Sprinkles, sanding sugar, or other decorations (optional)
To make the cake pops, start by crumbling the baked cake into a large bowl. Add the buttercream frosting and mix until the mixture is well combined and forms a smooth, doughy consistency.
Using a small cookie scoop or your hands, shape the mixture into small, uniform balls. Place the cake balls on a parchment-lined baking sheet and chill in the refrigerator for at least 30 minutes.
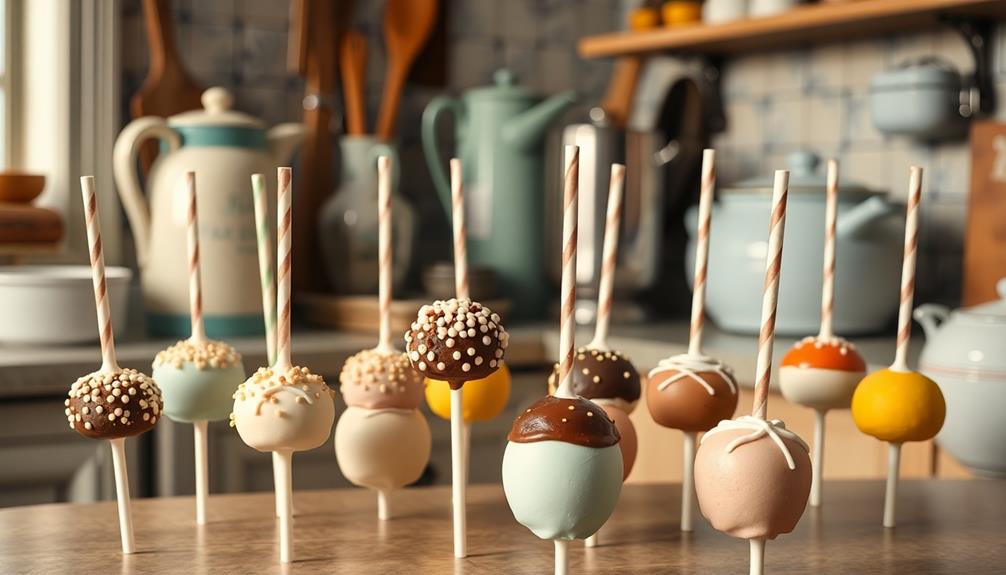
Once the cake balls are firm, dip the end of a lollipop stick or paper straw into the melted candy melts or white chocolate, and then gently insert it into the center of each cake ball.
Dip the cake pops into the melted coating, ensuring the entire surface is evenly covered. Allow any excess coating to drip off, and then place the coated cake pops back on the parchment-lined baking sheet.
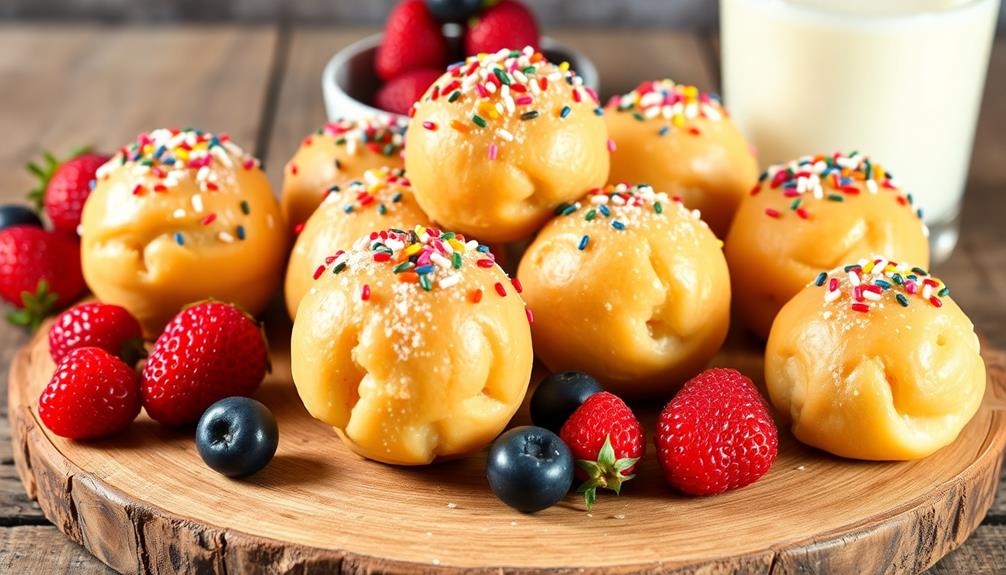
Immediately decorate with sprinkles, sanding sugar, or any other desired toppings before the coating sets. This will ensure the toppings adhere properly to the surface, enhancing both texture and visual appeal. The process is similar to how authentic homemade tortillas are best enjoyed warm, taking advantage of their soft pliable nature to roll or fill them with ease. Time your application just right for the perfect finish, and you’ll end up with a delightful treat.
Refrigerate the cake pops for at least 30 minutes to allow the coating to fully harden. Once set, your cake pops are ready to be enjoyed!
Remember to store any leftover cake pops in an airtight container in the refrigerator for up to 1 week.
Amazon Product B07N7BL73B
As an affiliate, we earn on qualifying purchases.
Cooking Steps

Bake the cake and let it cool completely before crumbling it into fine pieces.
Mix the cake crumb with the desired amount of frosting until the consistency is perfect for rolling into balls. Mix the cake crumb with the desired amount of frosting until the consistency is perfect for rolling into balls. If the mixture feels too dry, add a little more frosting bit by bit until it’s just right. While this might not be a fluffy scrambled eggs recipe, the process is equally rewarding as you work towards creating the ideal texture for these delightful cake pops. Once ready, roll the mixture into evenly sized balls and set them aside for decorating.
Dip the cake balls in chocolate or your favorite coating to create the classic cake pop look.
Step 1. Bake Cake, Let Cool Completely
Preheat your oven to the temperature specified in your cake recipe. Once the oven is ready, prepare your cake batter according to the instructions. Grease and flour your baking pan to prevent sticking, then pour the batter into the pan.
Additionally, ensure you have all your baking tools ready, as proper preparation can make the baking process smoother and more enjoyable. For tips on maintaining your baking equipment, check out hamster care essentials.
Bake the cake for the recommended time, checking it occasionally to ensure even cooking. When a toothpick inserted into the center comes out clean, your cake is done.
Carefully remove the pan from the oven and let the cake cool completely on a wire rack. This cooling process is crucial, as it allows the cake to firm up and prevents it from falling apart when you try to crumble it later.
Depending on the size of your cake, this may take 30 minutes to an hour. Once the cake is completely cool, you can begin the next step of creating your delicious cake pops.
Step 2. Crumble Cooled Cake Into Fine Pieces
With the cake now fully cooled, it's time to crumble it into fine pieces. Using your hands, gently break apart the cake, ensuring there are no large chunks remaining.
The texture should resemble that of breadcrumbs or fine gravel. This step is crucial, as it will allow the cake to be easily molded and shaped into the signature cake pop form.
As you crumble the cake, be mindful not to over-work it. Aim for a light, delicate touch, as compacting the cake too much can result in a dense, heavy texture in the final product.
Once the entire cake has been reduced to a uniform, fine consistency, transfer the crumbs to a large mixing bowl.
With the cake now prepared, you can proceed to the next step: adding the binding agent. This will help the cake pops hold their shape and achieve the desired texture.
Carefully follow the recipe instructions to ensure the perfect balance of crumbs and binding agent.
Step 3. Mix Cake Crumb and Frosting
To mix the cake crumb and frosting, you'll need to add a binding agent to the crumbled cake. This could be cream cheese, nut butter, or even melted chocolate, which will help the cake pops hold their shape.
Start by adding a small amount of your chosen binder to the cake crumbs and gently mix until the consistency becomes moist and malleable. You may need to add more frosting or binder as you go, adjusting the ratio until you achieve a smooth, dough-like texture that can be easily rolled into balls.
Once the mixture is well combined, use a cookie scoop or spoon to portion out equal amounts, rolling each piece between your palms to form smooth, uniform cake balls.
Place the formed cake pops on a parchment-lined baking sheet and refrigerate for at least 30 minutes to allow them to firm up before dipping. This chilling step is crucial, as it will prevent the pops from falling apart during the dipping process.
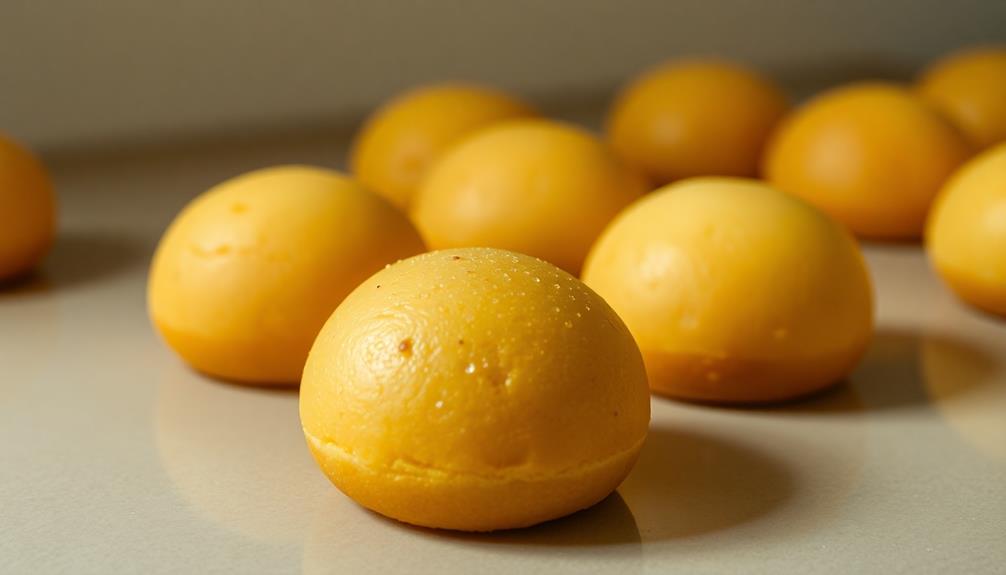
Step 4. Roll Cake Mixture Into Balls
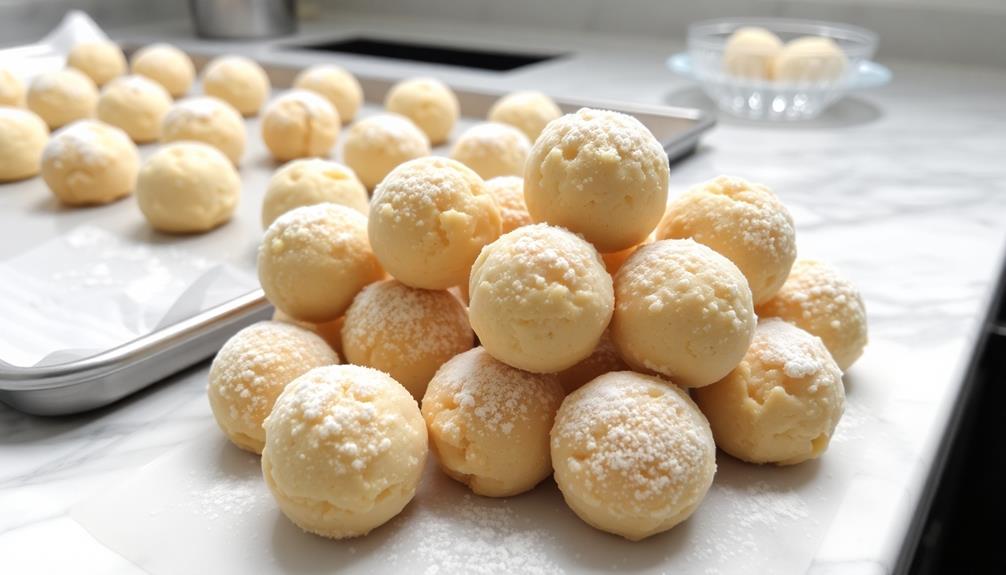
Once the cake crumb and frosting mixture is well combined, use a cookie scoop or spoon to portion out equal amounts. Roll each portion into a smooth, round ball between the palms of your hands. This step helps ensure your cake pops will be uniform in size.
For an extra touch of creativity, consider incorporating flavors inspired by popular ice creams, such as Birthday Cake Ice Cream, to make your cake pops even more delightful.
As you roll, apply gentle pressure to compact the mixture. Be careful not to over-work the dough, as this can cause the cake pops to become dense and tough. The ideal cake pop should be soft and tender on the inside.
After rolling, place the balls on a parchment-lined baking sheet or plate. Refrigerate the uncoated cake pops for 30 minutes to an hour. This chilling period will help them hold their shape when dipped in the coating later.
Once chilled, your cake pops are ready for the next step – coating them in a delicious shell! This protects the delicate cake interior and adds a professional-looking finish.
Step 5. Dip Cake Balls in Chocolate
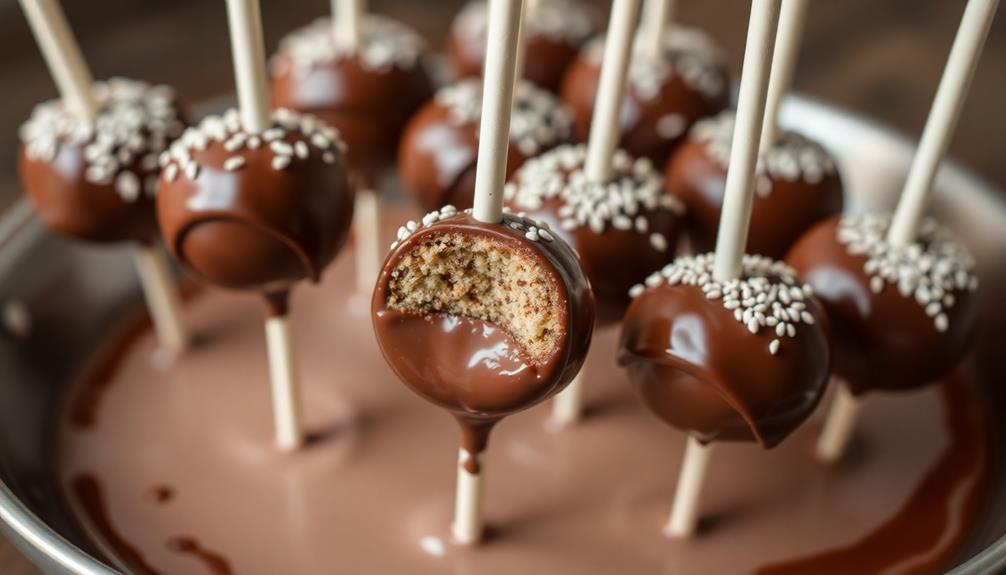
After chilling the cake balls, it's time to coat them in a delicious shell. To begin, melt your desired chocolate in a double boiler or the microwave, being careful not to overheat it. The chocolate should have a smooth, pourable consistency.
Once the chocolate is ready, take each chilled cake ball and dip it into the melted chocolate, ensuring it's fully coated. Gently tap off any excess chocolate, allowing the ball to drip back into the bowl. Place the coated cake ball onto a parchment-lined baking sheet or tray.
Repeat this process with all the cake balls, working in batches if needed. Once all the balls are coated, you can optionally drizzle them with additional melted chocolate for a decorative touch.
Allow the chocolate coating to set completely, either at room temperature or by chilling the tray in the refrigerator. Finally, your delectable cake pops are ready to be enjoyed or packaged for gifting. The hard chocolate shell perfectly complements the soft, flavorful cake interior.

AnoYishev Triple Bunk Bed for Kids,Twin Over Twin Over Twin Metal Bunkbeds with Ladder for Kids Teens Bedroom, No Box Spring Needed, Easy Assembly
[Unmatched Sturdiness] Crafted from premium solid metal, this bunk bed frame exemplifies robust construction designed to withstand extensive...
As an affiliate, we earn on qualifying purchases.
Final Thoughts
Ultimately, making cake pops can be a rewarding and delightful experience. With a little practice, you'll be whipping up batches of these adorable, bite-sized treats in no time. While the process may seem daunting at first, the end result is well worth the effort.
Remember to have fun and experiment with different flavors and decorations. The beauty of cake pops is that they're highly customizable, allowing you to put your own unique spin on them. Get creative with color schemes, sprinkle toppings, or even try drizzling on additional chocolate for a professional-looking finish.
As you continue to hone your cake pop-making skills, don't be afraid to try new techniques or adjust the recipe to suit your preferences. With each batch, you'll gain more confidence and discover new ways to make these delightful treats even more irresistible.
Embrace the process, and enjoy the sweet rewards of your hard work.
Frequently Asked Questions
How Long Do Cake Pops Last?
Cake pops generally have a short shelf life, typically lasting 3-5 days at room temperature. To extend their freshness, you can store them in the refrigerator, where they'll stay fresh for up to a week.
Can I Make Cake Pops Ahead of Time?
Yes, you can make cake pops ahead of time. They'll last up to 5 days stored in an airtight container at room temperature or up to 2 weeks in the freezer. Just be sure to properly store them to maintain freshness.
Do I Need Special Equipment to Make Cake Pops?
You don't necessarily need special equipment to make cake pops, but it can make the process easier. A cake pop maker or silicone molds can help shape the cake balls, and a cake pop stand or sticks are useful for dipping and decorating.
How Do I Store Leftover Cake Pops?
To store leftover cake pops, place them in an airtight container and refrigerate for up to 5 days. You can also freeze them for 2-3 months. Just be sure to thaw them in the fridge before serving.
Can I Use Store-Bought Frosting for Cake Pops?
Yes, you can use store-bought frosting for your cake pops. It's a convenient and easy option that can save you time. Just make sure the frosting is thick enough to hold the cake pops together.