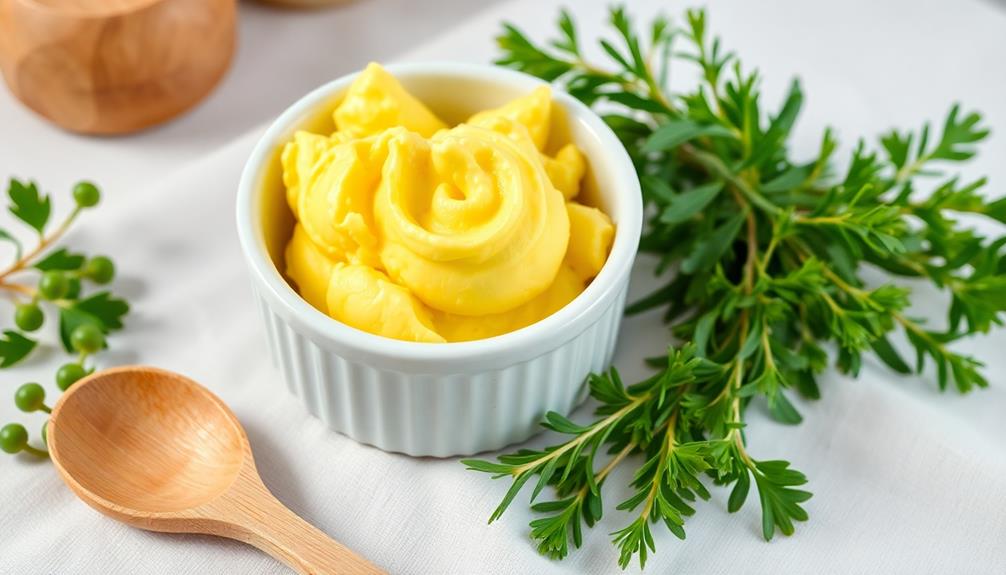
You'll love how easy it is to make your own fresh, tangy buttermilk at home! All you need is milk and a splash of lemon juice or vinegar. Just combine the ingredients, let them curdle, then strain out the solids. The resulting buttermilk will enhance the flavor and moisture in your baked goods, dressings, and more. Homemade buttermilk offers a healthier alternative to store-bought versions, with no added preservatives. Plus, it lasts up to a week in the fridge, so you can enjoy its versatility all week long. Ready to take your cooking to the next level? Let's dive into the full homemade buttermilk recipe! Homemade buttermilk made simple is not only cost-effective but also allows you to control the quality of ingredients you use. Whether you’re whipping up fluffy pancakes, creamy salad dressings, or tender cakes, this DIY buttermilk will quickly become a kitchen staple. With just a few minutes of prep, you’ll have a fresh batch ready to elevate your recipes anytime you need it!
Key Takeaways
- Combine 1 cup of whole milk and 1 tablespoon of lemon juice or white vinegar, let sit for 5-10 minutes until thickened, then strain to make homemade buttermilk.
- Homemade buttermilk enhances flavor and moisture in baked goods, pancakes, dressings, and marinades, providing a fresher taste than store-bought options.
- Homemade buttermilk can be stored in an airtight container in the refrigerator for up to 1 week.
- Homemade buttermilk is easy to prepare with common kitchen ingredients and no special equipment required.
- Homemade buttermilk is suitable for cooks of all skill levels and encourages experimentation with different recipes.

S ZEVZO ET03 Car Jump Starter 4000A Jump Starter Battery Pack for Up to 8.0L Gas and 7.0L Diesel Engines, 74Wh Portable 12V Jump Box with USB Ports, LCD Display, Storage Case, and LED Light
POWERFUL CAR BATTERY JUMP STARTER: The ET03 car battery jump starter can easily jump-start all 12V common vehicles...
As an affiliate, we earn on qualifying purchases.
History
Buttermilk has a rich historical lineage, tracing its origins back to the early dairy farming practices of Europe and the Americas.
In the past, buttermilk was a by-product of the butter-making process, created when churning cream into butter. The leftover liquid, known as buttermilk, was highly valued for its unique tangy flavor and versatility in cooking and baking.
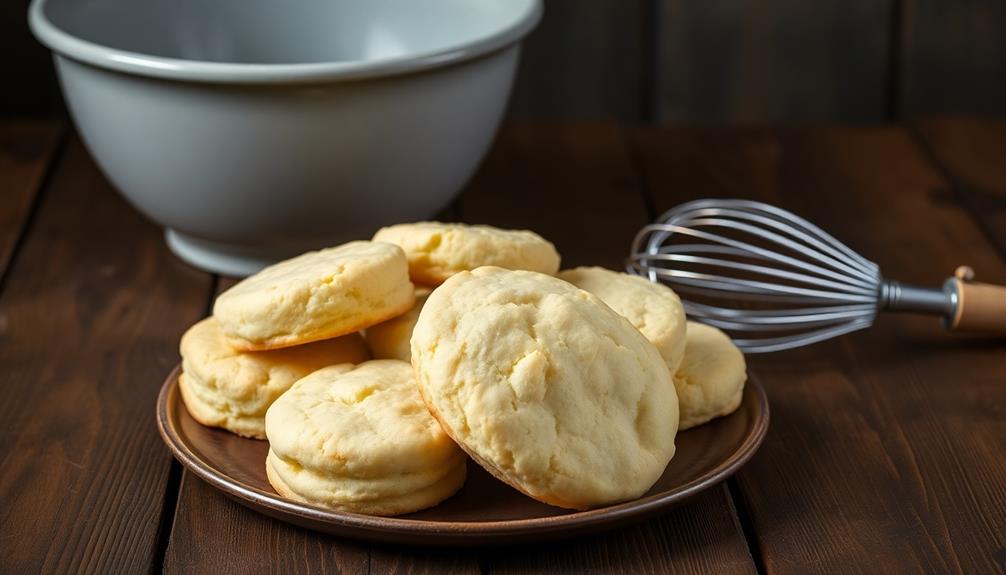
Over time, buttermilk became a staple ingredient in traditional cuisines around the world. It found popularity in the Southern United States, where it was often used in classic recipes like biscuits, pancakes, and fried chicken.
Buttermilk's probiotic properties were also recognized, as it was believed to have health benefits and aid digestion.
Today, homemade buttermilk continues to be a beloved ingredient, valued for its ability to add richness, moisture, and tanginess to a variety of dishes.
Whether you're whipping up a batch of fluffy pancakes or marinating chicken in its tangy goodness, the history and versatility of buttermilk make it a truly indispensable pantry staple.
NOCO Boost GB40: 1000A UltraSafe Jump Starter – 12V Lithium Battery Booster Pack, Portable Jump Box, Power Bank & Jumper Cables - for 6.0L Gas and 3.0L Diesel Engines
START DEAD BATTERIES — Instantly start dead batteries with 1000 amps of peak lithium power. Up to 20...
As an affiliate, we earn on qualifying purchases.
Recipe
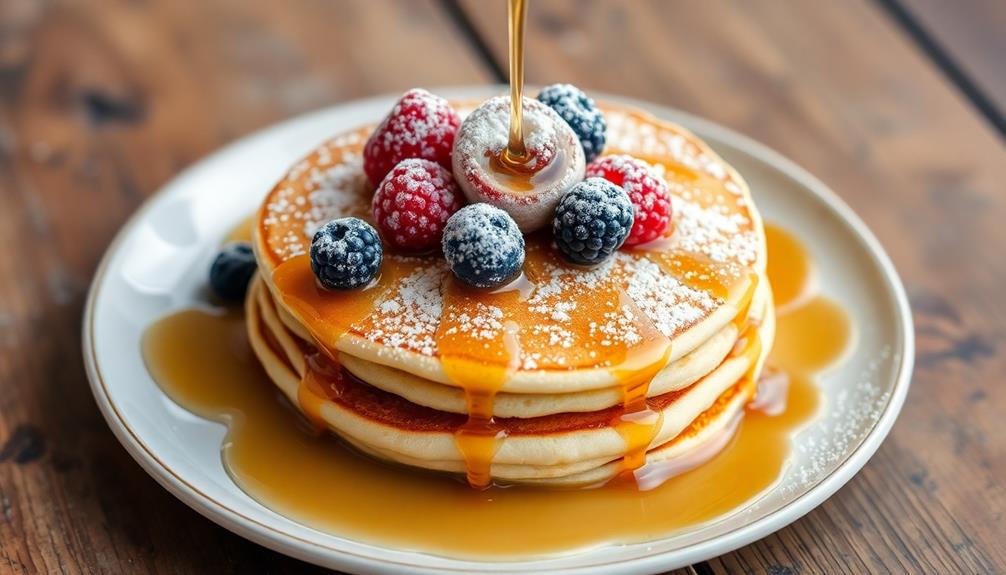
Making homemade buttermilk is a straightforward process that yields a tangy and versatile dairy product. Buttermilk isn't only delicious on its own, but it also serves as a key ingredient in many baked goods, such as pancakes, biscuits, and cakes.
This homemade buttermilk recipe is a simple and cost-effective way to enjoy the benefits of this cultured dairy item without having to rely on store-bought versions. With just a few ingredients and a little patience, you can create a batch of homemade buttermilk that will elevate your culinary creations.
Ingredients:
- 1 cup whole milk
- 1 tablespoon lemon juice or white vinegar
Instructions:
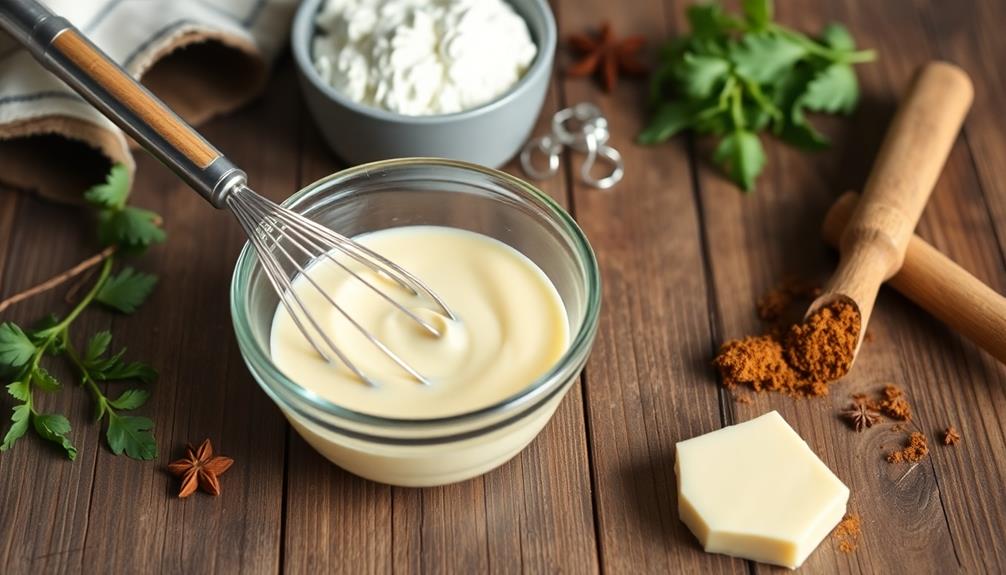
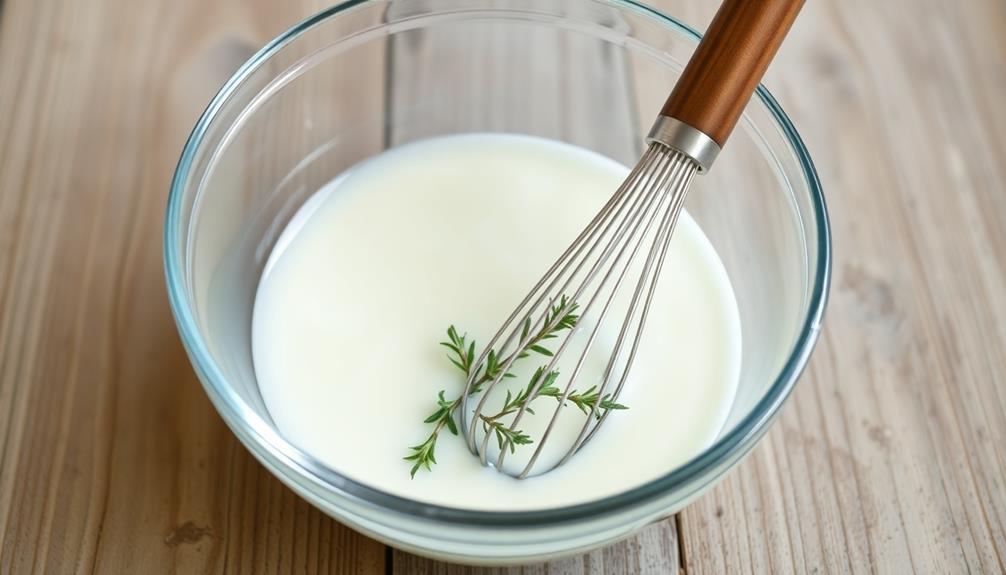
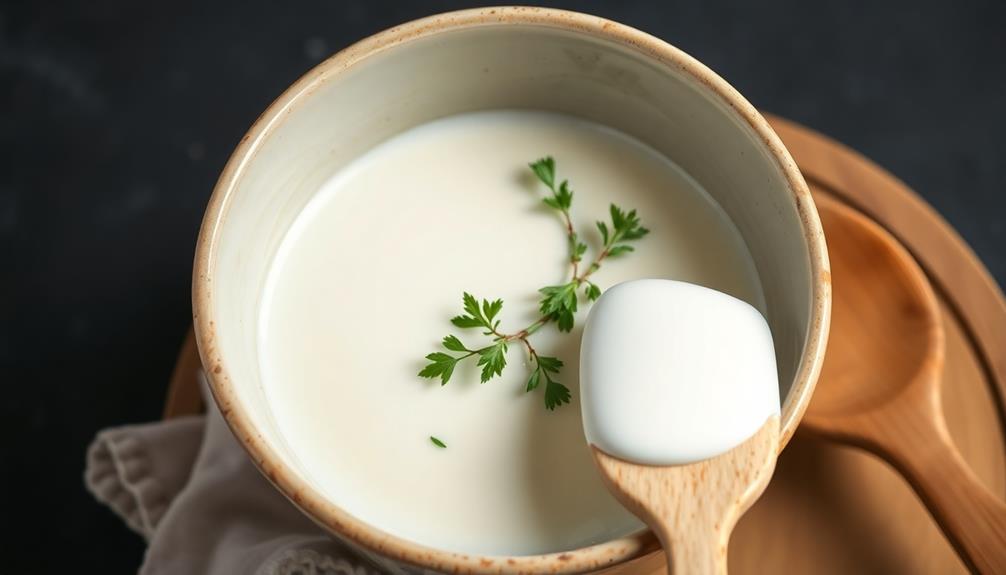
In a small bowl or measuring cup, combine the milk and lemon juice or vinegar. Stir gently and let the mixture sit for 5-10 minutes, or until it starts to curdle and thicken, resembling buttermilk.
Tips:
- For best results, use fresh, high-quality milk.
- Adjust the amount of lemon juice or vinegar to your desired level of tanginess.
- The homemade buttermilk can be stored in an airtight container in the refrigerator for up to 1 week.
- Use the homemade buttermilk in your favorite recipes that call for buttermilk, such as baked goods, marinades, or salad dressings.

GOOLOO A3 Jump Starter with Air Compressor, 3000A Portable Car Battery Booster (9.0 Gas/6.5L Diesel) with 150PSI Auto-Shutoff Tire Inflator, 12V Supersafe Lithium Jump Box Car Battery Jumper Starter
Powerful and Durable - The 3000 amp portable car battery jumper starter provides instant restart for your 12V...
As an affiliate, we earn on qualifying purchases.
Cooking Steps
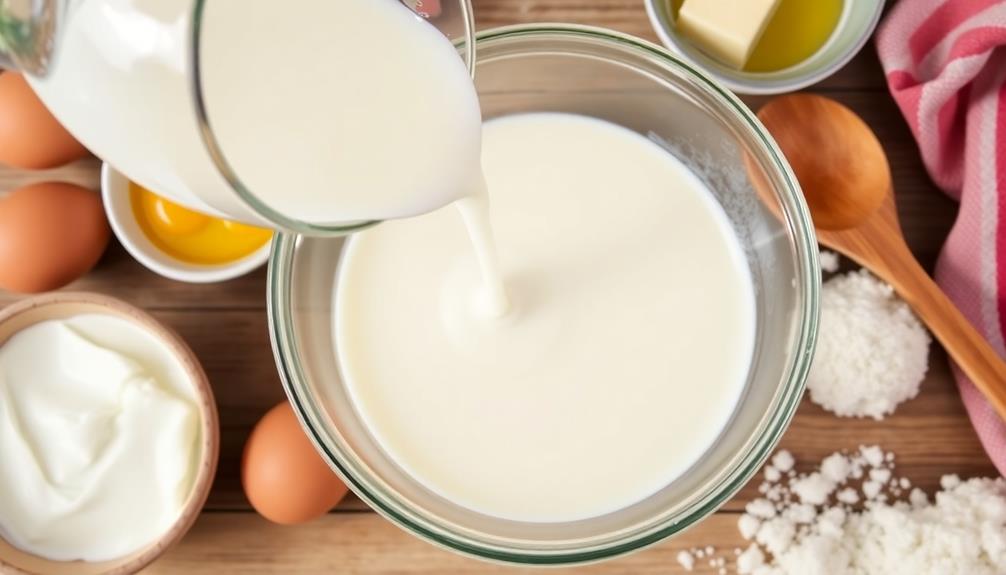
First, you'll want to combine the milk and lemon juice in a bowl, giving it a gentle stir.
Let the mixture curdle for about 5 minutes, watching as it thickens.
Once it's ready, simply strain the curdled mixture through a fine-mesh sieve, transferring the freshly made buttermilk to a storage container.
Refrigerate until you're ready to use it in your recipes.
Step 1. Combine Milk and Lemon Juice
Next, you'll need to combine the milk and lemon juice. This step is crucial for creating the perfect buttermilk. Start by pouring the milk into a bowl or jar. Then, add the lemon juice and stir gently until the mixture is well combined.
You'll know the buttermilk is ready when the milk has thickened and taken on a slightly sour aroma.
The amount of lemon juice you use will depend on the volume of milk. As a general rule, use 1 tablespoon of lemon juice for every 1 cup of milk. However, you may need to adjust the ratio depending on the sourness you prefer. If the mixture doesn't thicken after a few minutes, try adding a bit more lemon juice.
Once the buttermilk is ready, you can use it immediately in your favorite recipes or store it in the refrigerator for up to 1 week. Just be sure to give it a good stir before using, as the mixture may separate slightly over time.
Step 2. Let Mixture Curdle for 5 Minutes
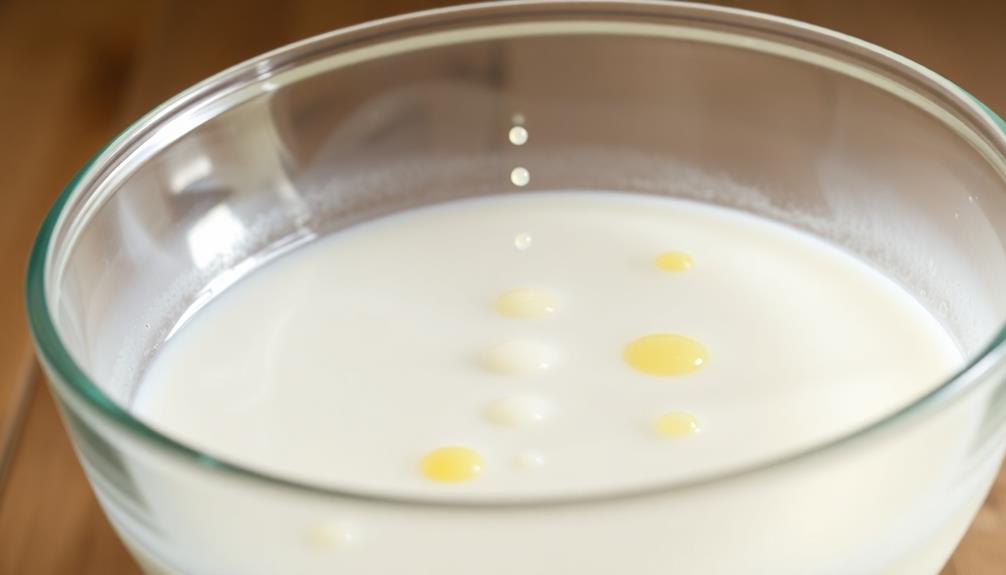
After combining the milk and lemon juice, let the mixture curdle for about 5 minutes. This is a crucial step in making homemade buttermilk. As the milk and lemon juice interact, the milk will begin to thicken and curdle, creating the signature buttermilk texture and tanginess.
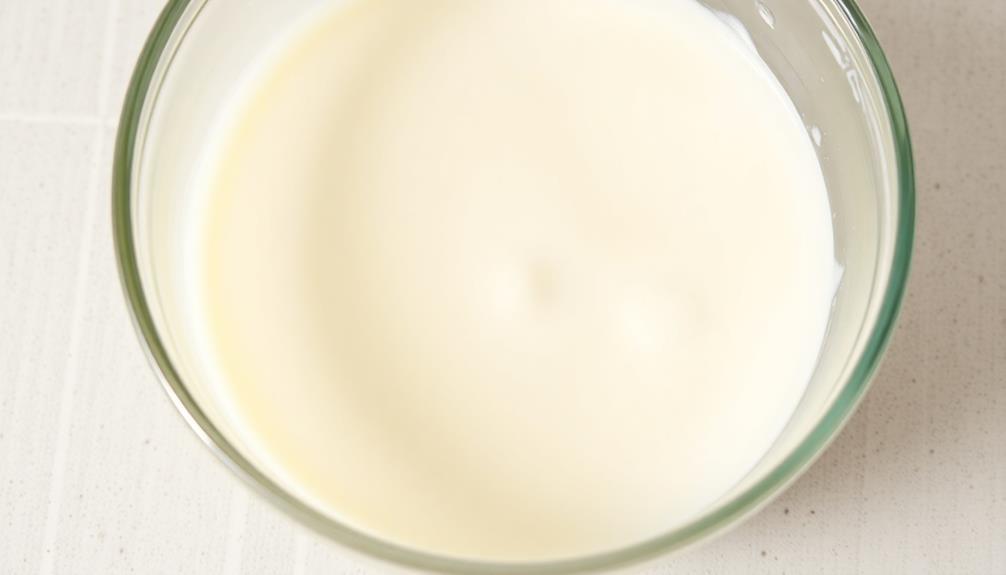
During this time, you'll notice the liquid transforming. The milk will separate into small, soft curds and a slightly thinned, greenish-yellow liquid. This is exactly what you want to see – it means the buttermilk is forming properly.
Let the mixture sit undisturbed on your countertop, allowing the curds to fully develop.
Once the 5 minutes are up, your buttermilk is ready for the next step. The curds should have a soft, custard-like consistency, and the liquid should have a pleasantly sour aroma.
Be sure not to let it sit for too long, as the buttermilk can become overly thick and tangy if left to curdle for more than 5-7 minutes.
Step 3. Strain the Curdled Mixture
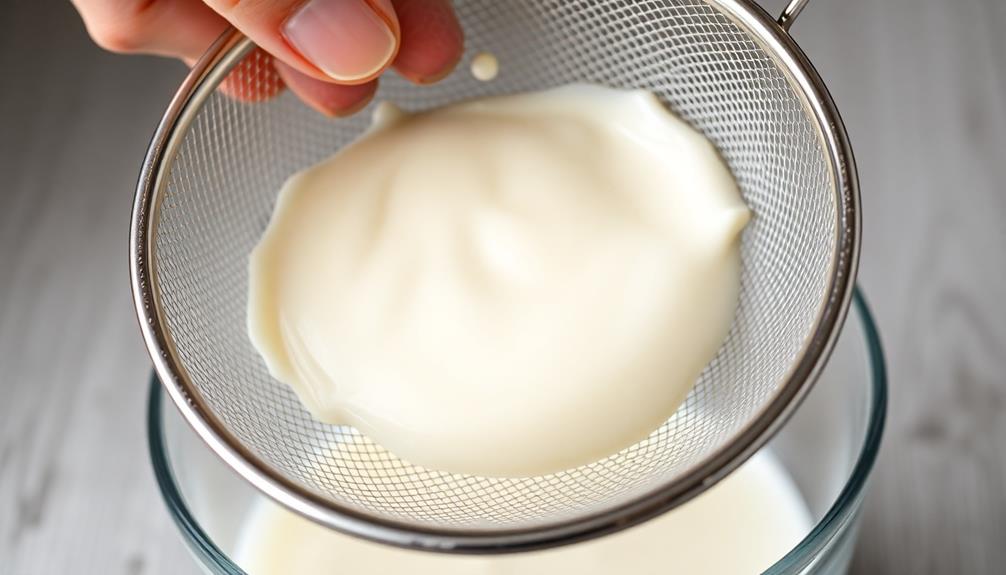
Once the 5-minute curdling process is complete, you'll want to strain the mixture to separate the buttermilk liquid from the curds.
Grab a fine-mesh strainer or cheesecloth and place it over a large bowl. Carefully pour the curdled mixture into the strainer, allowing the buttermilk to drain into the bowl below.
The curds, which are the thick, solid bits, will remain in the strainer. Gently press on the curds with a spoon to help release any remaining buttermilk. Be careful not to press too hard, as you don't want to break up the curds.
Once the buttermilk has been strained, you'll be left with a bowl of freshly made buttermilk.
The curds in the strainer can be discarded or saved for other uses, such as making ricotta cheese. Your homemade buttermilk is now ready to be used in your favorite recipes or enjoyed on its own.
Step 4. Transfer to Storage Container
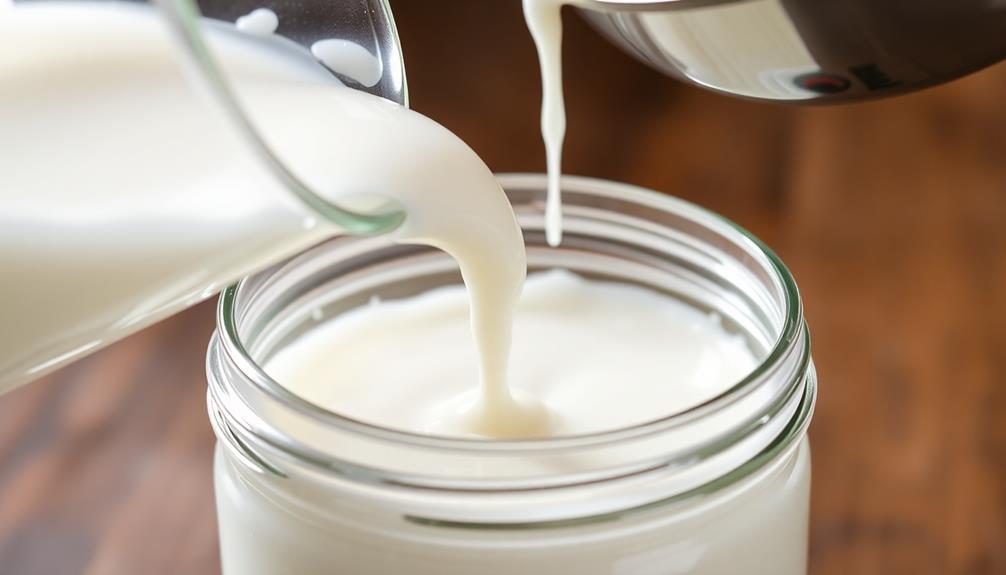
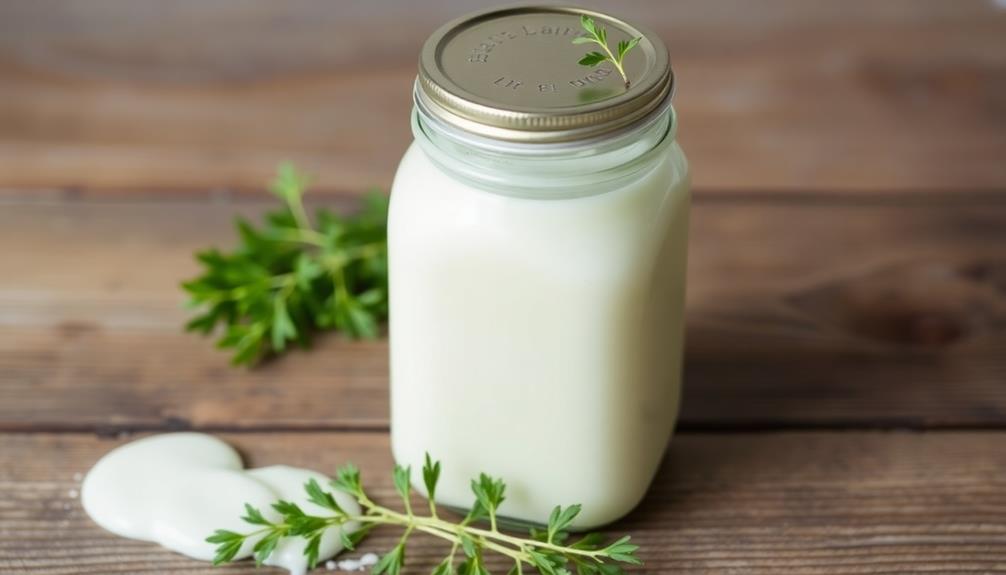
With the buttermilk now strained, you'll want to transfer it to an airtight storage container. This will help preserve the freshness and prevent any contaminants from entering the buttermilk.
Choose a clean, food-grade container with a tight-fitting lid, such as a glass jar or plastic container.
Carefully pour the strained buttermilk into the container, ensuring you get every last drop. Once transferred, seal the lid tightly.
For best results, store the buttermilk in the refrigerator, where it will keep for 5-7 days. The cool temperature helps slow the natural fermentation process, maintaining the buttermilk's flavor and consistency.
When ready to use, give the container a gentle shake or stir before measuring out what you need. The buttermilk may separate slightly during storage, but a quick mix will reincorporate the components.
Enjoy your freshly made buttermilk in your favorite recipes or as a refreshing drink!
Step 5. Refrigerate Until Ready to Use
Your freshly made buttermilk should now be safely stored in the refrigerator, ready to use when needed. Properly refrigerating your homemade buttermilk is crucial for maintaining its quality and preventing spoilage.
Ideally, you'll want to store it in an airtight container, such as a glass jar or a container with a tight-fitting lid. This helps lock in the buttermilk's fresh flavor and prevents any contamination from the fridge.
When stored in the refrigerator, your buttermilk will typically last for 7-10 days, though it's best to use it within 5-7 days for optimal freshness.
Be sure to give the container a gentle shake or stir before using, as the butterfat may separate during storage. This separation is normal and doesn't affect the quality or taste of the buttermilk.
Remember to always check the appearance and smell of your buttermilk before using it, and discard any that appears or smells sour or off.
Properly refrigerating your homemade buttermilk will ensure you can enjoy its rich, tangy flavor whenever you need it.
Amazon Product B0CGCRHS2Z
As an affiliate, we earn on qualifying purchases.
Final Thoughts
Making homemade buttermilk is a straightforward process that yields a delightful, tangy ingredient for your culinary creations. All you need is milk and an acid such as lemon juice or white vinegar. To learn how to make buttermilk at home, simply add one tablespoon of your chosen acid to one cup of milk, stir, and let it sit for about 10 minutes until it thickens slightly. This quick and easy substitute works perfectly in recipes that call for traditional buttermilk.
With its versatility, you can use it in a variety of recipes, from moist and fluffy baked goods to savory dishes that benefit from its tangy richness.
Once you've mastered this simple technique, you'll be able to enjoy the fresh, homemade flavor anytime.
The best part? Homemade buttermilk is incredibly easy to store.
Simply refrigerate it in an airtight container, and it'll keep for up to 1 week.
This makes it convenient to have on hand whenever you need it. Plus, you'll know exactly what's in it, without any added preservatives or artificial ingredients.
Whether you're a seasoned home cook or just starting to explore the joys of homemade ingredients, this buttermilk recipe is a must-try.
Give it a go and experience the difference freshly made buttermilk can make in your favorite dishes.
Frequently Asked Questions
Can I Use Regular Milk Instead of Buttermilk?
You can certainly use regular milk instead of buttermilk, but the results won't be quite the same. Buttermilk provides a unique tang and texture that regular milk can't replicate. However, it'll still work for most recipes if that's all you have.
How Long Will Homemade Buttermilk Keep in the Fridge?
Homemade buttermilk will keep in the fridge for 3-5 days. Ensure you store it properly in an airtight container and consume it before it spoils. With proper storage, you can enjoy the fresh, tangy flavor for several days.
Can I Freeze Homemade Buttermilk?
Yes, you can freeze homemade buttermilk. It'll keep for 2-3 months in the freezer. Just be sure to thaw it in the refrigerator before using, as the texture may change slightly after freezing.
Can I Use Buttermilk in Place of Regular Milk?
Yes, you can use buttermilk in place of regular milk. Buttermilk adds a tangy flavor and helps to tenderize baked goods. It can be substituted 1:1 for milk in most recipes.
What Are the Health Benefits of Drinking Buttermilk?
Drinking buttermilk provides several health benefits. It's high in probiotics, which can aid digestion and boost your immune system. Additionally, it's low in fat and calories, making it a great alternative to regular milk.