
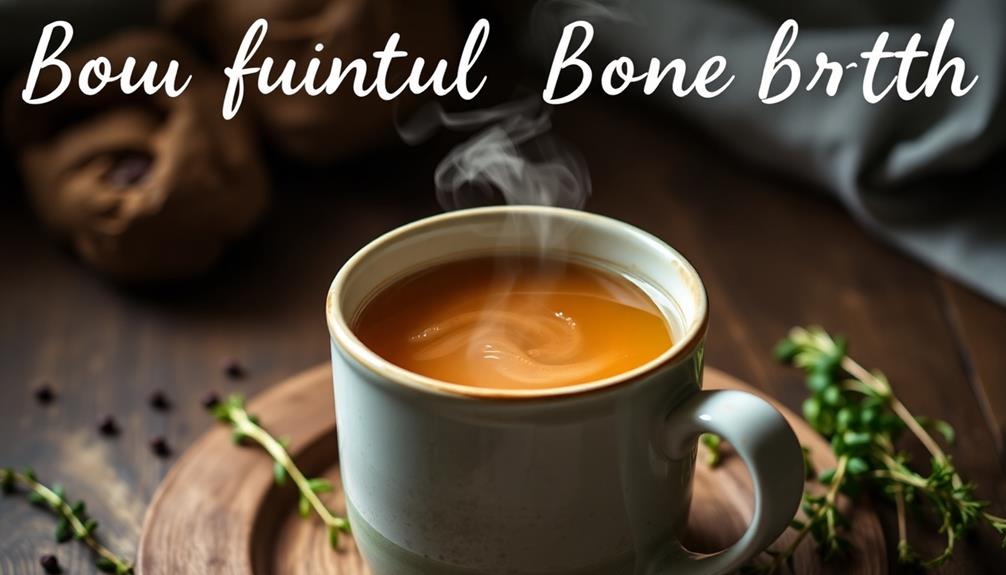
Bone broth is an ancient, nourishing elixir with a storied past. Its rich history stems from traditional Chinese and Ayurvedic medicine, where it's long been prized for its remarkable health benefits. To make your own, start with 2-3 lbs of mixed bones, like beef or chicken, along with vegetables like onion, carrots, and celery. Simmer the ingredients for 12-24 hours, which allows the nutrients, collagen, and gelatin to extract into the broth. Strain, chill, and store your homemade broth – it can be enjoyed chilled, used in soups and sauces, or frozen for easy future use. Keep reading to learn even more about the versatile wonders of bone broth.
Key Takeaways
- Obtain a mix of high-quality, organic, pasture-raised bones and meat, with an 80% bones to 20% meat ratio for balanced broth.
- Add vegetables like onions, carrots, celery, and garlic, and simmer the bones for 12-24 hours to extract maximum nutrients.
- Strain the broth through a fine-mesh sieve to remove solids, and cool it completely to prevent bacterial growth.
- Refrigerate the broth for up to one week or freeze it for several months for long-term storage.
- Consume the bone broth as a beverage, incorporate it into soups and stews, or use it as a base for sauces to benefit from its rich nutritional profile.
History
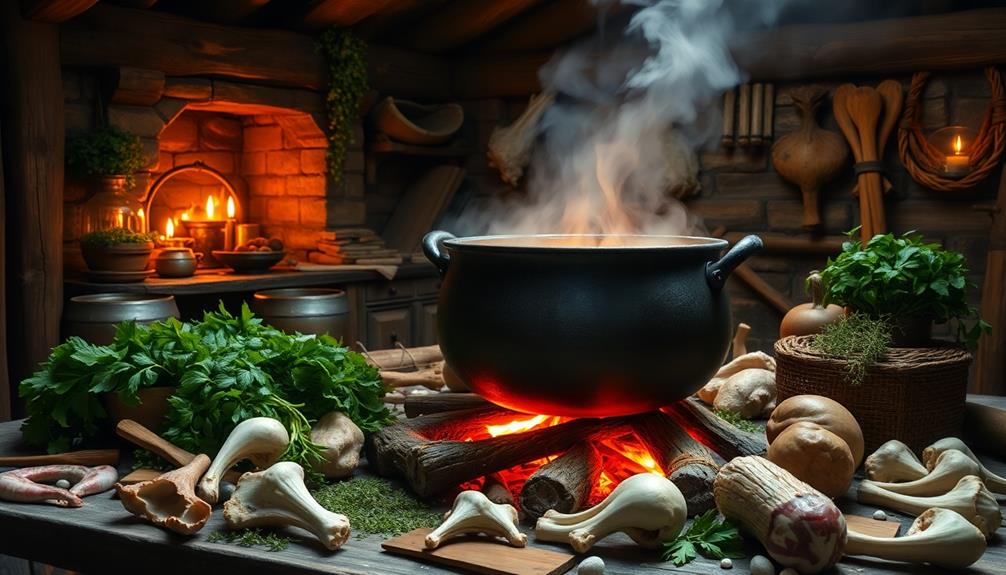
For centuries, bone broth has been a staple in many cultures' diets. This ancient practice has roots tracing back to traditional Chinese and Ayurvedic medicine, where boiling animal bones was believed to promote healing and overall well-being. In modern times, bone broth has gained popularity as a nutrient-dense superfood, praised for its rich concentration of collagen, amino acids, and minerals. Beyond its physical benefits, bone broth often plays a comforting role in households, binding families through recipes passed down through generations. It’s a powerful example of why food evokes strong memories, as the flavors and aromas associated with this simple dish can transport individuals back to moments of warmth and care. As more people seek natural ways to nourish both body and soul, bone broth has found its place in wellness regimens and cozy kitchen routines alike. Its ability to comfort and heal makes it one of those *foods that evoke memories*, whether of a loved one cooking a warm pot on a cold day or a shared family meal to help recover from illness. In this way, bone broth transcends its nutritional value, becoming a symbol of care and tradition.
In Europe, bone broths were commonly used in soups and stews, providing nourishment and adding depth of flavor.
During the World Wars, bone broth became more widespread as a way to stretch limited food resources.
Today, the health benefits of bone broth have been rediscovered, leading to a surge in its popularity. Packed with essential nutrients like collagen, gelatin, and amino acids, bone broth is touted for its ability to support joint health, gut function, and immune system.
Whether you're looking to incorporate more nutrient-dense foods into your diet or simply enjoy a comforting, restorative beverage, bone broth is a versatile and time-honored ingredient worth exploring.
Recipe
Bone broth is a nutritious and versatile ingredient that can be easily made at home. It's a rich source of collagen, gelatin, and various minerals that can provide numerous health benefits. In this recipe, we'll guide you through the process of making a nourishing bone broth that you can enjoy on its own or incorporate into your cooking.
The key to a flavorful and gelatinous bone broth is to use a combination of different bones, including beef, chicken, or a mix. The slow simmering process extracts the maximum amount of nutrients from the bones, creating a rich, satisfying broth.
- 2-3 lbs of mixed bones (e.g., beef, chicken, or a combination)
- 1 onion, chopped
- 2 carrots, chopped
- 2 celery stalks, chopped
- 2 tbsp apple cider vinegar
- 1 tsp black peppercorns
- 1 bay leaf
- Filtered water, enough to cover the bones
Begin by roasting the bones in the oven at 400°F for 30-45 minutes, or until they're nicely browned. This step helps to enhance the flavor of the broth.
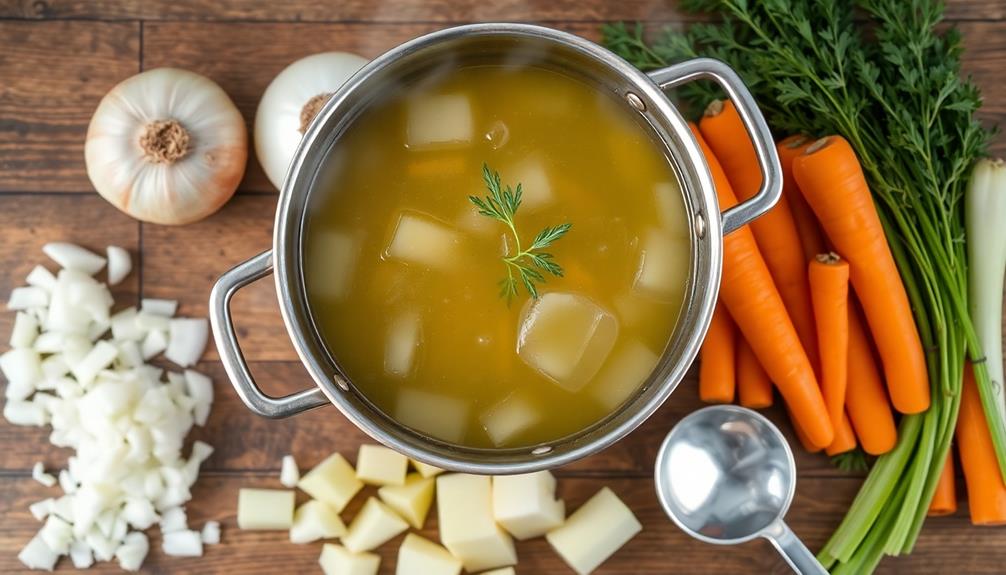
Transfer the roasted bones to a large stockpot and add the chopped onion, carrots, and celery. Pour in enough filtered water to cover the bones, and then add the apple cider vinegar, black peppercorns, and bay leaf.
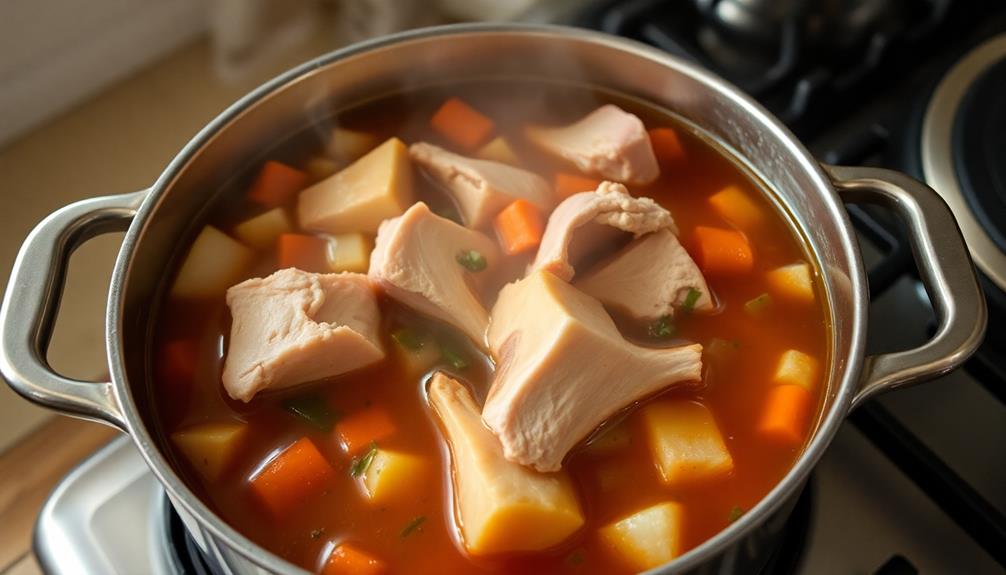
Bring the mixture to a boil, then reduce the heat to low and let it simmer for 12-24 hours, depending on the type of bones used. The longer the broth simmers, the more collagen and gelatin will be extracted, resulting in a richer, more gelatinous broth.
Skim any foam or impurities that rise to the surface during the simmering process.
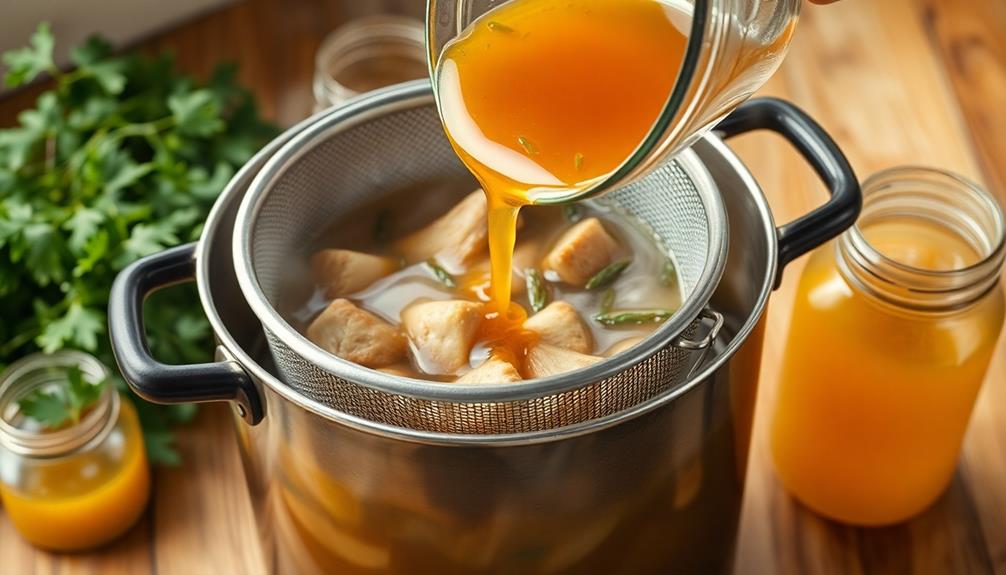
Once the broth is ready, strain it through a fine-mesh sieve to remove the solids. You can then use the broth immediately or store it in the refrigerator for up to 1 week or in the freezer for up to 6 months.
Enjoy the bone broth on its own, or use it as a base for soups, stews, or other recipes that call for a savory, nutrient-dense liquid. Its rich flavor and versatility make it a kitchen staple for both simple meals and gourmet creations. For instance, it can elevate a classic tomato soup recipe, adding depth and an extra boost of nutrients. Whether you’re simmering it with vegetables or incorporating it into a slow-cooked dish, bone broth enhances both taste and health benefits.
Cooking Steps
First, you'll want to obtain some high-quality bones and meat to use as the base for your broth.
Next, add in your desired vegetables like onions, carrots, and celery.
Then, let the bones simmer for an extended period, anywhere from 6 to 24 hours, allowing the nutrients to extract into the liquid.
Once the cooking time is up, carefully strain the broth through a fine-mesh sieve, separating the liquid from the solids.
Step 1. Obtain Suitable Bones and Meat
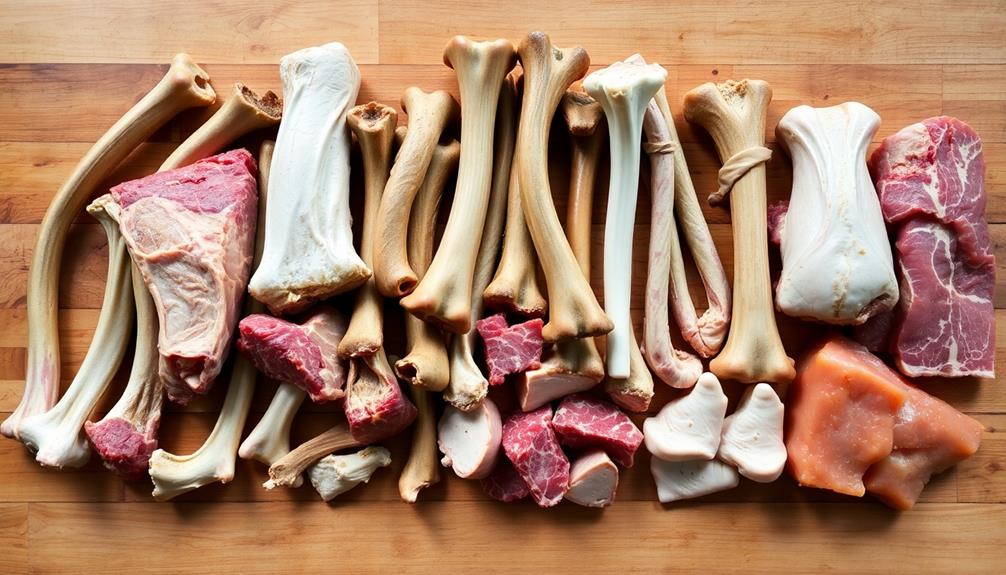
Selecting the right bones and meat is key to creating a nutrient-rich bone broth. When choosing your ingredients, opt for a mix of bones from different parts of the animal, including knuckles, joints, feet, and marrow bones. These diverse sources will provide a variety of minerals and collagen.
You'll also want to include some meat, such as chicken or beef, which will add additional protein and flavor. For the best results, look for high-quality, organic, and pasture-raised sources. Avoid bones from conventionally raised animals, as they may contain toxins and antibiotics.
Additionally, consider including some apple cider vinegar, which helps to extract the maximum amount of nutrients from the bones. As you gather your ingredients, aim for a ratio of around 80% bones to 20% meat. This proportion will ensure a well-balanced and nutrient-dense broth.
Step 2. Add Vegetables
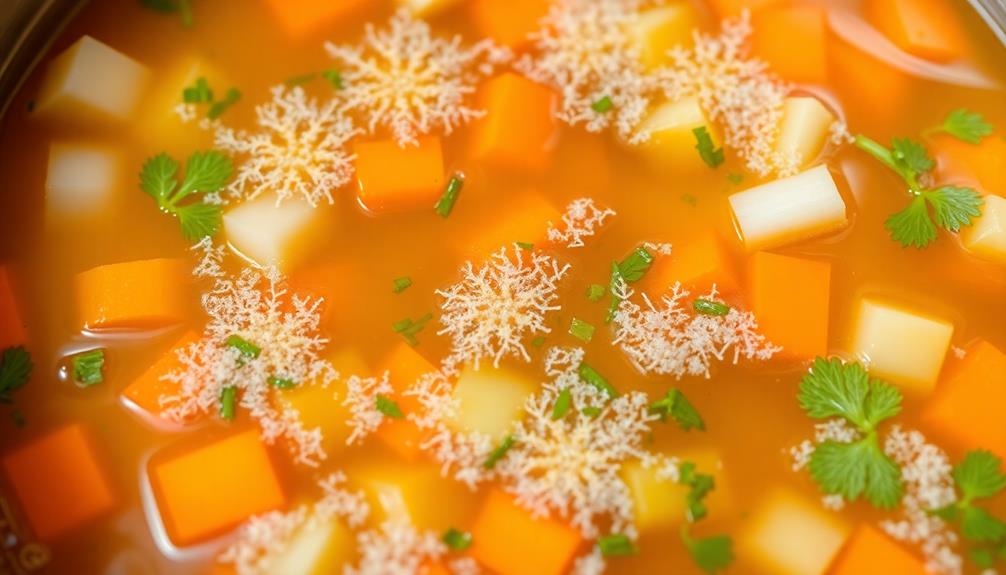
Next, you'll want to add a variety of vegetables to your bone broth. Vegetables not only enhance the flavor but also contribute valuable nutrients and minerals. Consider including onions, carrots, celery, and garlic, as they're classic additions that provide a well-rounded taste.
You can also experiment with other veggies like mushrooms, tomatoes, or leafy greens like kale or spinach.
When preparing the vegetables, it's best to roughly chop them into large pieces. This allows the flavors to infuse the broth more effectively during the simmering process. You can even leave the peels on the onions and carrots, as they contain beneficial compounds.
Once the vegetables are ready, simply add them to the pot with the bones and any other ingredients. Bring the mixture to a boil, then reduce the heat and let it gently simmer for the recommended time, typically 6-24 hours.
This extended cooking time allows the nutrients from the vegetables to be extracted and incorporated into the flavorful broth.
Step 3. Simmer Bones for Extended Period
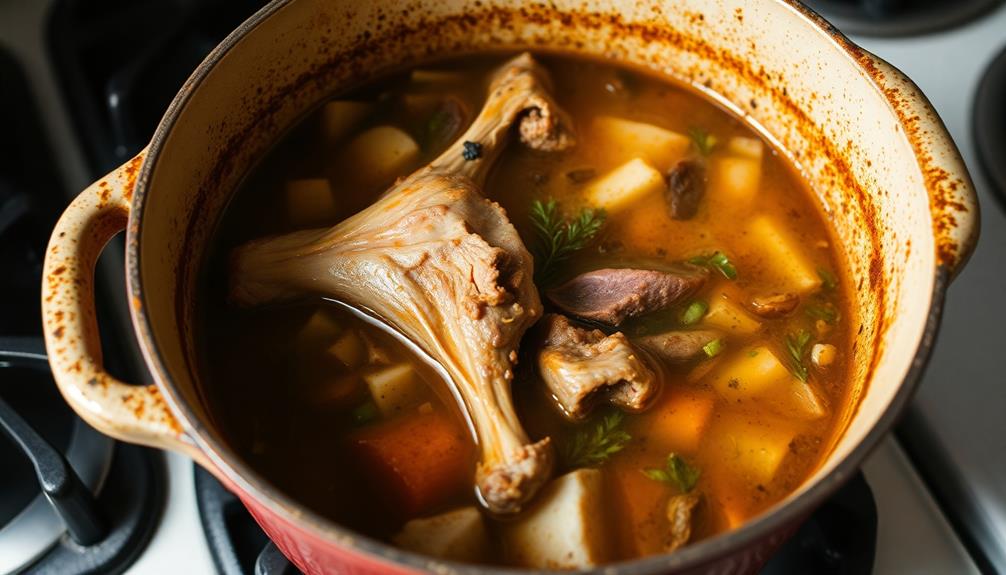
The key to achieving a rich, flavorful bone broth is to simmer the bones for an extended period, typically between 6 to 24 hours. This long cooking time allows the bones to release their collagen, minerals, and other beneficial compounds, resulting in a nourishing and gelatinous broth.
Start by placing the bones in a large stockpot or slow cooker, and cover them with cold water. Bring the mixture to a boil, then reduce the heat and let it simmer. Skim off any scum or impurities that rise to the surface during the first hour of simmering.
As the broth simmers, the bones will gradually release their nutrients, creating a rich, flavorful liquid. For the best results, simmer the bones for at least 6 hours, and up to 24 hours for a deeper, more concentrated flavor.
Periodically check the pot and add more water if needed to keep the bones submerged.
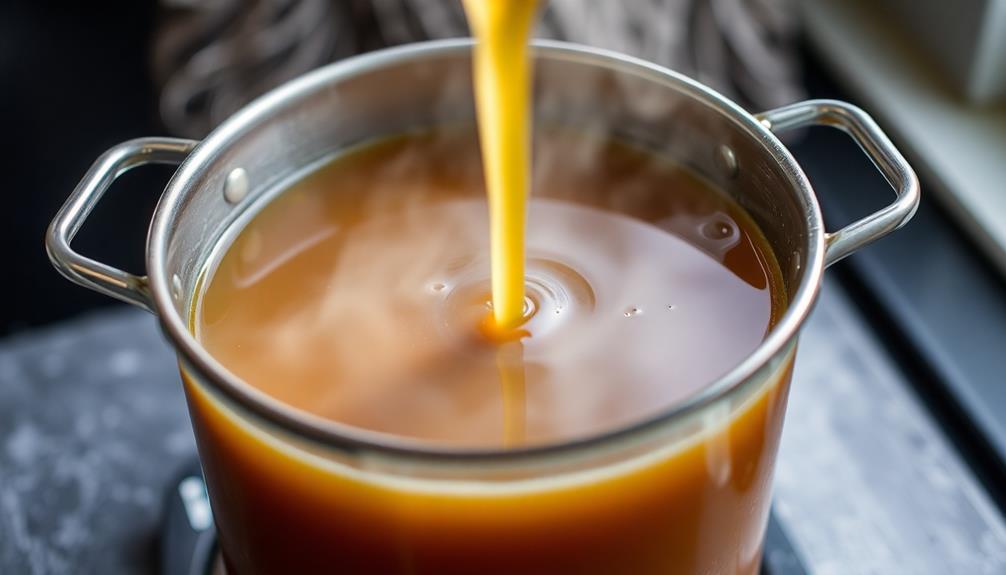
Step 4. Strain Broth Through Fine-Mesh Sieve

Once the bones have simmered for the desired time, it's time to strain the broth. Grab a large bowl or pitcher and place a fine-mesh sieve over it. Carefully pour the hot broth through the sieve, allowing it to strain and collect in the bowl or pitcher below.
This step is crucial to remove any small bones, cartilage, or other solids that may have come loose during the simmering process. Be cautious, as the broth will be very hot. Use oven mitts or a towel to handle the hot pot.
Once the broth has been strained, discard the solids left in the sieve. You can then transfer the strained broth to storage containers, such as jars or airtight containers. Allow the broth to cool completely before refrigerating or freezing for later use.
The strained broth is now ready to be enjoyed as a nourishing and flavorful base for soups, stews, or sipping on its own.
Step 5. Chill the Strained Broth
After straining the broth, let it cool completely before refrigerating or freezing. This step is crucial to prevent the growth of harmful bacteria.
Once the broth has reached room temperature, you can transfer it to airtight containers or freezer-safe bags. If storing in the fridge, the broth will keep for up to a week. For longer-term storage, freezing is your best option.
Chilling the broth is essential for several reasons:
- It allows the fat to solidify, making it easier to skim off and discard. This helps create a clearer, more refined final product.
- Rapid cooling prevents the development of bacteria that can thrive in warm, nutrient-rich environments like bone broth.
- Chilled broth is more refreshing and enjoyable to drink, especially during the warmer months.
Final Thoughts
Bone broth is a simple, yet powerful way to nourish your body and support overall health. Now that you've simmered, strained, and chilled your broth, it's time to enjoy the fruits of your labor. The final step is to decide how to use this nourishing elixir.
You can drink the broth on its own, seasoned with a pinch of salt and pepper. Or, use it as a base for soups, stews, or sauces to impart a rich, savory flavor. The broth can even be frozen in portions for easy access later on. Whichever way you choose to consume it, remember that bone broth is a versatile ingredient that can support digestion, joint health, and immune function.
As you continue to incorporate bone broth into your routine, pay attention to how your body responds. You may notice improvements in skin, hair, and nail health, as well as increased energy and vitality.
Embrace this simple, yet powerful way to nourish yourself from the inside out.
Frequently Asked Questions
How Long Can Bone Broth Be Stored?
Bone broth can typically be stored for up to 5 days in the refrigerator or up to 3 months in the freezer. Be sure to store it in an airtight container to maximize its shelf life.
Can I Use Chicken Bones Instead of Beef?
Absolutely! You can use chicken bones to make bone broth. Chicken bones work just as well as beef bones and will provide similar health benefits. Feel free to experiment with different types of bones to find your preferred flavor.
Do I Need to Roast the Bones First?
Yes, you should roast the bones first. Roasting the bones adds flavor and richness to the broth. It's an essential step in making a flavorful bone broth, whether you're using chicken or beef bones.
How Can I Make the Broth More Flavorful?
To make the broth more flavorful, you can roast the bones first to develop a deeper, richer flavor. You can also add aromatics like onions, garlic, and herbs to the simmering broth.
Is Bone Broth Safe for Pregnant Women?
Bone broth is generally considered safe for pregnant women when consumed in moderation. However, it's always best to consult your healthcare provider to ensure it aligns with your specific dietary needs during pregnancy.

Giovanni is our Chief Tasting Evangelist and the charismatic face of Mad Tasting. He inspires a sense of culinary wonder in all who encounter our brand. With boundless enthusiasm for the art of tasting and a gift for captivating audiences, Giovanni leads our immersive tasting experiences and workshops. He empowers food enthusiasts to discover the true depth and complexity of the flavors we celebrate. Whether he’s guiding a private group through a blind tasting or hosting a masterclass on the art of pairing, Giovanni’s infectious passion for the culinary world is the driving force behind our mission to share the extraordinary.