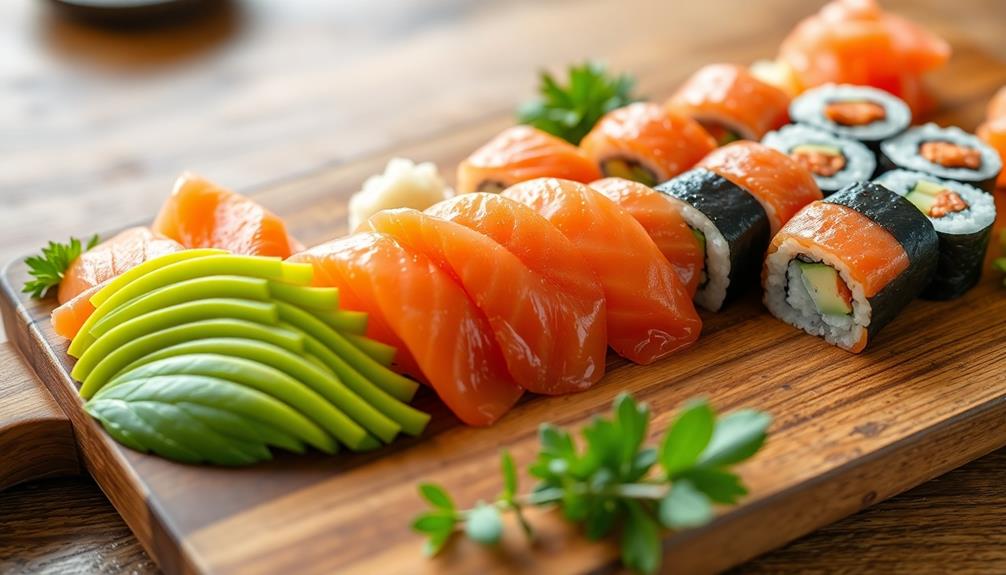

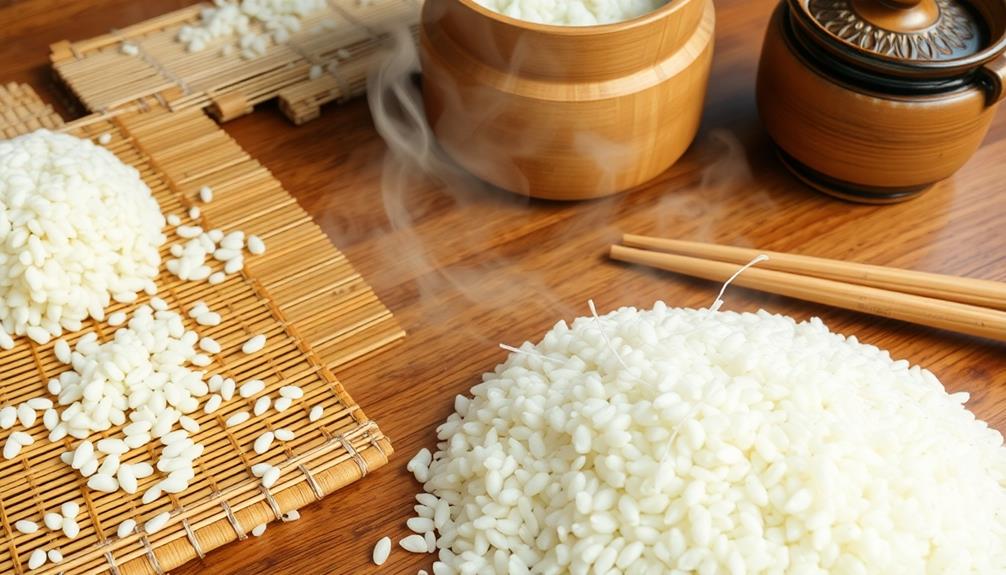
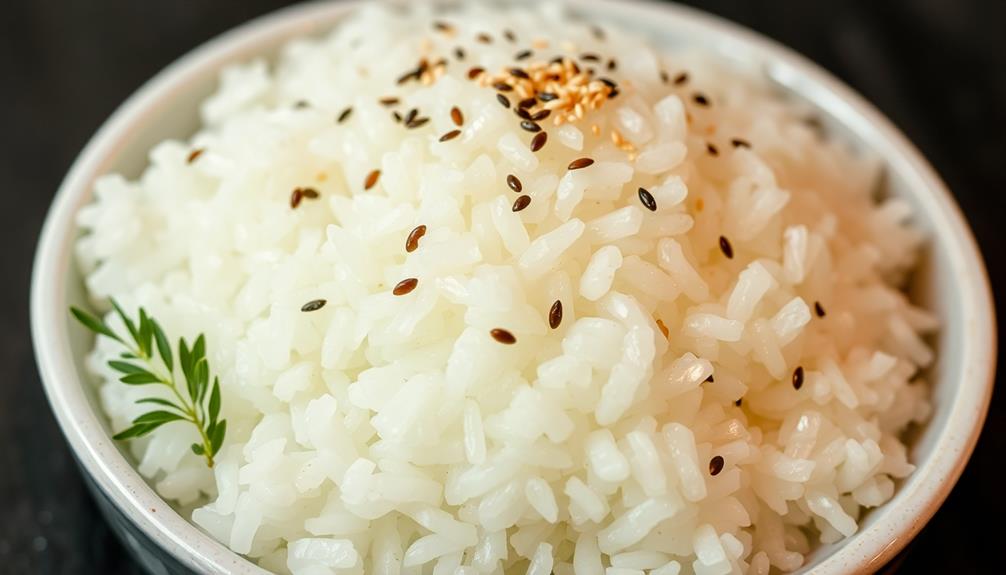
Creating mouthwatering sushi rice at home is an achievable endeavor, with a rich history dating back centuries in Japanese cuisine. Start by gathering high-quality short-grain sushi rice, equal parts water, and a flavorful seasoning blend of rice vinegar, sugar, and salt. Thoroughly rinse the rice to remove excess starch, then simmer until tender. Gently mix in the vinegar mixture, fluff the rice, and allow it to cool completely. Adjust the seasoning to your taste, and you'll have the perfect foundation for crafting delicious homemade sushi. Keep reading to dive deeper into the art of making sushi rice.
Key Takeaways
- Use high-quality short-grain sushi rice for optimal stickiness and texture.
- Rinse the rice thoroughly to remove excess starch before cooking.
- Cook the rice by bringing it to a boil, then simmering for 15-20 minutes.
- Prepare a vinegar mixture of rice vinegar, sugar, and salt to season the cooked rice.
- Gently mix the vinegar seasoning into the cooled rice to achieve the perfect sushi rice.

Nishiki Medium Grain Rice, 80 Ounce
Store rice in a cool, dry place in an airtight container to preserve freshness and prevent moisture or…
As an affiliate, we earn on qualifying purchases.
As an affiliate, we earn on qualifying purchases.
History
According to historical records, sushi rice has been an integral part of Japanese cuisine for centuries.
The origins of this iconic dish can be traced back to the 8th century, when salted fish was wrapped in vinegared rice as a means of preservation.
Over time, this practice evolved, with the rice becoming an increasingly prominent component of the sushi.

Mizkan Vinegar Sushi Seasoning for Sushi or Salad – 24 fl oz (710ml)
As an affiliate, we earn on qualifying purchases.
As an affiliate, we earn on qualifying purchases.
Recipe
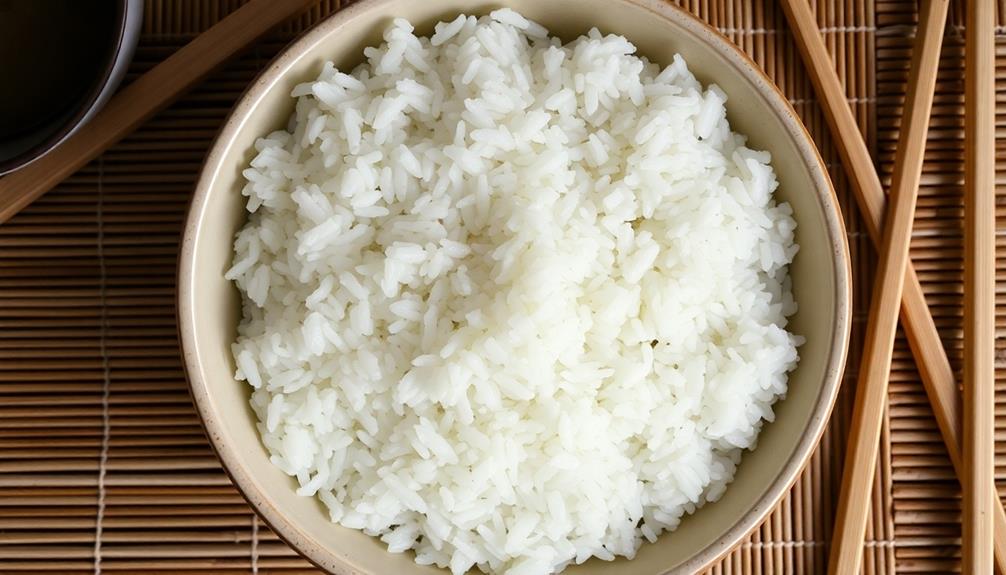
Sushi rice is the foundation of any delicious sushi roll. It's a crucial component that requires careful preparation to achieve the perfect balance of sweetness, sourness, and stickiness. The key to making great sushi rice lies in the cooking technique and the proper seasoning.
Before we dive into the recipe, it's important to understand the unique characteristics of sushi rice. This short-grain, Japanese-style rice is known for its ability to become sticky and cohesive when cooked properly. The starch content and the way it's prepared are what set sushi rice apart from regular white rice.
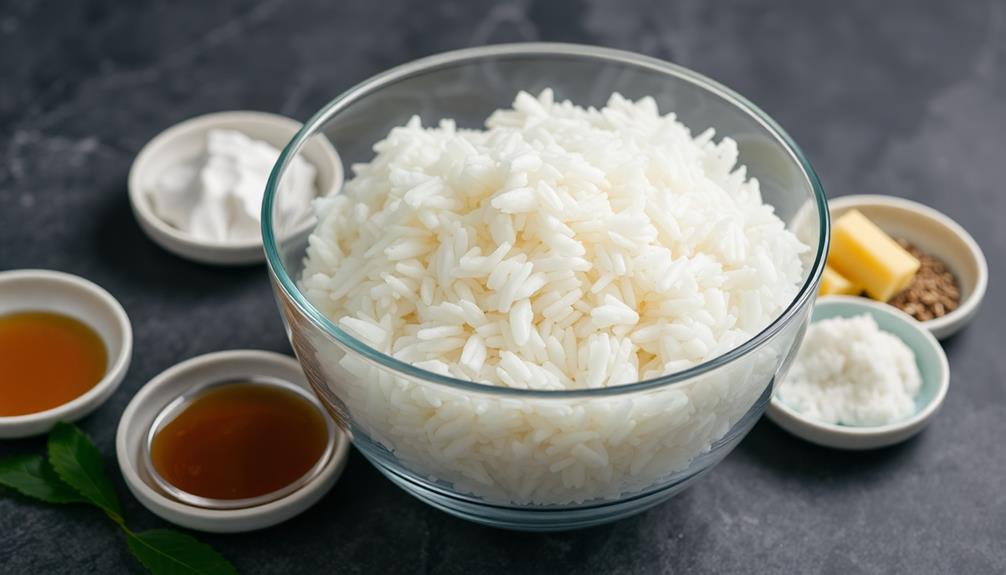
Ingredients:
- 2 cups short-grain sushi rice
- 2 cups water
- 3 tablespoons rice vinegar
- 2 tablespoons sugar
- 1 teaspoon salt
Instructions:
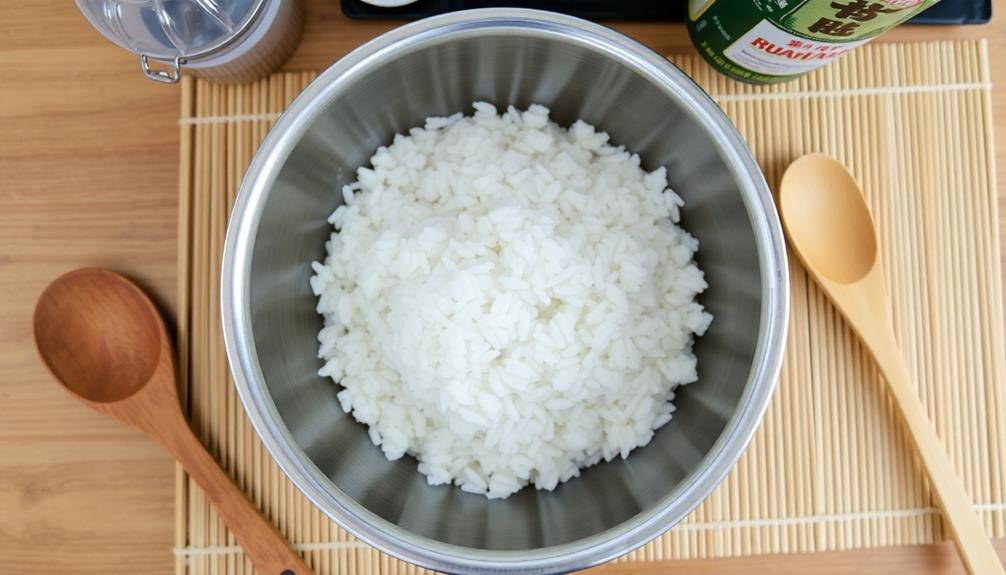
Rinse the rice thoroughly under cold running water until the water runs clear. This step helps remove excess starch and ensures the grains don't stick together too much.
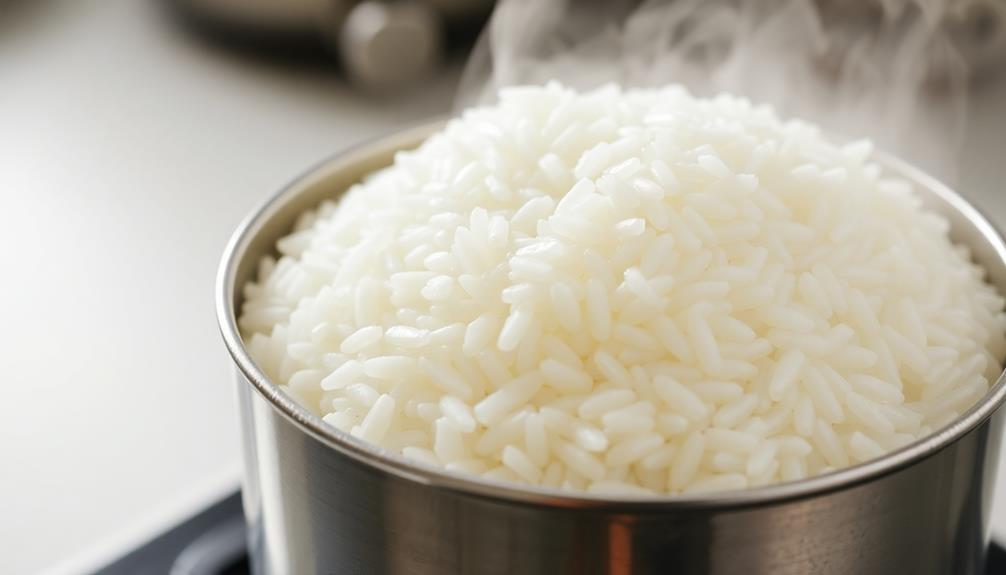
Transfer the rinsed rice to a saucepan, add the water, and let it soak for 30 minutes. Bring the mixture to a boil, then reduce the heat to low, cover, and simmer for 15-20 minutes, or until the rice is tender and the liquid is absorbed.
Remove the pan from the heat and let it sit, covered, for an additional 10 minutes.
In a small saucepan, combine the rice vinegar, sugar, and salt. Heat the mixture, stirring constantly, until the sugar has fully dissolved.
Transfer the cooked rice to a large, shallow bowl. Using a wooden or plastic spoon, gently fold the vinegar mixture into the hot rice, being careful not to overmix.
Cover the rice with a damp cloth and let it cool to room temperature before using it for sushi.
Tips:
- Use a high-quality, short-grain sushi rice for the best results.
- Adjust the amount of vinegar, sugar, and salt to your personal taste preferences.
- Fluffing the rice gently with a rice paddle or spoon helps prevent the grains from becoming too sticky.
- Keeping the rice covered with a damp cloth as it cools helps maintain the perfect texture.

Inomata 1150 Rice Paddle, White, Melamine
Set of 2 Plastic rice paddles
As an affiliate, we earn on qualifying purchases.
As an affiliate, we earn on qualifying purchases.
Cooking Steps
Rinse the sushi rice thoroughly under cold water until the water runs clear.
Then, stir in the rice vinegar until it's evenly distributed.
Once the rice has cooled to room temperature, use a spatula to gently fluff and fan it to prevent sticking.
Step 1. Rinse Sushi Rice Thoroughly
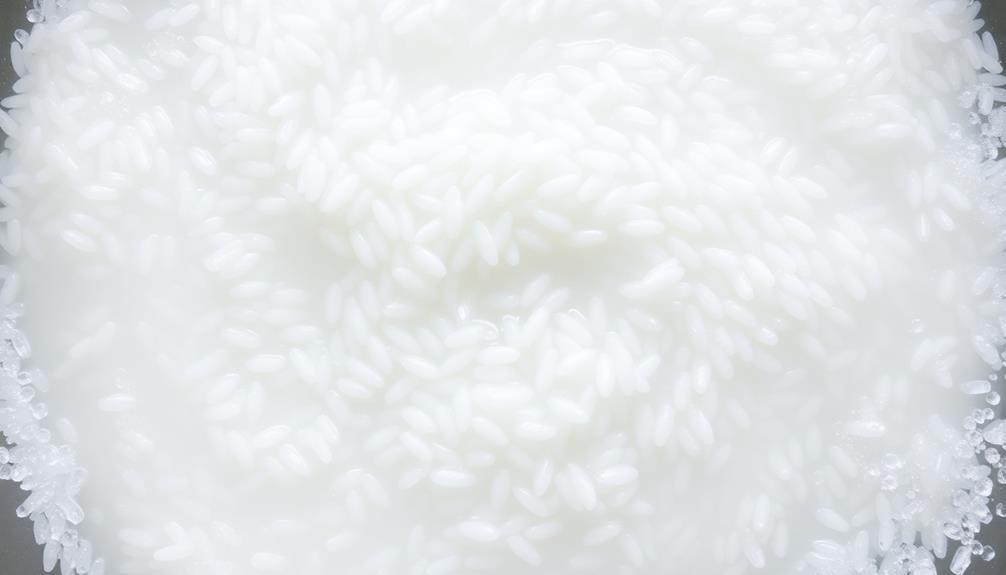
The first step in mastering sushi rice is to thoroughly rinse it. Rinsing the rice is crucial, as it removes any excess starch and impurities that could affect the final texture and flavor of your sushi.
Start by placing the rice in a fine-mesh strainer or colander. Hold the strainer under running water and gently agitate the rice, using your fingers to help separate the grains. Rinse the rice for about 1-2 minutes, or until the water runs clear. This process helps to create a clean, cohesive texture that's essential for sushi rice.
After rinsing, transfer the rice to a saucepan or rice cooker. Add the appropriate amount of water, typically a 1:1 ratio of rice to water.
Let the rice soak for 30 minutes to an hour before cooking. This resting period allows the grains to fully hydrate, resulting in perfectly cooked, fluffy sushi rice.
Step 2. Add Rice Vinegar
Once the rice has soaked, it's time to add the rice vinegar. This step is crucial for achieving the perfect sushi rice texture and flavor. The rice vinegar provides a gentle, slightly sweet and tangy taste that balances out the starchiness of the rice.
To add the rice vinegar, simply pour it over the drained and steamed rice. Use a wooden paddle or spoon to gently fold the vinegar into the rice, taking care not to overmix or crush the grains. The goal is to distribute the vinegar evenly throughout the rice.
The amount of rice vinegar to use will vary based on your personal preference, but a good guideline is 3-4 tablespoons per cup of cooked rice. Start with the lower end and taste as you go, adding more vinegar if you desire a stronger flavor.
Once the vinegar is incorporated, continue to gently fold and fan the rice to help it cool and develop the desired sticky, glossy texture.
With the rice vinegar added, your sushi rice is now ready for rolling and serving.
Step 3. Let Rice Cool to Room Temperature
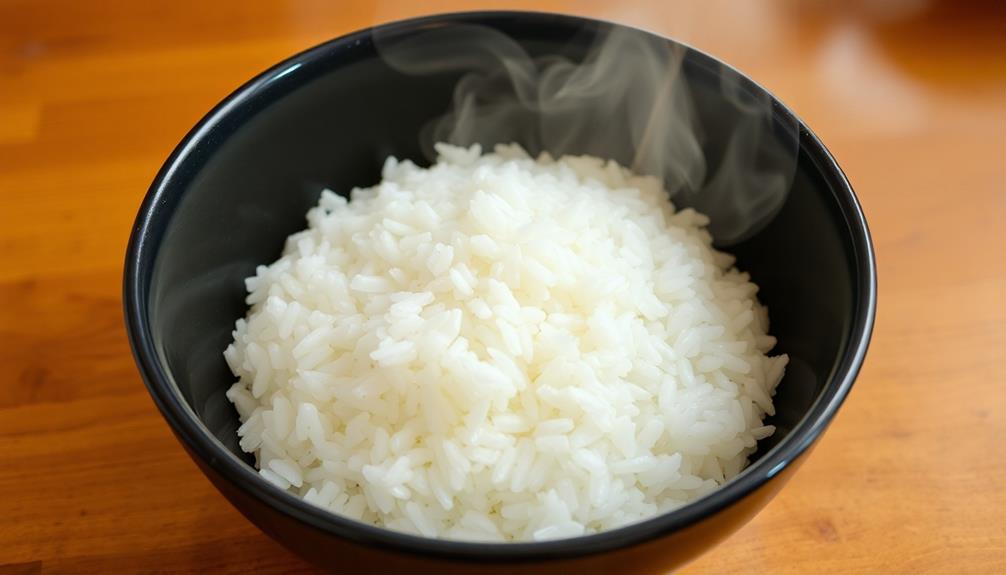
After you've incorporated the rice vinegar, it's important to let the rice cool to room temperature. This step is crucial for achieving the perfect sushi rice texture. The rice needs to be cooled down gradually to prevent it from becoming gummy or sticky.
To do this, spread the seasoned rice out in a thin layer on a large baking sheet or rimmed plate. This increases the surface area, allowing the heat to dissipate more quickly. Gently fan the rice with a hand-held fan or piece of cardboard to expedite the cooling process.
It's important to let the rice cool completely, which can take 15-30 minutes, depending on the amount of rice. Once the rice has reached room temperature, it's ready to be formed into sushi rolls or molded into nigiri.
Letting the rice cool properly enhances its texture, making it perfectly sticky yet tender, which is essential for crafting high-quality sushi.
Step 4. Fluff and Fan Rice With Spatula
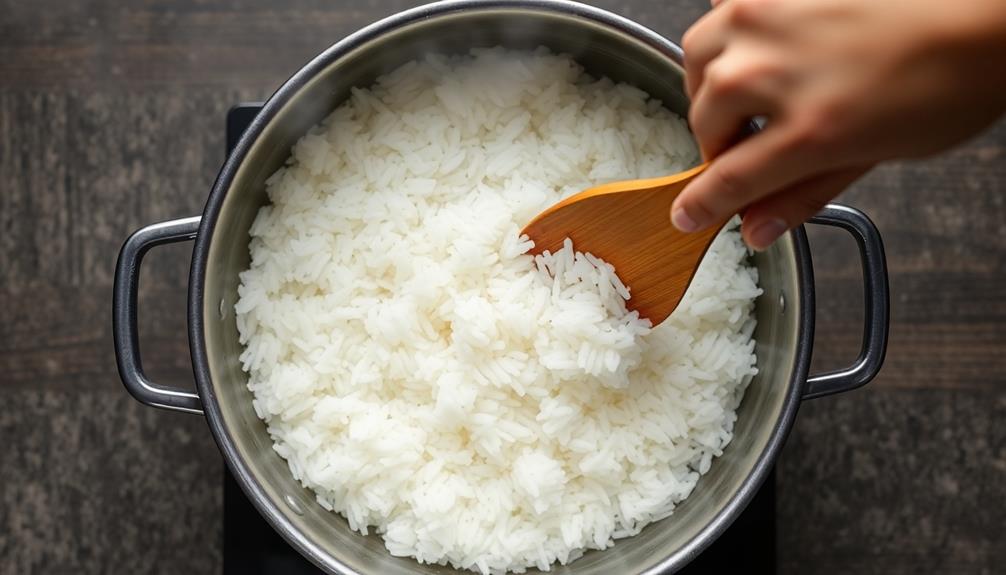
With your rice cooled, it's time to fluff and fan it with a spatula. This step is crucial for achieving the perfect texture and keeping the grains separate.
First, use a spatula to gently lift and turn the rice, breaking up any clumps that may have formed. Be careful not to overstir, as this can make the rice gummy. Slowly lift and turn the rice, allowing air to circulate and cool it further.
Next, start fanning the rice. Hold the spatula at a slight angle and sweep it back and forth across the surface of the rice. This motion creates a gentle breeze that helps evaporate any excess moisture, resulting in dry, fluffy sushi rice.
Continue this fanning motion for 2-3 minutes, or until the rice has cooled to room temperature. This step is essential for achieving the perfect texture and preventing the rice from becoming sticky or clumped together.
With a light, airy rice, you're ready to move on to the final step of seasoning.
Step 5. Cover Rice With Lid
Now that you've fluffed and fanned the rice, it's time to cover it with a lid. This step is crucial for ensuring your sushi rice turns out perfectly.
First, place the pot with the freshly cooked rice on a heat-proof surface. Then, grab the lid and gently place it on top of the pot, making sure it fits snugly.
Once the lid is in place, let the rice sit undisturbed for 15-20 minutes. This resting period allows the rice to continue steaming and develop its signature texture and flavor. During this time, avoid lifting the lid or disturbing the rice. Patience is key!
After the resting period, carefully remove the lid. Be cautious, as steam will escape, and it may be hot.
Now your sushi rice is ready for the next step – seasoning and mixing. With the rice covered and rested, you're well on your way to creating delicious homemade sushi.

Aroma Housewares Professional Plus ARC-5000SB 20 Cup (Cooked) Digital Rice Cooker, Food Steamer, Slow Cooker, Stainless Exterior/Nonstick Pot, Silver, Black, 10-cup uncooked/20-cup cooked/4QT
Multi-Functional Use – Whether you are in the mood for a hearty jambalaya, steamed veggies and rice, or…
As an affiliate, we earn on qualifying purchases.
As an affiliate, we earn on qualifying purchases.
Final Thoughts
Sushi rice is the foundation of any delectable sushi dish. With the proper techniques, you can create the perfect base for your sushi creations. Remember, the key to great sushi rice is patience and attention to detail.
As you've learned, properly cooking, seasoning, and cooling the rice are essential steps. Additionally, consider the following final thoughts:
- Use the freshest, highest-quality short-grain rice you can find for the best results.
- Experiment with different vinegar blends to find your preferred flavor profile.
- Chilling the rice for at least 30 minutes before using helps it achieve the ideal texture.
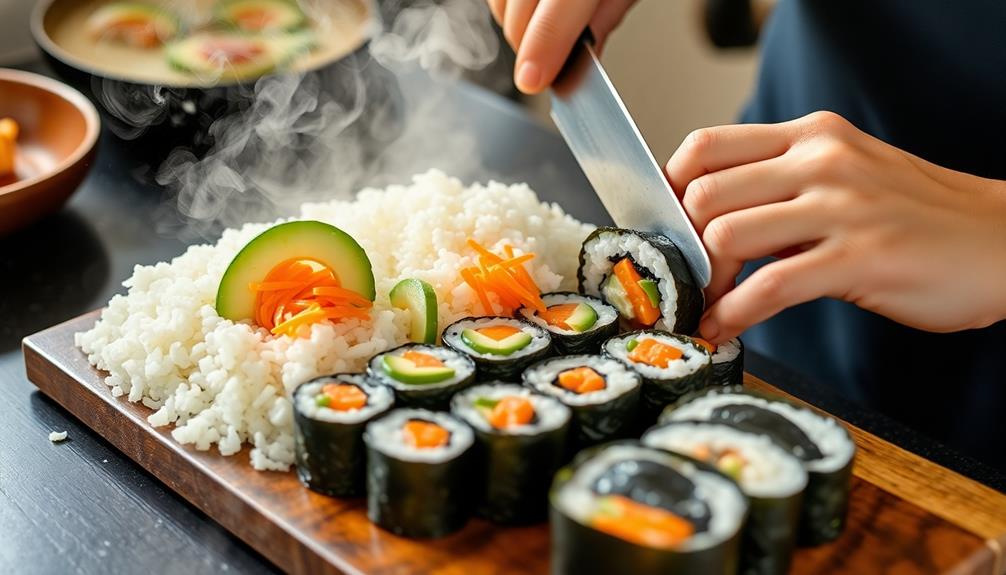
- When forming sushi, work quickly to prevent the rice from drying out.
- Adjust seasoning amounts to suit your personal taste preferences.
Frequently Asked Questions
Can I Use a Regular Pot Instead of a Rice Cooker?
Yes, you can use a regular pot instead of a rice cooker. Just follow the recommended cooking time and method on the rice package, and be sure to use the proper rice-to-water ratio for perfect sushi rice.
How Long Can Sushi Rice Be Kept in the Fridge?
You can keep sushi rice in the fridge for up to 3-4 days. Be sure to store it in an airtight container to prevent it from drying out. When ready to use, gently reheat and season it again before rolling your sushi.
Do I Need to Use a Sushi Mat to Shape the Rolls?
You don't necessarily need a sushi mat to shape your rolls, but it can make the process easier. You can use plastic wrap or a damp dish towel to help roll and shape the sushi without a mat.
Can I Substitute Rice Vinegar With Another Type of Vinegar?
Sure, you can substitute rice vinegar with another type of vinegar, but the flavor may differ. For best results, use rice vinegar as it provides the traditional taste and acidity needed for sushi rice.
How Much Sushi Rice Should I Make per Person?
When making sushi rice, plan for about 1/2 cup of cooked rice per person. This will give you enough to create a few sushi rolls or nigiri pieces. Adjust the amount based on how much sushi you want to serve.