Craft your own sourdough starter right at home with just flour, water, and a little patience. This fermented mixture of wild yeast and bacteria serves as the foundation for classic artisanal breads. Over 2 weeks, you'll need to regularly feed the starter with equal parts flour and water, allowing it to become bubbly and active. Once established, maintain the starter with daily or twice-daily feedings, adjusting the schedule as needed. With some practice, you'll develop an understanding of your starter's unique personality and preferences. Explore the world of sourdough baking and discover the immense satisfaction of working with your very own homemade starter.
Key Takeaways
- Create a sourdough starter by combining equal parts flour and water, then feeding it daily for 5-7 days until it becomes active and bubbly.
- Maintain the starter's health by regularly feeding it with equal amounts of flour and water, and keeping it at the optimal temperature of 70-85°F.
- Monitor the starter's activity level and adjust the feeding schedule accordingly, as sluggish or inactive starters may need troubleshooting.
- Utilize the sourdough starter in a variety of recipes, including bread, pancakes, and waffles, to enjoy the unique flavors and textures it provides.
- Embrace the learning process and develop a strong relationship with the starter, as patience and understanding its unique personality are key to successful sourdough baking.
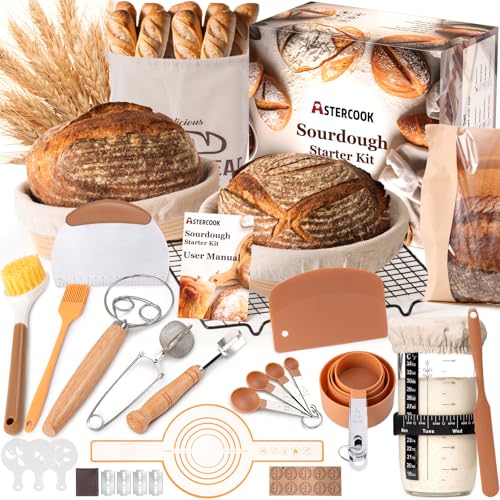
Astercook Sourdough Starter Kit with Round & Oval Banneton Bread Proofing Basket, Bread Sling, Starter Jar, Dough Whisk, Scrapers, Stencils, Cooling Rack & Bag Complete Sourdough Bread Baking Supplies
【All in One Sourdough Starter Kit】 Unlike basic sourdough proofing basket sets, this complete kit includes everything. You…
As an affiliate, we earn on qualifying purchases.
As an affiliate, we earn on qualifying purchases.
History
Sourdough bread has a rich history dating back thousands of years. This ancient leavening method, using a fermented dough starter, can be traced to ancient Mesopotamia, Egypt, and Greece.
Over time, sourdough techniques spread throughout Europe and eventually to the Americas. During the California Gold Rush, sourdough bread became a staple food for prospectors and miners. The resilient starter could survive harsh conditions, making it an ideal choice for those seeking sustenance in remote locations.
Sourdough's popularity continued to grow, with each region developing its own unique strain of wild yeast and bacteria. Today, the art of sourdough baking is experiencing a resurgence. Home cooks and artisan bakers are reviving this time-honored tradition, appreciating the depth of flavor and the satisfying process of cultivating a sourdough starter from scratch.
Whether you're following in the footsteps of ancient bakers or joining the modern sourdough movement, the history of this remarkable bread is sure to inspire your baking journey. Over the centuries, sourdough has evolved from a simple staple to a canvas for culinary innovation, drawing the attention of both home bakers and professional chefs alike. Today, some are even experimenting with molecular gastronomy techniques to push the boundaries of traditional fermentation, creating new textures and flavor profiles. No matter your approach, mastering sourdough remains a rewarding blend of art, science, and history.

Superbaking Banneton Bread Proofing Basket, Sourdough Bread Baking Supplies, Round 9 Inch Sourdough Starter Kit, Proofing Basket for Baking, Bread Making Supplies Tools, Banneton Basket Gift Set
PROOF, BAKE, SHARE your Sourdough Bread: Create delicious sourdough loaves with The Superbaking Banneton Kit. Enjoy the smiles,…
As an affiliate, we earn on qualifying purchases.
As an affiliate, we earn on qualifying purchases.
Recipe
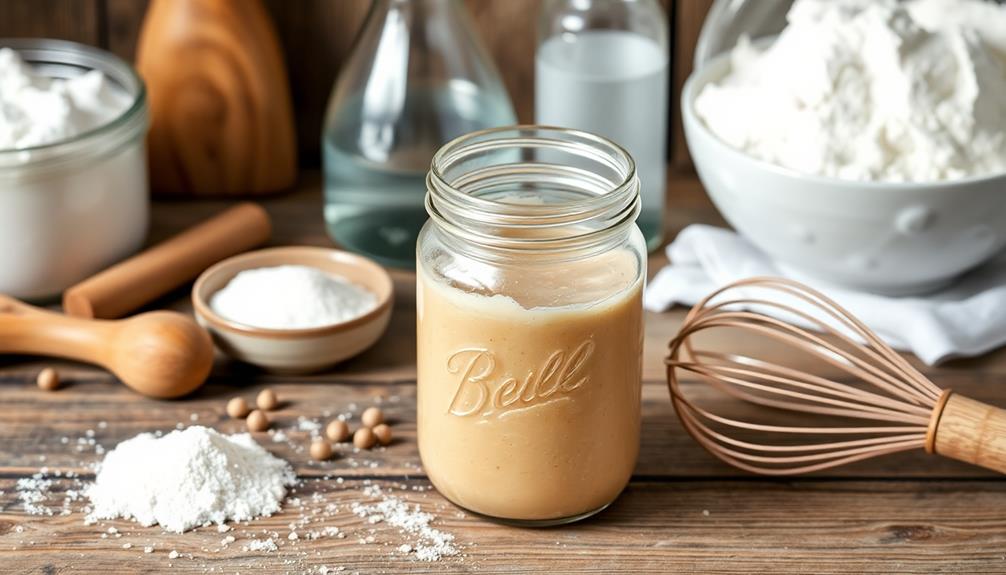
Sourdough starter is the foundation for all sourdough breads. This live culture of wild yeast and bacteria is what gives sourdough its unique flavor and texture. Creating your own starter from scratch is a rewarding process that requires patience and care, but the results are well worth it.
The process of growing a sourdough starter may take up to 2 weeks, as you'll need to feed it regularly to help the yeast and bacteria thrive. With a little time and attention, you'll have a vibrant starter that you can use to bake delicious sourdough loaves for years to come.
Ingredients:
- 50g (1/4 cup) all-purpose flour
- 50g (1/4 cup) water
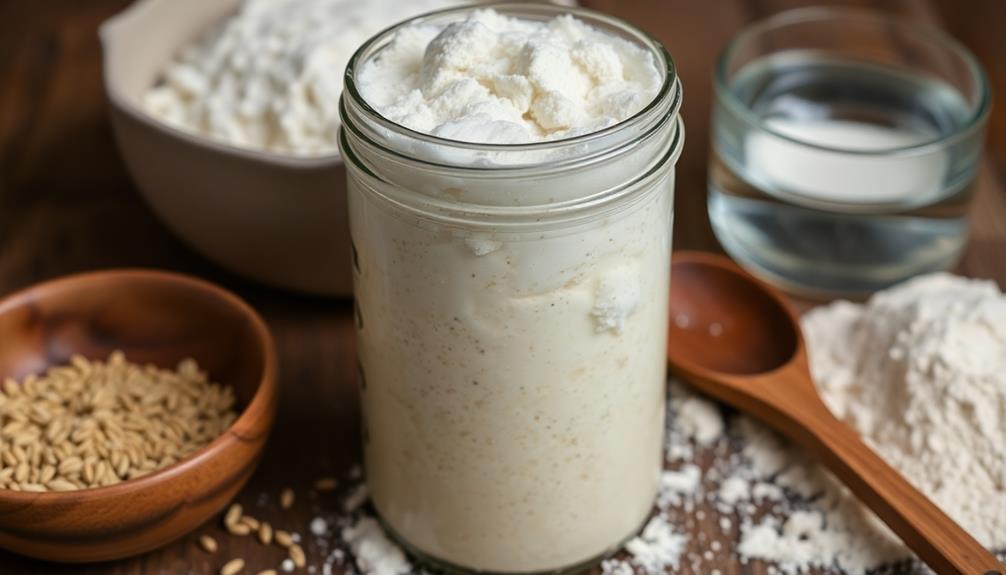
Instructions:
In a clean glass or non-reactive container, combine the flour and water. Stir until well incorporated. Cover the container loosely and let sit at room temperature for 24 hours. By the next day, you should notice bubbles forming, signaling the beginning of fermentation. Stir the mixture and discard half before feeding it with equal parts fresh flour and water. Just like crafting the perfect white rice recipe, patience and attention to detail are key to achieving the best results with your starter.
After 24 hours, discard half the mixture and add another 50g (1/4 cup) of flour and 50g (1/4 cup) of water. Stir to combine. Repeat this process once a day for 5-7 days, or until the starter becomes active, doubling in size within 8-12 hours of feeding.
Once the starter is active and reliably rising and falling, it's ready to use. Maintain the starter by continuing to feed it once or twice a day, using equal parts flour and water.
Tips:
- Use filtered or bottled water, as chlorinated tap water can inhibit the growth of wild yeast.
- Choose a cool, dark spot in your kitchen to store the starter. Avoid direct sunlight or heat, which can cause the starter to become too active.
- When discarding a portion of the starter, save a tablespoon or two to use as the base for your next feeding.

HomeFeel Premium Sourdough Starter Jar – 50 oz Large Glass Jar with Bamboo Lid, Cloth Cover, Date Tracker, Thermometer and Scraper, Stylish Design and Wide Mouth Starter Kit
Large Enough Size: Its 50 oz capacity enable you to produce up to six mouthwatering loaves. You’ll appreciate…
As an affiliate, we earn on qualifying purchases.
As an affiliate, we earn on qualifying purchases.
Cooking Steps

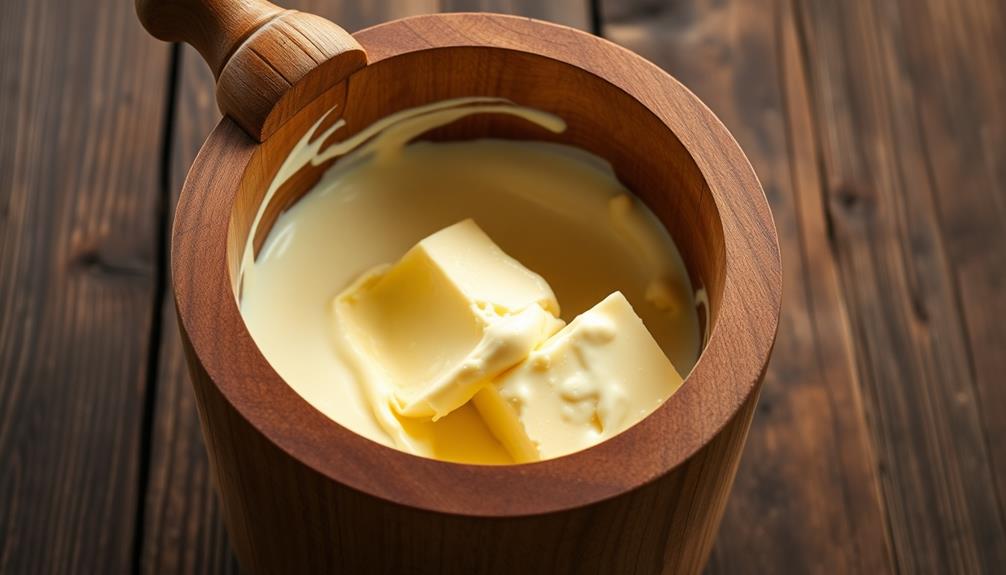
To get your sourdough starter going, you'll first need to combine flour and water.
Be sure to regularly feed your starter by adding more flour and water as it ferments overnight.
Once it's ready, you can use the bubbly starter to bake delicious homemade sourdough bread.
If you encounter any issues, don't worry – we'll walk you through troubleshooting.
Step 1. Combine Flour and Water
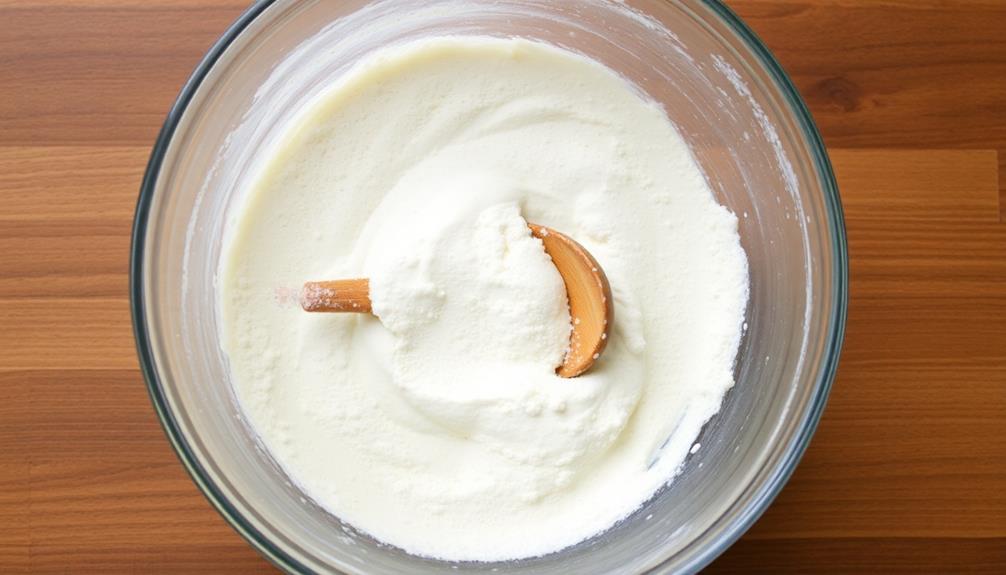
Beginning your sourdough starter is as simple as combining flour and water. In a clean, non-reactive container, mix together equal parts flour and water. Common ratios are 1:1 or 50g flour to 50g water. Whole wheat, all-purpose, or bread flour all work well.
Stir the mixture thoroughly until it forms a smooth, pourable batter. Cover the container with a breathable material, such as a coffee filter or cheesecloth, and let it sit at room temperature for 24 hours.
After this initial rest, you'll need to "feed" the starter by adding more flour and water in the same ratio as before. Discard a portion of the existing starter before adding the fresh ingredients.
Repeat this feeding process daily, monitoring the starter's growth and activity. As the wild yeast and bacteria become established, you'll notice the starter becoming more bubbly and expanding in volume.
With patience and consistent care, your homemade sourdough starter will be ready to use in baking.
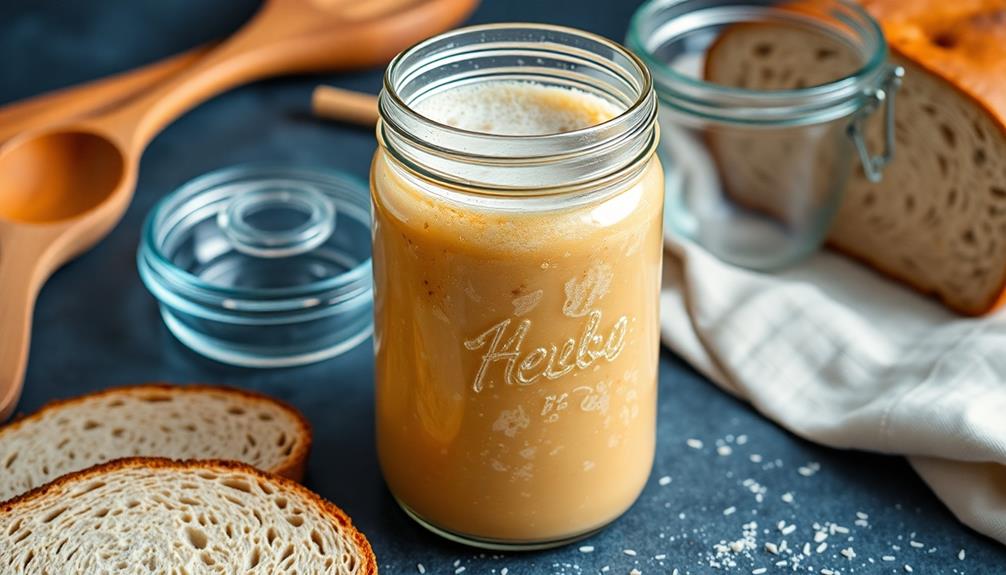
Step 2. Feed the Starter
Once your starter has had its initial rest, it's time to feed it. Feeding your sourdough starter is crucial for keeping it alive and healthy. This process involves adding fresh flour and water to the existing starter, which gives the yeast and bacteria the nourishment they need to thrive.
To feed your starter, take a small portion, usually around 1-2 tablespoons, and add it to a clean jar or container. Then, add an equal amount of flour and water, typically around 50-100g each. Whole wheat or rye flour work great, as they provide more nutrients for the starter.
Stir the mixture well, making sure there are no dry pockets of flour. Cover the container loosely and let it sit at room temperature for 8-12 hours. During this time, the starter will become bubbly and active, indicating that the yeast is feeding and multiplying.
Repeat this feeding process every 12-24 hours, depending on how quickly your starter seems to be using up the food. Over time, you'll get a feel for the optimal feeding schedule for your particular starter.
Step 3. Let Starter Ferment Overnight
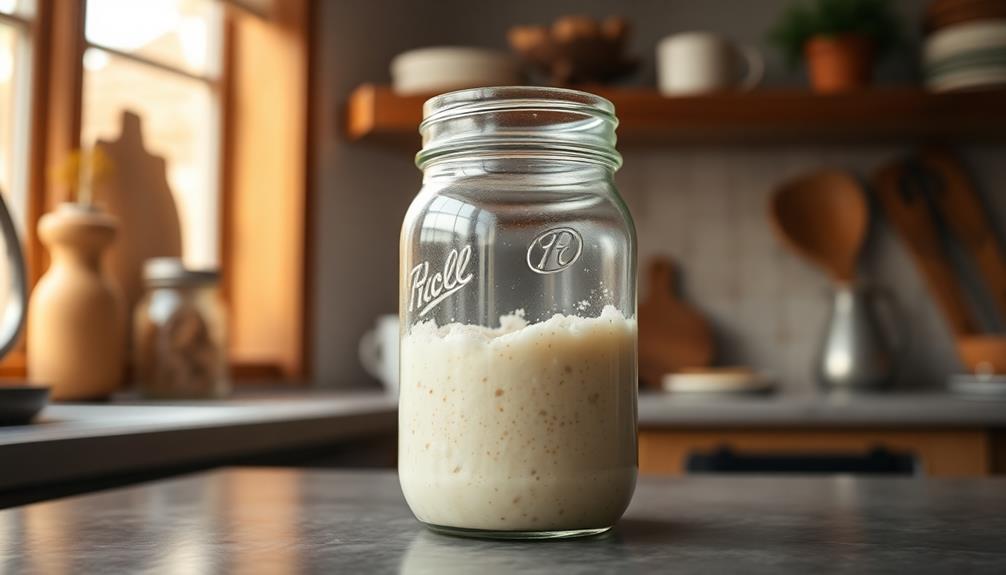
After feeding your sourdough starter, let it ferment overnight. This crucial step allows the yeast and bacteria to fully activate and develop the complex flavors that make sourdough so delicious.
Simply cover the jar with a clean, damp towel or coffee filter and let it sit at room temperature, between 70-85°F, for 8-12 hours. As the starter ferments, you'll notice it doubling or even tripling in volume, with bubbles forming on the surface. This is a sign that the microorganisms are hard at work, consuming the sugars and releasing carbon dioxide.
The longer you let the starter ferment, the more sour the flavor will become. For a milder taste, aim for 8-10 hours. For a more pronounced tang, go for 10-12 hours.
Just be sure not to let it ferment for too long, as this can result in an overly acidic flavor. Once the time is up, your starter will be ready to use in your favorite sourdough recipes!
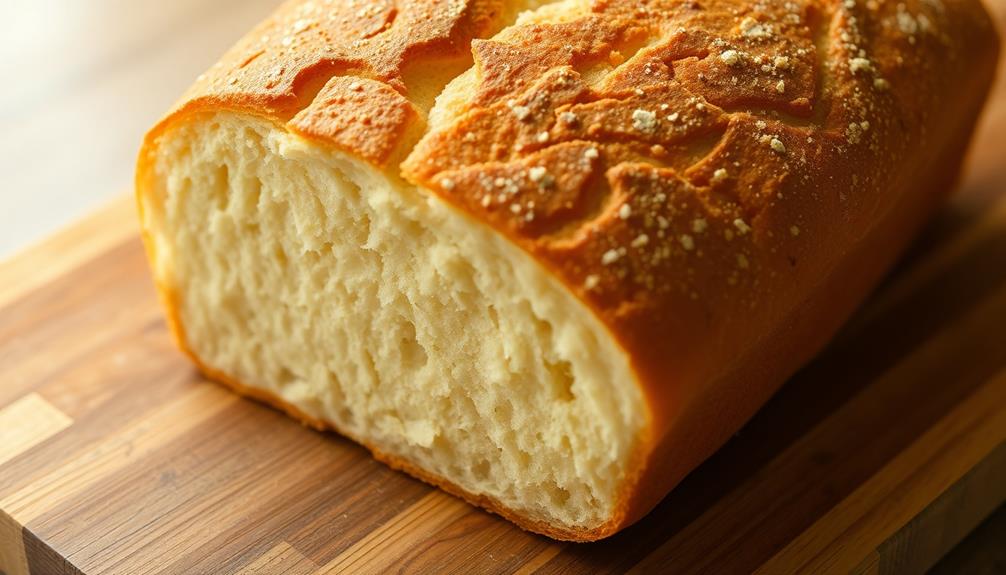
Step 4. Bake Bread With Starter
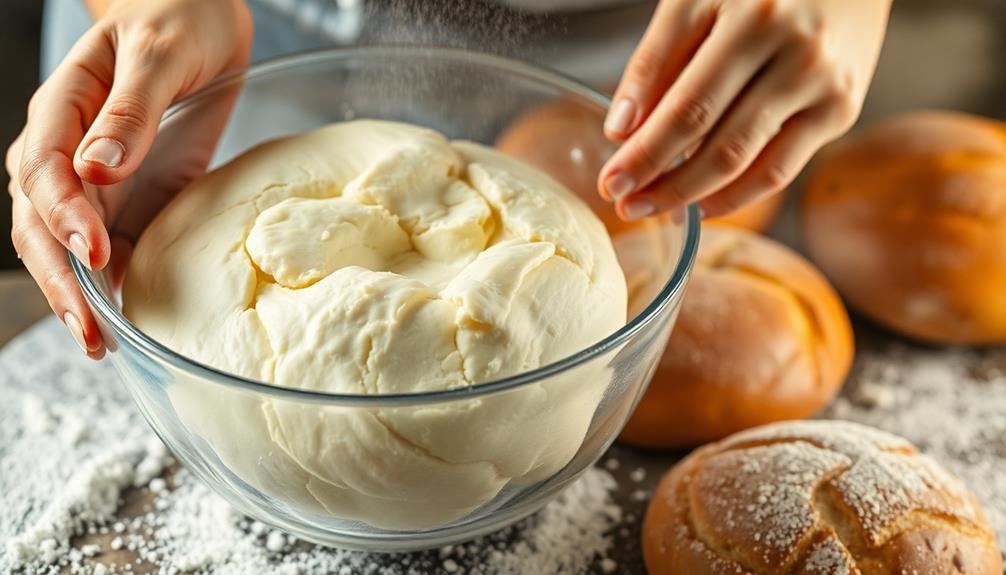
With your fermented sourdough starter ready, you can now begin baking delicious sourdough bread. The process is straightforward, but it requires some patience and attention to detail.
First, in a large mixing bowl, combine your sourdough starter with warm water and bread flour. Knead the dough until it becomes smooth and elastic, about 10 minutes. Cover the bowl and let the dough rise for 8-12 hours, or until it has doubled in size.
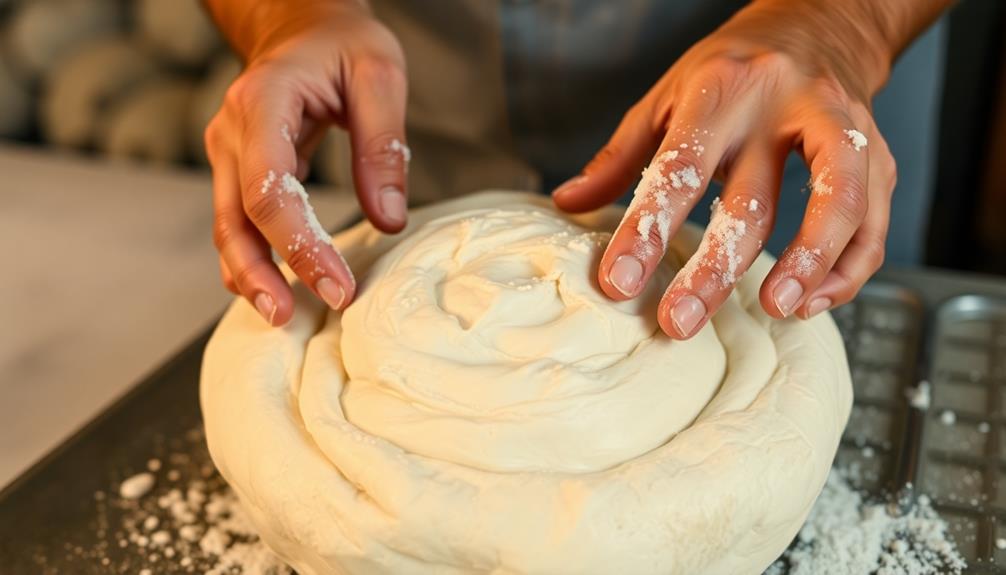
Next, shape the dough into a round loaf and place it in a greased bread pan or on a parchment-lined baking sheet. Cover and let it rise for another 1-2 hours, until it's puffy.
Preheat your oven to 450°F (230°C). Once the dough has risen, use a sharp knife or lame to score the top, creating a decorative pattern. This allows the bread to expand during baking.
Bake for 20-25 minutes, then reduce the temperature to 400°F (200°C) and continue baking for an additional 20-25 minutes, until the crust is deep golden brown.
Allow the bread to cool completely before slicing and serving. Enjoy the tangy, chewy goodness of your homemade sourdough!
Step 5. Troubleshoot Any Problems Encountered
Encountering issues during the sourdough baking process is quite common, but fret not – with a little troubleshooting, you can overcome them.
One of the most frequent problems is a sluggish or inactive starter. This could be due to temperature fluctuations, improper feeding, or even contamination. To revive your starter, try these steps:
- Discard a portion of the starter and feed it with equal parts flour and water. Repeat this process for a few days, ensuring the starter is bubbling and active.
- Ensure your starter is being kept at the optimal temperature, usually around 70-85°F.
- Consider switching to a different type of flour, as some starters prefer rye or whole wheat.
If your dough isn't rising properly, check that your starter is indeed active and that your kneading technique is adequate.
Incorporate more stretch-and-fold cycles during bulk fermentation to help build structure.
Lastly, be mindful of overproofing, which can cause the dough to collapse. Adjust your rising times as needed.

Etekcity Food Kitchen Scale, Digital Grams and Ounces for Weight Loss, Baking, Cooking, Keto and Meal Prep, LCD Display, Medium, 304 Stainless Steel
𝗘𝗳𝗳𝗼𝗿𝘁𝗹𝗲𝘀𝘀 𝗪𝗲𝗶𝗴𝗵𝗶𝗻𝗴: Supports 5 units (oz/lb:oz/fl'oz/g/mL), tare function, and includes 2 AAA batteries for hassle-free operation
As an affiliate, we earn on qualifying purchases.
As an affiliate, we earn on qualifying purchases.
Final Thoughts

Ultimately, maintaining a sourdough starter does require some dedication, but the rewards are well worth the effort. Once you've mastered the basics, you'll be able to enjoy the satisfaction of baking with your own homemade starter for years to come.
Whether you use it to make delectable loaves of bread, savory pancakes, or flavorful waffles, your sourdough starter will become an invaluable tool in your kitchen.
As you continue on your sourdough journey, remember to be patient and listen to your starter. Pay attention to its behavior, and adjust your feeding schedule and environment as needed.
With time and practice, you'll develop a deep understanding of your starter's unique personality and preferences.
Embrace the process, celebrate your successes, and don't be discouraged by the occasional setback. Sourdough baking is an art form, and the more you immerse yourself in it, the more rewarding it will become.
Happy baking!
Frequently Asked Questions
How Long Does It Take to Feed the Sourdough Starter?
Feeding your sourdough starter typically takes around 5-10 minutes. You'll need to stir in fresh flour and water, then let it rest until it's bubbly and active again before using it in your baking.
Can I Use a Different Type of Flour for the Starter?
You can absolutely use a different type of flour for your sourdough starter. Just be sure to choose a flour that's suitable for baking bread, and adjust the feeding schedule as needed to accommodate the new flour's properties.
How Often Should I Discard and Feed the Sourdough Starter?
You should discard and feed your sourdough starter about once a day. This will keep it healthy and active, ensuring it's ready to use whenever you need it for baking.
How Do I Know if My Sourdough Starter Is Ready to Use?
Your sourdough starter is ready when it's doubled in size, bubbly, and has a pleasant, yeasty aroma. Check it after feedings – if it passes these signs, it's ready to use in your recipes.
Can I Store the Sourdough Starter in the Refrigerator?
You can definitely store your sourdough starter in the refrigerator. It'll slow down the fermentation process and allow you to use it less frequently without having to maintain it as actively.