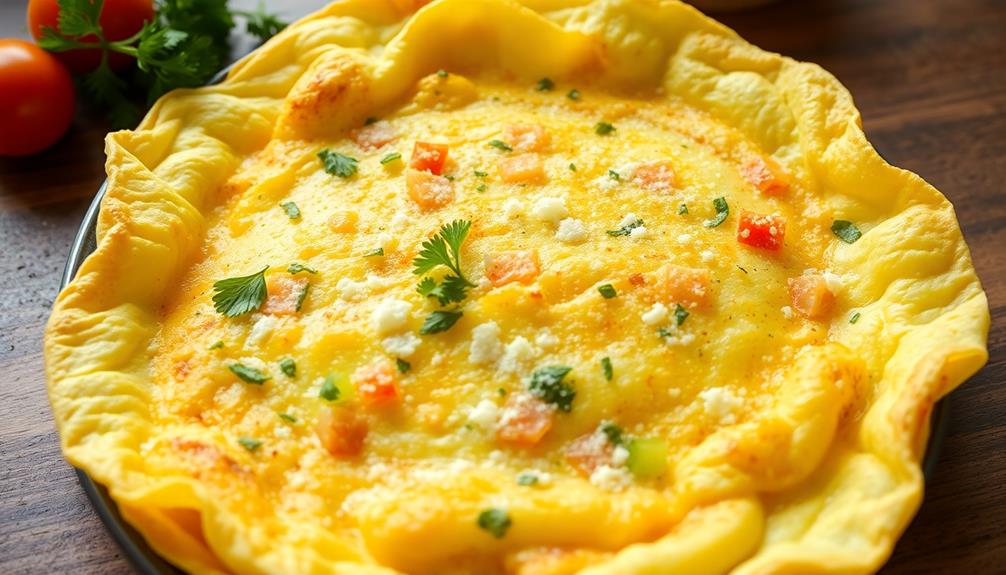
Crafting the perfect omelette is quick and easy with the right techniques. This iconic dish has ancient roots, evolving over time with diverse fillings from cheese to seafood. The key is balancing the eggs with chosen ingredients for an optimal light, fluffy texture – you'll want to whisk the eggs vigorously and monitor the pan temperature to prevent burning. Experiment with ingredients to discover your favorite flavors, and don't forget to garnish for a beautiful presentation. Follow these steps, and you'll be making omelette-making magic in no time. If you're curious to learn more, the full recipe offers helpful tips for cooking success.
Key Takeaways
- Use fresh, room-temperature eggs and beat them vigorously for a light, fluffy texture.
- Cook the omelette over medium heat, gently lifting the edges to allow uncooked egg to flow underneath.
- Experiment with various fillings like cheese, vegetables, and proteins to create your perfect omelette.
- Adjust cooking time to achieve your desired doneness, and serve immediately for optimal taste and texture.
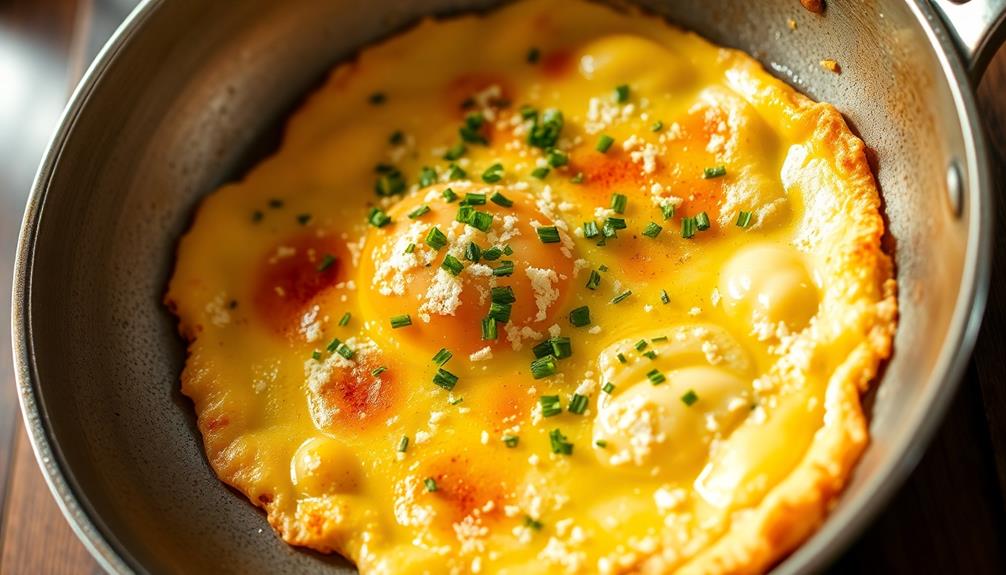
- Enhance presentation by garnishing with fresh herbs and pairing with sides like toast or salad.

CAROTE Nonstick Frying Pan Skillet,Non Stick Granite Fry Pan Egg Pan Omelet Pans, Stone Cookware Chef's Pan, PFOA Free,Induction Compatible(Classic Granite, 8-Inch)
Eco-friendly Classic Granite – Non-stick Granite Material, PFOS,PFOA free, our cookware ensures your daily cooking is always safer…
As an affiliate, we earn on qualifying purchases.
As an affiliate, we earn on qualifying purchases.
History
For centuries, the omelette has been a beloved breakfast dish enjoyed around the world. The origins of this versatile egg-based creation can be traced back to ancient times, with references to omelette-like dishes found in the culinary traditions of China, Persia, and Greece.
In the Middle Ages, omelettes gained popularity in Europe, often served as a savory meal or a simple snack.
The modern omelette as we know it today emerged in the 18th century, when French chefs began to refine the technique, creating the light, fluffy texture and perfect fold that have become hallmarks of the dish. While the French popularized this culinary masterpiece, variations of omelettes can be found in cuisines around the world, each with its own unique twists. In Mexico, for instance, the omelette is often paired with authentic homemade tortillas, adding a layer of texture and flavor that complements the egg’s smooth profile. Whether enjoyed on its own or as part of a more elaborate dish, it remains a versatile meal adaptable to many regional influences. In Japan, a popular variation called tamagoyaki features layers of seasoned egg cooked into a rectangular shape, often served with rice or sushi. Meanwhile, in Spain, the tortilla de patatas, or Spanish omelette, is made with potatoes and onions, offering a heartier take on the classic egg dish. No matter the regional interpretation, the combination of simple eggs with additional ingredients—like authentic homemade tortillas in Mexico—allows for endless culinary creativity and enjoyment.
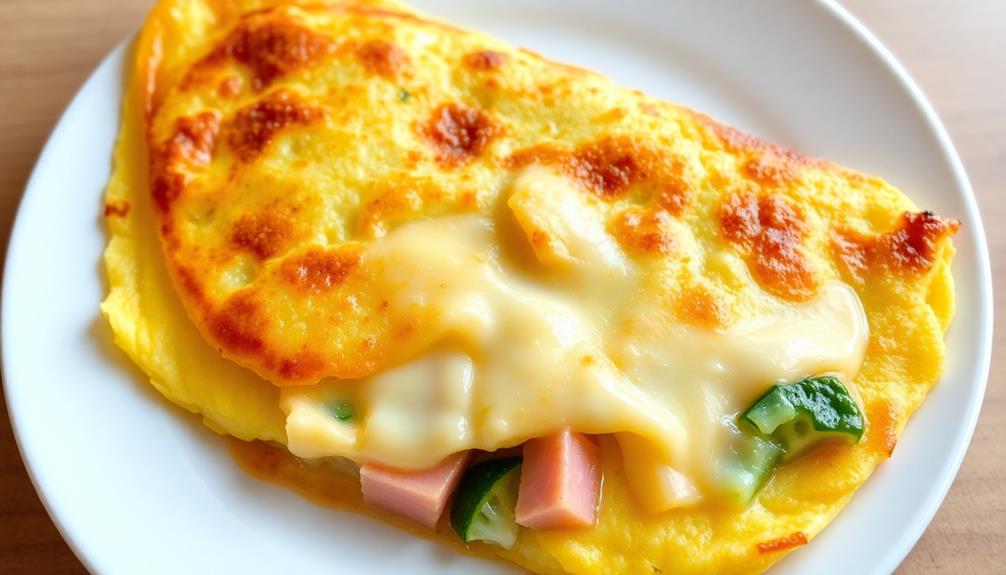
Over the years, omelettes have evolved to include a wide range of fillings, from classic cheese and ham to more adventurous ingredients like vegetables, herbs, and even seafood.
Whether enjoyed for breakfast, brunch, or any time of day, the timeless omelette continues to delight and satisfy palates around the world.

Fox Run Stainless Steel Small Mixing Bowl, 7.25 x 7.25 x 3.75 inches, Metallic
1.5 quart
As an affiliate, we earn on qualifying purchases.
As an affiliate, we earn on qualifying purchases.
Recipe
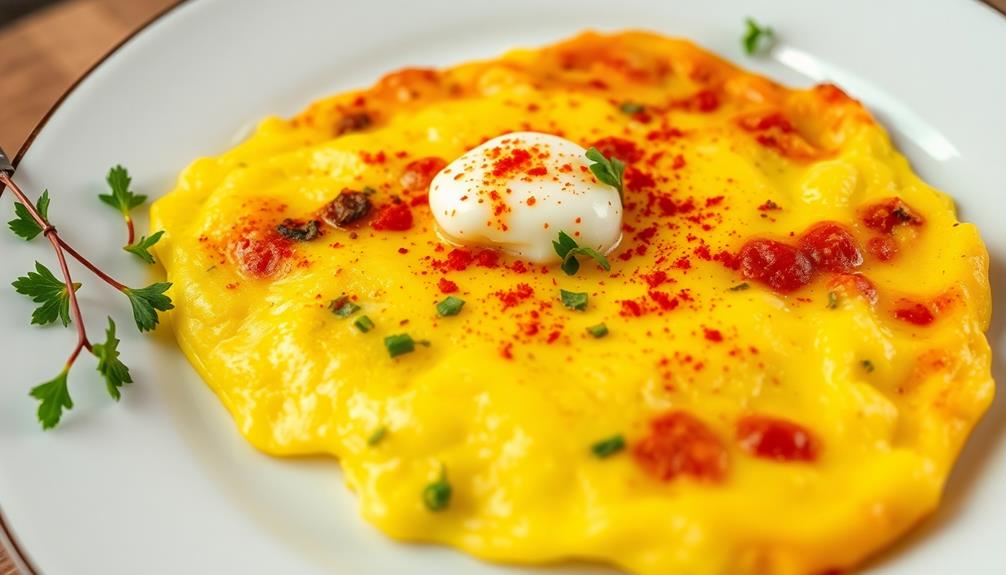
Cooking a perfect omelette can be a delightful and rewarding experience. With a few simple ingredients and a little technique, you can create a fluffy, flavorful omelette in just minutes.
Whether you prefer it plain or loaded with your favorite fillings, mastering the art of omelette-making is a valuable skill in the kitchen.
The key to a successful omelette lies in striking the right balance between the delicate eggs and the fillings or seasonings you choose to incorporate. By carefully controlling the heat and gently folding the eggs, you can achieve a light, airy texture that melts in your mouth.
Ingredients:
- 3 large eggs
- 1 tbsp butter or oil
- 2 tbsp milk (optional)
- Salt and pepper to taste
- Fillings of your choice (such as cheese, vegetables, or herbs)
Cooking Instructions:
Heat a small non-stick skillet over medium heat and melt the butter or heat the oil. In a bowl, whisk the eggs together with the milk (if using) until well combined.
Pour the egg mixture into the heated pan and let it sit for 20-30 seconds, allowing the bottom to set slightly. Using a spatula, gently push the cooked edges towards the center, tilting the pan to allow the uncooked egg to flow to the edges.
Continue this process until the omelette is mostly set but still slightly runny on top, about 2-3 minutes.
Tips:
For a fluffier omelette, separate the egg whites and beat them until stiff peaks form before folding them into the yolks.
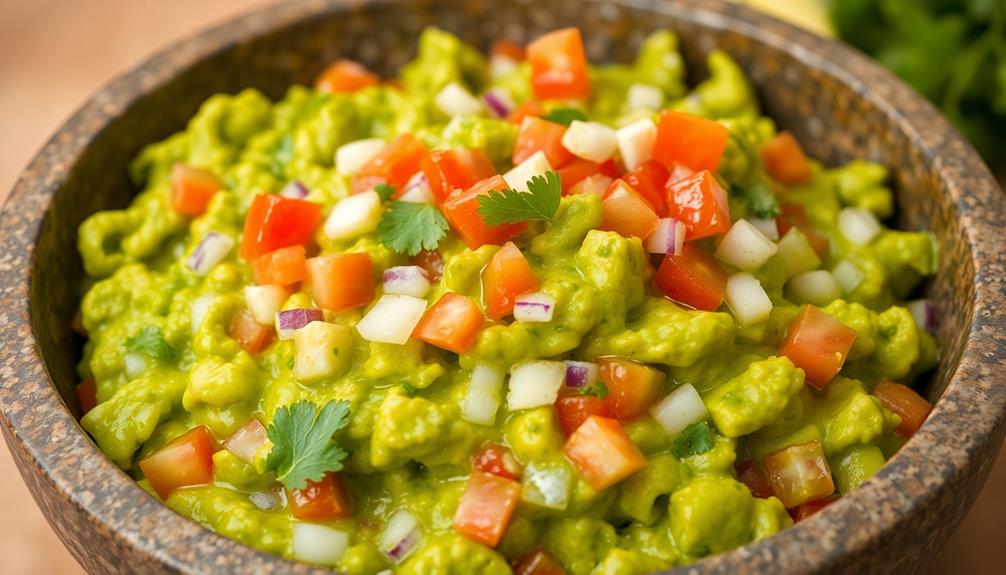
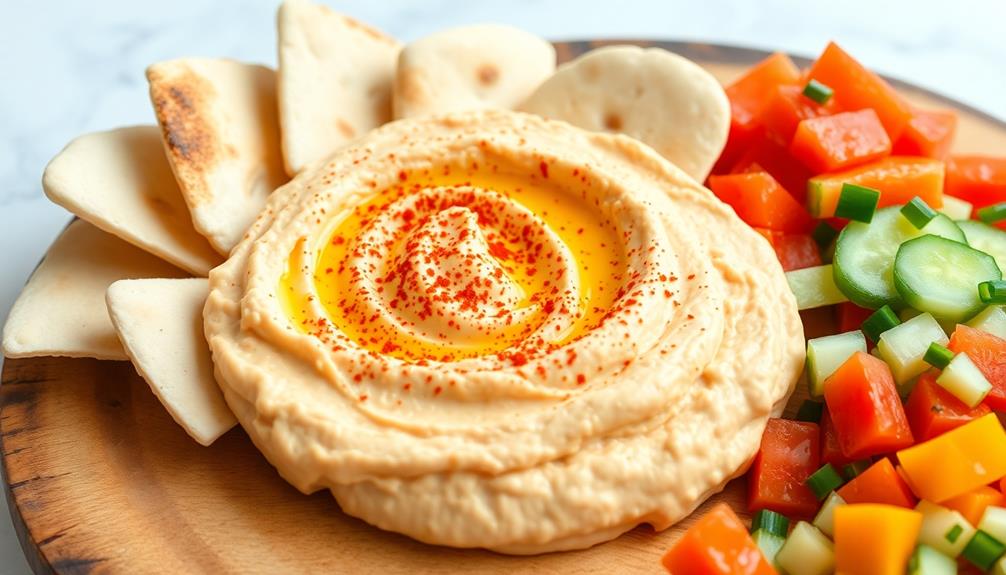
Experiment with different fillings to find your perfect combination of flavors. Serve the omelette immediately for best results. Experiment with different fillings to find your perfect combination of flavors. Serve the omelette immediately for best results. Pair it with a dollop of fresh salsa or a side of toast for a complete and satisfying meal. For an extra layer of flavor, consider adding a small serving of guacamole on the side—check out some perfect guacamole recipe tips to ensure it’s just right. A well-prepped breakfast like this is guaranteed to kick-start your day on a delicious note.

OXO Good Grips Small Flip and Fold Silicone Omelet Turner
Ideal shape and size for making omelets or quesadillas in 8" or other small pans
As an affiliate, we earn on qualifying purchases.
As an affiliate, we earn on qualifying purchases.
Cooking Steps

Crack your eggs into a bowl and whisk them vigorously until they're nice and frothy.
Next, heat up a pan over medium heat, then add a bit of butter to the pan.
Once the butter's melted, pour in your egg mixture and get ready to create a perfect omelette in no time.
Step 1. Crack Eggs Into Bowl
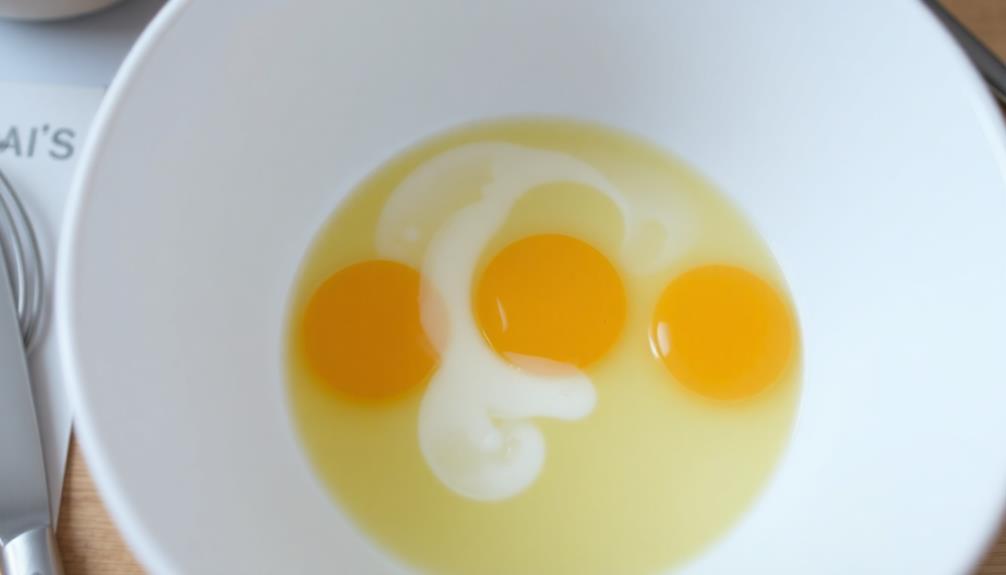
Cracking the eggs into a bowl is the first crucial step in crafting your perfect omelette. Using fresh, room-temperature eggs is key – they'll whip up lighter and fluffier. Gently crack each egg against the side of the bowl, letting the contents smoothly slide in. Avoid any bits of shell by using your fingers to fish them out.
For a classic two-egg omelette, you'll want to crack 2 large eggs into the bowl. Whisk the eggs vigorously with a fork or small whisk until they're fully blended and uniform in color. Aim for about 30 seconds of whisking to incorporate air and create that signature fluffiness.
If you're making a larger omelette, crack 3-4 eggs into the bowl and whisk accordingly. Be sure to scrape the sides and bottom of the bowl to fully incorporate all the egg.
Now you're ready for the next step – heating the pan!
Step 2. Whisk Eggs Vigorously Until Frothy
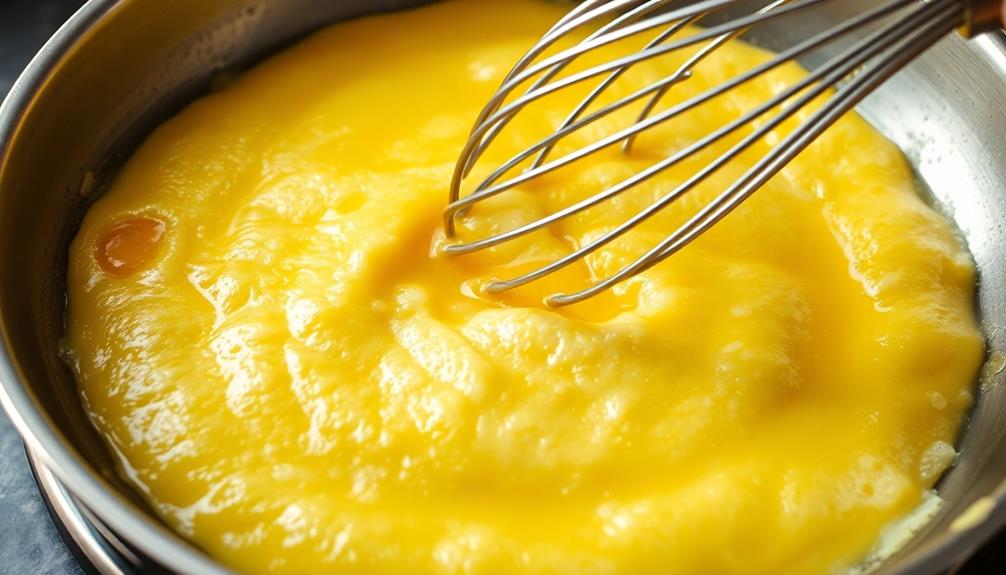
Whisking the eggs vigorously for about 30 seconds is key to achieving that signature fluffiness. This aerates the eggs, incorporating tiny air bubbles that will expand during cooking, resulting in a soft, light omelette.
To whisk effectively, use a fork or whisk and apply firm, circular motions. Move the tool quickly, ensuring the eggs become evenly mixed and frothy.
You'll know you've whisked enough when the mixture looks pale and has significantly increased in volume.
Avoid over-whisking, as this can break down the delicate egg structure and result in a dense, rubbery omelette. The goal is a light, airy texture that cooks up beautifully.
Once the eggs are whisked to perfection, you're ready to pour them into the pan and start cooking your delicious omelette.
Step 3. Heat Pan Over Medium
Once you've whisked the eggs to a light, frothy consistency, it's time to heat your pan over medium heat.
This medium temperature is ideal for cooking the omelette evenly without burning the exterior or leaving the interior undercooked.
To ensure the pan is at the proper temperature, hold your hand a few inches above the surface. If you can comfortably keep it there for 3-4 seconds, the pan is ready.
Avoid letting the pan get too hot, as this can cause the eggs to cook unevenly or stick to the surface.
Once the pan is heated, add a small amount of butter or oil and swirl it around to coat the surface.
This will help prevent the omelette from sticking and create a nice, golden-brown exterior.
Be sure to use just enough fat – too much can make the omelette greasy.
With the pan prepared, you're now ready to pour in the whisked eggs and begin cooking your perfect omelette.
Step 4. Add Butter to Pan

With the pan preheated to the right temperature, it's time to add a small amount of butter or oil. This crucial step helps prevent the eggs from sticking to the surface, ensuring a smooth and effortless release when it's time to fold the omelette.
Butter not only adds a rich, creamy flavor to the eggs but also enhances the overall taste profile of the dish, making it more indulgent and satisfying. Aim for about a teaspoon of butter or a quick spritz of non-stick cooking spray, as a light coating is ideal for achieving the perfect texture in your omelette, leveraging butter's versatile use.
Once the butter has melted and the pan is coated, gently swirl it around to evenly distribute it. Be careful not to let the butter brown or burn, as this can impart a bitter flavor to the final dish.
The butter should merely melt and coat the surface, providing a smooth, non-stick foundation for your perfect omelette.
Step 5. Pour Egg Mixture Into Pan
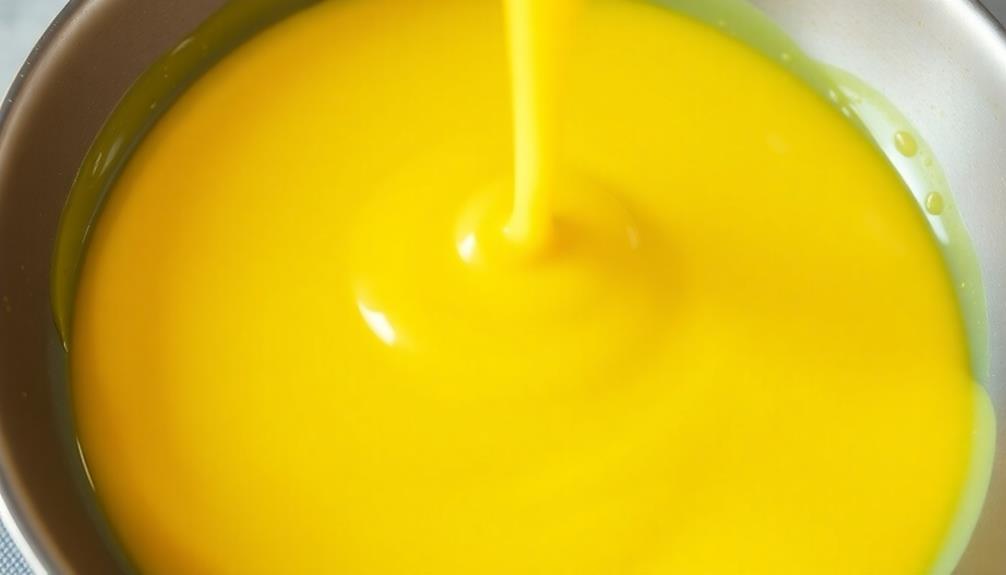
After adding the butter, gently pour the whisked egg mixture into the preheated pan.
Make sure to distribute the eggs evenly across the surface, covering the entire bottom of the pan. This will ensure the omelette cooks evenly, with no dry or undercooked sections.
As the eggs begin to set, use a spatula to gently lift the edges of the omelette, allowing the uncooked egg on top to flow underneath.
This technique will result in a fluffy, uniform texture throughout. Resist the urge to overstir or overhandle the omelette, as this can lead to a dense, rubbery result.
- Pour the egg mixture slowly and steadily into the pan.
- Use a spatula to lift the edges and allow uncooked egg to flow underneath.
- Avoid excessive stirring or handling to maintain a light, fluffy texture.
With a few simple steps, you'll have a perfectly cooked omelette ready to be filled with your favorite ingredients.
Pancake Ring for Griddle,2 Packs 6 Inch Egg Pancake Maker,Omelette Rings for Griddle,Non-stick Stainless Steel Crumpet Ring,Egg Muffin Rings Fried Egg Ring Pancake Shaper with Sinlicone Handle Grill
【Upgrade Large Size 6 Inch Pancake Ring】- Do you have hazzel that your egg ring is too small…
As an affiliate, we earn on qualifying purchases.
As an affiliate, we earn on qualifying purchases.
Final Thoughts
Creating the perfect omelette can be a rewarding and satisfying culinary experience. With the right technique and a few simple ingredients, you can whip up a fluffy, flavorful omelette in no time. Remember, the key to success is attention to detail and a little bit of practice.
As you continue to hone your omelette-making skills, don't be afraid to experiment with different fillings and flavor combinations. Mushrooms, cheese, and fresh herbs are all delicious options that can take your omelette to the next level.
Additionally, consider adjusting the cooking time and temperature to achieve your desired level of doneness.
Ultimately, the beauty of the omelette lies in its versatility. Whether you're cooking for one or hosting a brunch for friends, this dish can be a crowd-pleasing favorite.
Embrace the process, have fun, and savor the delicious results of your culinary efforts.
Frequently Asked Questions
What Is the Ideal Pan Size for an Omelette?
The ideal pan size for an omelette is typically an 8-inch or 9-inch nonstick skillet. This size allows the eggs to cook evenly and provides enough space to easily fold and serve the omelette.
How Many Eggs Should Be Used for a Perfect Omelette?
The number of eggs you should use for a perfect omelette depends on your appetite and the size of your pan. Generally, 2-3 eggs work well for a standard 8-inch pan, allowing for a fluffy and filling omelette.
Can I Use Milk Instead of Water in the Omelette Mixture?
You certainly can use milk instead of water in your omelette mixture. Milk will add richness and creaminess to the omelette, though it may result in a slightly heavier texture compared to using water.
How Long Should I Cook the Omelette on Each Side?
The length of time to cook the omelette on each side depends on your desired doneness. Generally, you'll want to cook it for 2-3 minutes per side for a soft, fluffy omelette. Adjust the cooking time as needed to reach your preferred texture.
Should I Use Butter or Oil to Cook the Omelette?
You can use either butter or oil to cook your omelette. Butter will give it a richer flavor, while oil has a higher smoke point and is better for high-heat cooking. Choose whichever suits your taste preferences.