Crafting your own homemade ice cream is a rewarding experience that allows you to customize flavors and satisfy your sweet tooth. Start by whisking together heavy cream, whole milk, sugar, and vanilla extract until the sugar dissolves. Then, pour the mixture into an ice cream maker and churn for 20-30 minutes until thickened. Transfer the ice cream to a freezer-safe container and freeze for at least 2 hours before serving. You can even mix in your favorite add-ins like chocolate chips, nuts, or fruit puree. Enjoy your freshly made ice cream – the possibilities for flavor creation are endless.
Key Takeaways
- Gather the essential ingredients: heavy cream, whole milk, sugar, vanilla extract, and salt for a creamy, flavorful homemade ice cream.
- Whisk the ingredients together until the sugar dissolves, then churn the mixture in an ice cream maker for 20-30 minutes.
- Freeze the churned ice cream in a freezer-safe container, stirring it every 30-60 minutes to achieve an even, smooth texture.
- Customize the ice cream with mix-ins like chocolate chips, fresh fruit, or crushed cookies to create unique flavors.
- Serve the chilled, homemade ice cream immediately and garnish it with desired toppings like whipped cream, chocolate sauce, or sprinkles.

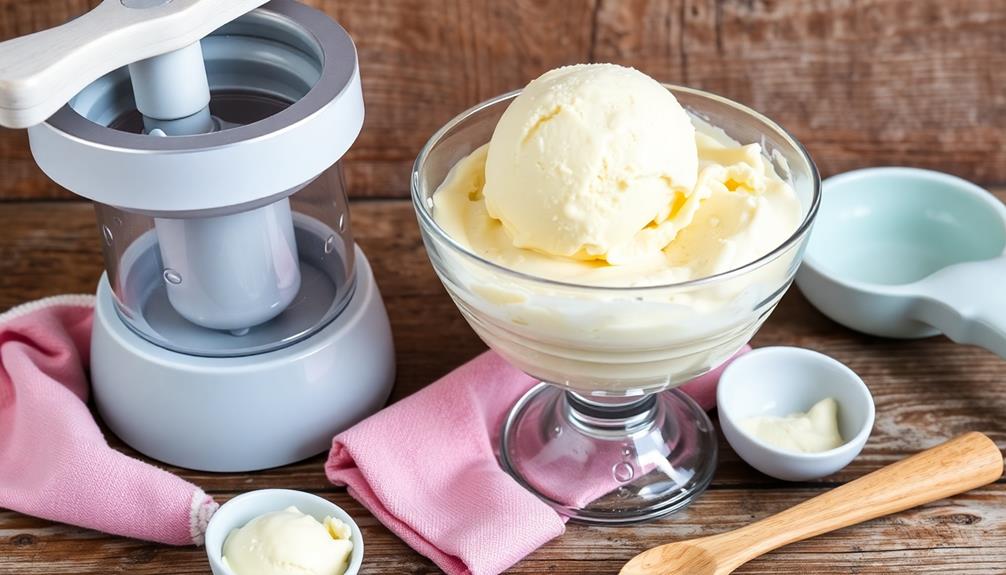
Cuisinart Ice Cream Maker, 1.5 Quart Double Insulated, Sorbet and Frozen Yogurt Maker, Ready in 20 Minutes, ICE-21P1, White
SUPERIOR FUNCTION: This Cuisinart Ice Cream Maker Machine features a mixing paddle that makes frozen treats in 20…
As an affiliate, we earn on qualifying purchases.
As an affiliate, we earn on qualifying purchases.
History
Ice cream's origins can be traced back thousands of years, with early forms of the frozen treat appearing in ancient civilizations like China and Egypt.
During the Tang Dynasty, Chinese emperors enjoyed a frozen mixture of milk and rice, while in Egypt, sorbet-like desserts were made by mixing fruit juices with snow.
The modern ice cream we know today emerged in the 17th century, with Italian immigrants bringing their gelato recipes to the United States.
In the 1800s, the invention of the hand-cranked ice cream maker made it possible for more people to enjoy this delectable dessert.
Over time, advancements in refrigeration and the introduction of commercial ice cream production led to the wide availability and variety of ice creams we've today.
From humble beginnings to a global phenomenon, the history of ice cream is a testament to the human desire for indulgent, frozen delights.

ZICOTO Set of 3 Reusable Ice Cream Containers 1 Quarts ea. – Perfect for Homemade Sorbet, Frozen Yogurt Or Gelato – Stackable Storage Pint Containers, Stickers And Lids Stores Easily In Freezer
Indulge In Homemade Delights: Savor the joy of crafting frozen delights at home and the heavenly pleasure of…
As an affiliate, we earn on qualifying purchases.
As an affiliate, we earn on qualifying purchases.
Recipe
Making homemade ice cream is a delightfully rewarding experience. The process of combining a few simple ingredients and watching them transform into a creamy, frozen treat is both satisfying and fun.
This recipe for DIY ice cream is a classic that can be easily customized to suit your taste preferences. Whether you prefer a rich, decadent flavor or a refreshing, fruity delight, the versatility of this recipe allows you to create your own signature ice cream.
Ingredients:
- 2 cups heavy cream
- 1 cup whole milk
- 3/4 cup granulated sugar
- 1 teaspoon vanilla extract
- Pinch of salt
Instructions:
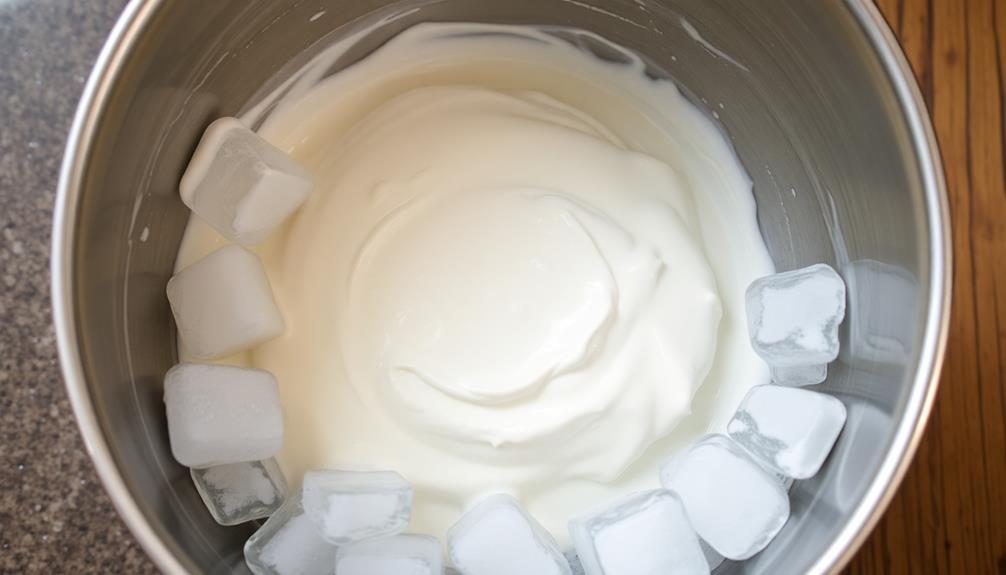
In a large bowl, whisk together the heavy cream, milk, sugar, vanilla, and salt until the sugar has dissolved. Once the mixture is smooth, pour it into your ice cream maker and churn according to the manufacturer’s instructions. The creamy base will thicken and transform into a rich, luscious dessert. For those wondering how to make heavy cream at home, combine whole milk with unsalted butter in the right proportions, which can be a useful substitute in various recipes.
Pour the mixture into an ice cream maker and churn according to the manufacturer's instructions, typically 20-30 minutes. Once the ice cream has reached your desired consistency, transfer it to a freezer-safe container and freeze for at least 2 hours before serving.
When making homemade ice cream, it's important to ensure that all your ingredients are well-chilled before starting the process. This will help the ice cream freeze more quickly and achieve a smooth, creamy texture.
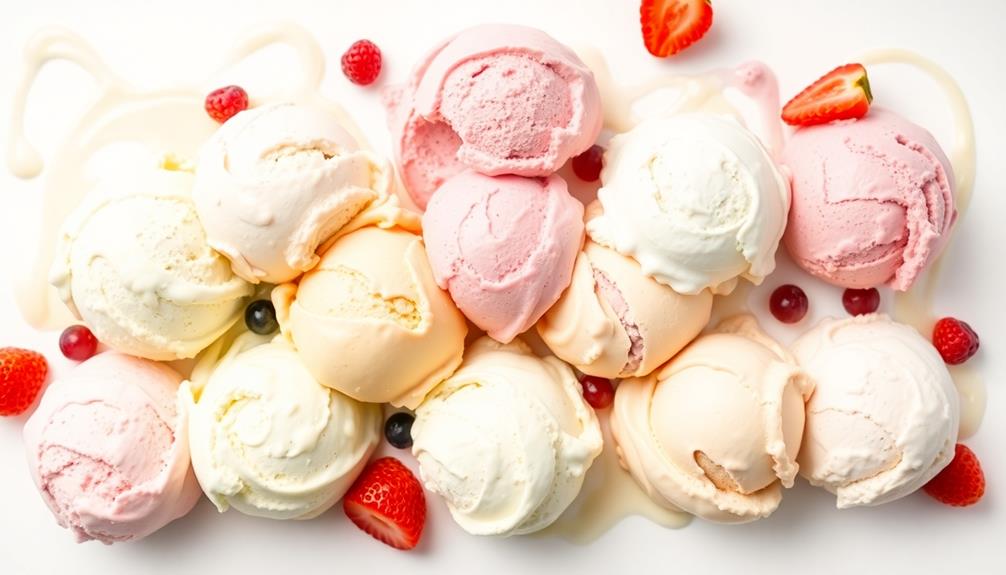
Additionally, feel free to experiment with different mix-ins, such as chopped nuts, chocolate chips, or swirls of fruit puree, to create your own unique flavor combinations.
Set of 2 Reusable Ice Cream Tub Containers 1.6 Quart Ea. – Perfect for Homemade Sorbet, Frozen Yogurt Or Gelato – Stackable Storage Containers, Stickers And Lids Stores Easily In Freezer
Perfect For Homemade Ice Cream & More: The ice cream tub set of 2 is a great way…
As an affiliate, we earn on qualifying purchases.
As an affiliate, we earn on qualifying purchases.
Cooking Steps
First, gather your ice cream ingredients – cream, milk, sugar, and any desired flavorings.
For a fun twist, consider adding mix-ins such as colorful sprinkles or cake pieces for a Birthday Cake Ice Cream vibe.
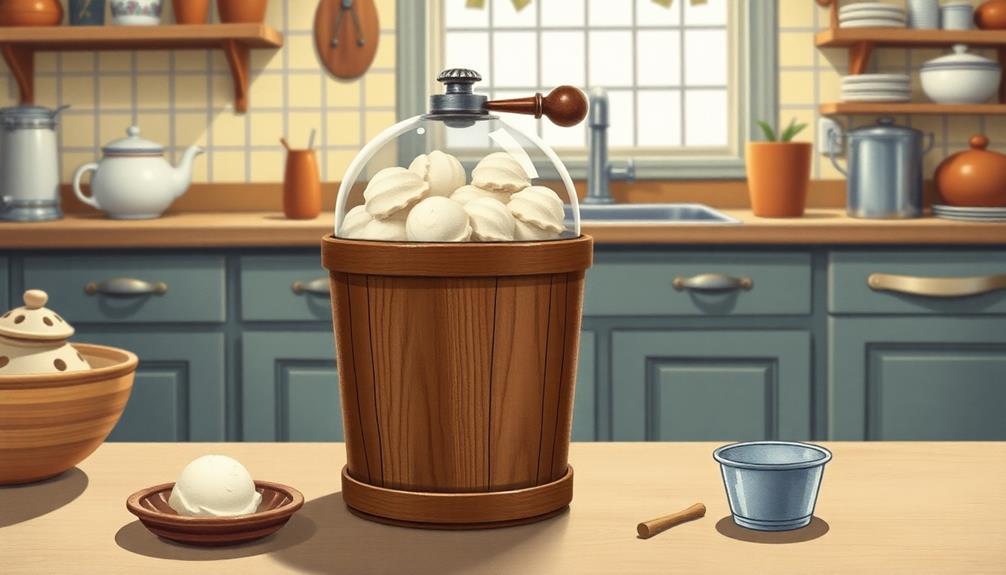
Next, churn the ice cream mixture in an ice cream maker until it reaches your desired consistency.
Finally, transfer the churned ice cream to a freezer-safe container and freeze it until firm, at least 2 hours.
Serve the homemade ice cream chilled, and feel free to top it with your favorite garnishes.
Step 1. Gather Ice Cream Ingredients

To begin your homemade ice cream journey, you'll need a few simple ingredients. The base of your ice cream starts with heavy cream and whole milk. Together, these provide the rich, creamy texture you crave.
You'll also need sugar to sweeten the mixture and enhance the flavor. For best results, use granulated white sugar, as it dissolves easily and doesn't leave any gritty texture. Additionally, a touch of vanilla extract will infuse your ice cream with that classic, aromatic taste.
Other popular mix-ins include:
- Chocolate chips or cocoa powder for chocolate ice cream
- Fresh fruit, like strawberries or blueberries
- Crushed cookies or candy for unique flavors
Once you've gathered your ingredients, you're ready to start mixing and churning your homemade ice cream. The process is surprisingly simple, and the results are utterly delicious.
With just a few basic elements, you can create a frozen treat that rivals anything you'd find at the store.
Step 2. Churn Ice Cream Mixture
With your ingredients ready, you can now begin churning the ice cream mixture. This step is critical for achieving the perfect texture and consistency.
First, pour the cream, milk, sugar, and any flavorings into your ice cream maker. Make sure to scrape down the sides to incorporate all the ingredients. As you prepare, consider that the average ice cream consumption per person in the U.S. is about 23 pounds annually, highlighting the popularity of this treat across all age groups, especially children ice cream consumption trends.
Next, turn on your ice cream maker and let it churn the mixture for about 20-30 minutes, or until the ice cream has thickened to your desired consistency.
As it churns, the blades will incorporate air into the mixture, creating that signature creamy texture.
Keep a close eye on the ice cream, as over-churning can cause it to become too dense and icy. Once the ice cream has reached your preferred thickness, it's time to transfer it to a freezer-safe container for the final freezing step.
Step 3. Freeze Ice Cream Mixture
Once your ice cream mixture has reached the desired consistency, transfer it to a freezer-safe container. This could be a metal or plastic container with a tight-fitting lid.
Avoid overfilling the container, as the mixture will expand as it freezes. Leave about an inch of headspace at the top.
Place the container in the coldest part of your freezer, typically the back or bottom shelves. Freeze the mixture for 2-3 hours, then remove it and stir thoroughly with a spoon or spatula.
This helps to break up any ice crystals that have formed and ensures an even freeze. Return the container to the freezer and repeat this stirring process every 30-60 minutes for the first 2-3 hours of freezing.
Once the ice cream has reached your desired consistency, usually after 4-6 hours of total freezing time, it's ready to enjoy!
Scoop and serve immediately, or store in the freezer for up to 2 months.
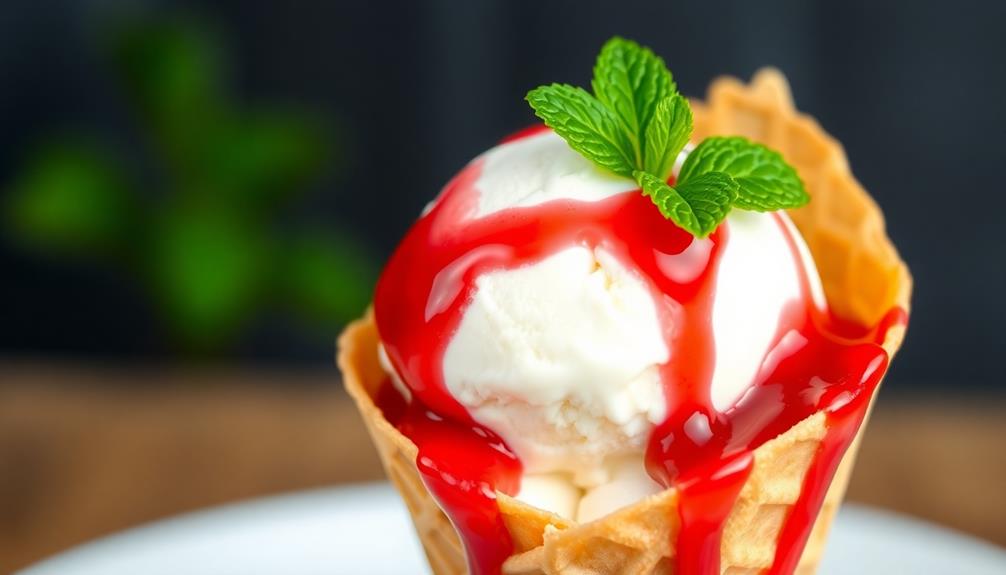
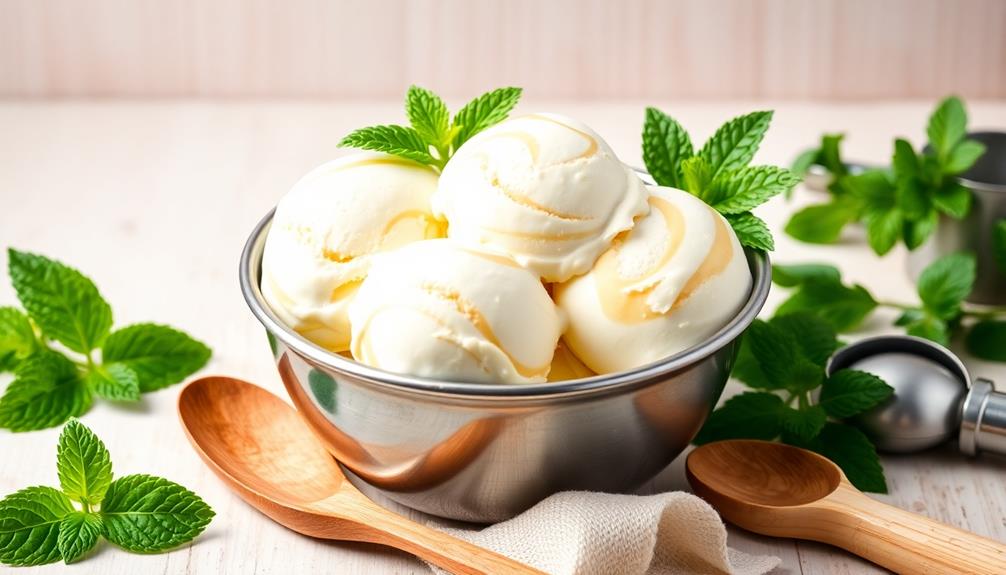
Step 4. Serve Chilled Homemade Ice Cream
After your homemade ice cream has finished freezing, it's time to enjoy the delicious results! Start by removing the ice cream container from the freezer.
Allow it to sit at room temperature for 5-10 minutes to slightly soften. This will make the ice cream easier to scoop.
Next, use a sturdy spoon or ice cream scoop to portion out servings into bowls or cones. Be gentle to avoid melting the ice cream.
Consider adding fun toppings like sprinkles, chocolate syrup, or chopped nuts to really make your creation stand out.
Serve the chilled homemade ice cream immediately for the best texture and flavor.
If you have leftovers, simply place the container back in the freezer. The ice cream should keep for 2-3 weeks when stored properly.
Enjoy your delicious DIY ice cream treat!
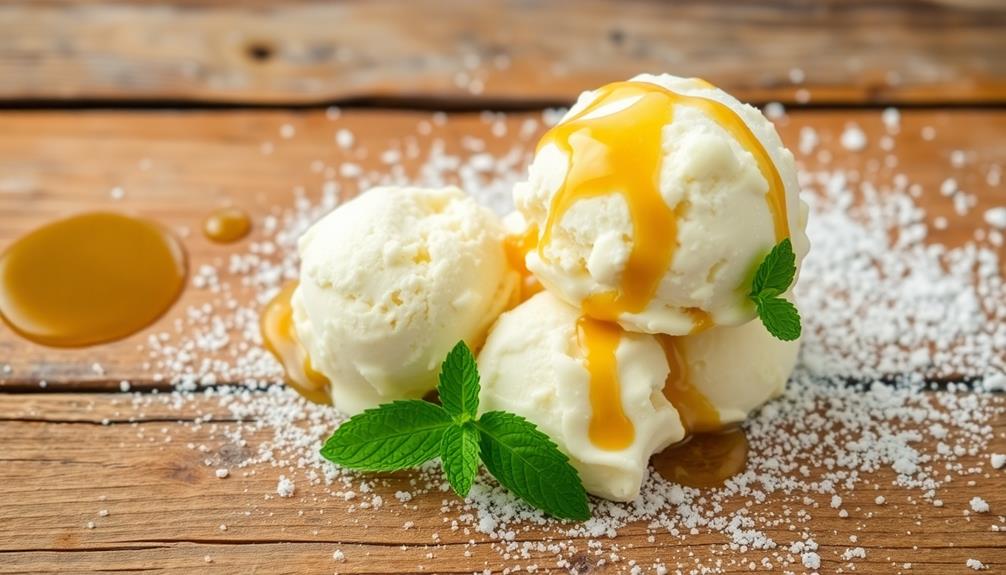
Step 5. Garnish With Desired Toppings
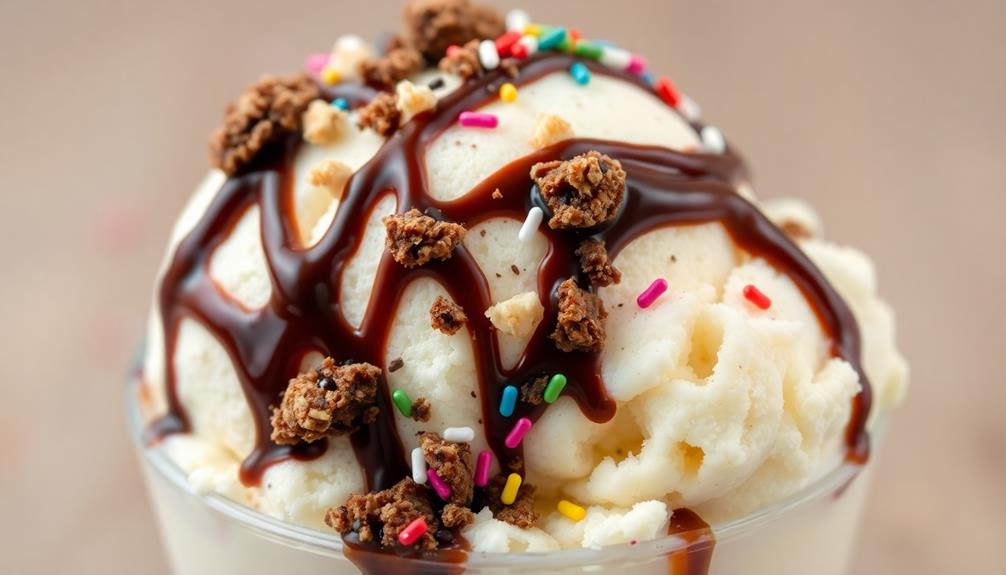
Garnish the chilled homemade ice cream with your favorite toppings to make it extra special. This is the perfect opportunity to get creative and customize your dessert to your exact taste.
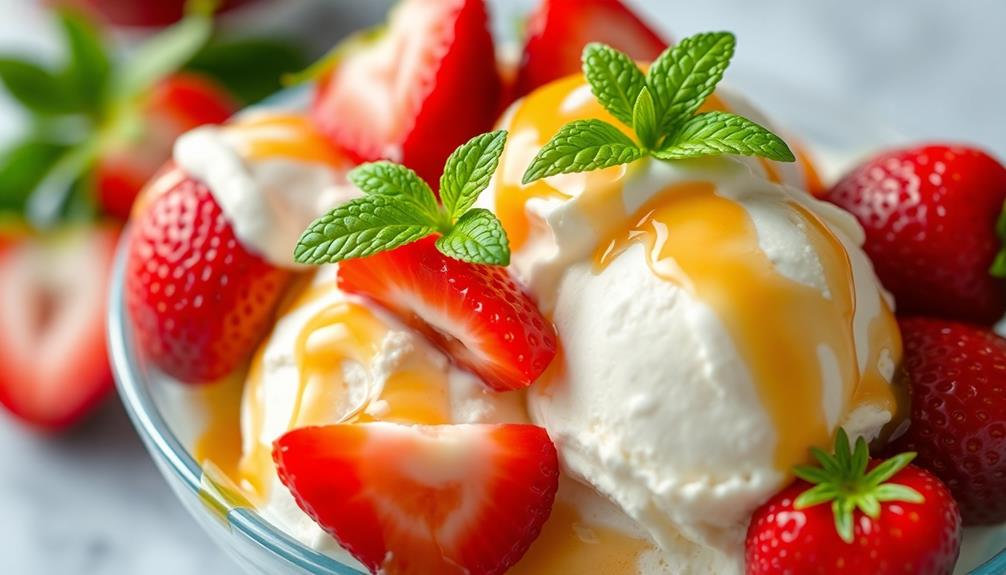
Start with a drizzle of gooey chocolate sauce or caramel for a classic pairing. Crumbled cookies, nuts, or crushed candy can provide a satisfying crunch. Fresh fruit like sliced strawberries, bananas, or a sprinkle of berries will add a refreshing burst of flavor. For an indulgent touch, top it off with a dollop of whipped cream and a sprinkle of shaved chocolate.
Feel free to mix and match your preferred toppings. Just be sure to add them right before serving so everything maintains its optimal texture and temperature.
The possibilities are endless when it comes to dressing up your homemade ice cream. Have fun experimenting to find your signature sundae combination!

Ice Cream Mix. Vanilla, Chocolate and Strawberry. Each Pocket of 8 Oz Makes 2 Quarts of Delicious Premium Old Fashioned Ice Cream!
Set Includes 3 Packs of Ice Cream Mix – Vanilla, Chocolate and Strawberry
As an affiliate, we earn on qualifying purchases.
As an affiliate, we earn on qualifying purchases.
Final Thoughts
Making homemade ice cream is an incredibly rewarding experience. You've followed the steps, whipped up a delicious batch, and now it's time to enjoy the fruits of your labor. As you dig into that first scoop, you'll be amazed by the fresh, creamy flavor that simply can't be matched by store-bought varieties.
But the fun doesn't stop there. Homemade ice cream is a canvas for your creativity. Experiment with unique flavors, mix-ins, and toppings to find your personal favorites. Drizzle on some warm fudge, sprinkle chopped nuts, or swirl in ribbons of caramel. The possibilities are endless! You could even try infusing your ice cream with exciting twists, like incorporating a cold brew coffee recipe for a rich and bold flavor profile that coffee lovers will adore. Or, layer in crushed cookies, fresh fruit, or even a hint of spice to keep your taste buds guessing. Whatever you dream up, homemade ice cream is the perfect way to turn any occasion into a delicious celebration!
Beyond the taste, the process of making ice cream at home is both engaging and therapeutic. There's something immensely satisfying about crafting a sweet treat from scratch.
As you continue to hone your skills, you'll find a sense of pride and accomplishment with each batch.
Frequently Asked Questions
How Long Does Homemade Ice Cream Last in the Freezer?
Homemade ice cream can last in the freezer for 2-4 weeks. However, the quality and flavor may decline over time. For best results, consume your homemade ice cream within a week or two for the freshest taste and texture.
Can I Use a Regular Blender Instead of an Ice Cream Maker?
You can use a regular blender instead of an ice cream maker, but the texture won't be as smooth and creamy. The blender won't incorporate as much air, resulting in a denser, icier ice cream.
What Are the Best Toppings to Add to Homemade Ice Cream?
The best toppings to add to your homemade ice cream are endless. You could try fresh fruit, crushed cookies, chopped nuts, chocolate shavings, or even a drizzle of caramel or chocolate sauce for a delightful finishing touch.
Can I Substitute the Milk With Non-Dairy Alternatives?
Absolutely! You can substitute the milk with non-dairy alternatives like almond, soy, or coconut milk. The resulting ice cream may have a slightly different texture and flavor, but it'll still be delicious.
How Do I Prevent Ice Crystals From Forming in My Homemade Ice Cream?
To prevent ice crystals, you'll want to lower the freezing point of your ice cream base. Try adding a bit of sugar, corn syrup, or alcohol – these will help keep your homemade treat smooth and creamy.