Mastering the art of perfect hard-boiled eggs is easier than you might think. Start by arranging the eggs in a single layer in a saucepan, then bring the water to a rolling boil before adding them. Remove from heat, cover, and let sit for 10-12 minutes for your desired doneness. An ice bath for 5 minutes after cooking helps loosen the shells for easy peeling. With a little practice, you'll be whipping up delicious hard-boiled eggs that are the perfect texture every single time. And when you're ready, dive deeper into the rich history and variety of ways to enjoy this humble kitchen staple.
Key Takeaways
- Start with room-temperature eggs arranged in a single layer to ensure even cooking.
- Bring the water to a rapid boil before adding the eggs and removing from heat.
- Cover the pot and let the eggs sit for 12 minutes to achieve the perfect doneness.
- Immediately transfer the cooked eggs to an ice bath for at least 15 minutes to ease peeling.
- Consistent practice and attention to cooking time and temperature lead to replicable perfect hard-boiled eggs.

Dash Rapid Egg Cooker – Boiler, Poacher & Steamer – Includes Measuring & Recipe Guide – Dishwasher Safe – BPA Free – Holds 7 Eggs, Black
- Versatile Egg Cooking Options: Hard, soft, poached, scrambled, omelets
- Precise Cooking with Sensor: Built-in thermal sensor for perfect results
- Compact Storage Design: Accessories store inside for space-saving
As an affiliate, we earn on qualifying purchases.
As an affiliate, we earn on qualifying purchases.
History

The humble hard-boiled egg has a rich history dating back centuries. In ancient times, the simple act of cooking an egg in boiling water was a practical way to preserve this nutritious food.
As civilizations progressed, the hard-boiled egg became a staple item, appearing in the diets of Egyptians, Greeks, and Romans.
During the Middle Ages, hard-boiled eggs were a common part of Easter celebrations, with the hard shell symbolizing the tomb of Christ.
By the 17th century, the recipe had spread across Europe, and creative cooks began experimenting with different ways to prepare and serve the humble hard-boiled egg.
Today, the hard-boiled egg remains a beloved culinary classic, beloved for its convenience, versatility, and delicious taste. It’s perfect on its own as a quick snack or as a hearty addition to salads, sandwiches, and more. Whether you’re prepping meals for the week or whipping up breakfast on the go, hard-boiled eggs can shine just as much as making fluffy scrambled eggs. Both dishes are simple yet satisfying, proving that sometimes the best meals come from the humblest of ingredients.
Whether enjoyed on its own, incorporated into salads and sandwiches, or used as an ingredient in various dishes, the hard-boiled egg continues to be a kitchen staple that has stood the test of time.
Recipe
Cooking the perfect hard-boiled egg can be a simple yet elusive task. The key is to strike the right balance between a fully cooked yolk and a tender, easy-to-peel white. With a few basic steps, you can achieve that coveted jammy yolk and smooth, blemish-free exterior every time.
The method outlined here ensures consistent results, no matter if you're cooking a single egg or a dozen. By paying close attention to timing and temperature, you'll be rewarded with hard-boiled eggs that are a pleasure to peel and a delight to eat.
Ingredients:
- Eggs
- Water
Instructions:
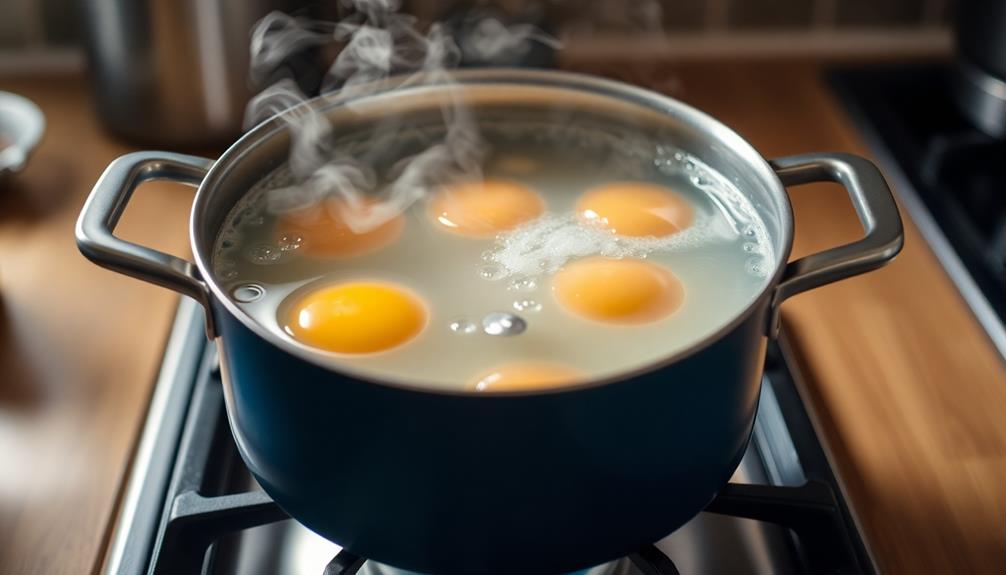
Place the eggs in a single layer in a saucepan and cover with at least an inch of cold water. Bring the water to a rapid boil over high heat.
Once the water is at a full boil, remove the pan from the heat, cover, and let the eggs sit for 10-12 minutes.
Tips:
To easily peel the eggs, tap them gently on the counter to crack the shells, then roll them between your hands to loosen the membranes.
Submerging the cooked eggs in an ice bath for 5 minutes will also help the shells slip off more cleanly.
For the best texture and flavor, consume the hard-boiled eggs within 1 week of cooking.
Cooking Steps
Place the eggs in a single layer in a saucepan.
Bring the water to a boil, then remove the pan from the heat and cover it.
Let the eggs stand for the specified time, then drain and chill them in an ice bath.
Step 1. Place Eggs in Single Layer
Once you've gathered your eggs, place them in a single layer at the bottom of a saucepan. This is an important step, as it ensures the eggs cook evenly. If the eggs are stacked or crowded, some may end up over- or under-cooked. By arranging them in a single layer, you're giving each egg the same exposure to the heat, resulting in a consistent doneness throughout.
Be sure to choose a saucepan that's large enough to accommodate the number of eggs you're cooking without cramming them in. Leaving a little space between the eggs allows for proper heat circulation.
As you gently lower the eggs into the pan, take care not to crack their shells, which could lead to leakage during the cooking process.
Once the eggs are in place, you're ready to move on to the next step: adding water to the pan. This will ensure the eggs cook evenly and prevent them from overcooking on the bottom.
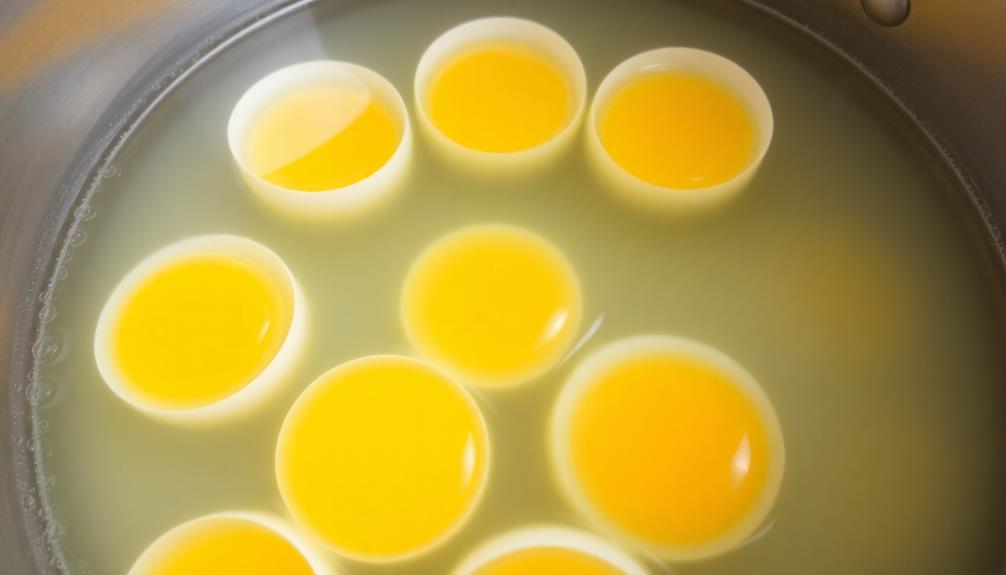
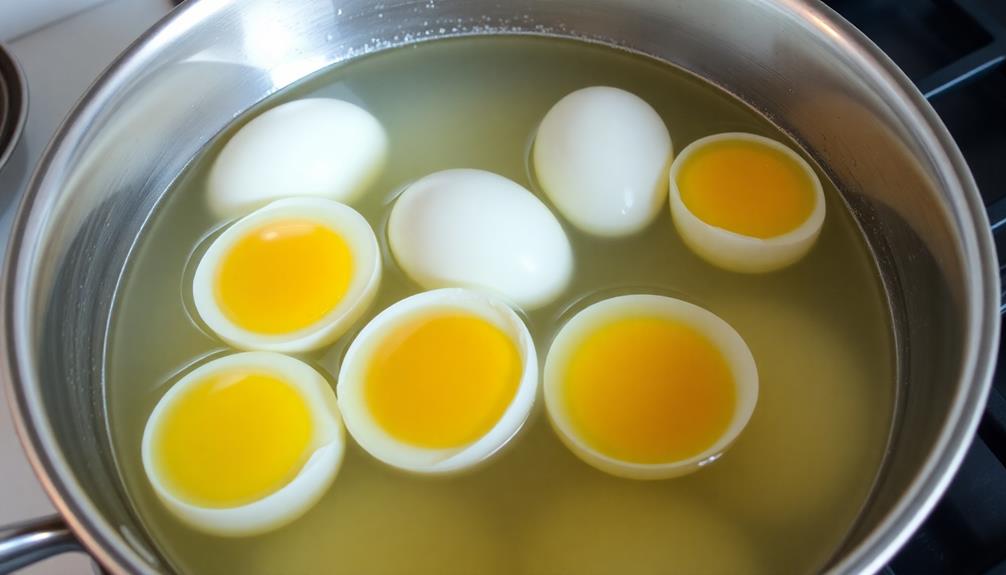
Step 2. Bring to a Boil
With the eggs arranged in a single layer, you can now turn your attention to the cooking process.
Bring a pot of water to a rolling boil over high heat. This means the water should be bubbling vigorously, with large, rapidly rising bubbles breaking the surface. The size and vigor of the bubbles indicate the water has reached a temperature of 212°F (100°C), the boiling point for water at standard atmospheric pressure.
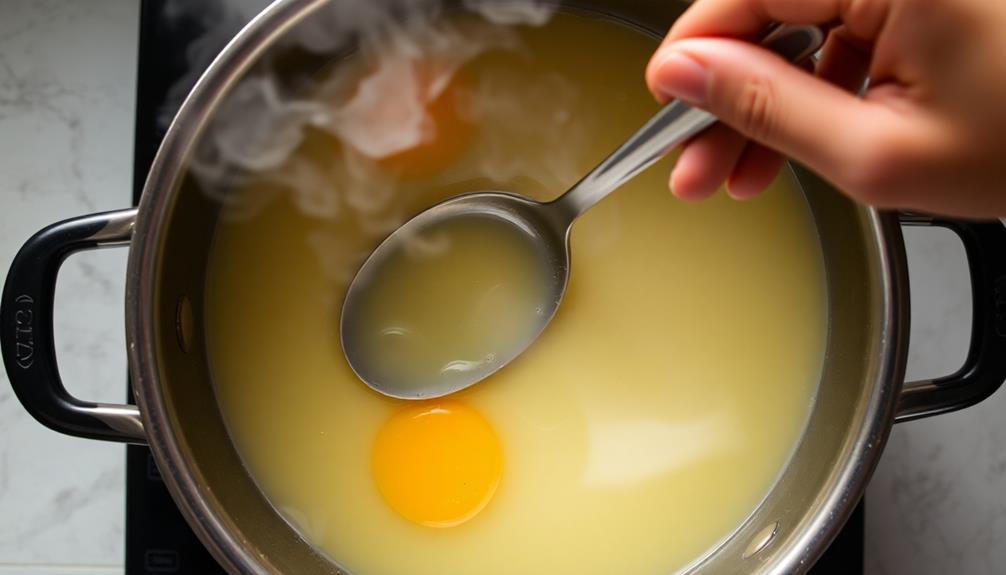
Once the water is boiling, carefully lower the eggs into the pot using a spoon or tongs. Avoid dropping them in, as this can crack the shells.
The water temperature will drop slightly when the cold eggs are added, but it should quickly return to a full boil. Set a timer for the desired cooking time, typically 6-12 minutes, depending on your preference for soft, medium, or hard-boiled eggs.
Step 3. Remove From Heat
When the timer goes off, remove the pot from the heat. This stops the cooking process and prevents the eggs from overcooking. Immediately drain the hot water from the pot, then cover the eggs with cold water. This rapid temperature change helps separate the shells from the eggs, making them easier to peel.
Allow the eggs to sit in the cold water for at least 15 minutes. This is an important step, as it allows the eggs to fully cool before attempting to peel them. The cold water bath also helps tighten the membranes between the shells and the eggs, further aiding in the peeling process.
Once the 15 minutes are up, you can begin peeling the eggs. Gently tap each egg on the counter to crack the shell, then peel starting from the wider end of the egg. The cold water bath should have made the shells slip off easily, leaving you with perfect hard-boiled eggs every time.
Step 4. Cover and Let Stand

After the timer goes off, cover the pot with a lid and let the eggs stand for 12 minutes. This resting period is essential for achieving the perfect hard-boiled egg. As the eggs sit, the residual heat will continue to cook them through, ensuring the yolks are set and firm, while the whites remain tender and delicate.
During this time, resist the urge to uncover the pot or disturb the eggs. Letting them stand undisturbed allows the temperature to stabilize evenly, resulting in a consistent doneness throughout.
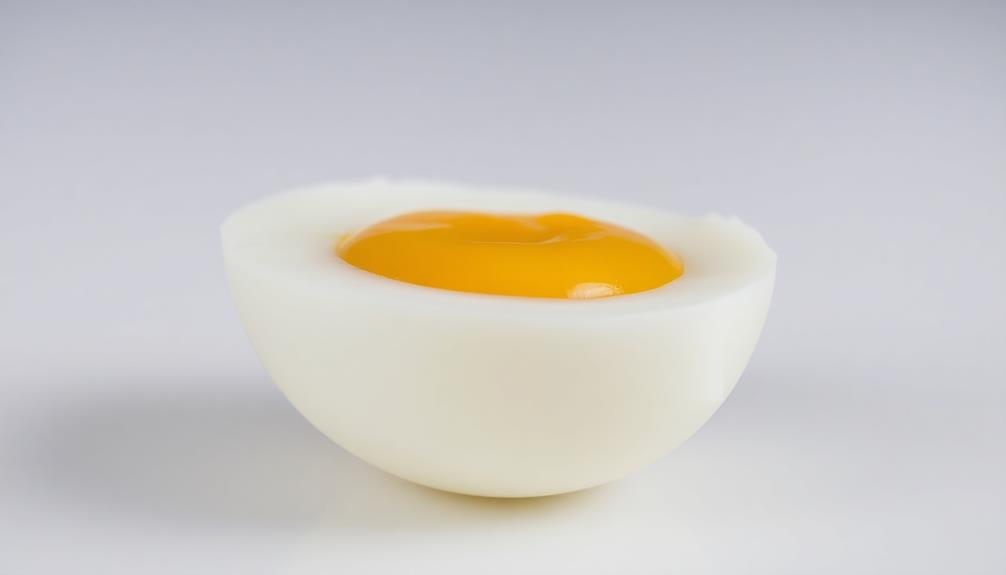
The 12-minute rest period is the key to achieving that sought-after jammy yolk with a tender, creamy texture.
Once the time is up, you can carefully remove the lid. The eggs should now be perfectly cooked and ready to serve or chill for later use.
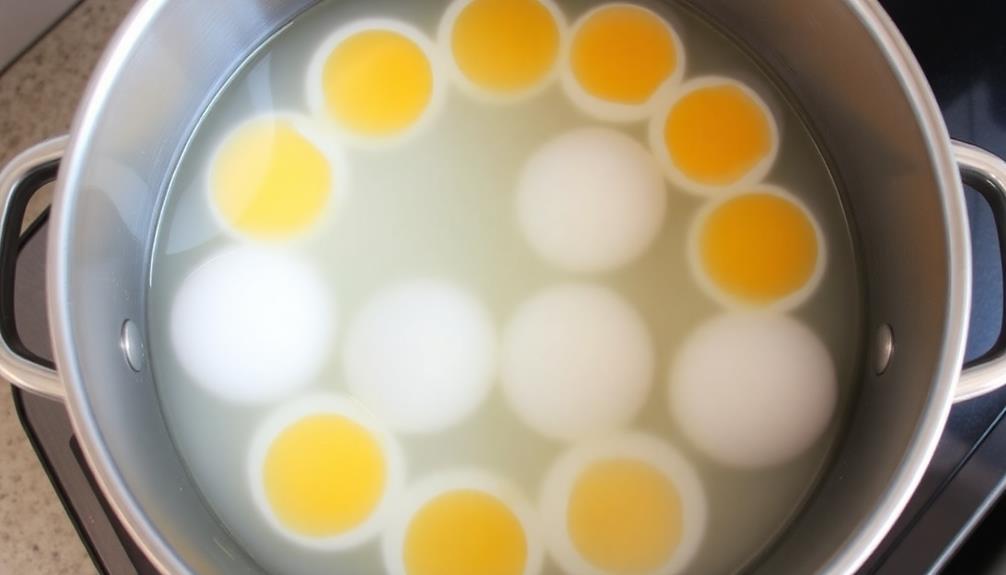
Step 5. Drain and Chill in Ice Bath
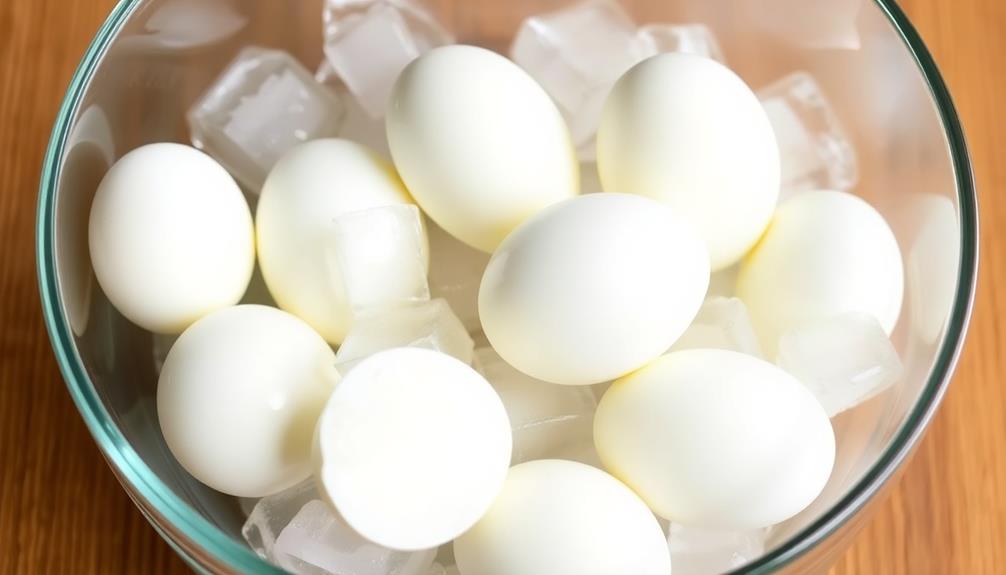
Next, drain the hot water from the pot and gently transfer the cooked eggs to an ice bath. This rapid cooling process is crucial for achieving the perfect hard-boiled egg. The ice water will quickly stop the cooking, ensuring the yolks don't overcook and the whites don't get rubbery.
Let the eggs sit in the ice bath for at least 15 minutes. This allows the shells to cool completely, making them much easier to peel. The cold water also firms up the egg whites, preventing them from sticking to the shells.
Once chilled, gently tap each egg against a hard surface to crack the shell. Roll the egg between your palms to loosen the shell, then peel it off starting from the wider end of the egg.
The cold water bath helps separate the membrane from the white, giving you clean, smooth-peeled eggs every time.
Final Thoughts
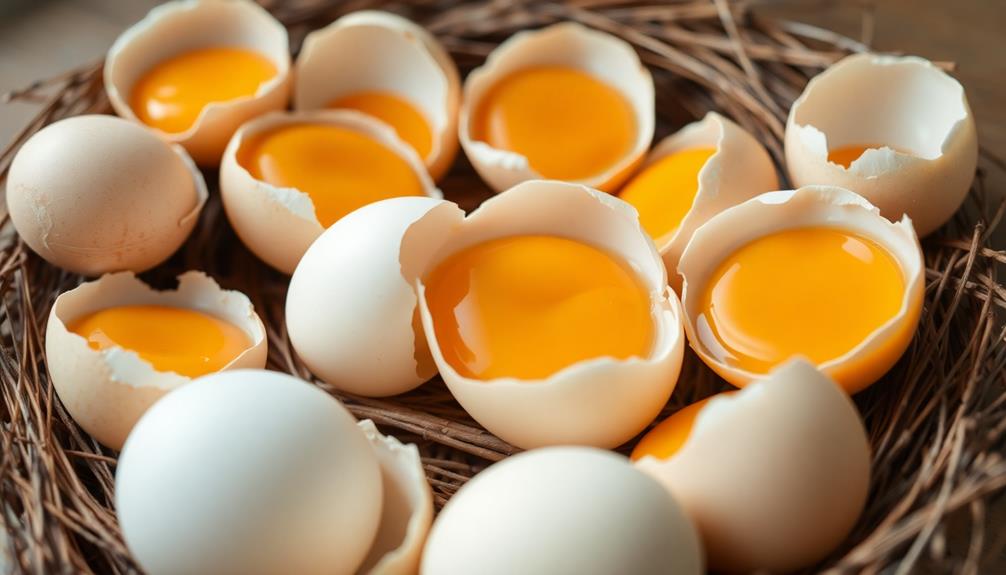
Achieving the optimal hard-boiled egg is a rewarding culinary accomplishment. You've followed the essential steps, from selecting the freshest eggs to chilling them in an ice bath.
Now, as you admire your perfectly cooked, easy-to-peel orbs, you can take pride in your newfound egg-pertise. Not only have you mastered the art of preparing these delightful eggs, but you’re also honing culinary skills that extend far beyond the breakfast table. Who knows? With a little practice, you could soon be flipping perfect pancakes from scratch to accompany those eggs, creating a breakfast spread that would impress even the toughest critics. Cooking, after all, is just as much about the joy of learning as it is about savoring the delicious results.
Remember, the keys to consistently great hard-boiled eggs are:
- Starting with room-temperature eggs
- Gently lowering them into rapidly boiling water
- Cooking for the precise duration, based on your desired doneness
- Immediately transferring the eggs to an ice bath to stop the cooking
With a little practice, you'll be able to replicate these results time and time again.
Hard-boiled eggs are a versatile ingredient, perfect for snacks, salads, and more. Enjoy the satisfaction of mastering this basic kitchen skill – your taste buds (and those you cook for) will thank you.
Frequently Asked Questions
How Long Can Hard-Boiled Eggs Be Stored in the Refrigerator?
Hard-boiled eggs can be stored in the refrigerator for up to one week. After that, they'll start to lose their freshness and develop an unpleasant odor or flavor. Keep them chilled and eat them within a week for best quality.
Can I Use Older Eggs for Hard-Boiling?
You can use older eggs for hard-boiling, but fresher eggs are better. Older eggs are easier to peel, but fresher eggs have better texture and flavor. Opt for eggs that are a week or two old for the best results.
Do I Need to Add Vinegar to the Cooking Water?
While you don't need to add vinegar to the cooking water, doing so can help make peeling the eggs easier. The acidity in the vinegar helps to separate the membrane from the shell.
Can I Peel the Eggs Immediately After Cooking?
You can peel the eggs immediately after cooking, but it's better to let them cool first. This makes the shells come off more easily and prevents the whites from sticking to the shells.
How Can I Prevent the Eggs From Cracking During Cooking?
To prevent the eggs from cracking during cooking, add a teaspoon of vinegar to the water. This helps the shells release more easily. Additionally, gently lower the eggs into the boiling water to avoid cracking.