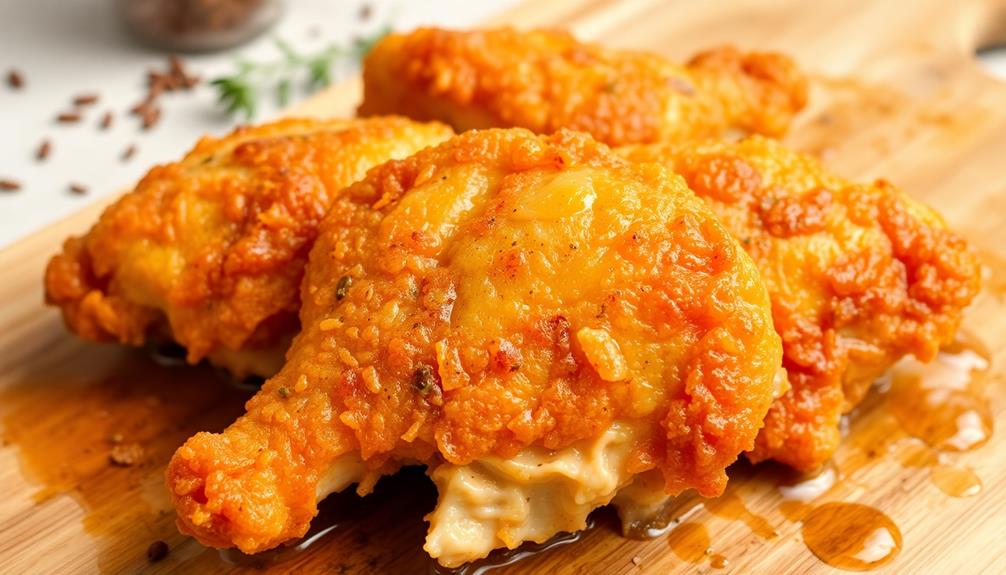

Elevate your fried chicken to chef-worthy status by mastering time-honored Southern techniques. First, soak the chicken in tangy buttermilk to tenderize the meat. Then, coat it in a seasoned flour blend, ensuring an even, crispy crust. Fry the chicken at the perfect 350°F temperature, flipping halfway for golden-brown perfection. Let it rest briefly to redistribute the juices before serving hot. Fried chicken's versatility allows you to experiment with diverse spice blends and marinades, transforming this classic comfort food into your own signature dish. Continue reading to uncover the rich history and expert tips that will make you a fried chicken connoisseur.
Key Takeaways
- Soak the chicken in buttermilk for 30 minutes to 12 hours to tenderize the meat and enhance flavor.
- Dredge the chicken in a seasoned flour mixture to achieve a crispy, flavorful coating.
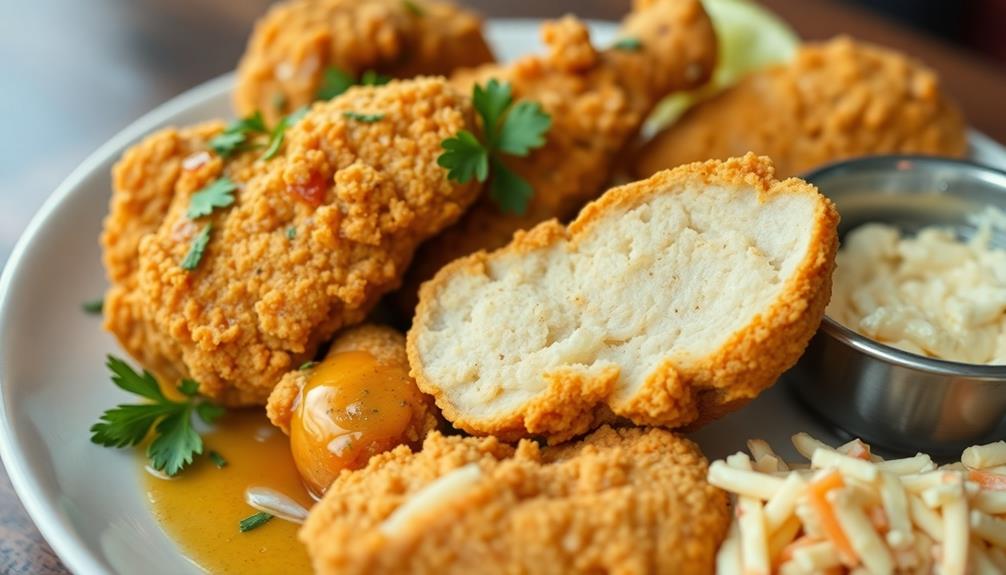
- Fry the chicken at 350°F for 12-15 minutes, ensuring the internal temperature reaches 165°F.
- Let the fried chicken rest for 3-5 minutes to allow the internal cooking to finish and the juices to redistribute.
- Serve the fried chicken immediately for optimal crispiness and juiciness, and offer classic Southern side dishes and dipping sauces.

Taylor Stainless Steel Candy and Deep Fry Thermometer, 12-Inch Analog Paddle with Pan Clip, Ideal for Frying, Sugar, Brewing, Syrup, and More
MASTER CONFECTIONS & DEEP FRYING: Measures temperatures from 100°F to 400°F, covering all essential cooking stages including Thread,…
As an affiliate, we earn on qualifying purchases.
As an affiliate, we earn on qualifying purchases.
History
The origins of fried chicken can be traced back to the American South, where it became a beloved staple dish. In the 19th century, Scottish immigrants introduced a technique of deep-frying seasoned chicken, which was then enthusiastically adopted by African Americans and became a signature dish.
Fried chicken gained widespread popularity, becoming a symbol of Southern hospitality and a source of pride. During the Great Migration, when millions of African Americans moved north, they brought their fried chicken recipes with them, helping to popularize the dish across the United States.
Today, fried chicken remains a cherished comfort food, with countless regional and family variations. From the crispy, peppery fried chicken of Louisiana to the buttermilk-brined birds of Tennessee, the dish continues to evolve and delight taste buds worldwide.
Whether enjoyed at a church picnic or a high-end restaurant, fried chicken's enduring appeal speaks to its place as a true American culinary icon.

Enameled Cast Iron Dutch Oven – Umite Chef 5QT Pot with Lid & Cotton Potholders – Heavy-Duty Cookware for Bread Baking, Braising, Stews, Roasting(Cream White)
Even Heat Distribution Retention: This Umite Chef Dutch oven Made with heavy-duty enameled cast iron, ensures even heat…
As an affiliate, we earn on qualifying purchases.
As an affiliate, we earn on qualifying purchases.
Recipe
Fried chicken is a classic comfort food that can be enjoyed any time of the year. It's a dish that brings people together and creates a sense of nostalgia.
Whether you're cooking for a family gathering or a casual weekend meal, this fried chicken recipe is sure to satisfy.
The key to delicious fried chicken lies in the preparation. Taking the time to properly brine and season the chicken ensures that each bite is juicy and flavorful. Additionally, using the right cooking method and oil temperature is crucial for achieving the perfect crispy exterior and tender interior.
Ingredients:
- 8 pieces of chicken (a mix of drumsticks and thighs)
- 2 cups buttermilk
- 1 cup all-purpose flour
- 1 teaspoon paprika
- 1 teaspoon garlic powder
- 1 teaspoon onion powder
- 1 teaspoon cayenne pepper
- 1 teaspoon salt
- 1/2 teaspoon black pepper
- Vegetable oil for frying
Cooking Instructions:
In a large bowl, combine the chicken and buttermilk. Cover and refrigerate for at least 30 minutes, or up to 24 hours.
In a shallow dish, mix together the flour, paprika, garlic powder, onion powder, cayenne pepper, salt, and black pepper.
Remove the chicken from the buttermilk, allowing any excess to drip off. Dredge the chicken in the seasoned flour, pressing to help it adhere.
Fill a large, heavy-bottomed pot or Dutch oven with 3 inches of vegetable oil and heat to 350°F. Carefully add the chicken to the hot oil and fry for 12-15 minutes, or until golden brown and cooked through.
Transfer the fried chicken to a paper towel-lined plate to drain excess oil.
Tips:
For extra crispy chicken, consider double-dredging the chicken in the seasoned flour before frying.
Additionally, letting the fried chicken rest on a wire rack for a few minutes before serving will help maintain the crispiness of the crust.
buttermilk chicken marinade
As an affiliate, we earn on qualifying purchases.
As an affiliate, we earn on qualifying purchases.
Cooking Steps
First, soak the chicken in buttermilk to tenderize the meat.
Next, dredge the chicken in a well-seasoned flour mixture, ensuring a crispy coating.
Then, fry the chicken at a consistent 350°F until golden brown and cooked through.
Step 1. Soak Chicken in Buttermilk

After preparing the chicken, it's time to soak it in buttermilk. This crucial step helps to tenderize the meat and ensure a crispy, flavorful crust.
To begin, you'll need:
- Boneless, skinless chicken pieces
- Buttermilk
- A large resealable bag or container
Place the chicken in the bag or container and pour in enough buttermilk to fully submerge the pieces. Seal the bag or cover the container, then refrigerate for at least 30 minutes, or up to 12 hours. The longer the chicken soaks, the more tender and flavorful it will become.
The acidic nature of the buttermilk helps break down the chicken's fibers, resulting in a juicier, more tender texture.
Additionally, the buttermilk's thickness and creaminess will contribute to the final crispy coating. Once the soaking is complete, you're ready to move on to the next steps of the frying process.
Step 2. Dredge Chicken in Seasoned Flour

After letting the chicken soak in the buttermilk, remove the pieces one by one and let any excess liquid drip off.
Next, it's time to dredge the chicken in seasoned flour. This crucial step helps create the signature crunchy, golden-brown crust.
To do this, set up a dredging station with three shallow dishes. In the first, place all-purpose flour. In the second, combine the flour with a blend of spices like paprika, garlic powder, onion powder, cayenne, and salt and pepper. This seasoned flour mixture is what'll coat the chicken, imparting flavor and texture. In the third dish, beat a couple of eggs with a splash of water to create an egg wash, which will help the seasoned flour stick to the chicken. Dip each piece of chicken first into the plain flour, then into the egg wash, and finally into the seasoned flour mixture, ensuring an even coating. While this is a recipe for crispy chicken, if you’re curious about entirely different tips, like how to prepare hummingbird food, remember the key is dissolving sugar in water with the right ratio—no dyes needed!
Dredge each piece of chicken first in the plain flour, fully coating it.
Then, transfer it to the seasoned flour mixture, pressing gently to help the coating adhere. Shake off any excess before carefully placing the dredged chicken pieces onto a baking sheet or plate, ready for the next step of the frying process.
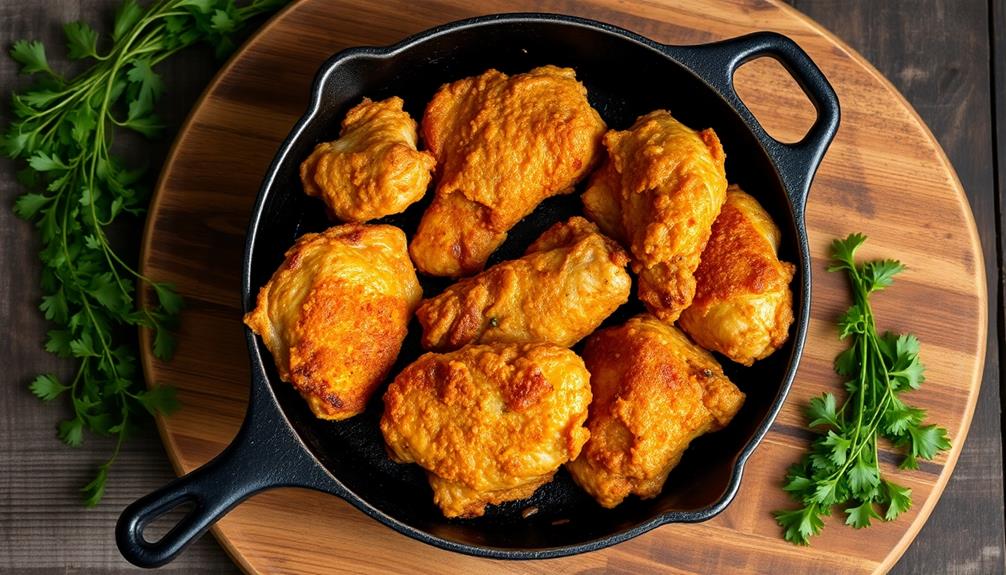
Step 3. Fry Chicken at 350°F
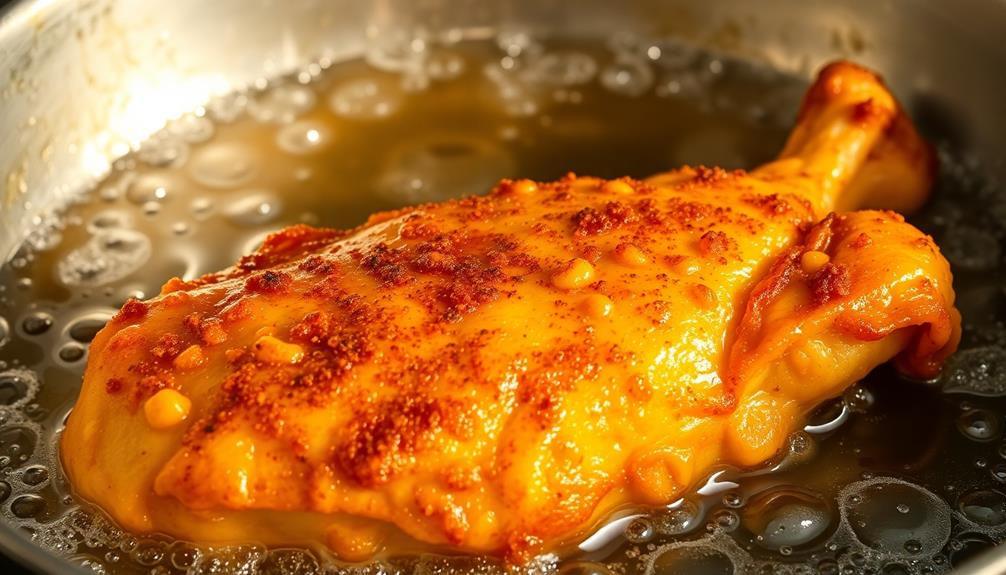
Heating the oil to 350°F is the next critical step.
You'll want to use a heavy-bottomed pot or Dutch oven, filling it with at least 2-3 inches of vegetable or peanut oil. Allow the oil to come up to temperature, using a thermometer to monitor it closely.
Once it reaches 350°F, you're ready to start frying.
Carefully lower the breaded chicken pieces into the hot oil, being mindful not to overcrowd the pot. Fry the chicken for 12-15 minutes, flipping halfway through, until the exterior is golden brown and crispy. The internal temperature should reach 165°F.
Remove the fried chicken from the oil using a slotted spoon or tongs, allowing any excess oil to drip off.
Transfer the pieces to a paper towel-lined plate or wire rack to cool slightly before serving. Enjoy your homemade fried chicken masterpiece!
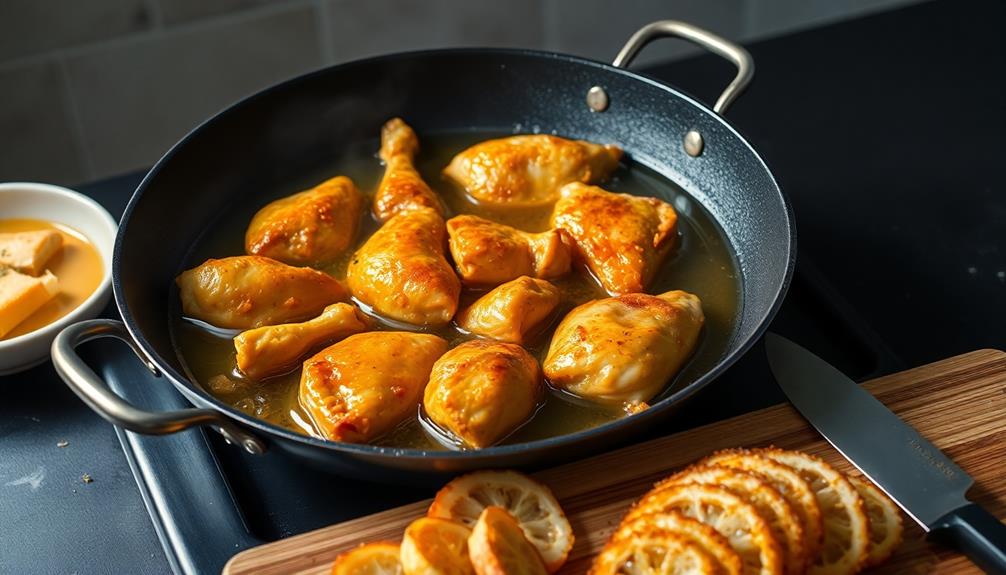
Step 4. Let Chicken Rest Briefly
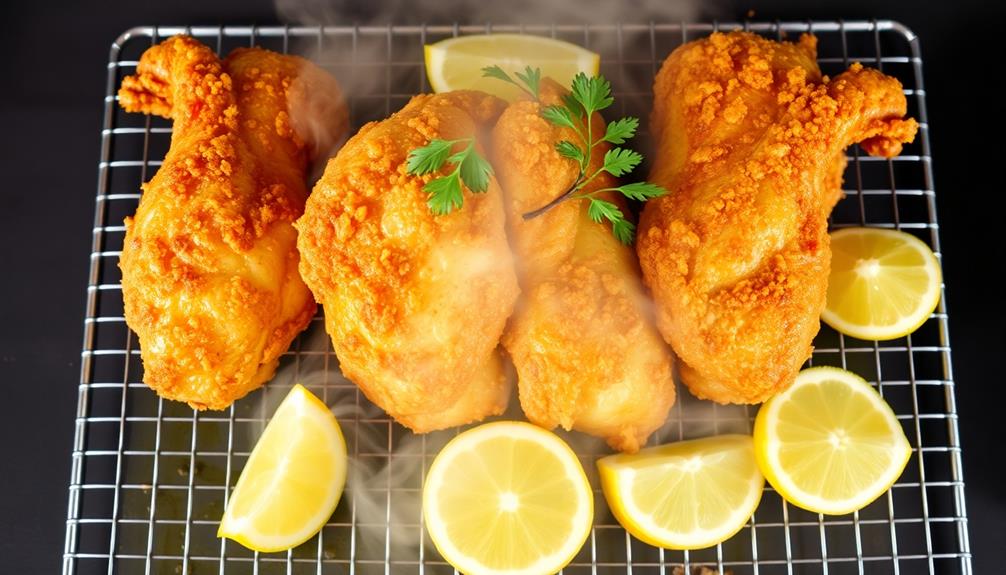
Once you've removed the fried chicken from the oil, it's important to let it rest briefly. This resting period allows the chicken to finish cooking through, as the interior temperature continues to rise even after it's been taken out of the hot oil.
It also gives the meat a chance to reabsorb any juices that were pushed to the surface during the frying process.
For best results, transfer the fried chicken pieces to a wire rack or paper towel-lined plate and let them sit for 3-5 minutes before serving.
This brief rest accomplishes a few key things:
- It ensures the chicken is cooked through to a safe internal temperature of 165°F.
- It allows the juices to redistribute throughout the meat, resulting in moist, tender pieces.
- It gives the crust time to set and develop a satisfying crispness.
Taking these extra couple of minutes to let the chicken rest makes all the difference in creating that perfectly fried, restaurant-quality texture.
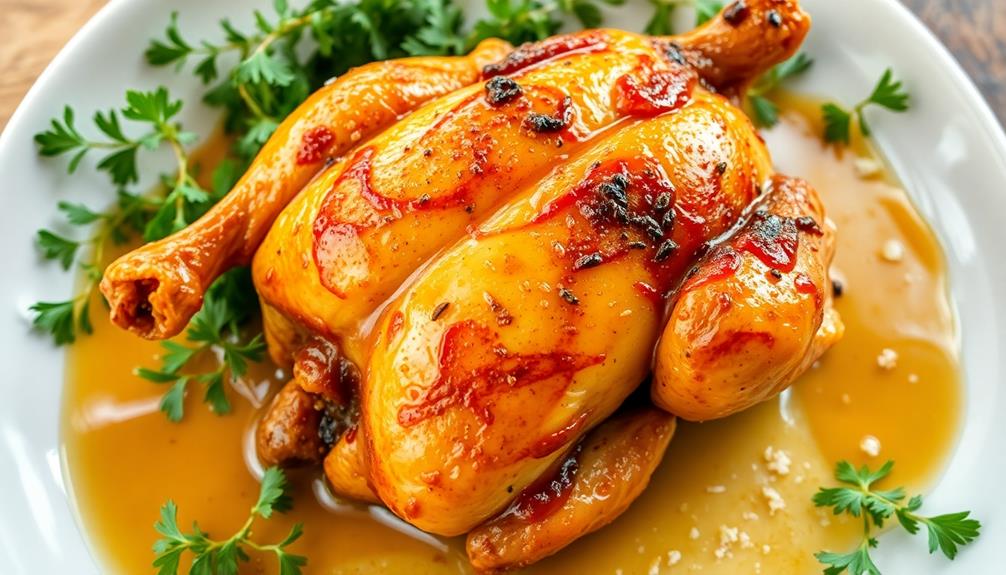
Step 5. Serve Chicken Immediately
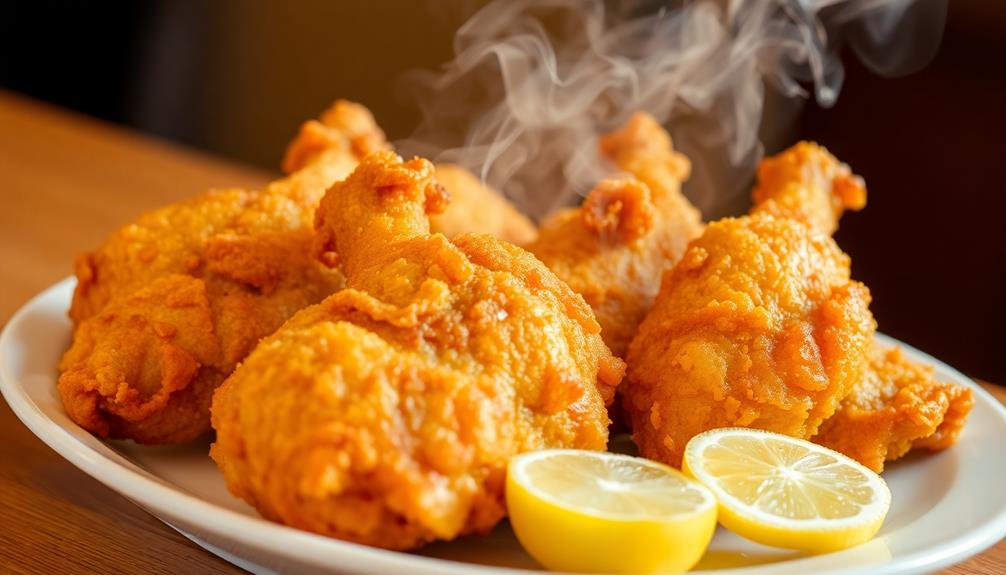
Once the fried chicken has rested, it's time to serve it up. Presentation is key, so arrange the chicken pieces beautifully on a platter or plate. Drizzle any remaining juices from the resting process over the top, adding a touch of glossy shine.
Serve the fried chicken piping hot – the crispiness and juiciness are best enjoyed immediately. Provide your guests with plenty of napkins, as fried chicken can be a messy delight.
Accompany the main dish with classic Southern sides like:
- Creamy mashed potatoes
- Buttery biscuits
- Tangy coleslaw
- Savory collard greens
Don't forget the dipping sauces! Ranch, honey mustard, and hot sauce are all popular pairings.
Encourage your guests to dig in and enjoy every bite of your perfectly-executed fried chicken. The hard work has paid off, and now it's time to savor the fruits of your labor.

Kentucky Kernel Seasoned Flour, 10 Ounce (2-Pack)
As an affiliate, we earn on qualifying purchases.
As an affiliate, we earn on qualifying purchases.
Final Thoughts
Your fried chicken journey is now complete. Take a moment to savor your accomplishment – you've mastered the art of frying chicken to crispy, golden perfection. As you sit down to enjoy the fruits of your labor, a few final thoughts come to mind.
First, consider how versatile this recipe can be. The basic technique lends itself well to various flavor profiles, so feel free to experiment. Try different spice blends, marinades, or dipping sauces to keep things interesting. Fried chicken also makes a great base for sandwiches, salads, or even tacos. You could easily incorporate the fried chicken into soft tortillas and top with fresh ingredients for a delicious twist on taco night. For an extra punch of flavor, use a homemade taco seasoning recipe to season the chicken before frying. This allows you to customize the spices to suit your taste, making each bite uniquely satisfying. Additionally, incorporating an *easy taco seasoning recipe* enables more flexibility and control over the ingredients, ensuring a balance of flavors that perfectly complements the crispy chicken. Whether you prefer a smoky, spicy, or zesty kick, this approach allows you to adjust the seasoning to your liking. The end result is a delicious meal that can be adapted to every occasion, from weeknight dinners to festive gatherings. For those looking to elevate their culinary creativity, an easy homemade taco seasoning recipe can truly take this dish to the next level. By crafting your own spice blend, you can experiment with unique combinations of chili powder, cumin, garlic powder, and paprika to achieve the perfect balance of heat and flavor. Whether you’re prepping for a casual family dinner or entertaining a crowd, this customizable approach ensures your fried chicken will be the star of the table.
Additionally, don't be afraid to scale this recipe up or down to suit your needs. Whether you're feeding a crowd or cooking for one, the method remains the same. Adjust the ingredient quantities accordingly, and you'll have delicious fried chicken at the ready.
Lastly, remember that practice makes perfect. Each time you fry chicken, you'll gain more confidence and hone your skills. So keep cooking, and enjoy the journey. Your fried chicken mastery is just the beginning.
Frequently Asked Questions
Can I Use Frozen Chicken for Fried Chicken?
Yes, you can use frozen chicken for fried chicken. Just make sure to thaw it completely before cooking, and pat it dry to remove any excess moisture. This will help the chicken cook evenly and get that crispy golden crust.
How Do I Maintain the Crispiness of Fried Chicken?
To maintain crispiness in fried chicken, pat the chicken dry before breading, use an oil with a high smoke point, and fry in batches at the right temperature. Avoid overcrowding the pan and let the chicken drain on a wire rack when done.
Should I Soak the Chicken in Buttermilk Before Frying?
Soaking chicken in buttermilk before frying can help maintain its crispiness. The buttermilk tenderizes the meat and the acidic environment helps the batter adhere better, resulting in a crunchy coating that stays crisp longer.
Can I Bake the Fried Chicken Instead of Frying?
Yes, you can bake the chicken instead of frying it. Baking the chicken will result in a healthier dish with less fat and calories, though the texture won't be as crispy as fried chicken.
How Do I Reheat Leftover Fried Chicken Without Losing Crispness?
To reheat your leftover fried chicken without losing its crispness, preheat your oven to 400°F, place the chicken on a baking sheet, and bake for 10-15 minutes, flipping halfway through. This will help restore the crunch without drying out the chicken.