Eggnog has a rich history dating back to medieval Europe, evolving from a warm milk and ale drink into the creamy, spiced holiday beverage we know and love today. To craft a classic eggnog, you'll separate the eggs, whisk the yolks with sugar, and gradually blend in milk and cream. Whipping the egg whites to stiff peaks and folding them in creates a luscious, airy texture. Customize your eggnog by experimenting with different milks, liqueurs, or spices. Serve chilled, garnished with freshly grated nutmeg, and get ready to savor the comforting flavors of the season. Want to dive deeper into the history and variations of this cherished holiday treat?
Key Takeaways
- Prepare a classic eggnog by separating egg yolks and whites, whisking yolks with sugar, and folding in whipped egg whites for a creamy, textured beverage.
- Customize the eggnog by experimenting with different milk or cream, adding liqueurs for an adult twist, or incorporating seasonal spices for warmth.
- Serve the chilled eggnog in festive glasses, topped with freshly grated nutmeg, and pair it with holiday treats for a complete festive experience.
- Store leftover eggnog in the refrigerator for future enjoyment and experiment with garnishes like whipped cream or chocolate shavings.
- Savor the homemade eggnog by sharing it with friends and family, and consider serving it warm for a cozy winter beverage option.
Crock-Pot 7-Quart Slow Cooker, Portable Programmable with Timer, Locking Lid, Stainless Steel; an Essential Kitchen Appliance, Perfect for Families and Gatherings
Personalized Cooking: MyTime adjusts the cooking cycle so your meal is ready exactly when you want it
As an affiliate, we earn on qualifying purchases.
History
Eggnog's origins can be traced back to a medieval European beverage called "posset," a warm, milky, ale-like drink. This ancestor to modern eggnog was typically made with milk, ale, and spices.
Over time, the recipe evolved, incorporating eggs and sugar to create a richer, creamier concoction.
By the 1700s, eggnog had become popular among the British aristocracy, who often added brandy, rum, or sherry to the mix. The drink's association with the upper class led to its spread across the Atlantic, where American colonists embraced it as a holiday tradition.
Today, eggnog remains a beloved Christmas staple, with countless variations and recipes. From classic homemade versions to store-bought cartons, the creamy, indulgent drink continues to evoke the warmth and nostalgia of the holiday season.
Hamilton Beach 33861 Portable Programmable Slow Cooker, Dishwasher Safe Crock, 6 Qt, FlexCook Dual Digital Timer/2 Heat Settings, Lid Lock for Easy Travel, Silver
6-QUART CAPACITY Slow cooker has generous 6-quart oval crock to easily fit a 6 lb chicken or 4...
As an affiliate, we earn on qualifying purchases.
Recipe

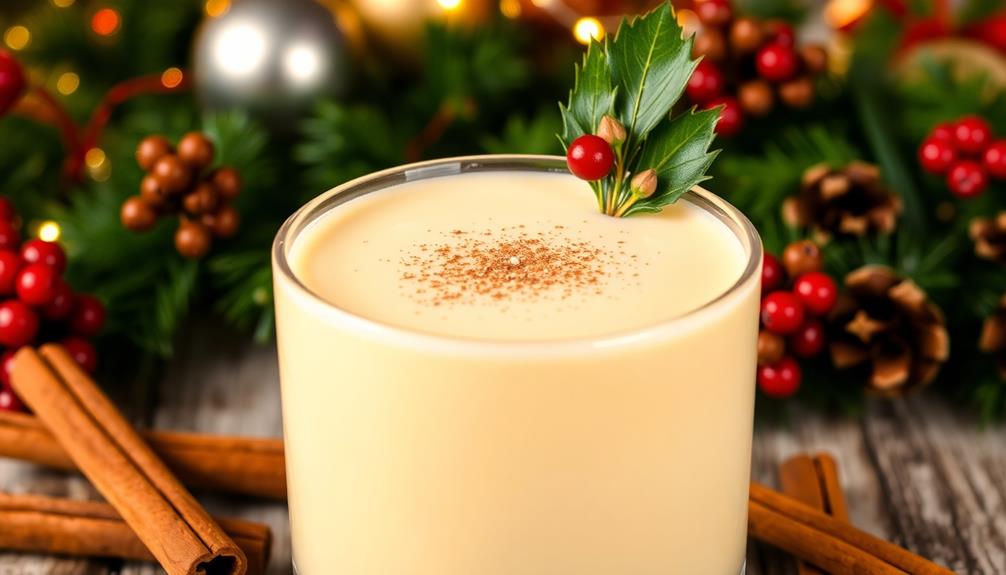
Eggnog is a beloved holiday beverage with a rich, creamy texture and a comforting blend of spices. This classic recipe is sure to delight your taste buds and bring a touch of holiday cheer to your festivities.
Eggnog's origins can be traced back to the traditional English drink known as "posset," a warm, milk-based beverage that was often enjoyed by the upper classes. Over time, the recipe evolved to include eggs, cream, and a variety of spices, transforming it into the beloved eggnog we know and love today.
Ingredients:
- 4 large eggs
- 1/2 cup granulated sugar
- 2 cups whole milk
- 1 cup heavy cream
- 1 teaspoon vanilla extract
- 1/2 teaspoon ground nutmeg, plus more for garnish
- 1/4 teaspoon ground cinnamon
Instructions:
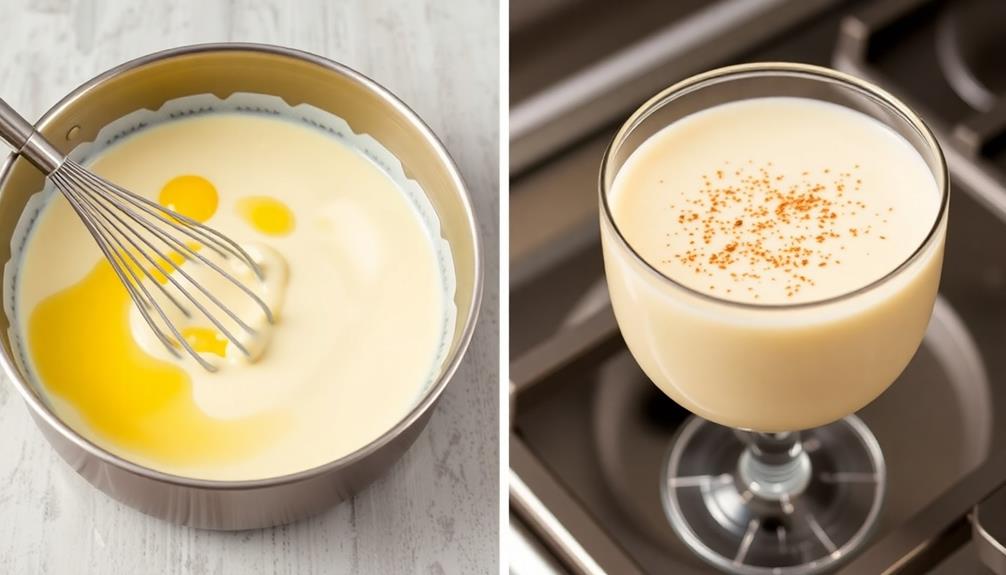
In a large bowl, whisk the eggs and sugar together until light and fluffy.
Slowly pour in the milk and heavy cream, whisking constantly. Stir in the vanilla extract, nutmeg, and cinnamon until well combined. Slowly pour in the milk and heavy cream, whisking constantly. Stir in the vanilla extract, nutmeg, and cinnamon until well combined. Bring the mixture to a gentle simmer, letting the flavors meld together for a rich, aromatic base. This creamy blend can elevate any drink, making it the perfect coffee recipe for mornings when you need a warm and indulgent pick-me-up. Top it off with a dash of cinnamon for an extra touch of comfort.
Transfer the eggnog mixture to a saucepan and cook over medium heat, stirring frequently, until the mixture thickens slightly and reaches a temperature of 160°F (71°C).
Be careful not to let the mixture boil, as this can cause the eggs to curdle.
Once the eggnog has reached the desired thickness, remove it from the heat and let it cool to room temperature.
Refrigerate the eggnog for at least 2 hours or up to 5 days, stirring occasionally.
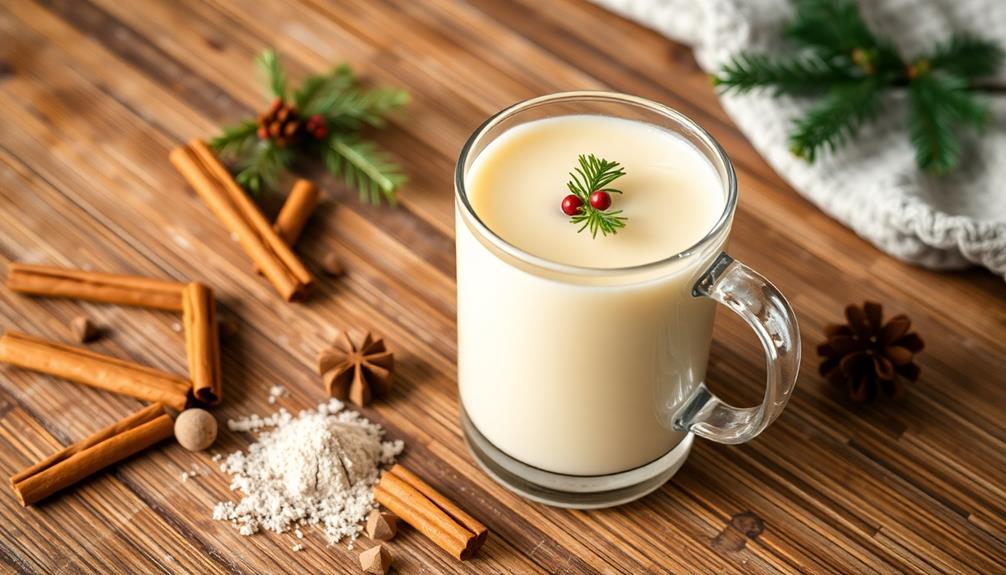
When ready to serve, pour the eggnog into glasses and garnish with a sprinkle of freshly grated nutmeg.
For an added touch of holiday cheer, you can also add a cinnamon stick or a dollop of whipped cream.
Enjoy your homemade eggnog and revel in the flavors of the season!

Crock-Pot 6 Quart Cook & Carry Programmable Slow Cooker with Digital Timer Stainless Steel (CPSCVC60LL-S) pack of 1
Programmable Digital Timer: Control cooking times from 30 minutes up to 20 hours
As an affiliate, we earn on qualifying purchases.
Cooking Steps
Separate the egg yolks and whites, ensuring the whites are free of any yolk.
Whisk the yolks together with your sweetener of choice until the mixture is smooth and creamy.
Next, combine the egg yolk mixture with your milk, blending everything together until well-incorporated.
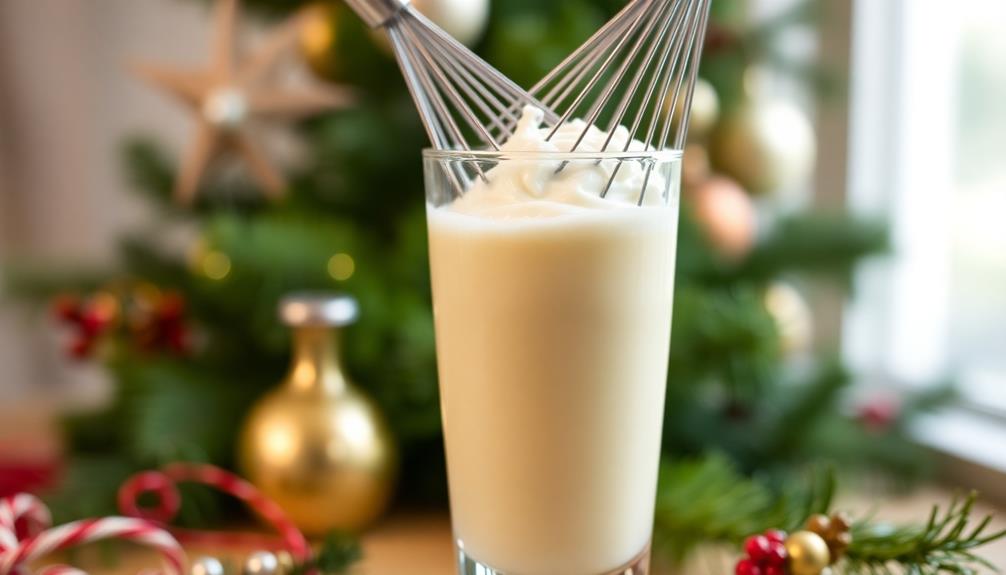
In a separate bowl, whisk the egg whites until they form stiff peaks, then gently fold the whipped whites into the yolk-milk blend.
Step 1. Separate Egg Yolks and Whites
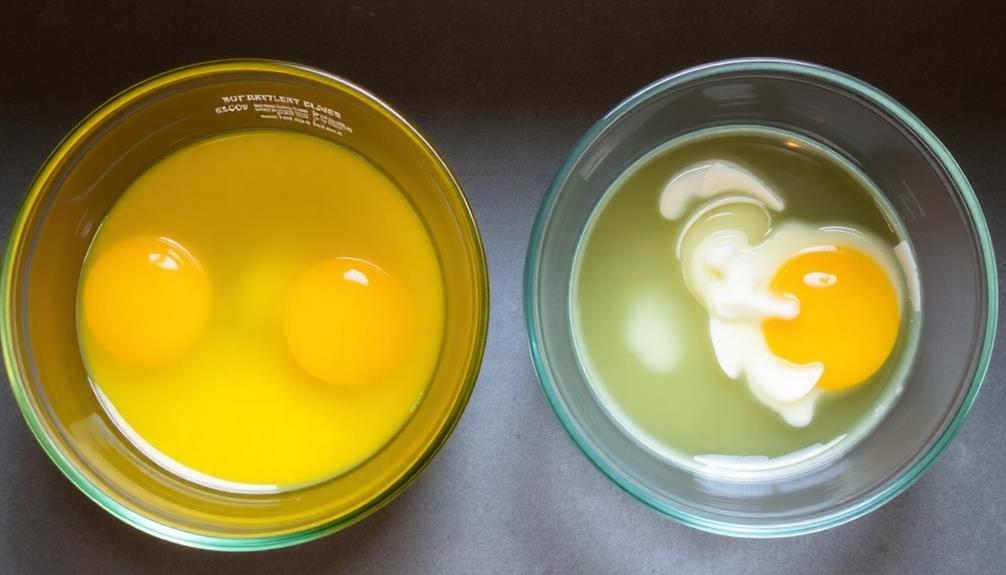
Separating the egg yolks from the whites is a crucial step in crafting the perfect eggnog. You'll want to work carefully, as the yolks and whites each play a vital role in the final texture and flavor of the drink.
First, crack the eggs and gently separate the yolks from the whites, transferring each component to separate bowls. It's best to use fresh, room-temperature eggs, as they'll be easier to work with. Be sure not to let any yolk mix in with the whites, as even a small amount can prevent them from whipping properly.
Once separated, you can set the yolks aside for later use. The whites, however, will need to be whipped into stiff peaks. This provides the eggnog with its signature rich, creamy body.
Using a hand mixer or stand mixer, whip the egg whites until they hold their shape firmly. Take care not to overbeat, as this can cause the whites to become dry and grainy. Once the egg whites have reached stiff peaks, gently fold them into your mixture to maintain their airy texture. If you’re wondering how to make egg drop soup, it typically involves dropping lightly beaten eggs into hot broth, which creates delicate ribbons of egg throughout the soup. Both techniques showcase the versatility of eggs in different culinary creations!
Step 2. Whisk Yolks With Sweetener
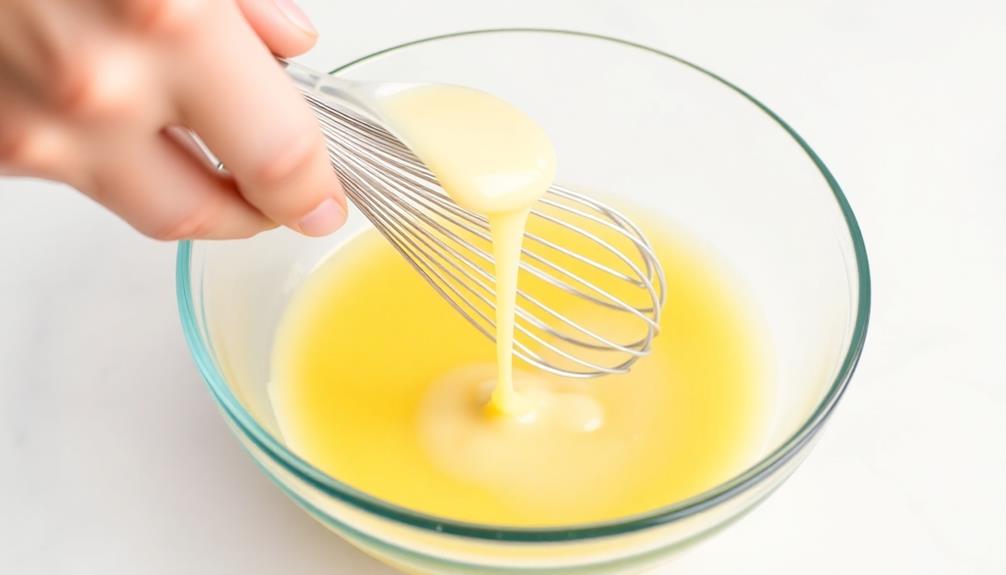
With the egg whites whipped to perfection, you can now turn your attention to the egg yolks. In a large bowl, whisk the separated egg yolks together until they're smooth and creamy.
Then, it's time to add the sweetener. Granulated sugar is a classic choice, though you could also experiment with honey, maple syrup, or even a combination of sweeteners to suit your taste preferences.
Whisk the sweetener into the yolks, gradually increasing the speed of your whisk until the mixture is light and fluffy. This step is crucial, as it helps to dissolve the sweetener and creates a rich, velvety texture.
Be sure to taste as you go, adjusting the amount of sweetener to achieve the perfect balance of sweetness.
Once the yolks are perfectly sweetened, you're ready to move on to the next step in your eggnog journey – blending the yolks with the whipped egg whites and other ingredients to create the final, indulgent beverage.
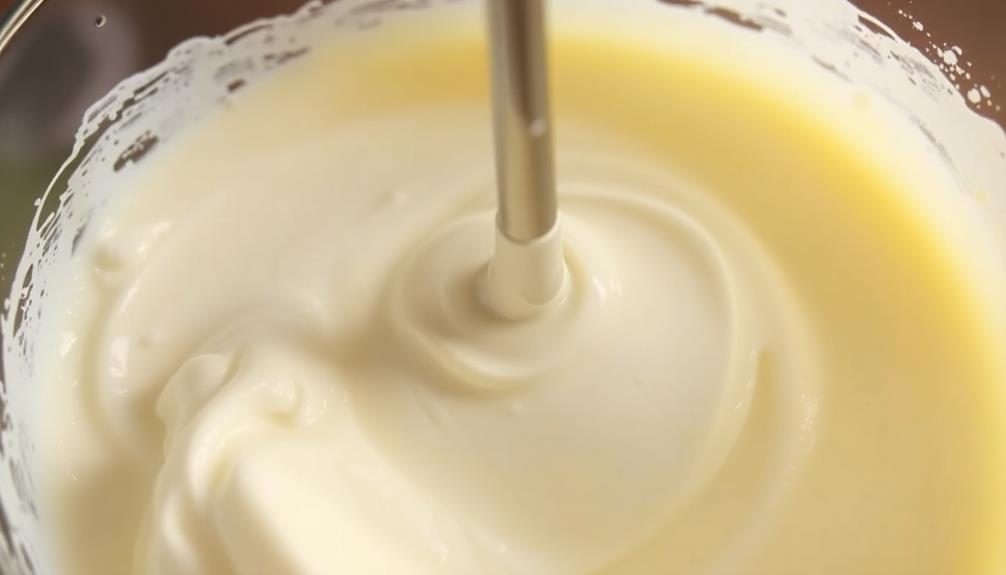
Step 3. Combine Egg Yolk Mixture and Milk

Now that you've perfectly sweetened the egg yolks, it's time to combine them with the milk. This critical step brings together the rich, creamy texture of the yolks with the smooth, cool dairy, creating the foundation for the eggnog's signature flavor.
First, slowly pour the milk into the egg yolk mixture while continuously whisking. This gradual incorporation prevents the yolks from curdling and ensures a seamless blending of ingredients. The whisking motion incorporates air, resulting in a luxuriously thick and frothy consistency.
Next, transfer the combined mixture to a medium saucepan and place it over medium heat. Gently heat the eggnog, stirring frequently, until it reaches a temperature of 160°F. This pasteurization step kills any potential bacteria from the raw eggs, making the eggnog safe to consume.
Step 4. Whisk Egg Whites Until Stiff Peaks
While the egg yolk mixture simmers on the stove, turn your attention to the egg whites.
Separate the eggs, carefully transferring the whites into a clean, dry bowl, ensuring no traces of yolk remain. Using a whisk or a handheld electric mixer, begin whipping the egg whites on medium speed. As they start to foam, gradually increase the speed, continuing to whisk until the whites form stiff, glossy peaks.
This process may take several minutes, so be patient and keep a close eye on the mixture.
Once the egg whites have reached the desired consistency, they're ready to be gently folded into the thickened egg yolk mixture. This step helps to create the light, airy texture that's essential for a perfect eggnog.
Remember to work quickly and with a light touch to preserve the volume and structure of the whipped whites. With the egg whites incorporated, your eggnog base is now complete and ready for the final touches.
Step 5. Fold Whipped Egg Whites Into Mixture
Gently fold the whipped egg whites into the thickened egg yolk mixture using a rubber spatula. This step is crucial for achieving the signature light and airy texture of eggnog.
Carefully incorporate the egg whites, making sure not to overmix and deflate the voluminous foam. Work in small batches, gently folding until no visible white streaks remain. The goal is to seamlessly blend the two components without losing the delicate structure you've created.
Once the egg whites are fully incorporated, the mixture will be thick, creamy, and ready for the next steps. This folding technique helps to maintain the rich, velvety mouthfeel that distinguishes eggnog from other holiday beverages.
With the egg whites integrated, you can now proceed to stir in the remaining ingredients, such as cream, sugar, and spices, to complete your festive eggnog.

Hamilton Beach Portable 6 Quart Set & Forget Digital Programmable Slow Cooker with Lid Lock, Temperature Probe, Dishwasher Safe Crock & Lid, Stainless Steel (33969A)
NOT YOUR MOM’S SLOW COOKER: Smart technology allows you to cook a recipe to either a desired cooking...
As an affiliate, we earn on qualifying purchases.
Final Thoughts
You've now reached the final part of the eggnog recipe. As you've discovered, preparing a delicious homemade eggnog is a rewarding process that allows you to customize the flavors to your liking.
The key steps you've mastered include:
- Properly separating the eggs and whipping the whites to create a light, airy texture.
- Gently folding the whipped egg whites into the creamy eggnog base to maintain that fluffy consistency.
- Adjusting the sweetness, spices, and other ingredients to achieve your perfect balance of flavors.
Now that your eggnog is ready, consider these final thoughts:
- Eggnog is best enjoyed chilled, so be sure to refrigerate it until ready to serve.
- For an extra decadent touch, top each serving with a sprinkle of freshly grated nutmeg.
- The recipe can be easily scaled up or down to accommodate your needs, whether you're serving a crowd or enjoying a cozy night in.
Embrace the joy of homemade eggnog and savor every delicious sip!
Frequently Asked Questions
How Long Can Homemade Eggnog Be Stored?
Homemade eggnog can be stored in the refrigerator for up to 3-5 days. It's important to keep it chilled and consume it within this timeframe to ensure food safety. Enjoy your festive eggnog, but don't let it sit too long!
Can I Use Store-Bought Eggnog Instead of Making It?
You can absolutely use store-bought eggnog instead of making it from scratch. It's a convenient option that'll save you time and effort, though homemade eggnog may have a richer, more authentic flavor.
Is Eggnog Safe for Pregnant Women to Consume?
Consuming eggnog while pregnant isn't recommended. The raw eggs in homemade eggnog could contain harmful bacteria like Salmonella, which can pose risks to you and your unborn baby. It's best to avoid eggnog and opt for pasteurized dairy products instead.
Can I Make Eggnog Without Raw Eggs?
Yes, you can definitely make eggnog without using raw eggs. You can use pasteurized eggs or egg substitutes instead to create a safe, delicious eggnog that pregnant women can enjoy.
How Can I Adjust the Recipe for Dietary Restrictions?
You can adjust the eggnog recipe to accommodate dietary restrictions by using pasteurized eggs or egg substitutes instead of raw eggs. You can also explore dairy-free or plant-based alternatives for the milk and cream.