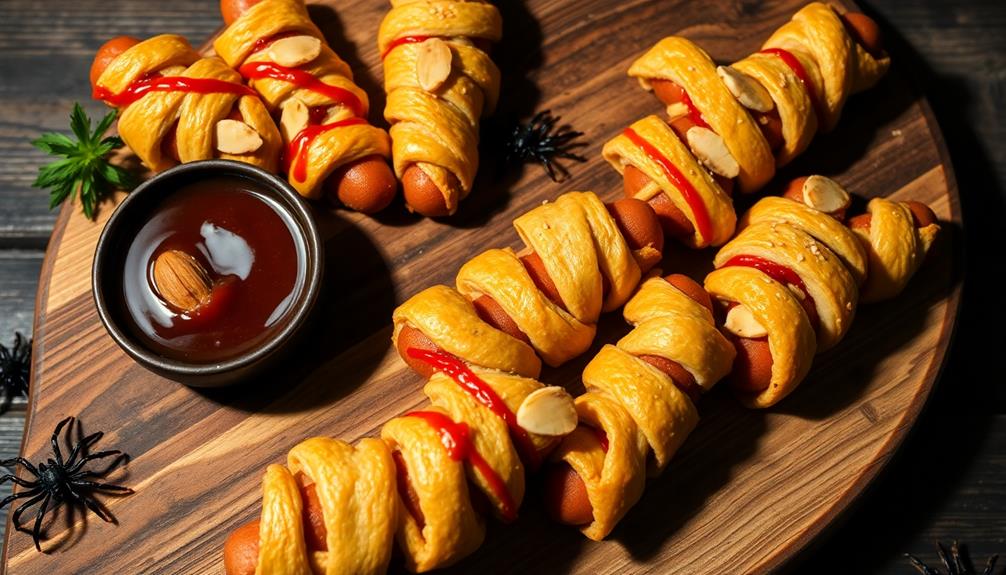
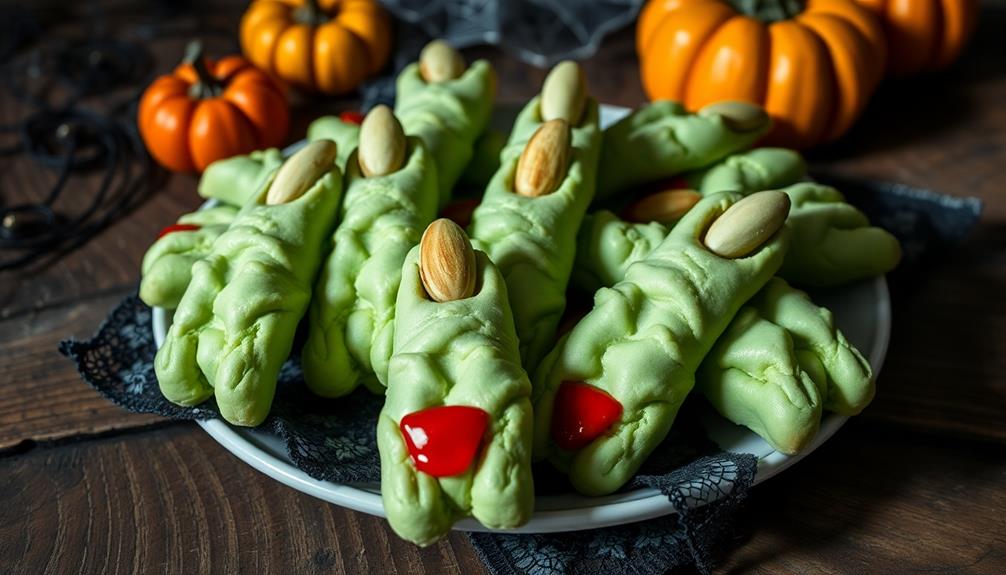
Zombie finger hot dogs are a spooky and delicious Halloween treat you'll love making! These creepy snacks emerged in the early 2000s, inspired by zombie movies. To create them, you'll slice hot dogs lengthwise, insert almond "fingernails," and wrap them in pastry dough. After brushing with egg wash, you'll bake them until golden brown. The result? Realistic-looking zombie fingers that are both fun and tasty. You can get creative with condiments like ketchup for "blood" or green food coloring for "mold." These ghoulish goodies are sure to be a hit at your next Halloween party. Discover how easy it is to whip up these frightfully good snacks! And if you really want to impress your guests, consider serving a spooky zombie brain cheese ball alongside the zombie finger hot dogs. This eerie appetizer is made by mixing cream cheese with shredded cheddar, shaping it into a brain-like form, and rolling it in crushed Doritos for a creepy, crunchy coating. Complete the look with some strategically placed red food coloring for a truly terrifying effect. Your guests are sure to love these spooky and delicious treats at your Halloween gathering. These spooky Halloween appetizers will be the talk of the party, and they’re simple enough for even the most novice cook to tackle. The combination of the zombie finger hot dogs and the zombie brain cheese ball will create a frightful spread that will delight and shock your guests. So, get ready to bring some spooky and delicious Halloween fun to your next gathering!
Key Takeaways
- Zombie Finger Hot Dogs are Halloween-themed treats made from hot dogs, pastry dough, and almonds for fingernails.
- They originated in the early 2000s, inspired by zombie pop culture, and became a popular Halloween party food.
- The process involves slicing hot dogs lengthwise, inserting almond "fingernails," and wrapping them in pastry dough.
- Creative details like ketchup for blood and textured dough for a decaying appearance enhance the spooky effect.
- Baked until golden brown, these treats offer a fun, tasty, and visually striking addition to Halloween festivities.
History
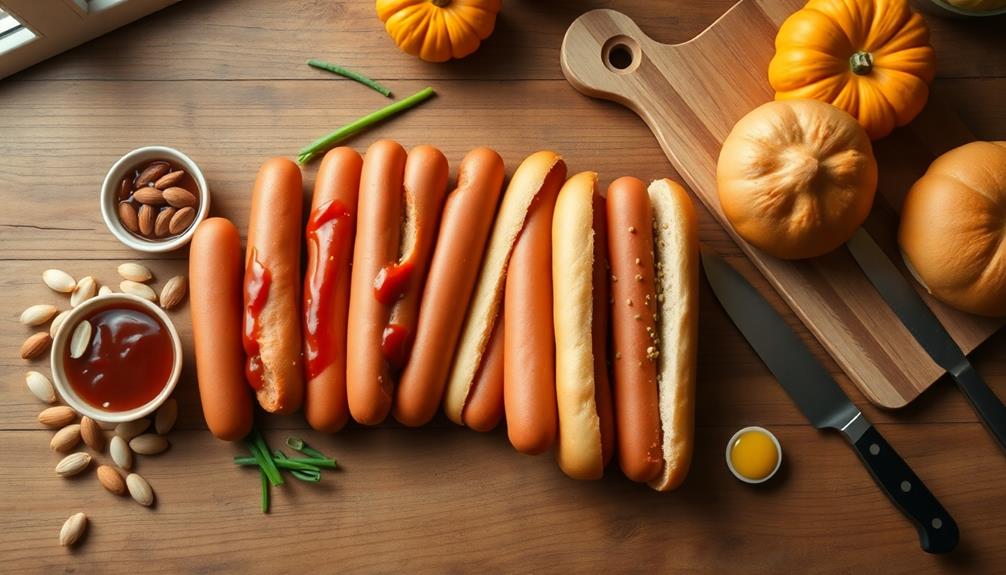
Since the early 2000s, zombie finger hot dogs have been a popular Halloween party food. You've probably seen these creepy treats at spooky gatherings or even made them yourself. They're a fun twist on the classic hot dog, designed to look like severed fingers – perfect for giving your guests a delicious fright!
The idea for zombie finger hot dogs came from creative party planners who wanted to make Halloween snacks more exciting. They took inspiration from the rising popularity of zombie movies and TV shows. By combining this trend with a beloved American food, they created a hit that's stood the test of time.
You'll find that these ghoulish goodies have evolved over the years. At first, they were simple hot dogs with an almond "fingernail" stuck on the end.
Now, you'll see versions with realistic-looking skin made from cheese, ketchup "blood," and even edible eyeballs! Some people have taken it further, creating entire "hands" out of linked sausages.
It's amazing how a simple idea has grown into a Halloween staple that kids and adults alike can't get enough of.
Cooking Steps
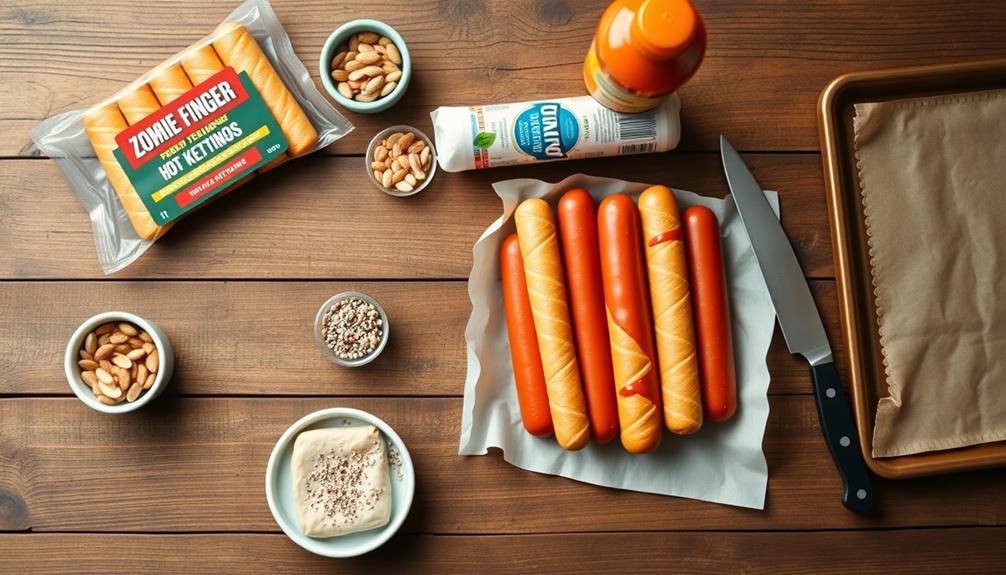
To create these spooky zombie finger hot dogs, you'll need to follow three main steps.
First, prepare your hot dogs by cutting them in half lengthwise, leaving about an inch uncut at one end. This will create the "finger" shape. Next, use a small knife to carefully carve knuckle lines into the hot dog's surface. Don't worry if they're not perfect – it'll add to the creepy effect!
Second, it's time to cook your zombie fingers. You can either grill them for a few minutes on each side or pan-fry them in a skillet until they're nicely browned.
Keep an eye on them to make sure they don't burn.
Step 1. Slice Hot Dogs Lengthwise
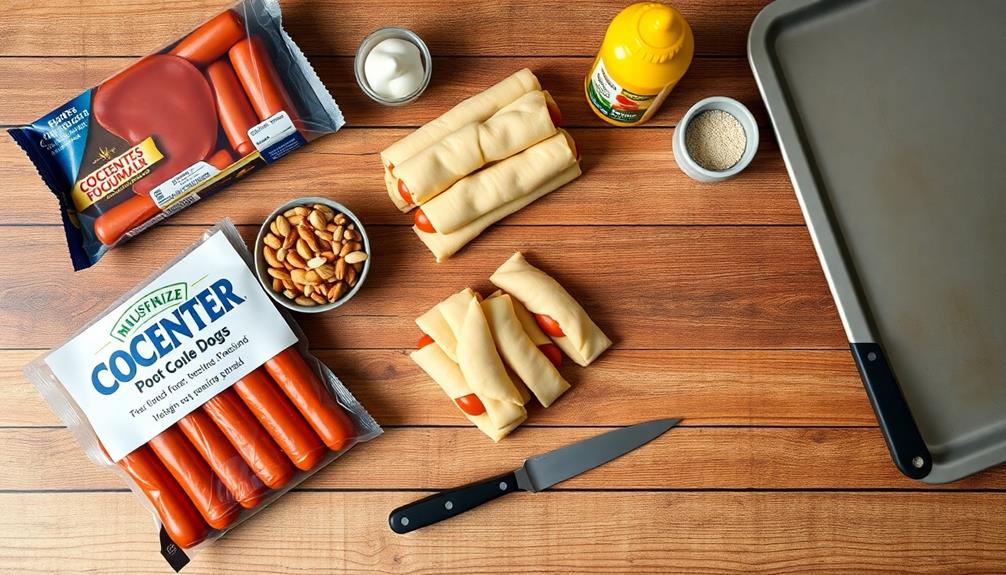
Carefully slice each hot dog lengthwise, stopping about 1/2 inch from the end. This step is crucial for creating those spooky zombie fingers! You'll want to use a sharp knife and take your time to ensure a clean cut. Don't worry if it's not perfect – zombies aren't known for their manicures!
Once you've made the initial cut, gently spread the hot dog open. It should look a bit like a butterfly when you're done. This will give you more surface area to work with and help the hot dog cook evenly. Plus, it'll make your zombie fingers extra creepy!
Now, you can get creative with your cuts. Try making small, diagonal slices along the edges to create knuckle-like bumps. Or, if you're feeling adventurous, carve out tiny nail shapes at the tips. Remember, the goal is to make these hot dogs look as finger-like as possible. The more detail you add, the spookier your zombie fingers will be!
Don't forget to have fun with this step. It's all about unleashing your inner mad scientist and bringing those undead digits to life!
Step 2. Insert Almond Fingernails

Now that you've sliced your hot dogs, it's time to give them some creepy claws! Grab a bag of whole, blanched almonds and get ready to transform your hot dogs into spooky zombie fingers.
For each hot dog piece, you'll need one almond. Take an almond and carefully press it into the rounded end of the hot dog slice. The almond's pointed tip should stick out slightly, creating a realistic fingernail effect.
If the almond doesn't stay in place, you can use a small knife to make a tiny slit in the hot dog first. This will help the almond fit snugly.
As you insert the almonds, make sure they're all facing the same direction for a uniform look. You can adjust them slightly to create a more natural appearance.
If you want extra creepy fingers, try using different sizes of almonds or even cutting some at angles for broken nail effects.
Once you've added all the almond fingernails, your zombie fingers are ready for the next step in their ghoulish transformation. These edible fingernails will add the perfect touch of horror to your spooky hot dog creation!
Step 3. Wrap in Pastry Dough
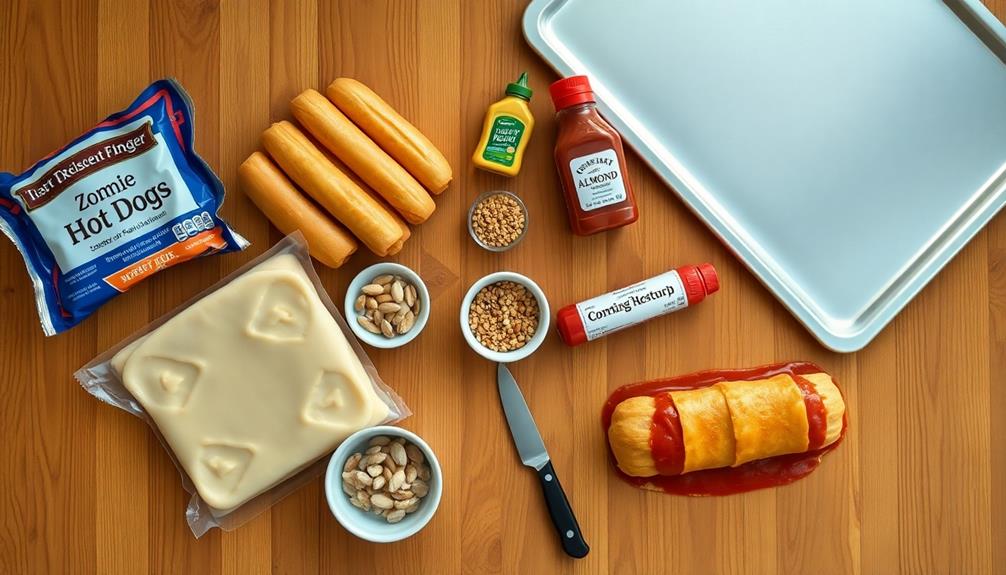
The next step in creating your zombie finger hot dogs involves wrapping them in pastry dough. It's time to give your spooky snacks their eerie, flesh-like appearance!
Start by rolling out your favorite pastry dough on a lightly floured surface. You'll want it to be about 1/8 inch thick.
Cut the dough into long, thin strips, about 1/2 inch wide and 6 inches long. These strips will become the zombie skin!
Now, carefully wrap each hot dog with a strip of dough, starting at one end and spiraling your way up. Make sure to leave a small gap at the top for the almond fingernail you inserted earlier.
As you wrap, create some wrinkles and folds in the dough. This will give your zombie fingers a more realistic, decaying look.
Don't worry if it's not perfect – zombies aren't known for their smooth skin!
Once you've wrapped all your hot dogs, place them on a baking sheet lined with parchment paper.
Before popping them in the oven, brush each wrapped hot dog with a beaten egg. This will give them a golden, ghoulish glow when baked.
Step 4. Brush With Egg Wash

An egg wash is the secret to achieving that perfect golden-brown sheen on your zombie finger hot dogs. It's super easy to make and apply! You'll need one egg and a tablespoon of water. Crack the egg into a small bowl and add the water. Whisk them together until they're well combined.
Now, grab a pastry brush. If you don't have one, don't worry! You can use a clean paintbrush or even a folded paper towel. Dip your brush into the egg wash and gently brush it over the pastry-wrapped hot dogs. Make sure you cover all the exposed dough, but don't soak it.
The egg wash does two important things. First, it gives your zombie fingers that spooky, glossy look when they're baked. Second, it helps the dough stick together, so your creations don't fall apart in the oven.
If you want to get extra creative, you can sprinkle some sesame seeds or poppy seeds on top of the egg wash. They'll stick to the dough and look like creepy skin texture!
Step 5. Bake Until Golden Brown
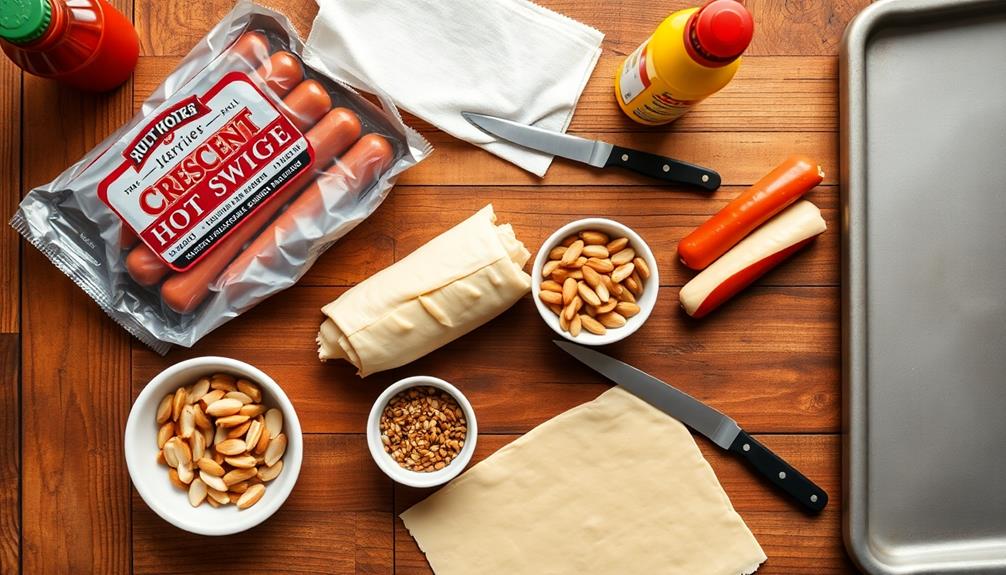
With your zombie finger hot dogs prepped and egg-washed, it's time to bake them to perfection. Preheat your oven to 375°F (190°C) and line a baking sheet with parchment paper. Carefully place your creepy creations on the sheet, leaving some space between each one.
Slide the baking sheet into the middle rack of your oven. You'll want to bake these spooky treats for about 15-20 minutes. Keep an eye on them as they cook! You're looking for that perfect golden-brown color that'll make your zombie fingers look deliciously undead.
As they bake, you might notice a wonderful aroma filling your kitchen. That's the smell of success! When the hot dogs are nicely browned and the dough is cooked through, it's time to take them out. Use oven mitts to remove the baking sheet and set it on a heat-safe surface.
Let your zombie finger hot dogs cool for a few minutes before serving. They'll be hot, so be careful! Once they're cool enough to handle, arrange them on a platter and get ready to impress your guests with these ghoulishly good treats.
Final Thoughts
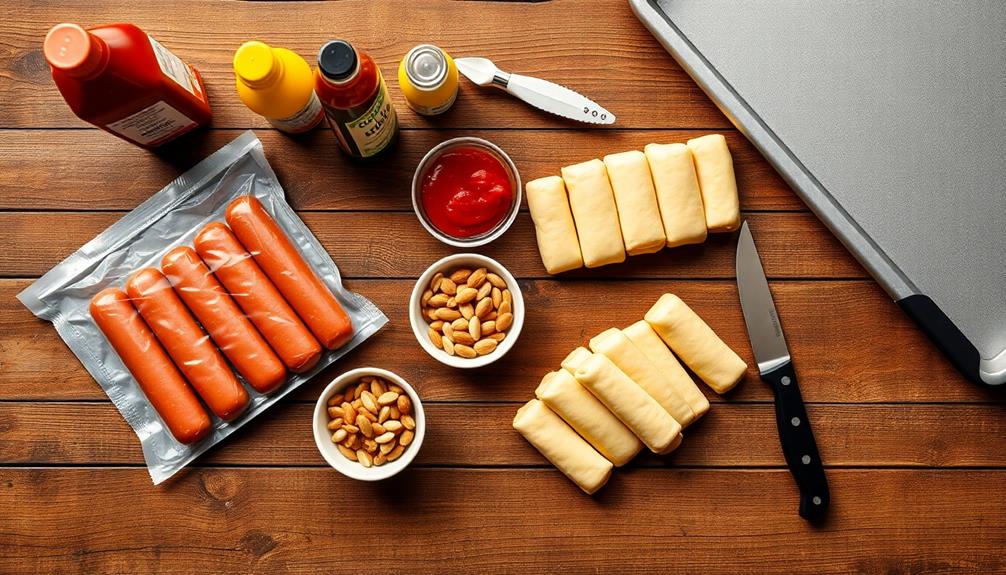
Don't be afraid to experiment with different condiments for blood or pus effects. Ketchup works great for blood, while mustard can make a convincing pus.
You can even add some green food coloring to mayonnaise for a moldy look. The possibilities are endless!
These Zombie Finger Hot Dogs aren't just fun to make, they're delicious too. The combination of soft, warm bread and savory hot dog is a classic that everyone loves.
