Mummy dogs are a spooky and delicious Halloween treat you'll love making! They're hot dogs wrapped in crescent roll dough to look like ancient Egyptian mummies. You'll start by preheating your oven to 375°F. Then, wrap each hot dog with thin strips of dough, leaving a small gap for the face. Place them on a baking sheet and pop them in the oven for about 15 minutes. Once they're golden brown, add two small ketchup dots for eyes. These fun snacks are perfect for parties, quick dinners, or afternoon treats. Kids especially enjoy helping create these tasty mummies. Get ready to uncover the secrets of this simple yet exciting recipe!
Key Takeaways
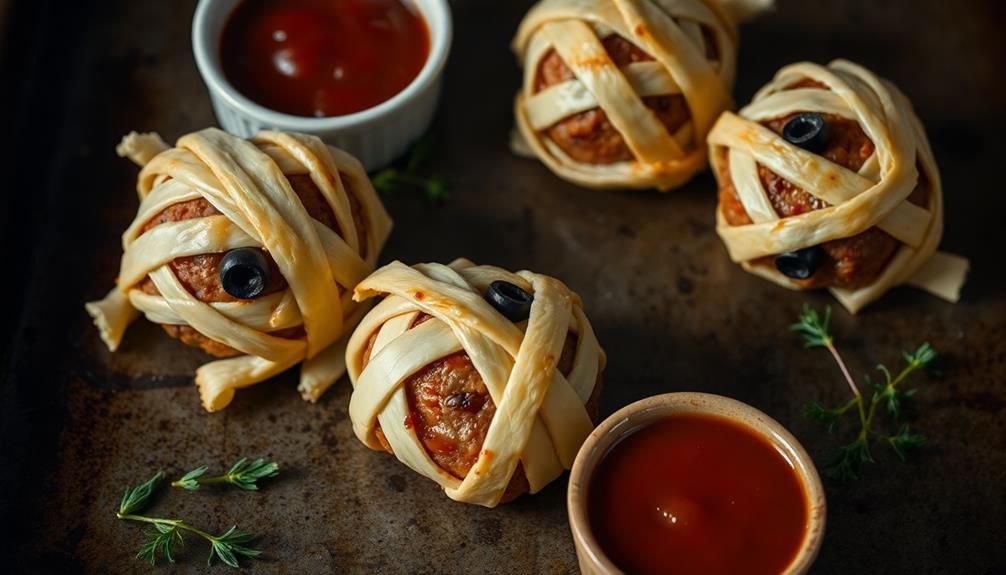
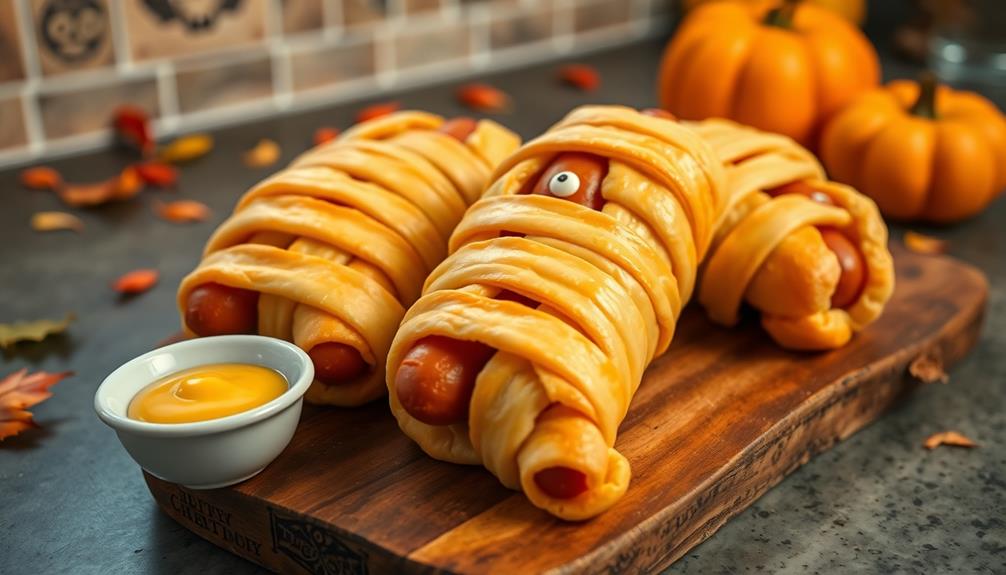
- Mummy Dogs are hot dogs wrapped in strips of crescent roll dough to resemble a mummy's bandages.
- They are a popular Halloween-themed treat often served at parties and gatherings.
- Preparation involves wrapping hot dogs in dough, baking at 375°F for 12-15 minutes, and adding ketchup eyes.
- The origin can be traced to Ancient Egyptians, with modern versions popularized in mid-20th century America.
- Mummy Dogs are easy to make, kid-friendly, and can be customized with different sausages or cheeses.

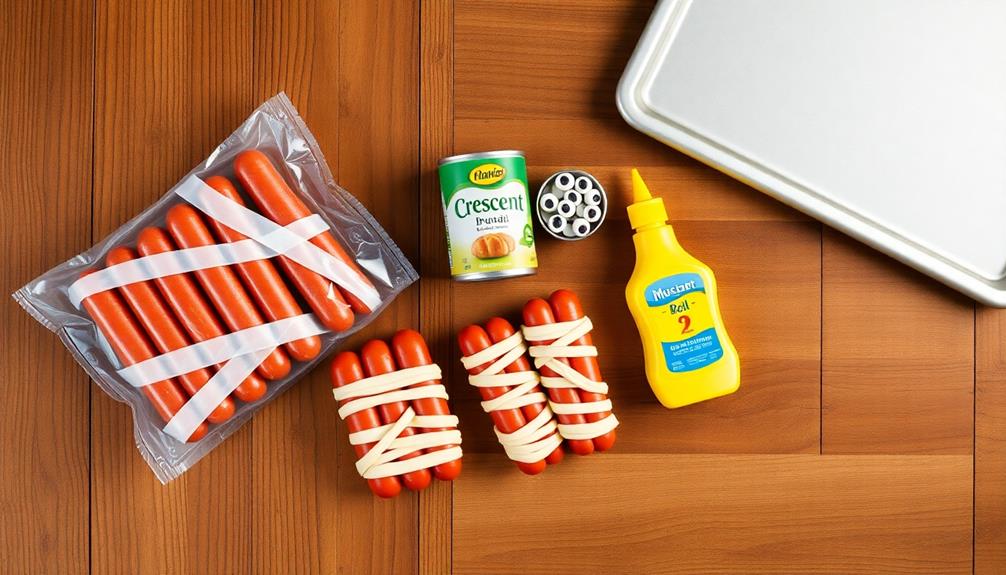
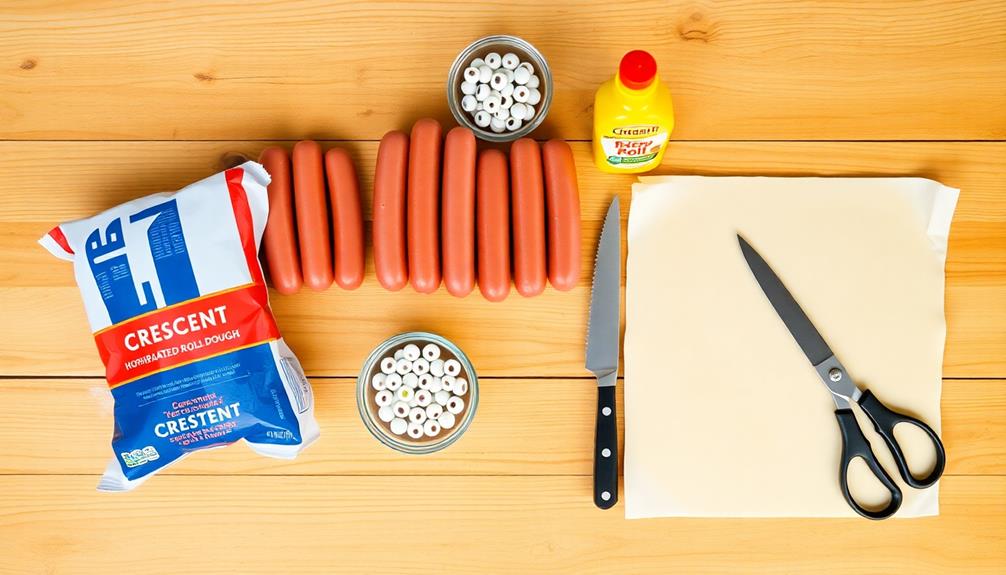
Pillsbury Crescent Rolls, Original Refrigerated Canned Pastry Dough, 8 Rolls, 8 oz
- Light, Buttery, Flaky Texture: Iconic taste without high fructose corn syrup
- Quick and Easy to Prepare: Unroll, shape, and bake in minutes
- Versatile Ingredient: Perfect for quick dinners or gift baskets
As an affiliate, we earn on qualifying purchases.
As an affiliate, we earn on qualifying purchases.
History
Despite their playful appearance, mummy dogs have a surprisingly long history. You might think these cute treats are a recent invention, but they've actually been around for quite some time!
The idea of wrapping food in dough goes back thousands of years. Ancient Egyptians wrapped meats in flatbreads, which some consider an early version of the mummy dog. In the 1800s, sausages wrapped in pastry became popular in Europe. They were called "sausage rolls" and quickly spread to other parts of the world.
The modern mummy dog, as you know it today, likely originated in the United States in the mid-20th century. It's a fun twist on the classic hot dog in a bun. People started wrapping hot dogs in strips of dough to make them look like mummies. This clever idea caught on, especially as a Halloween treat.
Over the years, you've probably seen mummy dogs at birthday parties, school events, and holiday gatherings. They've become a beloved snack that's both tasty and fun to make.
You can even find recipes for them in cookbooks and online!
Cooking Steps
Once you've wrapped all your hot dogs, place them on a baking sheet lined with parchment paper.
Pop them in the oven for about 12-15 minutes, or until the dough is golden brown and crispy.
While they're baking, you can prepare your "mummy eyes" using small dabs of mustard or ketchup.
When your mummy dogs are done, let them cool for a few minutes.
Then, add the eyes to complete the mummy look.
You can serve them right away with extra condiments on the side.
It's a fun and tasty treat that's perfect for Halloween parties or any spooky-themed gathering!
Step 1. Preheat Oven to 375°F
Preparation is key when making mummy dogs. Before you dive into wrapping those tasty hot dogs, you'll need to get your oven ready. It's time to preheat it to 375°F!
Preheating your oven isn't just a suggestion – it's a crucial step. When you turn that dial or press those buttons, you're setting the stage for perfectly cooked mummy dogs.
While the oven's warming up, you'll have time to gather your ingredients and get everything else ready.
Don't rush this step! Your oven needs about 10-15 minutes to reach the right temperature. This wait might feel long, but it's worth it. A properly preheated oven ensures even cooking and helps create that golden-brown crust on your mummy wrappings.
While you're waiting, why not line a baking sheet with parchment paper? This will make cleanup easier later.
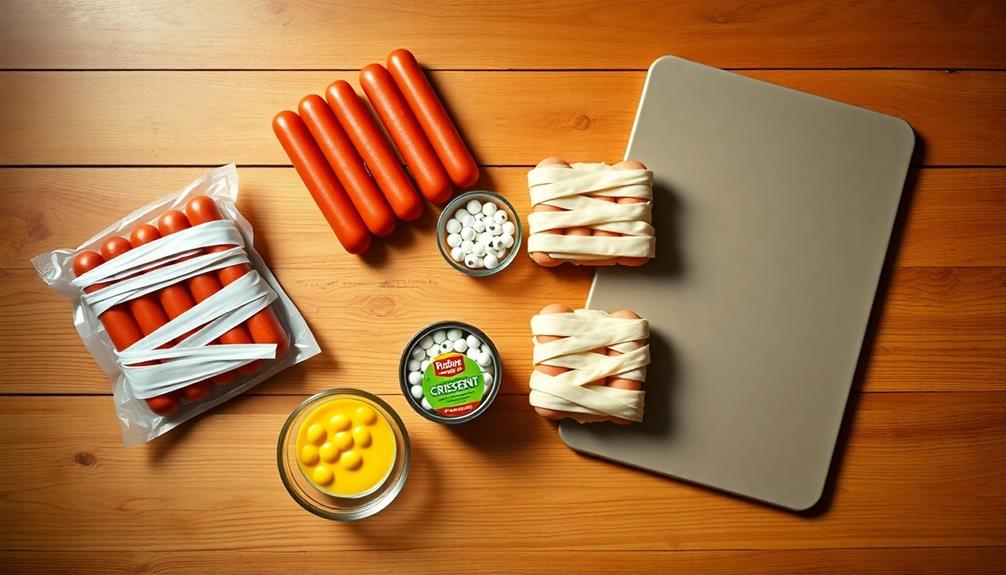
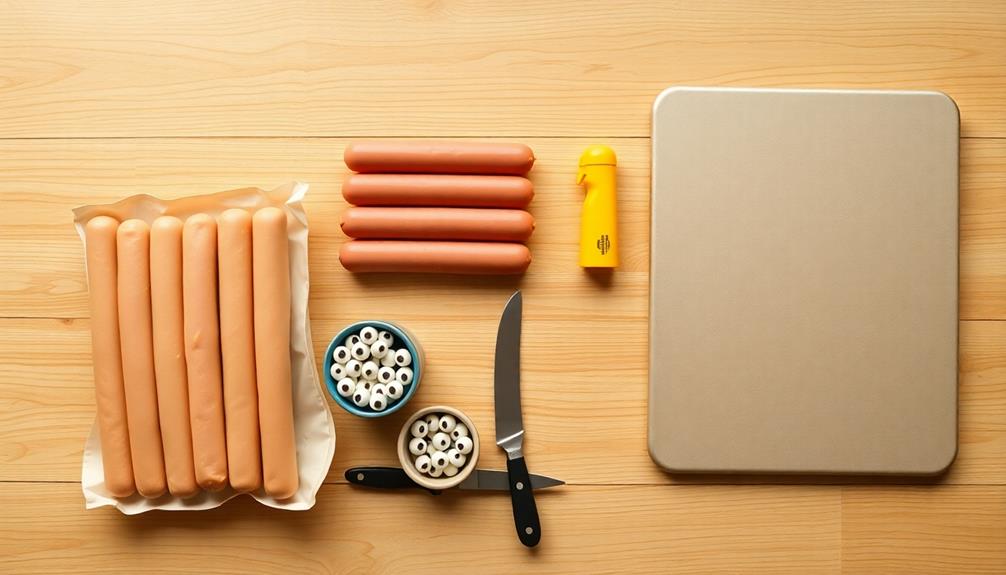
Step 2. Wrap Hot Dogs in Dough
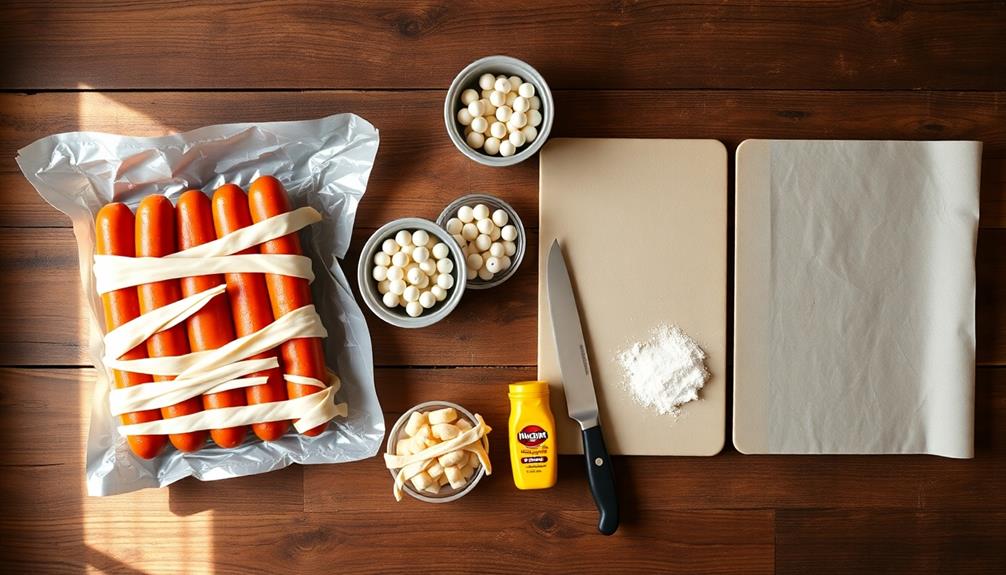
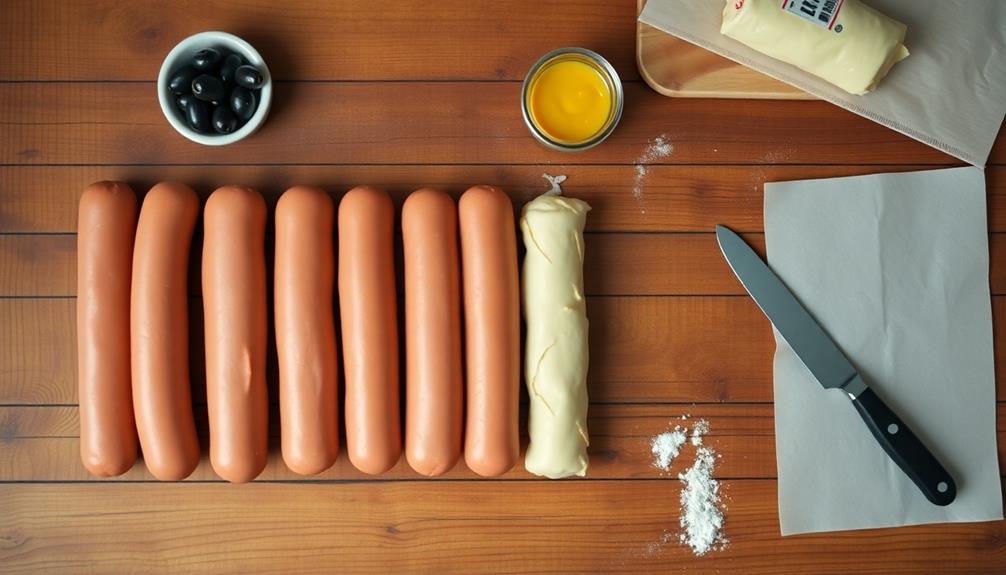
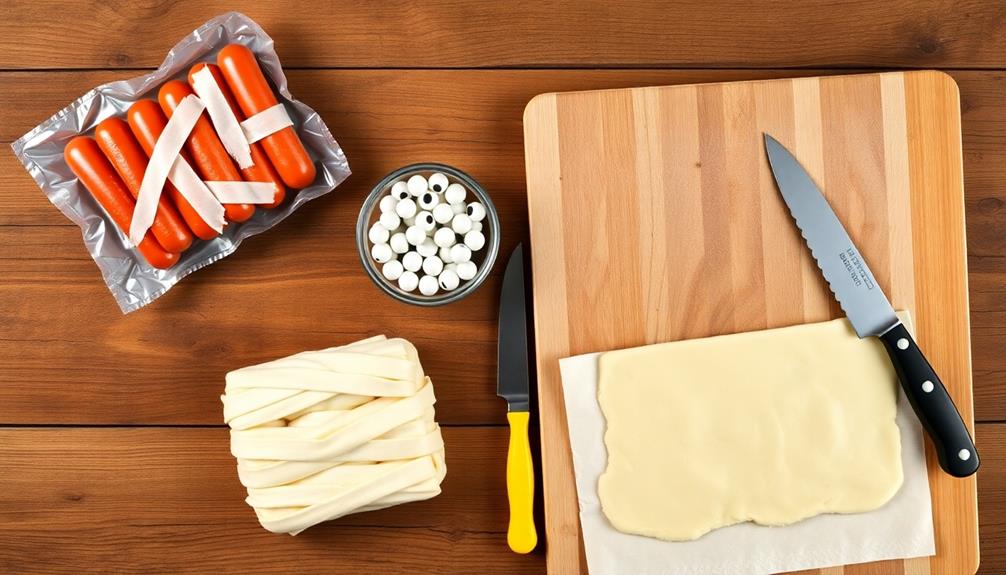
Now that your oven's preheating, it's time to transform those ordinary hot dogs into spooky mummies. Grab your package of refrigerated crescent roll dough and unroll it on a clean surface. You'll need to separate the dough into rectangles, pinching the perforations together to seal them.
Next, take your hot dogs and pat them dry with a paper towel. This helps the dough stick better. Cut each rectangle of dough into thin strips, about 1/4 inch wide. These will be your mummy's bandages!
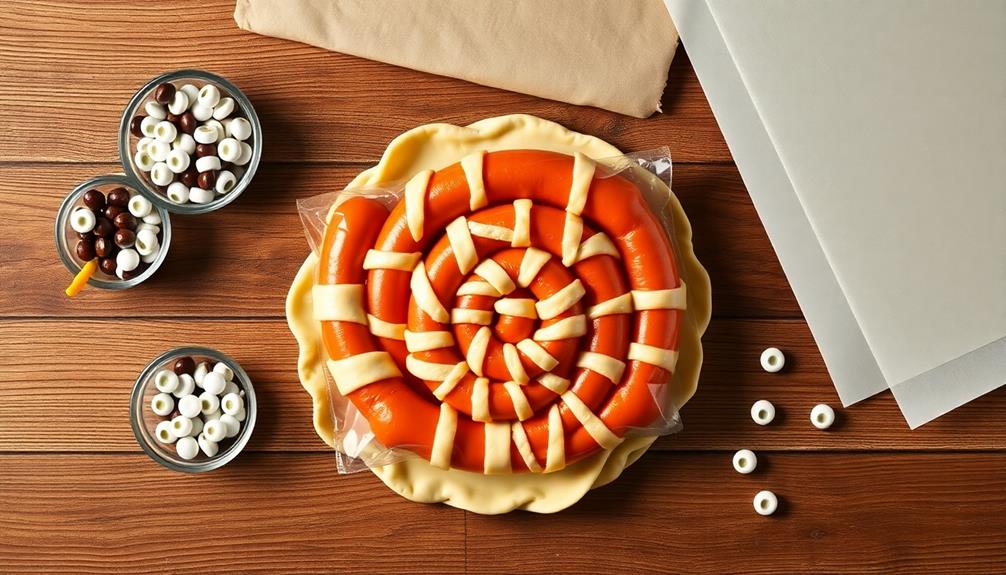
Start wrapping the dough strips around each hot dog, leaving a small gap near one end for the mummy's face. Don't worry if it's not perfect – mummies are supposed to look a bit messy! As you wrap, slightly stretch the dough to make it thinner and more bandage-like.
Once you've wrapped all your hot dogs, place them on a baking sheet lined with parchment paper. Make sure to space them out evenly. Your mummy dogs are now ready for their trip to the oven!
Step 3. Place on Baking Sheet
With your mummy dogs wrapped and ready, let's focus on placing them correctly on the baking sheet. Grab a large baking sheet and line it with parchment paper. This will prevent your mummy dogs from sticking and make cleanup a breeze!
Now, it's time to arrange your spooky creations. Place each mummy dog on the sheet, leaving about an inch of space between them. This allows hot air to circulate, ensuring they'll cook evenly and get nice and crispy. If you've made a lot, you might need two baking sheets.
Don't forget to give your mummy dogs some personality! Adjust the dough strips to make them look extra mummy-like. You can even cross the strips or leave gaps for the "eyes" to peek through.
Make sure they're lying flat on the sheet so they don't unravel during baking. Once you've placed all your mummy dogs, take a step back and admire your handiwork. They're already looking great, and they'll be even more amazing when they're golden brown and ready to eat!
Step 4. Bake for 15 Minutes
The oven's warmth beckons your mummy dogs to their final transformation. It's time to bake these spooky treats!
Set your oven to 375°F (190°C) and let it preheat while you prepare. Once it's hot, slide your baking sheet with the wrapped mummy dogs into the middle rack.
Now, set your timer for 15 minutes. As they bake, you'll start to smell the delicious aroma of pastry and hot dogs filling your kitchen.
Keep an eye on them through the oven window, watching as the dough slowly turns golden brown.
At the 15-minute mark, check if they're done. The pastry should be puffed up and a light golden color. If they need a bit more time, give them an extra 2-3 minutes.
When they're perfectly baked, carefully remove the baking sheet using oven mitts.
Let your mummy dogs cool for a few minutes before serving. They'll be hot inside, so be careful!
Once they've cooled slightly, you can add some ketchup or mustard eyes to complete your spooky mummy dogs. Enjoy your creepy-cute creation! If mummy dogs aren’t your thing, you can also try making a batch of creepy crawler cupcakes. Simply bake your favorite chocolate cupcakes and then use gummy worms and candy eyes to form the appearance of a little spider crawling out of the frosting. The creepy crawler cupcake recipe is a fun and delicious way to add a spooky touch to any Halloween party.
Step 5. Add Ketchup Eyes
Adding ketchup eyes is the final touch that brings your mummy dogs to life. It's time to get creative and have some fun with your spooky snacks!
Once your mummy dogs have cooled for a few minutes, grab a bottle of ketchup and get ready to decorate.
You'll want to squeeze two small dots of ketchup onto each mummy dog for the eyes. Try to place them near the top of the hot dog, where you've left a gap in the dough wrapping. If you're having trouble getting small, precise dots, you can use a toothpick to help shape them.
For an extra creepy look, you can make the eyes different sizes or slightly crooked.
If you don't have ketchup or prefer a different color, you can use mustard for yellow eyes or even mix some food coloring into mayonnaise for other fun colors.
Remember, the eyes are what give your mummy dogs their personality, so take your time and have fun with it!
Once you've added the eyes, your mummy dogs are ready to serve and enjoy.
Final Thoughts
After enjoying these spooky treats, you'll find that mummy dogs are more than just a Halloween novelty. They're a fun and tasty way to bring the whole family together in the kitchen. Need a new take on hot dogs for your next gathering? Look no further than this crowd-pleasing mummy dog recipe. And for an extra eerie addition to your Halloween spread, try out our zombie finger recipe – it’s sure to be a hit with kids and adults alike!
You'll love how easy they're to make, and your kids will have a blast helping out. These cute little mummies are perfect for parties, after-school snacks, or even a quick dinner on a busy night.
Remember, you can always get creative with your mummy dogs. Try using different types of sausages or hot dogs, or experiment with various cheese slices for unique flavors.
You might even want to add some veggie mummies to the mix for a healthier option. Don't forget to make extra, as these little guys tend to disappear quickly!
Mummy dogs aren't just delicious; they're also a great way to spark your imagination in the kitchen.