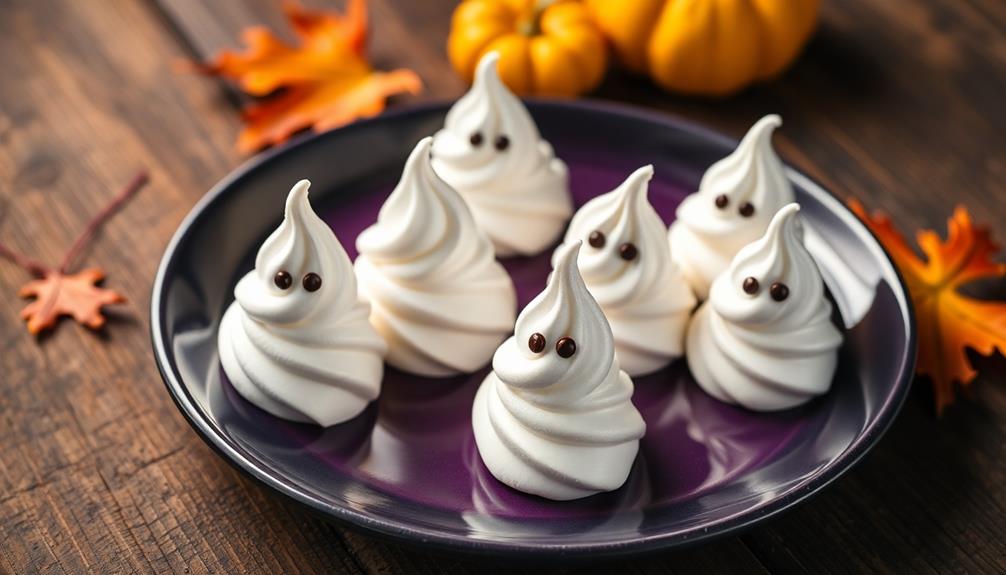
Ghostly meringue cookies are a delightful Halloween treat you'll love making! These light, airy sweets originated in the early 1900s and gained popularity during the Great Depression. To create these spooky delights, you'll whip egg whites until foamy, gradually add sugar, and pipe the mixture into ghost shapes. Bake them at a low temperature for an hour to achieve a crispy exterior and soft interior. You can customize your ghosts with food coloring or chocolate chip eyes for extra fun. These cookies are perfect for Halloween parties and can be stored in an airtight container to maintain their crispy texture. Get ready to explore the ghostly world of meringue!
Key Takeaways
- Ghostly Meringue Cookies are Halloween-themed treats made from whipped egg whites and sugar, shaped like ghosts.
- These cookies originated in the early 20th century and gained popularity during the Great Depression.
- They're baked at a low temperature (200°F/93°C) for one hour to maintain their white, ghostly appearance.
- Piping techniques create unique ghost shapes, often decorated with chocolate chip eyes for added charm.
- Proper storage in airtight containers keeps these light, crispy cookies fresh for several days.

Hamilton Beach 6-Speed Electric Hand Mixer with Whisk, Traditional Beaters, Snap-On Storage Case, 250 Watts, White
NO MORE LOST BEATERS: The snap-on storage case that comes with the Hamilton Beach hand mixer neatly holds…
As an affiliate, we earn on qualifying purchases.
As an affiliate, we earn on qualifying purchases.
History
Tracing the origins of ghostly meringue cookies takes us back to the early 20th century. You'll find that these spooky treats first appeared in Halloween recipe books around the 1920s. They were a hit with families looking for fun, easy-to-make desserts for their Halloween parties.
As you explore their history, you'll discover that these cookies combine two popular trends: the rise of meringue-based sweets and the growing popularity of Halloween celebrations. Meringue itself has been around since the 17th century, but it wasn't until the 1900s that people started shaping it into ghostly forms.
You might be surprised to learn that these cookies gained even more fame during the Great Depression. They were a cheap and tasty treat that families could afford during tough times.
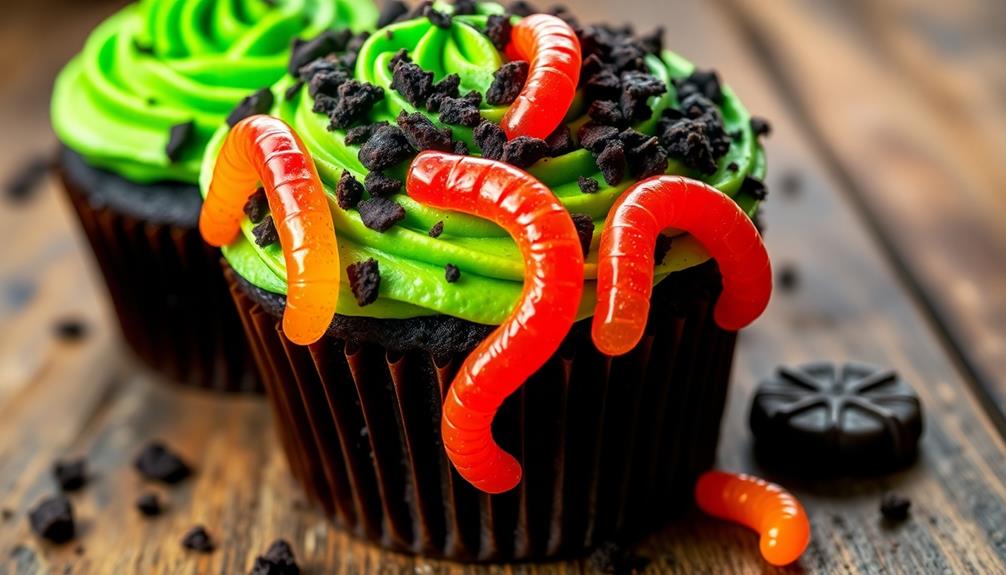
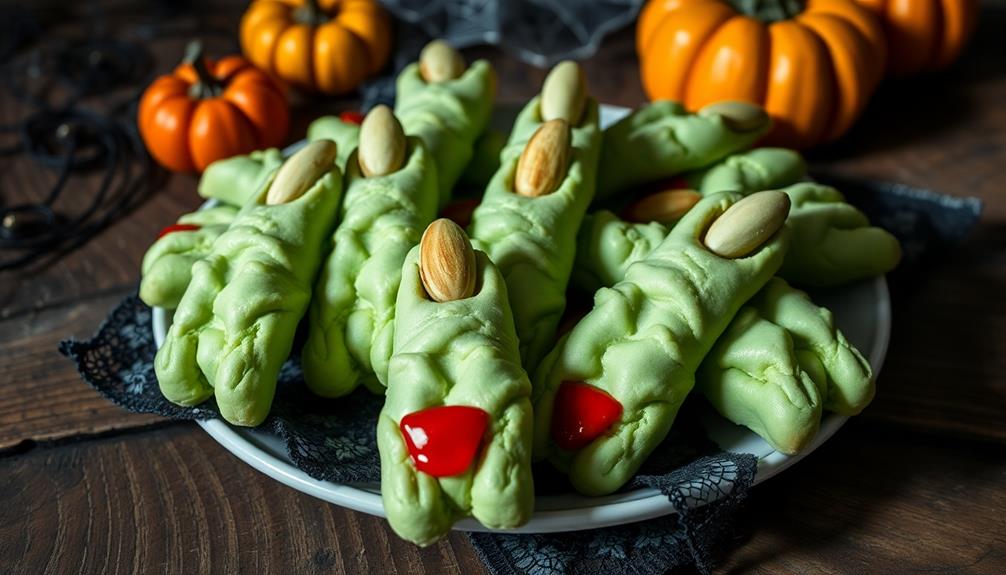
Over the years, you've probably seen many variations of these ghostly treats. Some bakers add food coloring or chocolate chips for eyes, while others stick to the classic white look. If you’re looking for a fun twist on the classic ghostly treats, you might want to try your hand at making spooky spider cupcakes. These creepy crawly confections are perfect for Halloween parties or any time you want to add a little bit of eerie fun to your dessert spread. You can use licorice or black frosting to create the spider legs, and candy eyes or mini chocolate chips for a finishing touch.
Today, you'll find these spooky meringues at Halloween parties all over the world, delighting both kids and adults with their light, crispy texture and haunting appearance.

Suuker extra large piping tips set (F02 F06 9FT R22L), stainless steel round piping tip,large star square wide jumbo piping tips,eclair churro meringue for cake cupcake cookie decorating
High Quality Stainless Steel: We manufacture this extra large piping tips from stainless steel, a durable alloy that…
As an affiliate, we earn on qualifying purchases.
As an affiliate, we earn on qualifying purchases.
Cooking Steps

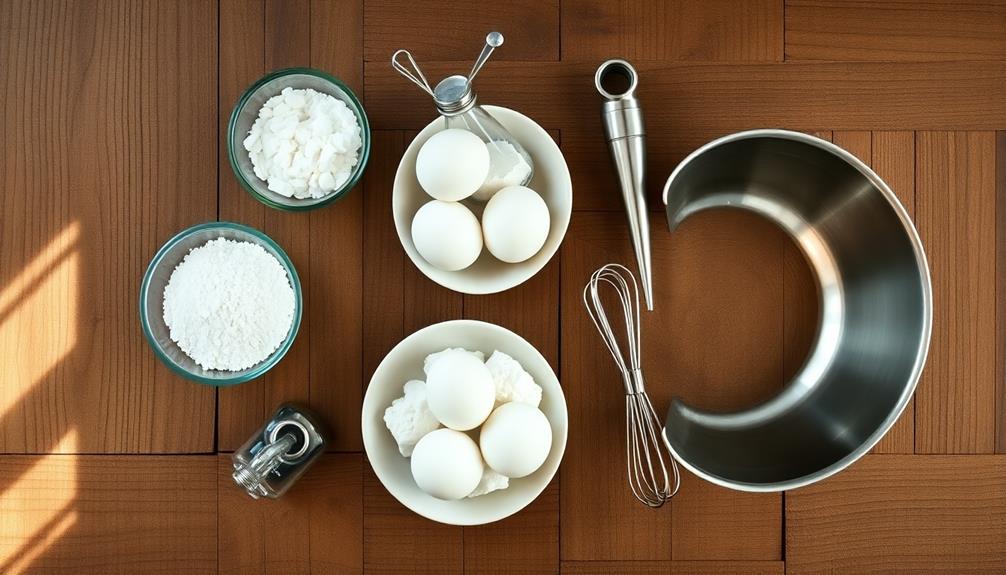
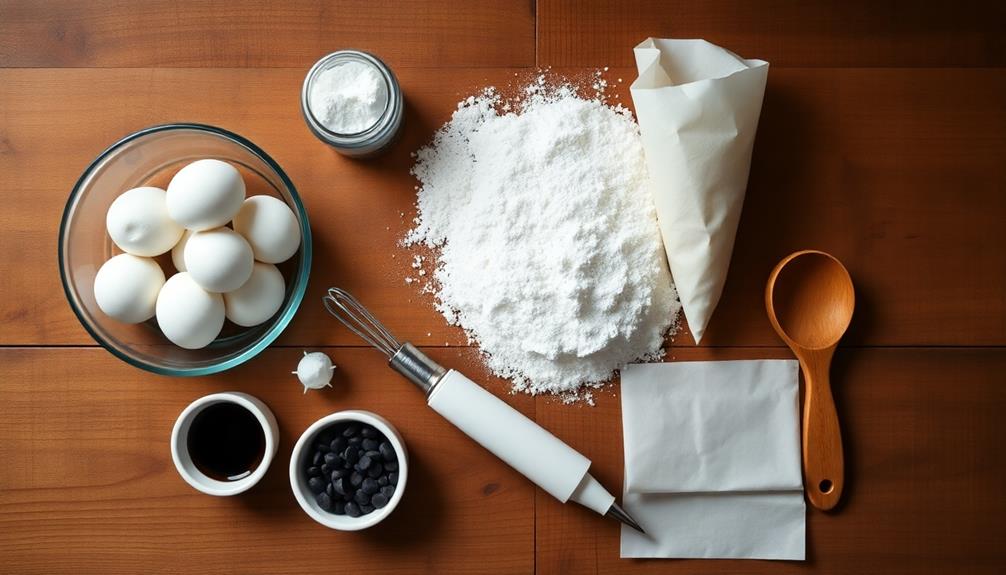
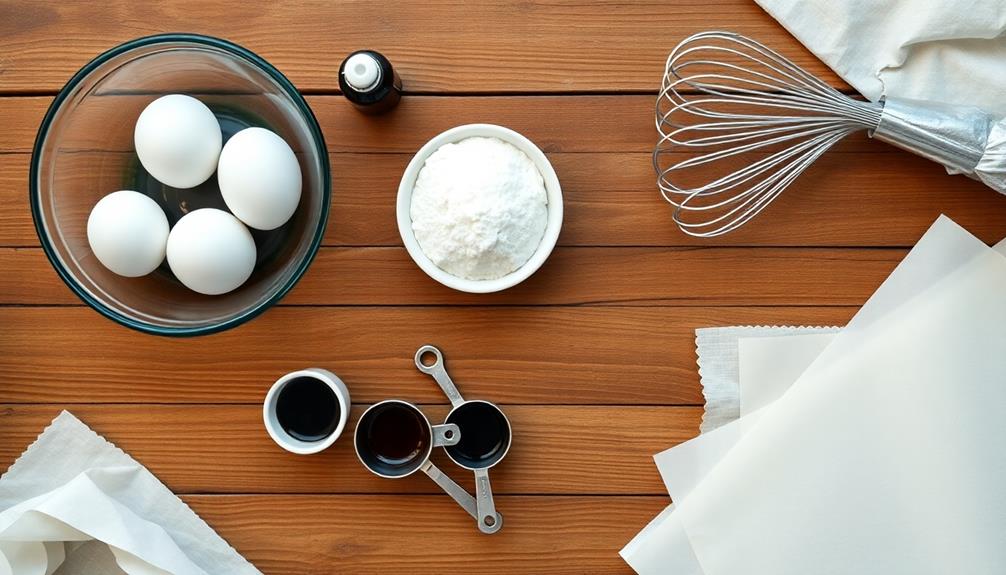
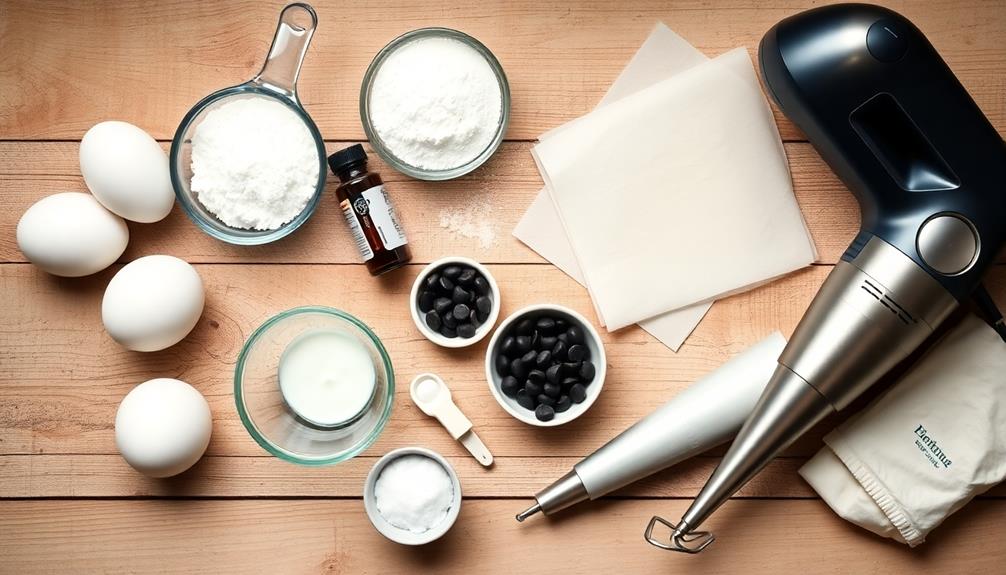
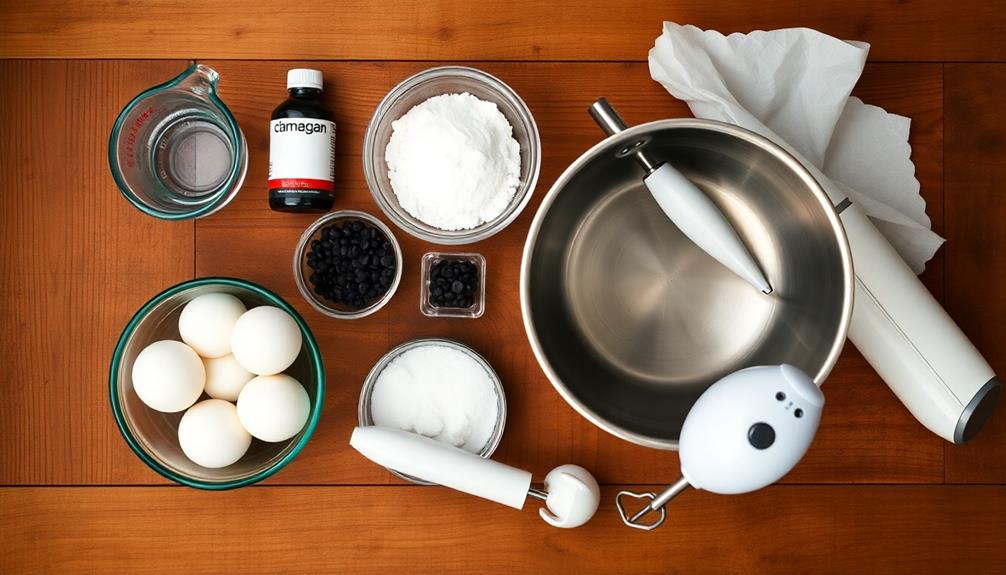
To create these spooky treats, you'll need to follow a few key steps. First, preheat your oven to 200°F (93°C) and line two baking sheets with parchment paper.
Next, separate your egg whites carefully, making sure no yolk gets in. In a large bowl, beat the egg whites until they're foamy. Then, gradually add sugar while continuing to beat until stiff peaks form.
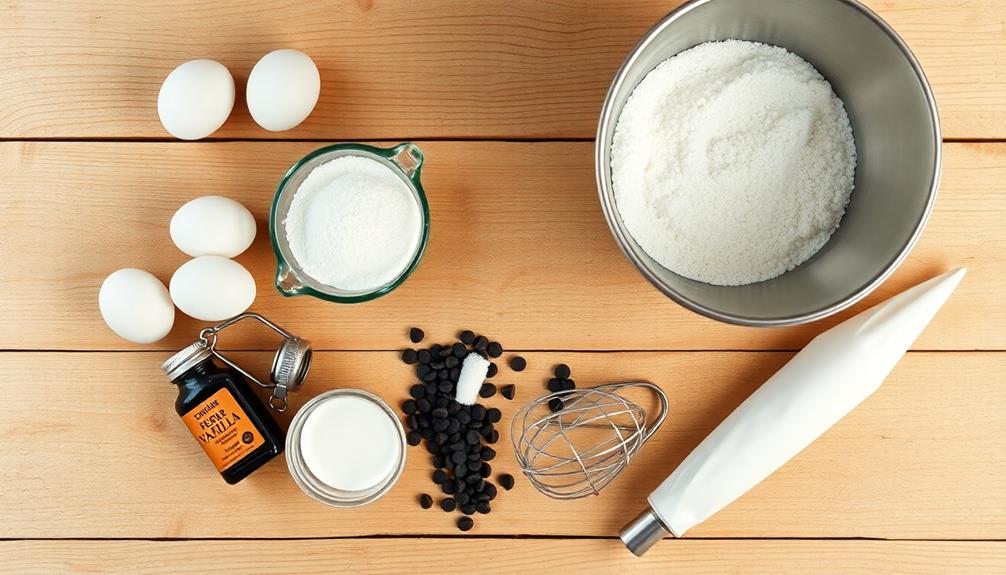
Now comes the fun part! Gently fold in vanilla extract and any food coloring you want to use. Spoon the mixture into a piping bag fitted with a large round tip.
On the prepared baking sheets, pipe the meringue into ghost shapes. Don't worry if they're not perfect – that's part of their charm!
Bake your ghostly creations for about 2 hours, or until they're dry and can easily be lifted off the paper. Once they're done, let them cool completely.
Step 1. Preheat Oven to 225°F

Before you begin crafting these eerie treats, it's essential to set the stage with the proper oven temperature. You'll want to preheat your oven to 225°F. This low temperature is crucial for creating the perfect ghostly meringue cookies.
Why is 225°F so important? Well, it's all about the science of meringue. At this temperature, your cookies will bake slowly, allowing them to dry out without browning. This helps maintain their ghostly white appearance, which is key to their spooky charm.
To ensure your oven reaches the right temperature, turn it on as soon as you start gathering your ingredients. Most ovens take about 15 to 20 minutes to preheat fully.
While you're waiting, you can line your baking sheets with parchment paper and prepare your meringue mixture.
Step 2. Whip Egg Whites Until Foamy
The initial step in creating your ghostly meringue cookies involves whipping the egg whites.
You'll need to separate the whites from the yolks carefully. Make sure there's no trace of yolk in your whites, as this can prevent them from whipping properly.
Once you've got your clean egg whites, it's time to start whipping!
Use an electric mixer or stand mixer with the whisk attachment. Begin at a low speed to break up the egg whites. As they start to foam, gradually increase the speed to medium.
You'll see the whites transform from clear and liquid to a light, frothy texture. This process usually takes about 1-2 minutes.
Keep a close eye on your egg whites as they whip. You're looking for soft peaks to form when you lift the beaters.
At this stage, the whites will be foamy and opaque, with peaks that gently fold over. Don't overbeat them, or you'll end up with dry, grainy meringue.
Once you've achieved soft peaks, you're ready for the next exciting step in your ghostly cookie adventure!
Step 3. Add Sugar Gradually While Beating
Once you've achieved soft peaks, it's time to incorporate the sugar. This step is crucial for creating those perfect ghostly meringues. You'll want to add the sugar gradually, not all at once. Start by sprinkling in about a tablespoon of sugar while you continue beating the egg whites.
For a truly delightful treat, consider pairing these meringues with a soothing aroma by using essential oils for relaxation.
Keep the mixer running on medium-high speed as you add the sugar. It's important to be patient and add it slowly, about a tablespoon at a time. This gradual approach helps the sugar dissolve completely into the egg whites. If you rush this step, you might end up with grainy meringues, and nobody wants that!
As you continue beating and adding sugar, you'll notice the mixture becoming glossier and thicker. That's exactly what you want! Keep going until all the sugar is incorporated and the meringue forms stiff, shiny peaks. This means when you lift the beater, the peaks should stand up straight without flopping over.
Step 4. Pipe Meringue Into Ghost Shapes
After achieving stiff peaks, you're ready to shape your ghostly meringues. Get your piping bag and fill it with the fluffy mixture. If you don't have a piping bag, don't worry! You can use a plastic sandwich bag with a corner snipped off.
Now comes the fun part – creating your spooky ghosts! Start by piping a base about 2 inches wide. Then, slowly lift the bag as you squeeze, forming the ghost's body. Make it taller than it's wide for that classic ghost shape. When you reach the top, give a little swirl to create the ghost's head.
For extra flair, you can add two tiny dots of melted chocolate for eyes once the meringues are baked and cooled. Remember, each ghost will be unique, just like real ghosts would be!
If you make a mistake, don't fret. You can always scoop the meringue back into the bag and try again. The most important thing is to have fun with it.
Soon, you'll have a whole crew of adorable meringue ghosts ready to haunt your Halloween party!
Step 5. Bake for 1 Hour
Baking your ghostly creations is the next crucial step in bringing these spooky treats to life. Preheat your oven to 200°F (93°C) and make sure the rack is in the center position. Once your oven's ready, carefully slide your baking sheet with the piped meringue ghosts inside.
Now, here's the magic part: you'll bake these ghostly goodies for a full hour. It might seem like a long time, but don't worry! This slow baking process is essential to create that perfect, crisp exterior while keeping the inside light and airy. During this time, your kitchen will fill with a sweet, sugary aroma that'll have everyone excited for the final result.
While they're baking, resist the urge to open the oven door. Your ghosts need a consistent temperature to form properly.
After an hour, turn off the oven but don't take out the cookies yet. Let them cool slowly inside the oven for another hour. This helps prevent cracks and ensures your ghosts maintain their shape.
Once they're completely cool, you'll have a tray full of adorable, crispy meringue ghosts ready to haunt your Halloween party!

Parchment Paper Sheets, 9×13 In Non-Stick Precut Baking Parchment for Baking, Grilling, Air Fryer, Steaming, and More (Unbleached) – Quarter Sheet Size, Perfect for Bread, Cakes, Cookies, 100PCS
Natural, Unbleached Parchment Paper: Made from natural wood pulp, our parchment paper baking sheet is completely free from…
As an affiliate, we earn on qualifying purchases.
As an affiliate, we earn on qualifying purchases.
Final Thoughts
With these ghostly meringue cookies, you've got a spooky treat that's sure to impress. They're not just delicious, but they're also a fun way to celebrate Halloween or add a touch of whimsy to any gathering.
Budget-friendly Halloween party tips will help you create a festive atmosphere alongside these delightful cookies. You'll love how light and airy these cookies are, melting in your mouth with each bite.
Remember, practice makes perfect when it comes to piping meringue. Don't worry if your first few ghosts don't look exactly as you imagined. Each one will have its own unique personality, which adds to their charm. You can always experiment with different designs or even add food coloring for variety.
These cookies are best enjoyed fresh, but you can store them in an airtight container for a few days. Just be sure to keep them away from moisture, as it can make them lose their crispness.
If you're feeling creative, try serving them alongside other Halloween-themed treats or use them to decorate a spooky cake. Your friends and family will be amazed at your baking skills, and you'll have a blast making these ghostly delights! For an extra touch of Halloween fun, pair your ghost sugar cookies with a spooky garlic bread recipe. The savory flavor of the garlic bread will complement the sweet treats perfectly, and your guests will love the unique twist on a classic appetizer. Plus, the spooky theme will tie everything together for a memorable and festive gathering.

Food Coloring for Baking – 26 Vibrant Cake Coloring Liquid Set for Dessert Decorating, Food Grade Food Dye for Icing,Fondant,Cookies,Easter Egg,Making DIY Supplies Kit- 0.25 Fl. oz/Bottles
Food Grade Cake Food Coloring – Approved by MSDS with food grade material.Non-toxic, dairy-free,nut-free and gluten-free. Food coloring…
As an affiliate, we earn on qualifying purchases.
As an affiliate, we earn on qualifying purchases.