Spider Leg Pretzels are a spooky and delicious Halloween treat you'll love making with your kids. These fun snacks emerged in the late 20th century and have become a popular choice for Halloween parties. You'll start by mixing a simple pretzel dough, shaping it into creepy spider legs, and baking them until golden brown. The real magic happens when you dip them in chocolate and add edible eyes for that extra eerie touch. They're perfect for school events, family gatherings, or as take-home treats. Get ready to unleash your creativity and make some tasty, spine-tingling snacks that'll have everyone reaching for more!
Key Takeaways
- Spider Leg Pretzels are Halloween-themed treats made by shaping pretzel dough into spider leg forms.
- The recipe typically includes ingredients like flour, yeast, water, and baking soda for the pretzel base.
- After baking, pretzels are decorated with chocolate coating and edible eyes to resemble spider legs.
- They're popular for Halloween parties, school events, and as fun, spooky-season snacks.
- Making Spider Leg Pretzels can be a kid-friendly activity, encouraging creativity and kitchen involvement.

Pretzel Making Kit – Real Cooking Set for Kids Ages 5-12+ with Recipe and Ingredients – Kids Baking Set for Girls & Boys – Great Gift for Family Bonding
FRESH INGREDIENTS, DELICIOUS TREATS: This pretzel kids’ cooking kit includes all dry ingredients, pre-measured and securely packed. The…
As an affiliate, we earn on qualifying purchases.
As an affiliate, we earn on qualifying purchases.
History
Spider Leg Pretzels, a Halloween-themed treat, emerged as a creative twist on traditional pretzels in the late 20th century.
You'll find that these spooky snacks became popular as people looked for fun ways to celebrate the holiday. They're a perfect blend of sweet and salty, just like the pretzels you've always loved. If you’re looking to try something new, you might want to consider making a candy corn parfait recipe. This delightful treat is not only visually appealing, but it also captures the essence of Halloween with its colorful layers. By combining the traditional flavors of candy corn with a creamy parfait, you can create a unique and delicious dessert that’s perfect for any spooky celebration.
As Halloween parties grew more elaborate, hosts wanted to serve themed foods that would surprise and delight their guests.
That's when someone had the brilliant idea to transform ordinary pretzels into creepy crawly spider legs. It's amazing how a simple idea can catch on so quickly!
You might wonder how they spread across the country.
Well, it's thanks to magazines, cooking shows, and later, the internet. People shared their spider leg pretzel recipes, and soon, they were popping up at parties everywhere.
Kids loved them because they were fun to eat, and parents appreciated how easy they were to make.
Now, you can find spider leg pretzels at many Halloween events, and they've become a staple of spooky season snacking.

Milk Chocolate Covered Pretzels | 40 Ounce Bag | Salted Pretzels in Creamy Chocolate Coating
Contains 40-Ounce Bag of Milk Chocolate-Coated Pretzels
As an affiliate, we earn on qualifying purchases.
As an affiliate, we earn on qualifying purchases.
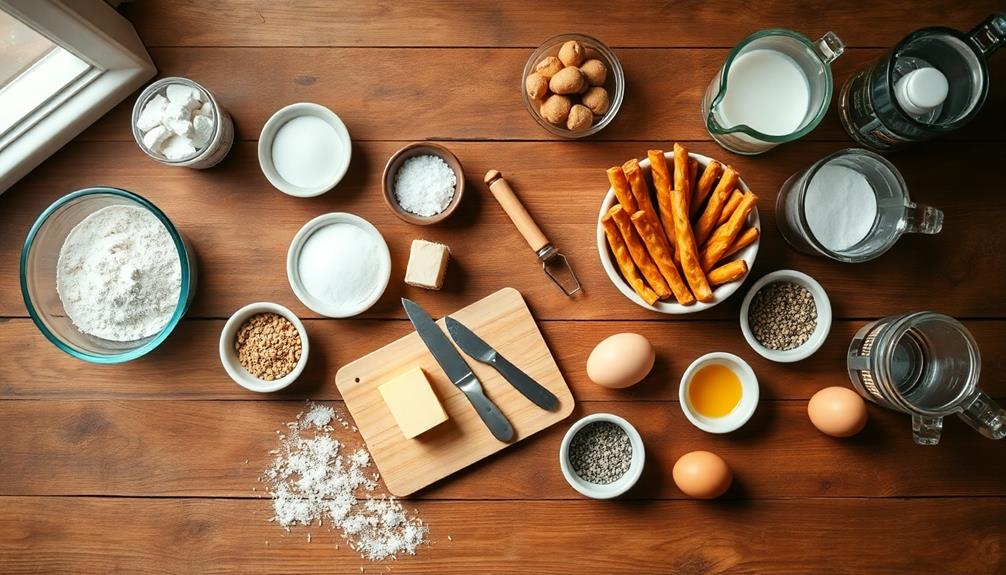
Cooking Steps
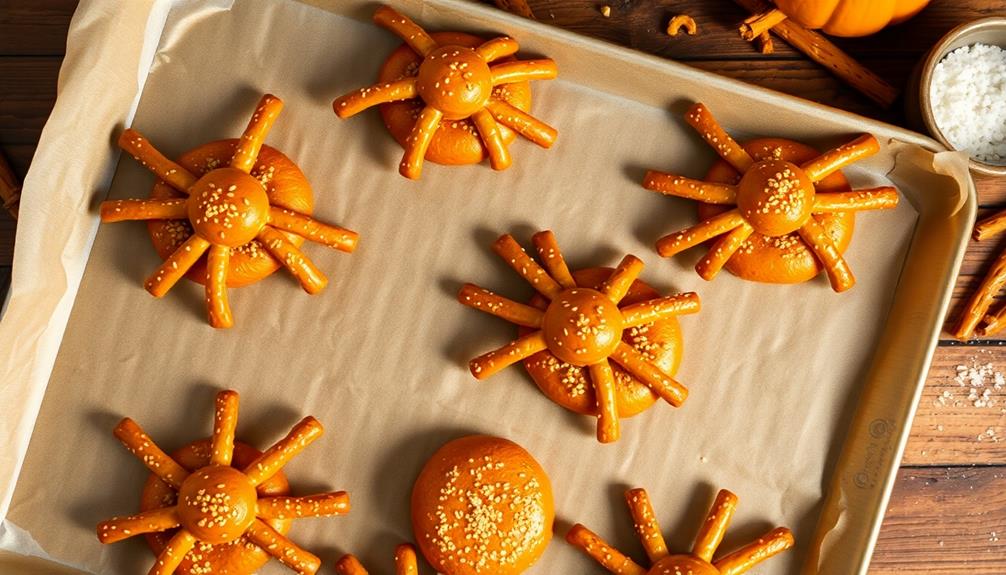
To create these creepy-crawly snacks, you'll need to follow a few simple steps. First, preheat your oven to 350°F. While it's heating up, line a baking sheet with parchment paper.
Next, take your pretzel sticks and arrange them on the sheet in pairs, crossing them to form an "X" shape. These will be the spider's legs!
Now, it's time to make the spider's body. Unwrap a chocolate candy and place it in the center of each "X". Make sure it's snug against the pretzels. Once the candy is in place, gently press down to adhere it to the pretzels. The chocolate candy will serve as the spider’s body. Now, you can serve your spooky spider treat as a fun and festive Halloween snack! For an extra creepy touch, consider pairing it with a spiderweb black bean dip recipe for a complete Halloween-themed spread.
Once you've done this for all your spiders, pop the tray in the oven for about 2 minutes. This will help the chocolate soften and stick to the pretzels.
After taking them out, let your spider pretzels cool for a few minutes. While they're cooling, melt some white chocolate in the microwave. Use this to add eyes to your spiders. You can make them as googly as you want!
Step 1. Preheat Oven to 350°F
The kitchen comes alive as you prepare to create spooky spider leg pretzels. Before diving into the fun part, it's crucial to get your oven ready. Preheating is an essential step that'll ensure your treats bake evenly and come out just right.
Start by setting your oven to 350°F (175°C). This temperature is perfect for baking pretzels, giving them a golden-brown color and crispy texture. Don't rush this step! It usually takes about 10 to 15 minutes for most ovens to reach the right temperature.
While you're waiting, you can gather your ingredients and tools. This is a great time to line your baking sheets with parchment paper or silicone mats. They'll prevent your spider legs from sticking and make cleanup a breeze.
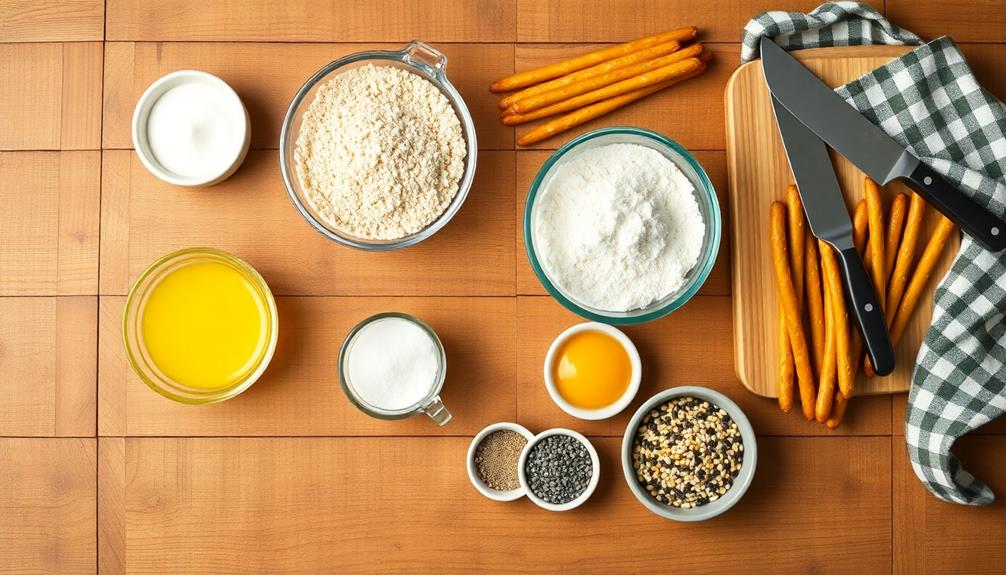
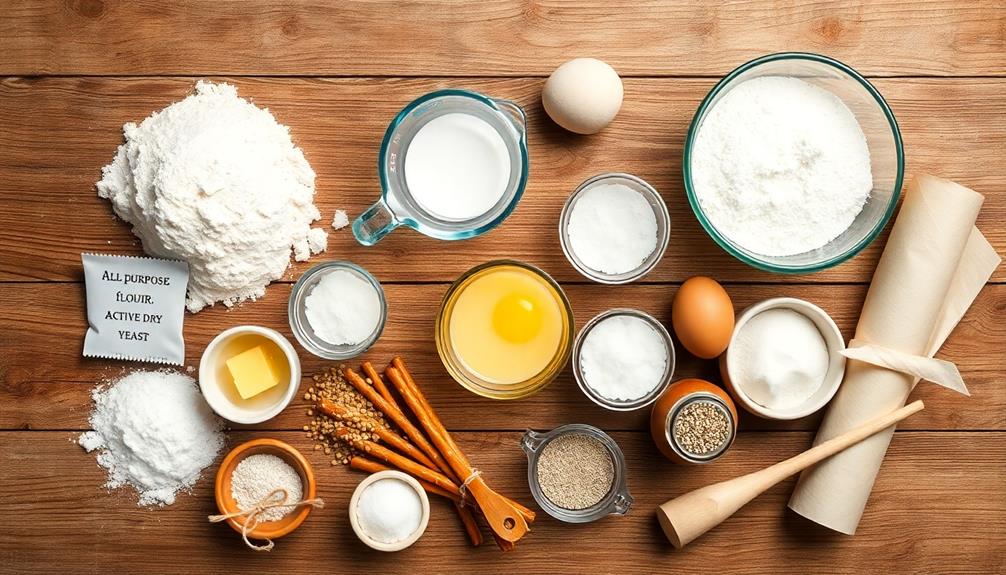
Step 2. Mix Pretzel Dough Ingredients
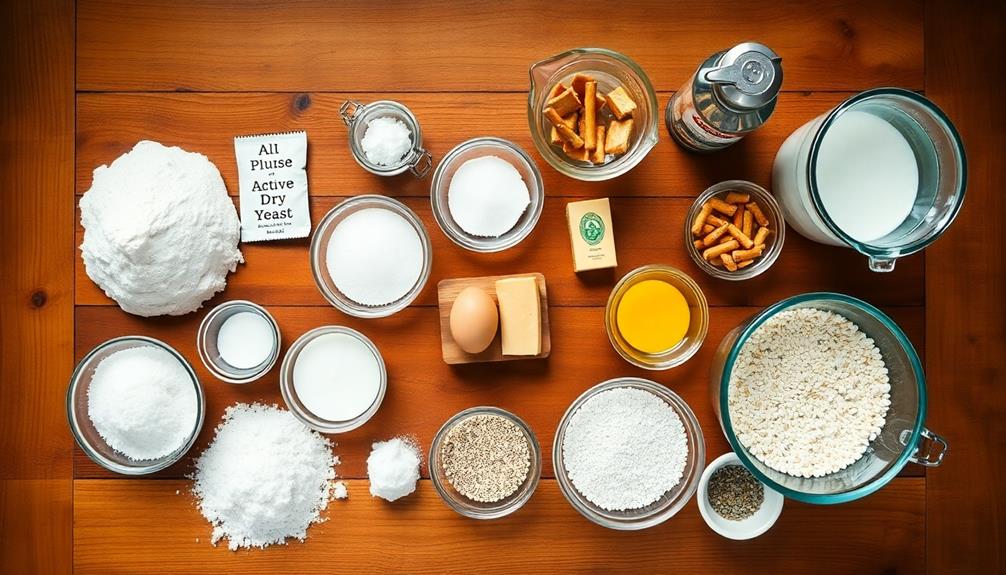
With the oven preheating, it's time to focus on creating the pretzel dough. You'll need a large mixing bowl to combine all the ingredients.
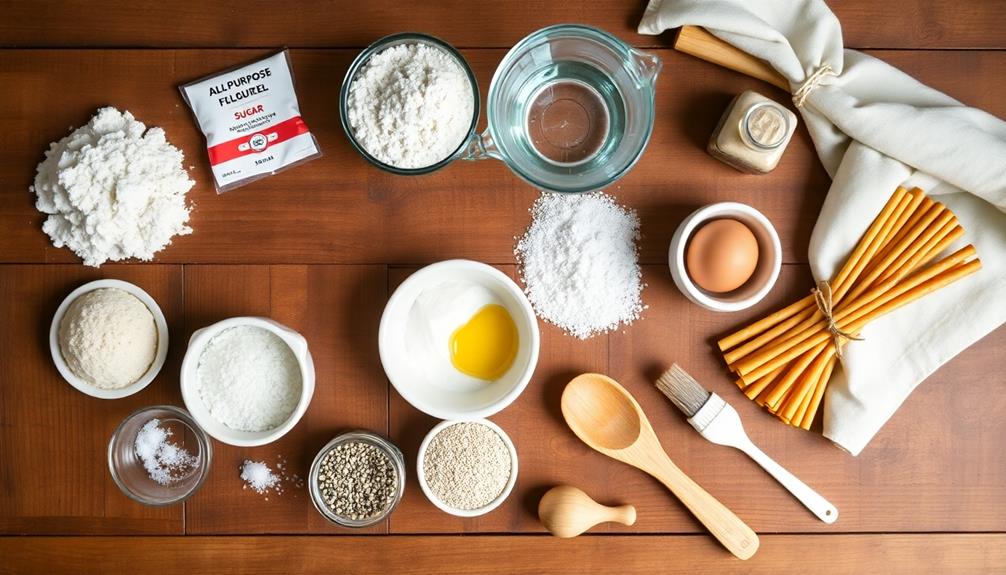
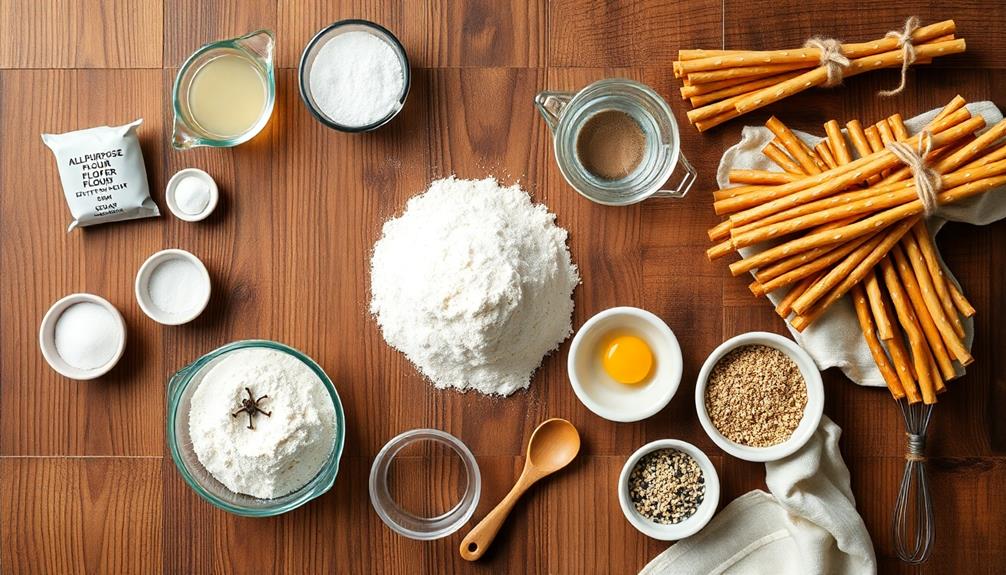
Start by measuring out 2 1/4 cups of all-purpose flour and pouring it into the bowl. Add 1 teaspoon of salt and 1 tablespoon of sugar, then mix these dry ingredients together with a whisk.
Next, you'll add the wet ingredients. In a separate small bowl, dissolve 1 packet of active dry yeast in 1 cup of warm water. Let it sit for about 5 minutes until it becomes frothy. This means the yeast is alive and ready to work its magic!
Pour the yeast mixture into the bowl with the dry ingredients.
Now comes the fun part! Use your hands or a wooden spoon to mix everything together. Keep stirring and kneading until the dough forms a smooth, elastic ball. If it's too sticky, add a little more flour. If it's too dry, add a splash of water.
Once your dough is ready, cover the bowl with a damp cloth and let it rest for about 10 minutes. This will make it easier to shape into spider legs later!
Step 3. Shape Dough Into Legs

After resting, your dough is ready to be transformed into creepy spider legs. Let's get started! First, divide your dough into eight equal portions. Each piece will become one spooky leg. Roll each portion into a long, thin rope about 12 inches in length. Don't worry if they're not perfect; spiders have knobby legs anyway!
Now, it's time to give your legs some character. Gently bend each rope into a slight curve, just like a real spider's leg. You'll want to create two or three slight bends in each leg. This will make them look more realistic and extra creepy!
Once you've shaped all eight legs, place them on a baking sheet lined with parchment paper.
To add the final touch, use kitchen scissors to make small snips along the outside curve of each leg. This will create a bumpy texture that looks just like spider hair. Space the snips about half an inch apart. Remember to be careful with the scissors!
Your spider leg pretzels are now ready for the next step in their spooky transformation.
Step 4. Bake Pretzels Until Golden
Baking time has arrived for your creepy-crawly creations! Preheat your oven to 425°F (220°C) and line a baking sheet with parchment paper. Carefully transfer your shaped pretzel legs onto the prepared sheet, leaving some space between each one.
Before popping them in the oven, you'll want to give your pretzels a quick bath. In a large pot, bring 4 cups of water and 1/4 cup of baking soda to a boil. Using a slotted spoon, gently lower each pretzel leg into the boiling water for about 30 seconds. This step helps create that classic pretzel texture and color.
After their bath, place the pretzels back on the baking sheet. Brush them with beaten egg for a shiny finish, and sprinkle with coarse salt if you'd like.
Now, slide the sheet into the preheated oven. Bake your spider leg pretzels for 12-15 minutes, or until they're a beautiful golden brown. Keep an eye on them to make sure they don't overcook.
When they're done, remove them from the oven and let them cool for a few minutes. Your spooky snacks are ready to serve!
Step 5. Decorate With Edible Spider Eyes
Now that your spider leg pretzels are baked to golden perfection, it's time to give them a spooky upgrade. Halloween treats are always a fun part of the celebration, and these pretzels can be a great addition to your Halloween decorations and festive atmosphere.
Let's add some creepy, edible spider eyes to make your treats even more Halloween-worthy!
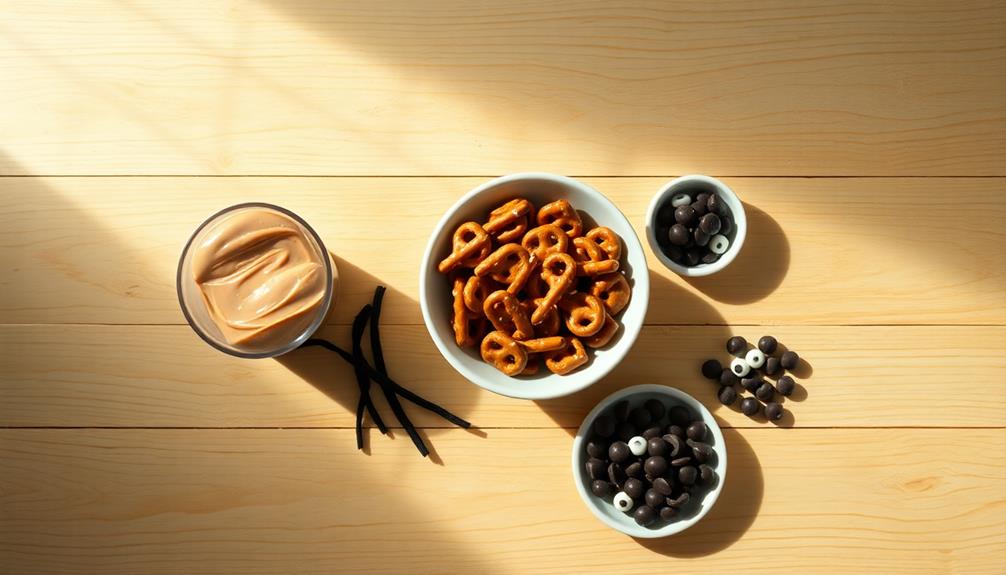
First, gather your supplies. You'll need candy eyes, which you can find at most craft or baking stores. If you can't find them, don't worry! You can make your own using white chocolate chips and a tiny dot of black icing.
To attach the eyes, you'll need a bit of "edible glue." Simply mix a small amount of powdered sugar with a few drops of water until it forms a thick paste.
Using a toothpick, dab a tiny bit of this mixture onto the back of each candy eye. Carefully place two eyes on each pretzel, near one end. This will be the spider's head! Press gently to make sure they stick.
If you're using homemade eyes, pipe a small dot of white chocolate for each eye, then add a tiny black dot in the center.
Let the eyes set for a few minutes before serving your spooky spider leg pretzels. They're sure to be a hit at your Halloween party!
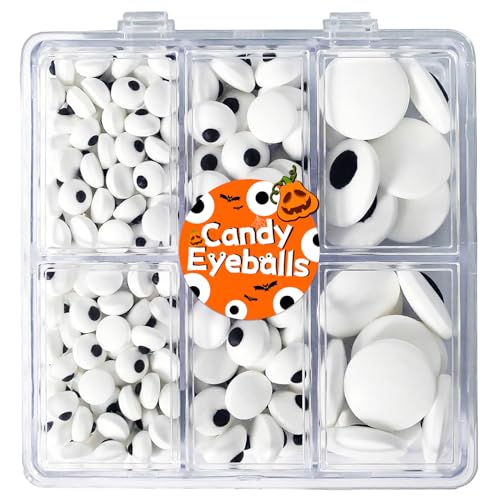
Edible Eyes Candy Eyeballs Sprinkles for Cake Decorating, 130g/4.6oz Halloween Mix Sizes Eyeballs for Cupcake Cookie Toppings, Edible Sprinkles for Baking Decoration 7mm 1cm 2cm
Three Sizes for Spooky Creativity: This set includes edible eye sprinkles in three sizes, allowing you to create…
As an affiliate, we earn on qualifying purchases.
As an affiliate, we earn on qualifying purchases.
Final Thoughts
With these spooky Spider Leg Pretzels in your Halloween arsenal, you're sure to impress both kids and adults alike.
They're not just tasty treats, but also fun decorations that'll make your party table look extra festive. You'll love how easy they're to make, and your guests will be amazed by your creativity.
Remember, you can always experiment with different types of chocolate or candy melts for the legs. Try dark chocolate for a more realistic look, or go wild with colorful coatings.
Don't forget, you can adjust the size of your spiders by using different sized pretzels or varying the length of the legs.
These Spider Leg Pretzels are perfect for school parties, family gatherings, or even as a special Halloween after-school snack.
They're a great way to get kids involved in the kitchen, too. Let them help with dipping the pretzels or placing the eyes. It's a fun activity that creates lasting memories.

Dot's Homestyle Pretzels Variety Pack, Original, Honey Mustard, and Parmesan Garlic Twist Snack, 1oz Individually Sized Bags (18 Count)
This Dot's Variety Pack lets you choose your adventure with three of our most popular flavors: 8- 1oz…
As an affiliate, we earn on qualifying purchases.
As an affiliate, we earn on qualifying purchases.