Rice crispy treats are a classic, kid-friendly snack that have been around since the early 1900s. The original recipe, created by a Kellogg's employee, combines puffed rice cereal with melted marshmallows. This simple yet delicious combination has remained largely unchanged over the years, contributing to its timeless appeal. To make your own, you'll need just a few ingredients like butter, marshmallows, and rice cereal. The key steps include melting the butter and marshmallows, mixing in the cereal, and pressing the mixture into a pan. From there, you can customize with add-ins like nuts, chocolate, or sprinkles. This versatile snack is perfect for sharing with family and friends – keep reading to discover even more fun facts about rice crispy treats!
Key Takeaways
- Rice crispy treats are a classic kid-friendly snack made with just 3 main ingredients: rice cereal, marshmallows, and butter.
- The recipe has remained largely unchanged since its creation in the 1930s, contributing to its timeless appeal.
- Rice crispy treats can be easily customized with various add-ins like chocolate chips, nuts, or dried fruits to cater to different taste preferences.
- The simple cooking process involves melting butter and marshmallows, then mixing in the rice cereal and pressing it into a pan.
- Rice crispy treats are a popular choice for school events, parties, and creative dessert displays, making them a versatile and fun snack for kids.

Farberware Nonstick Bakeware Baking Pan / Nonstick Cake Pan, Rectangle – 9 Inch x 13 Inch, Gray
NO WARP DURABILITY: The 9 x 13 nonstick cake pan’s heavy-duty construction resists warping and heats evenly to…
As an affiliate, we earn on qualifying purchases.
As an affiliate, we earn on qualifying purchases.
History
In the early 1900s, the classic Rice Crispy Treats recipe was created by Kellogg's, the famous cereal company. The story goes that Kellogg's employee Malitta Jensen first combined puffed rice cereal with melted marshmallows, creating a simple yet delicious treat. This sweet and crunchy snack quickly gained popularity, becoming a staple in households across America. Over time, the Rice Crispy Treats recipe evolved, with people adding ingredients like chocolate, peanut butter, and sprinkles for extra flavor. As creative home chefs experimented with familiar favorites, other classic comfort foods, such as a crispy homemade french fries recipe, also became go-to dishes for family gatherings and parties. Today, both Rice Crispy Treats and homemade fries remain beloved snacks, bridging generations with their simplicity and timeless appeal. Their enduring popularity speaks to the universal appeal of easy-to-make, crowd-pleasing snacks that effortlessly bring people together. Whether you’re creating a batch of gooey Rice Crispy Treats or learning how to make crispy french fries for the first time, these delightful treats carry a sense of nostalgia and comfort. Both recipes invite endless customization, making them perfect platforms for adding a personal twist to cherished classics.
Much like the comforting qualities of Corned Beef Hash, Rice Crispy Treats are cherished for their ease of preparation and nostalgic flavor.
Over the years, the recipe has remained largely unchanged, with the combination of Kellogg's Rice Krispies cereal and gooey marshmallows proving to be a winning formula. The treats' convenience, versatility, and kid-friendly appeal have made them a beloved classic. Additionally, Rice Krispies Treats have become a go-to option for busy families and novice bakers alike. Their simplicity and no-bake preparation make them an easy cookie recipe for beginners, allowing even the youngest chefs to join in on the fun. Whether enjoyed at home or shared at parties, they continue to bring smiles to all who indulge.
Today, Rice Crispy Treats are enjoyed not only as a snack but also as a base for countless variations, from chocolate-dipped to peanut butter-infused. The recipe's enduring popularity is a testament to its timeless appeal and the way it has become woven into the fabric of American food culture.

Fluff Marshmallow Spread, Classic Delicious Original Flavor, 7.5oz (Pack of 2)
FLUFFERNUTTER SANDWICH – Fluff is the reason the Fluffernutter exists! Without the quality Fluff and some inegnuity, the…
As an affiliate, we earn on qualifying purchases.
As an affiliate, we earn on qualifying purchases.
Recipe
Rice Crispy Treats are a classic no-bake dessert that's perfect for kids and adults alike. These sweet and crunchy treats are incredibly easy to make and require just a few simple ingredients. They make a great snack or dessert, and can be customized with various add-ins or toppings to suit your taste.
The combination of gooey marshmallows and crispy rice cereal creates a perfect texture that's sure to satisfy any sweet tooth. Whether you're making them for a birthday party, a school bake sale, or just for a fun afternoon snack, this recipe is sure to be a hit.
Ingredients:
- 3 tablespoons unsalted butter
- 4 cups miniature marshmallows
- 6 cups rice cereal
In a large saucepan, melt the butter over medium heat. Add the marshmallows and stir constantly until they're completely melted and the mixture is smooth.
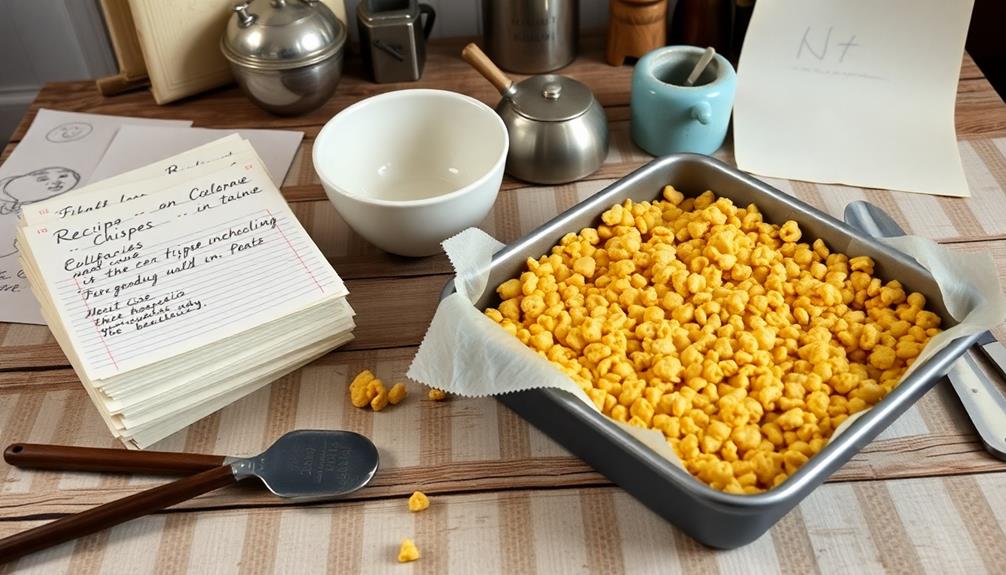
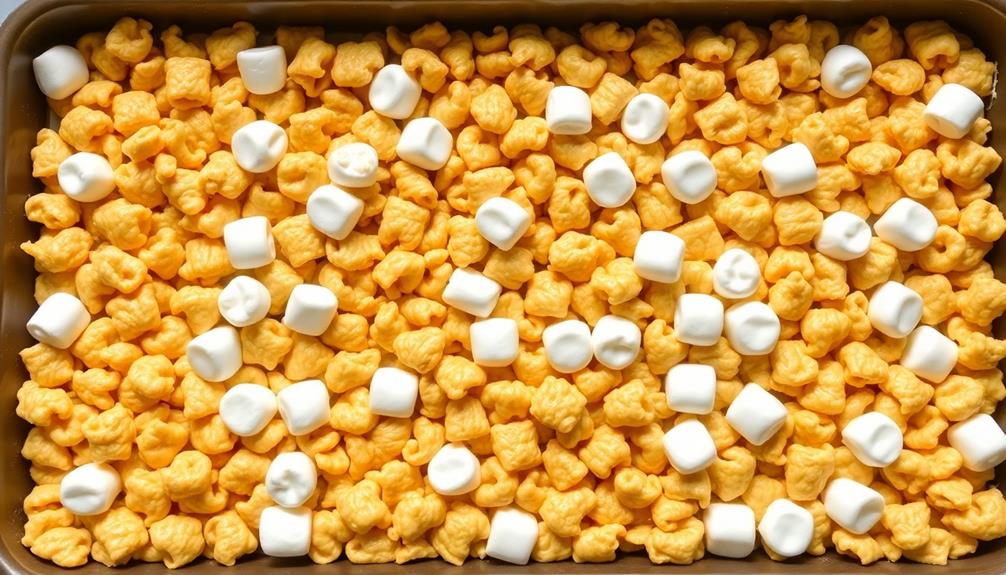
Remove the pan from the heat and stir in the rice cereal until it's evenly coated. Quickly transfer the mixture to a 9×13 inch baking pan and use a greased spatula or your hands to press it into an even layer.
Allow the treats to cool completely before cutting into squares. For best results, let the rice crispy treats sit for at least 30 minutes before cutting to allow the marshmallow mixture to fully set.
You can also get creative by adding in chopped nuts, chocolate chips, or sprinkles to the mixture. Enjoy your homemade rice crispy treats!

Suntchen 5Pcs Silicone Spatula Set Colorful Mini Spatulas – 480°F Heat Resistant Nonstick Versatile Kitchen Utensil Set for Baking, Mixing, Cooking, Dishwasher Safe
RELIABLE MATERIAL – The spatulas are made of food-grade silicone, which are BPA free and have no irritant…
As an affiliate, we earn on qualifying purchases.
As an affiliate, we earn on qualifying purchases.
Cooking Steps
First, you'll need to melt the butter and marshmallows together in a saucepan, stirring until they're smooth and combined.
Next, add the rice cereal and mix well to fully coat the cereal.
Then, press the gooey mixture into a greased baking pan and let it cool slightly before cutting into delightful squares.
Step 1. Melt Butter and Marshmallows Together
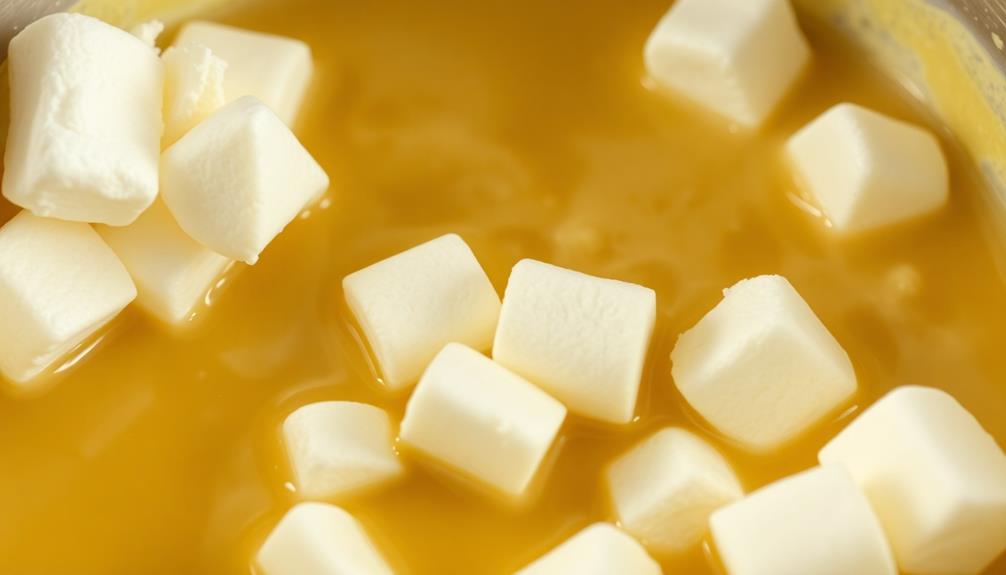
Melt the butter and marshmallows together in a large saucepan over medium heat, stirring constantly. This step is crucial for creating the signature gooey, sticky texture of rice crispy treats.
As the butter melts, it'll help to break down the marshmallows, blending them into a smooth, uniform mixture. Be sure to keep a close eye on the pan, stirring frequently to prevent burning or sticking. The marshmallows should melt completely, transforming into a thick, creamy base for the treats.
Once the butter and marshmallows are fully melted and combined, remove the pan from the heat. This stops the cooking process and ensures the mixture doesn't become too firm or difficult to work with.
Act quickly, as the marshmallow mixture will begin to stiffen as it cools. Have the rice cereal ready to go, as you'll need to work fast to incorporate it before the marshmallow base sets.
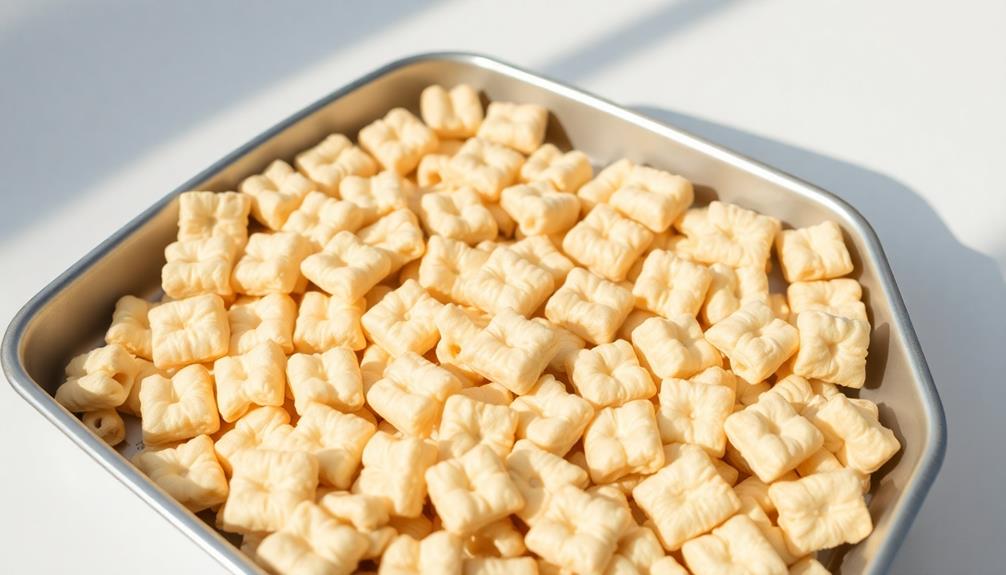
Step 2. Add Rice Cereal
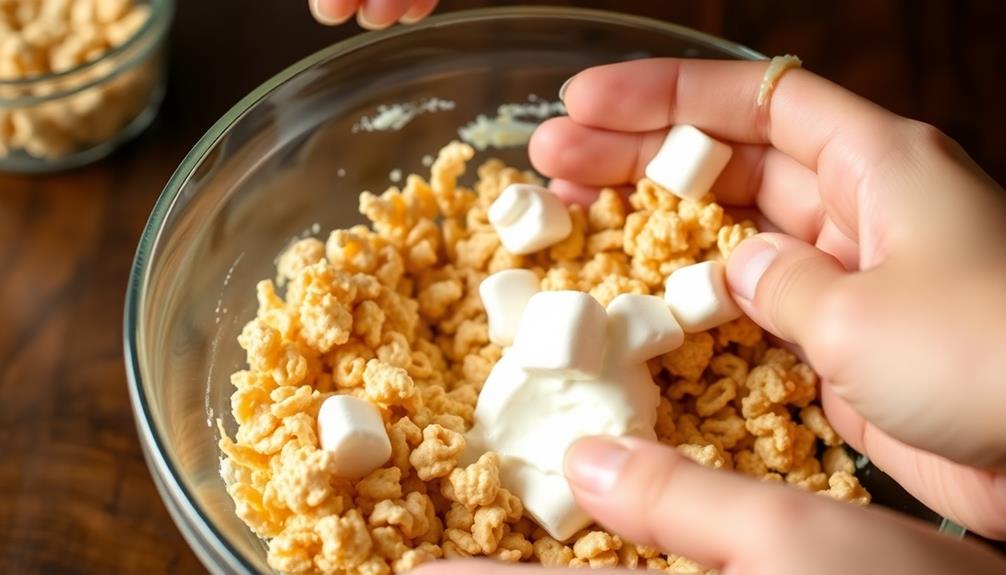
With the melted butter and marshmallows ready, quickly pour in the rice cereal. Stir the mixture vigorously, ensuring the cereal is evenly coated. This step is crucial, as you want to act fast before the marshmallow mixture starts to firm up.
The rice cereal provides the signature crunchy texture that makes these treats so delightful. Be sure to use a high-quality, name-brand rice cereal for the best results. Generic or store-brand options may not hold up as well.
Once the cereal is fully incorporated, the mixture will become thick and sticky. This is exactly what you want – it means the marshmallows have melded perfectly with the rice.
Continue stirring until no dry pockets of cereal remain.
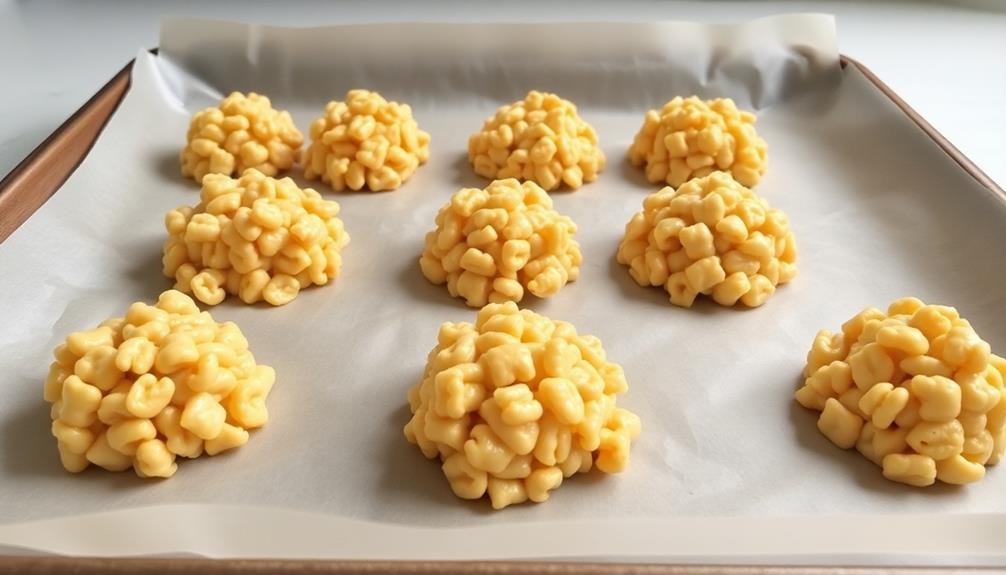
Step 3. Press Mixture Into Pan

Once the rice cereal is fully coated, it's time to press the mixture into a pan. Grab a 9×13 inch baking dish and lightly grease it with butter or non-stick cooking spray. This will help the treats release easily once they've set.
Next, transfer the gooey rice cereal mixture into the prepared pan. Using a rubber spatula or greased hands, firmly press the mixture into an even layer, filling the pan completely. Be sure to get into the corners and edges for a uniform thickness throughout.
Pressing the mixture firmly is key – you want to compact it down as much as possible to help the treats hold their shape once cooled. Apply steady, even pressure, working from the center outward. This will create a smooth, compact surface on top.
Once the pan is filled, use your hands or the back of a spoon to gently smooth the top, creating a flat, even surface.
With the mixture pressed into the pan, you're ready for the next step – letting the treats set and cool completely.
Step 4. Let Mixture Cool Slightly
After pressing the mixture firmly into the pan, let it sit for about 5 minutes to cool slightly.
This brief cooling period is crucial, as it allows the marshmallows to set and the treats to become easier to handle. During this time, you may notice the edges of the pan begin to pull away slightly, indicating that the mixture is starting to solidify.
Once the mixture has cooled a bit, you can proceed to the next step. Using a sharp knife or a pizza cutter, carefully cut the rice crispy treats into squares or rectangles, depending on your preference.
Be gentle and take your time, as the treats may still be a bit soft. If you find the mixture is sticking to the knife, you can lightly grease the blade to prevent this.
After cutting the treats, you can either serve them immediately or allow them to cool completely before transferring them to an airtight container.
This will help preserve their texture and freshness.
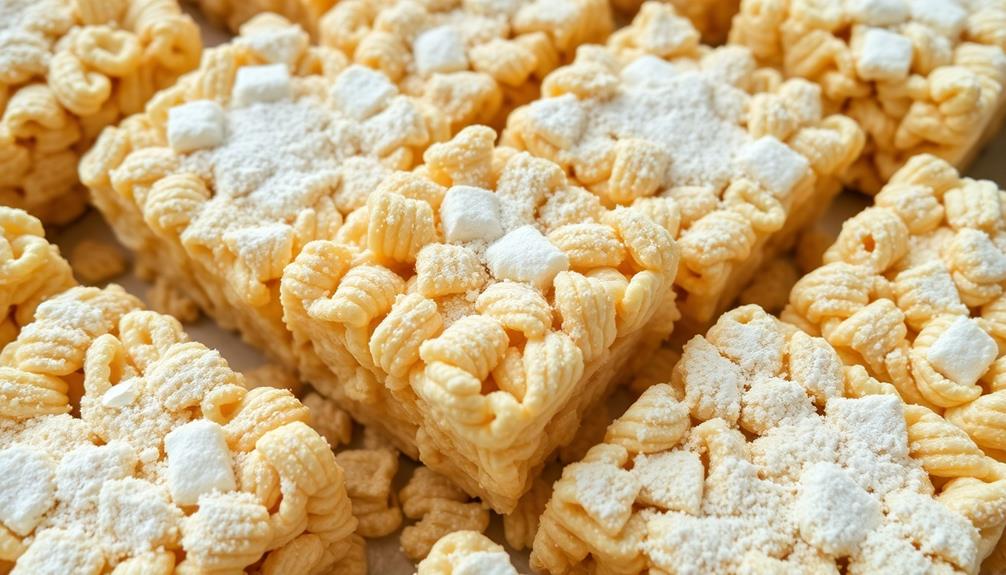
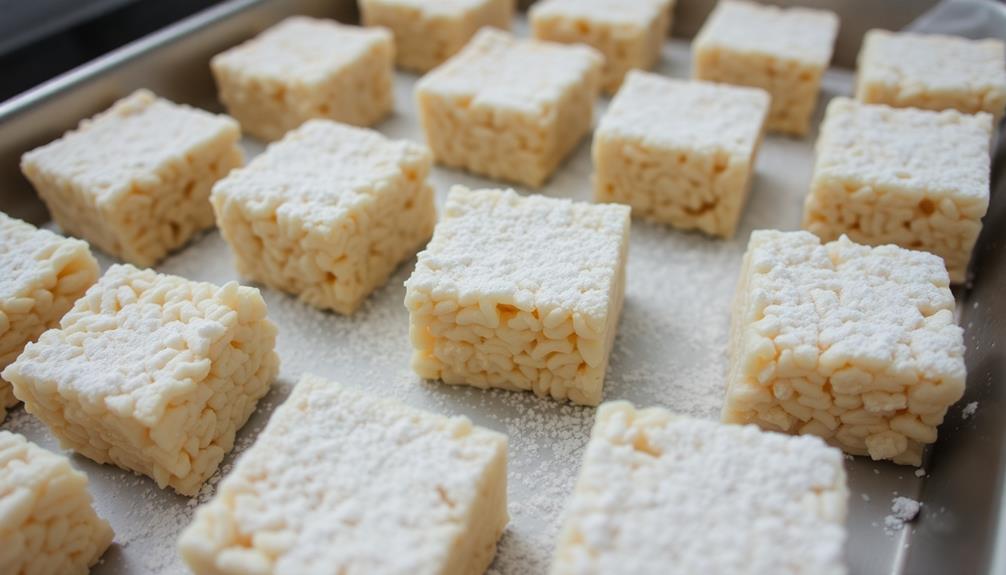
Step 5. Cut Into Squares
You can now carefully cut the rice crispy treats into squares or rectangles using a sharp knife or a pizza cutter. Be sure to work slowly and with caution, as the mixture may still be slightly warm. This step is crucial for creating uniform, bite-sized portions that are easy to serve and enjoy.
Cutting the treats into squares or rectangles offers several benefits. First, it creates a neat, presentable appearance, making them perfect for parties, school events, or simply snacking at home. The uniform shapes also ensure that each piece contains a similar amount of the delicious marshmallow and cereal mixture, allowing for an even distribution of flavors.
When cutting, apply gentle pressure with the knife or pizza cutter, working from the center of the pan outwards. Avoid sawing back and forth, as this can cause the treats to crumble. If the mixture is still quite warm, you may want to allow it to cool for a few more minutes before slicing to prevent sticking or tearing.
Once cut, the rice crispy treats are ready to be served and shared. Enjoy!

Sprinkles, Gold Pearl Sprinkles Mix, 130g/4.6oz Edible Sprinkles for Cake Decorating, Candy Baking Decorations, Ice Cream Toppings and Cookie Decorating, Wedding Party Valentines Supplies
Elegant Touch: The gold color adds a sophisticated and timeless elegance to any dessert, making it perfect for…
As an affiliate, we earn on qualifying purchases.
As an affiliate, we earn on qualifying purchases.
Final Thoughts
Making rice crispy treats is a delightful experience, and you've now mastered the recipe. With the ability to create these tasty treats, you can share them with family and friends, becoming the go-to person for this beloved snack.
Not only are they a crowd-pleaser, but they're also incredibly easy to make, making them the perfect activity to do with children.
As you move forward, consider experimenting with different add-ins or toppings to customize your rice crispy treats. Perhaps you'll try adding a sprinkling of chocolate chips or a drizzle of caramel for an extra touch of indulgence.
The possibilities are endless, and you can have fun discovering new flavor combinations that suit your taste preferences.
Frequently Asked Questions
Can I Use Gluten-Free Rice Cereal?
Yes, you can absolutely use gluten-free rice cereal to make your treats. The consistency and taste will be just as delicious as with traditional rice cereal. Feel free to experiment and enjoy your gluten-free creation.
How Long Do the Treats Stay Fresh?
Rice Crispy treats will stay fresh for 3-5 days if stored properly in an airtight container at room temperature. Avoid refrigeration, as it can make the treats stale and dry out.
Can I Add Extra Marshmallows?
You can certainly add extra marshmallows to your treats. In fact, adding more marshmallows will make them even gooier and more indulgent. Just be mindful that the treats may become stickier and more difficult to handle with the extra marshmallows.
Can I Use Different Shaped Pans?
You can definitely use different shaped pans for your treats. Just keep in mind that the thickness of the treats may vary depending on the pan size, so you may need to adjust the cooking time accordingly.
Can I Substitute the Butter With Oil?
You can substitute the butter with oil, but the texture and flavor may be different. Oils don't bind the ingredients as well as butter, so the treats may be more crumbly. Experiment to find your preferred substitution.