Homemade pickles are an age-old preservation technique you can easily master at home. Crisp cucumbers, a tangy brine, and fragrant spices come together to create these versatile condiments. Start with fresh produce, then balance the vinegar, sugar, and salt to suit your taste preferences. Tightly pack the slices into a jar, pour over the brine, and let the flavors meld as they chill. Experiment with resting times to find your ideal level of tanginess and crunch. This simple recipe builds culinary skills and allows you to customize your pickles – continue reading to explore more about the fascinating history and cooking process. Homemade pickles can be a perfect complement to many dishes, adding a burst of flavor with every bite. Pair them with an **easy homemade dumpling recipe** to create a delightful balance between tangy pickles and soft, savory dumplings. Whether you’re new to cooking or a seasoned chef, these simple recipes are the perfect way to explore culinary creativity while honing your kitchen skills. Homemade pickles are also a fantastic way to experiment with different flavor profiles by incorporating unique spices or adding a touch of heat with chili flakes. Once you’ve mastered the technique, why not pair your creations with an easy dumplings recipe at home? The combination of crisp, tangy pickles and warm, tender dumplings can elevate your meals and impress friends and family with minimal effort.
Key Takeaways
- Pickling has a long history as a food preservation method, dating back thousands of years across ancient civilizations.
- Homemade pickles require a balanced brine of vinegar, sugar, and salt, along with fresh cucumbers and optional spices.
- The pickling process involves tightly packing cucumber slices in a sterilized jar, pouring the brine over them, and refrigerating.
- The resting period of at least 1 hour (up to overnight) allows the brine to penetrate the vegetables, developing the desired flavor profile.
- Homemade pickles offer customization opportunities and the chance to enhance culinary skills through experimentation.
History
Pickles have a rich history that dates back thousands of years. Ancient civilizations, from Mesopotamia to China, have long preserved vegetables and fruits using vinegar, salt, and other natural preservatives. This process not only extended the shelf life of these foods but also imbued them with distinctive flavors.
Over time, pickling techniques evolved, with each culture developing its own unique recipes and traditions. In Europe, the dill pickle became a beloved staple, while in Asia, the tangy, crunchy flavor of pickled vegetables like daikon radish and cucumbers gained popularity.
Pickling even played a crucial role in maritime history, as sailors relied on pickled foods to ward off scurvy during long voyages. These preserved foods provided essential nutrients and helped sustain explorers on their journeys.
Today, the art of pickling lives on, with home cooks and artisanal producers alike experimenting with new flavor combinations and techniques.
Whether you're preserving a bountiful harvest or simply craving the satisfying crunch of a homemade pickle, this age-old practice continues to delight and nourish.
Recipe
Homemade pickles are a delightful and versatile condiment that can elevate a variety of dishes. They offer a tangy, crunchy contrast that complements everything from sandwiches to salads. The process of making your own pickles at home is surprisingly easy and allows you to customize the flavors to your liking.
Pickling is an age-old preservation method that not only enhances the flavor of vegetables but also extends their shelf life. By creating a brine solution and allowing the produce to marinate, you can achieve that perfect balance of salty, sour, and savory.
- Cucumbers, thinly sliced
- White vinegar
- Distilled white vinegar
- Granulated sugar
- Kosher salt
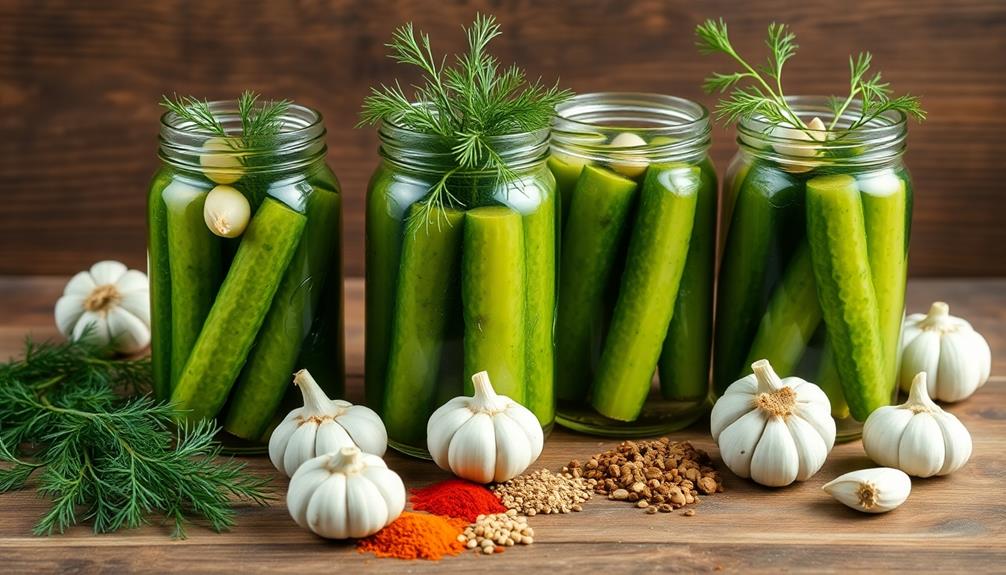
- Garlic cloves, peeled and halved
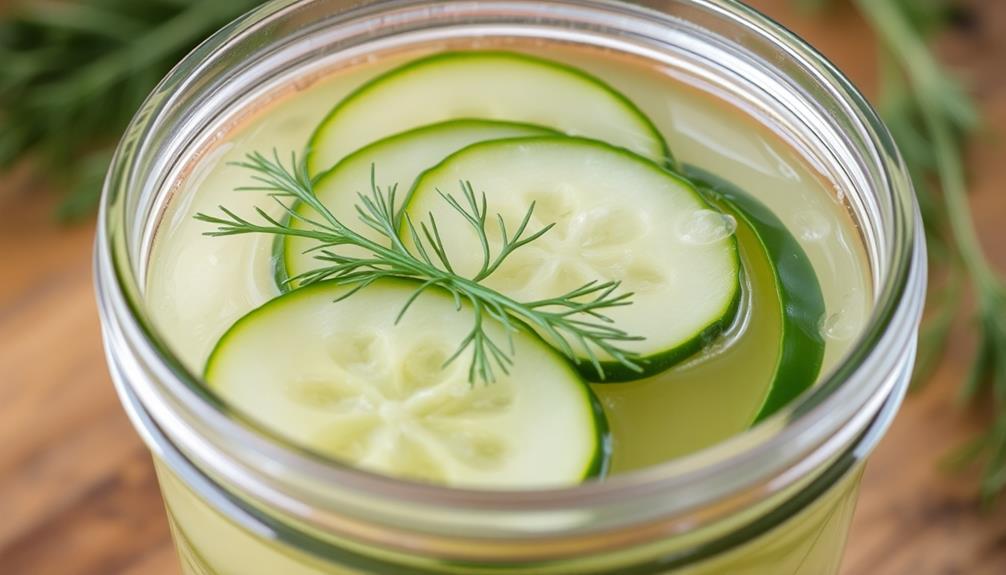
- Dill sprigs
- Peppercorns
In a medium saucepan, combine the white vinegar, distilled white vinegar, sugar, and salt. Bring the mixture to a boil, stirring occasionally until the sugar and salt have dissolved. Remove from heat and let cool slightly.
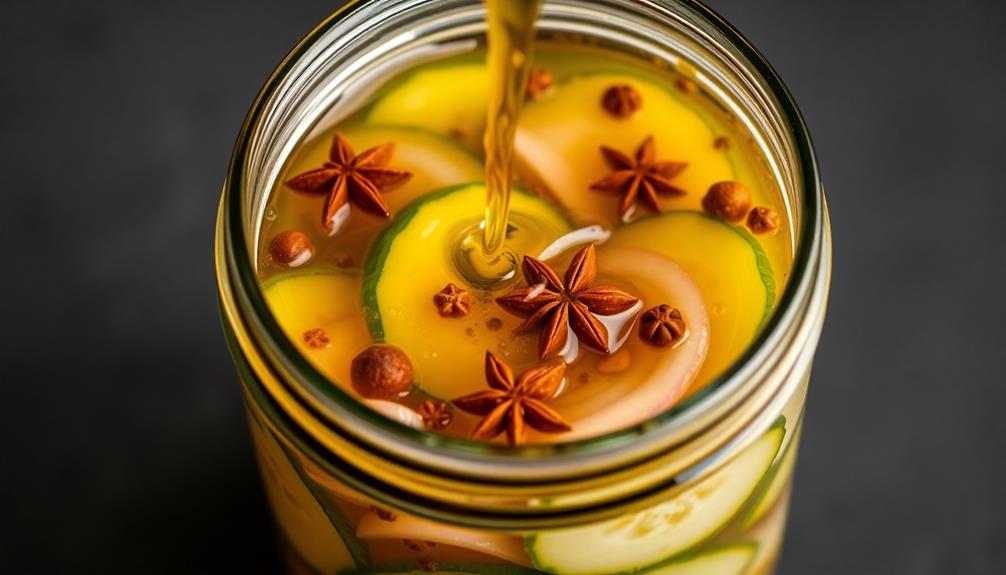
In a clean, sterilized jar, layer the cucumber slices, garlic, dill sprigs, and peppercorns. Pour the brine over the vegetables, making sure they're fully submerged. Seal the jar and refrigerate for at least 24 hours, allowing the flavors to meld. For best results, let the pickles sit for 3-5 days before enjoying.
It's important to use the freshest, crispest cucumbers for the best texture. Additionally, be mindful of the vinegar-to-water ratio, as it can affect the overall acidity and flavor profile of the pickles.
Experiment with different herbs, spices, and vegetables to create your own signature pickled creations.
Cooking Steps
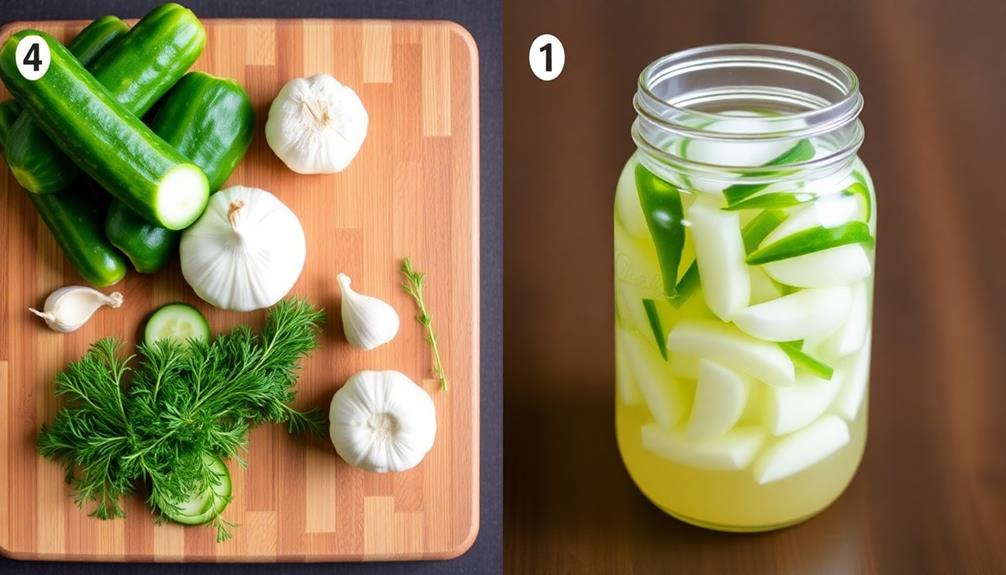
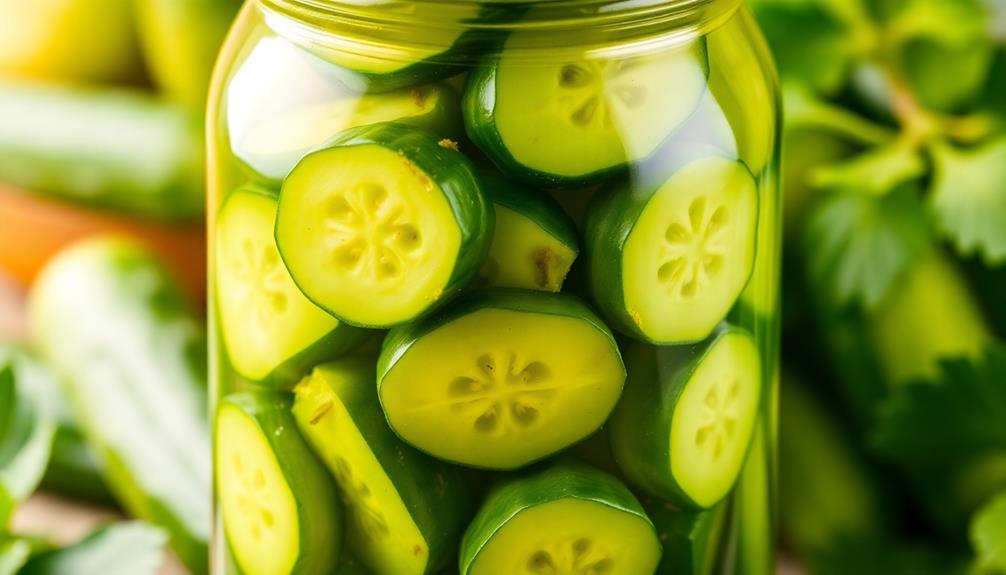
Slice your cucumbers into thin rounds for the perfect pickle texture.
Next, combine the vinegar, sugar, and salt in a bowl to create the tangy brine.
Carefully pack the cucumber slices into a jar, then pour the vinegar mixture over the top.
Refrigerate your homemade pickles for at least 1 hour before enjoying their crisp, flavorful crunch.
Step 1. Slice Cucumbers Into Thin Rounds
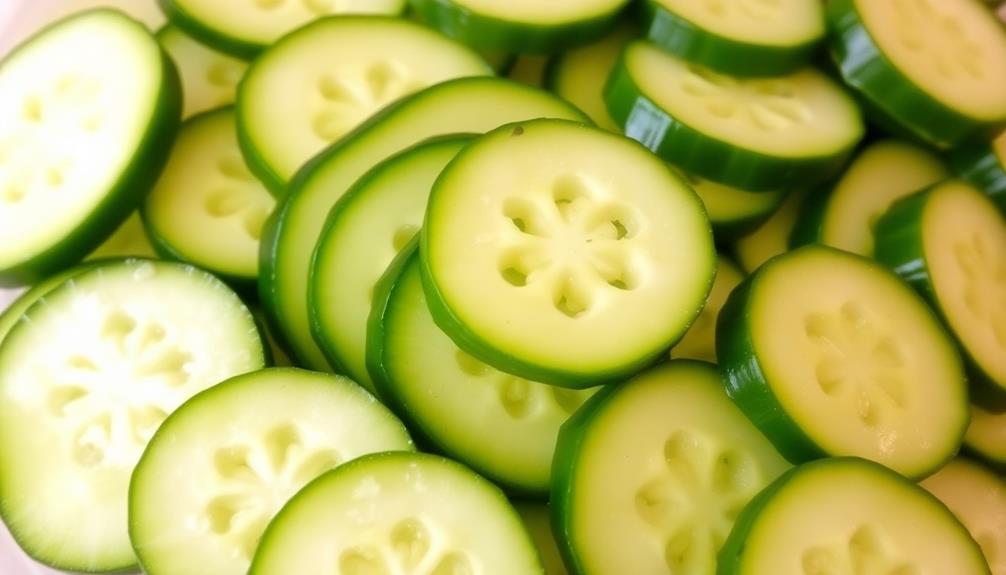
Cucumber slices form the crisp foundation of this homemade pickle recipe. Using a sharp knife or a mandoline slicer, carefully slice the cucumbers into thin, uniform rounds about 1/4 inch thick. This will ensure even cooking and a consistent texture throughout the pickles.
When slicing the cucumbers, be mindful of your finger placement to avoid any accidental cuts. If using a mandoline, always use the safety guard to protect your hands. Slice the cucumbers lengthwise, from stem to end, for the best results.
Once you've sliced all the cucumbers, arrange the rounds in a single layer on a clean kitchen towel or paper towels. Let them sit for about 30 minutes, gently patting the tops to absorb any excess moisture. This step helps the cucumbers stay crisp during the pickling process.
Now that your cucumber slices are prepped, you're ready to move on to the next step: packing the jars.
Step 2. Combine Vinegar, Sugar, Salt
Next, you'll create the tangy-sweet pickling liquid. In a medium-sized saucepan, combine the white vinegar, apple cider vinegar, sugar, and salt.
Bring the mixture to a gentle simmer, stirring occasionally, until the sugar and salt have completely dissolved, about 2-3 minutes.
Once the pickling liquid is ready, remove the pan from the heat and let it cool to room temperature. This step is crucial, as you don't want to pour the hot liquid over the sliced cucumbers, which could result in mushy pickles.
The key ingredients in the pickling liquid are:
- White vinegar: Provides the primary tanginess
- Apple cider vinegar: Adds complexity and a hint of sweetness
- Sugar: Balances the acidity and creates the signature sweet-and-sour flavor
- Salt: Enhances the overall flavor and helps preserve the pickles
With the pickling liquid prepared, you're now ready to assemble your homemade pickles.
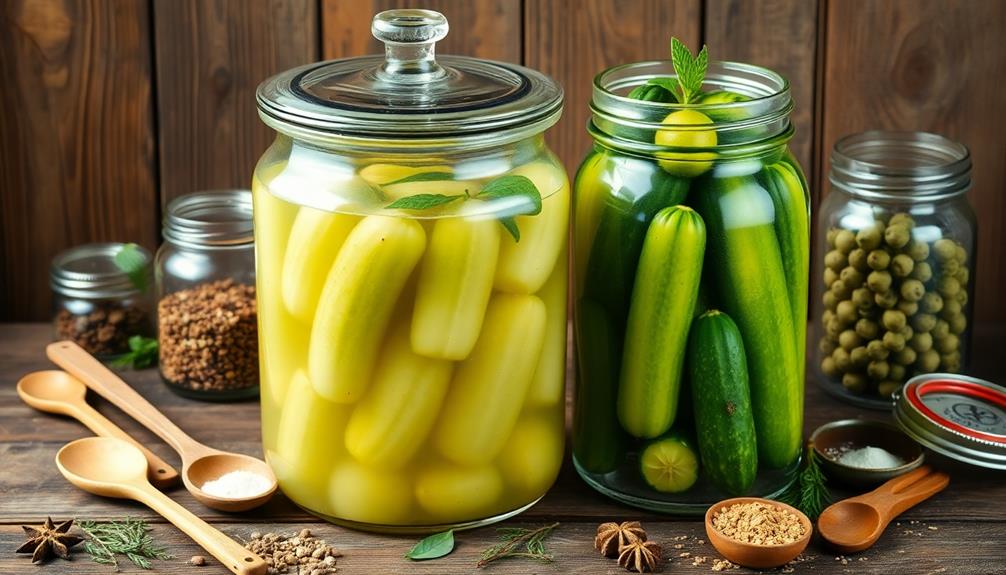
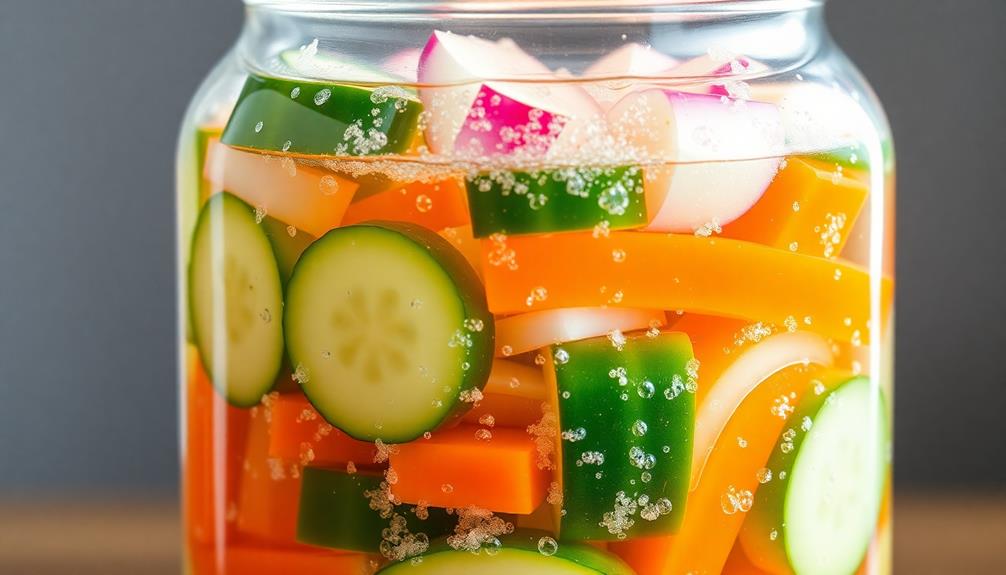
Step 3. Pack Cucumbers in Jar
Once the pickling liquid has cooled, it's time to pack the cucumbers into a clean, sterilized jar.
First, slice the cucumbers into your desired shape and size, whether that's chips, spears, or coins. Carefully arrange the cucumber slices in the jar, packing them in tightly to maximize the available space.
Next, add any additional ingredients you'd like, such as garlic cloves, dill sprigs, or peppercorns.
These won't only enhance the flavor but also create a visually appealing presentation. Be sure to distribute these ingredients evenly throughout the jar.
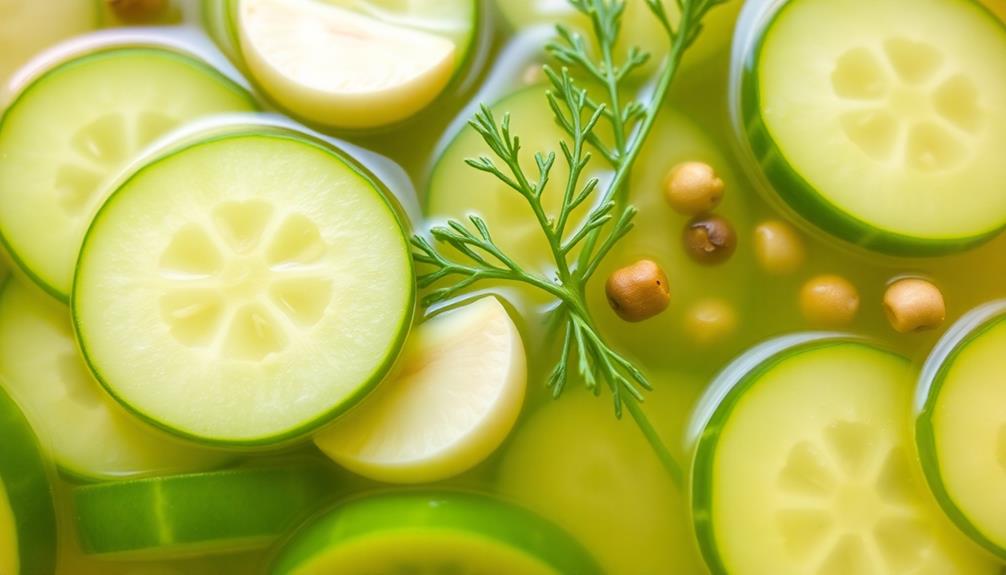
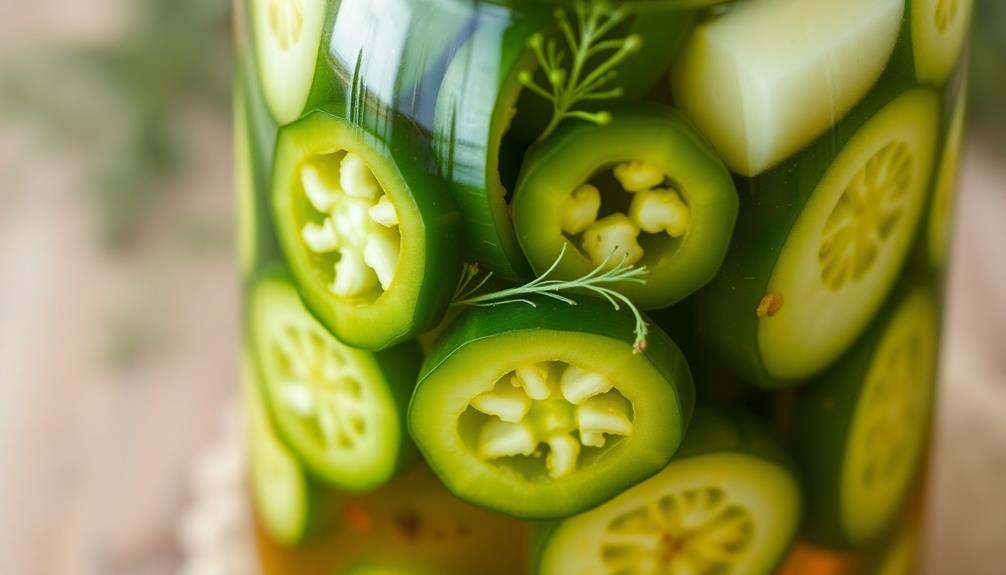
Step 4. Pour Vinegar Mixture Over
With the cucumbers neatly arranged in the jar, it's time to pour the vinegar mixture over them. This acidic solution will help preserve the pickles and provide that signature tart flavor.
Start by combining the vinegar, water, sugar, salt, and any additional spices or herbs you've chosen in a small saucepan. Bring the mixture to a boil, stirring occasionally to dissolve the sugar and salt.
Once the vinegar mixture is ready, carefully ladle or pour it over the packed cucumbers, ensuring they're fully submerged. Leave about 1/2 inch of headspace at the top of the jar. This allows room for expansion and helps create a tight seal.
Tap the jar gently to release any air bubbles trapped between the cucumbers. If needed, use a butter knife or small spatula to press the cucumbers down, keeping them fully submerged.
Step 5. Refrigerate for at Least 1 Hour
After sealing the jars, refrigerate the pickles for at least 1 hour before serving. This chilling period is crucial for allowing the flavors to fully develop and the pickles to achieve their signature crisp texture.
During this time, the vinegar mixture will gradually permeate the cucumber slices, infusing them with the zesty notes of garlic, dill, and spices.
The refrigeration process helps the pickles firm up and reach their optimal taste and consistency. It's important to resist the temptation to dive in too soon – the pickles need this extended period of chilling to reach their full potential.
Once the hour has passed, you can remove the jars from the fridge and enjoy your homemade pickles as a tasty snack, a flavorful topping, or an essential component of your favorite sandwiches and burgers.
The patience you've shown will be rewarded with a delightful and authentic pickle experience.
Final Thoughts
Though homemade pickles may seem intimidating at first, you'll find the process quite straightforward once you get the hang of it. With a little time and patience, you can create crisp, flavorful pickles that will impress your family and friends.
The final step is to simply let the pickles sit in the refrigerator for at least an hour, allowing the flavors to fully meld. This resting period is crucial, as it allows the brine to thoroughly penetrate the vegetables.
Once the hour is up, you can dig in and enjoy your homemade masterpiece!
Keep in mind that the longer the pickles sit, the more pronounced the flavor will become. If you prefer a bolder taste, let them sit for 2-3 hours or even overnight. Conversely, if you want a milder pickle, stick to the minimum 1-hour refrigeration time.
With this simple recipe, you now have the knowledge and confidence to whip up delicious homemade pickles anytime. Enjoy your tasty new culinary skill!
Frequently Asked Questions
How Long Do Homemade Pickles Last in the Refrigerator?
Your homemade pickles can last up to 3-4 months in the refrigerator when stored properly. The key is to ensure they're fully submerged in the brine and the container is sealed tightly. With proper care, you'll enjoy those crunchy, flavorful pickles for weeks to come.
Can I Use Different Types of Vinegar for Pickles?
You can definitely use different types of vinegar for pickles. Experimentation is key – try apple cider, white wine, or even a blend to find the flavor profile you enjoy most. Have fun exploring the world of homemade pickles!
Do I Need to Peel the Cucumbers Before Pickling?
You don't need to peel the cucumbers before pickling them. The skin adds flavor and texture to the pickles. Just be sure to wash the cucumbers thoroughly before slicing or spearing them for the pickling process.
How Can I Make My Pickles Crisper?
To make your pickles crispier, you can add a grape leaf or oak leaf to the jar. The tannins in these leaves help to keep the pickles firm and crunchy.
Can I Add Other Vegetables to the Pickle Mix?
You can absolutely add other vegetables to your pickle mix! Try slices of carrots, onions, or even some fresh herbs for added flavor and crunch. Just make sure to adjust the brine recipe accordingly.