Jello shots have a rich history, dating back to early 20th century soldiers who mixed gelatin and liquor to mask the taste of alcohol. Over time, these portable cocktails became a beloved party tradition. To create your own, start by choosing a Jell-O flavor and compatible alcohol. Follow a simple process – dissolve the gelatin, add the liquor, then chill the mixture in shot glasses or molds. Be mindful of ratios and allow ample time for the jello shots to fully set. When ready to serve, arrange them creatively and encourage responsible enjoyment. With endless flavor possibilities, jello shots are sure to impress your guests and leave lasting memories. But the story doesn't end there – let's dive deeper into this classic party treat.
Key Takeaways
- Prepare the ultimate party jello shots with a simple gelatin, water, and liquor mixture, emphasizing moderation and creativity in flavor combinations.
- Achieve the desired texture by following the recommended Jell-O to alcohol ratio, and chill the mixture for at least 4 hours before molding.
- Utilize a variety of shot glass or mold shapes to create an eye-catching display, and garnish with fresh fruit, herbs, or edible decorations for a festive presentation.
- Encourage responsible enjoyment by providing non-alcoholic options and emphasizing pacing to ensure a safe and enjoyable experience for all attendees.
- Capture the colorful and whimsical creations to create lasting memories and foster connections through shared experiences at the party.
History
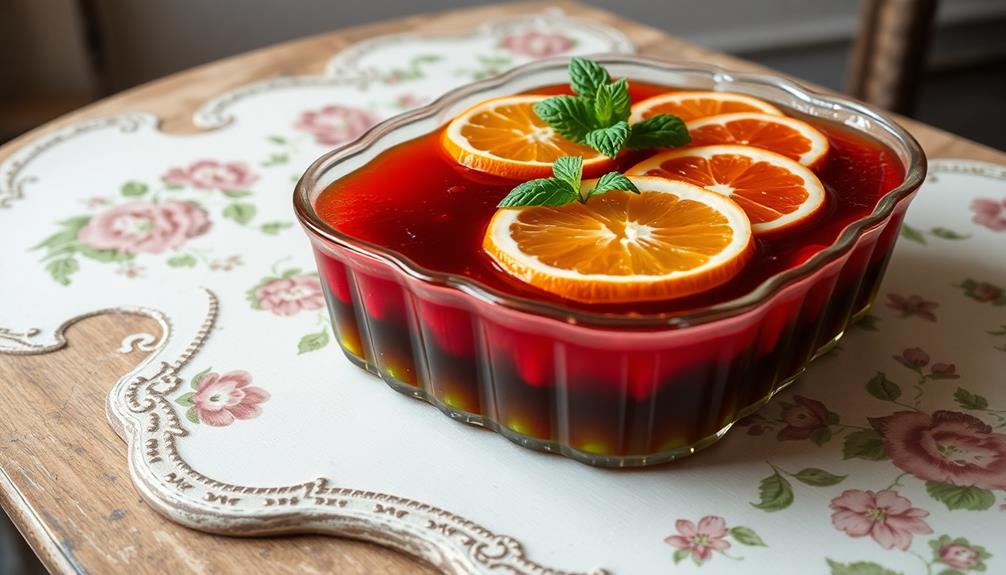
The origins of Jello shots can be traced back to the early 20th century, when American soldiers stationed abroad began experimenting with gelatin and alcohol as a way to conceal the taste of cheap liquor.
During the World Wars, resourceful GIs would mix leftover rations of gelatin and whatever spirits they could find, creating portable, discreet cocktails that could be easily consumed on the go.
This DIY approach to imbibing quickly caught on, with Jello shots becoming a beloved tradition among service members and eventually making their way stateside as the soldiers returned home.
Over the decades, the classic Jello shot recipe has evolved, with creative bartenders and party hosts experimenting with a wide array of flavors, from fruity to boozy.
Today, Jello shots are a staple of college dorms, backyard barbecues, and raucous celebrations, offering a fun and lighthearted way to enjoy your favorite libations.
Whether you're looking to recreate a piece of history or simply seeking a playful party treat, mastering the art of the Jello shot is a must-have skill for any aspiring entertainer.
Recipe
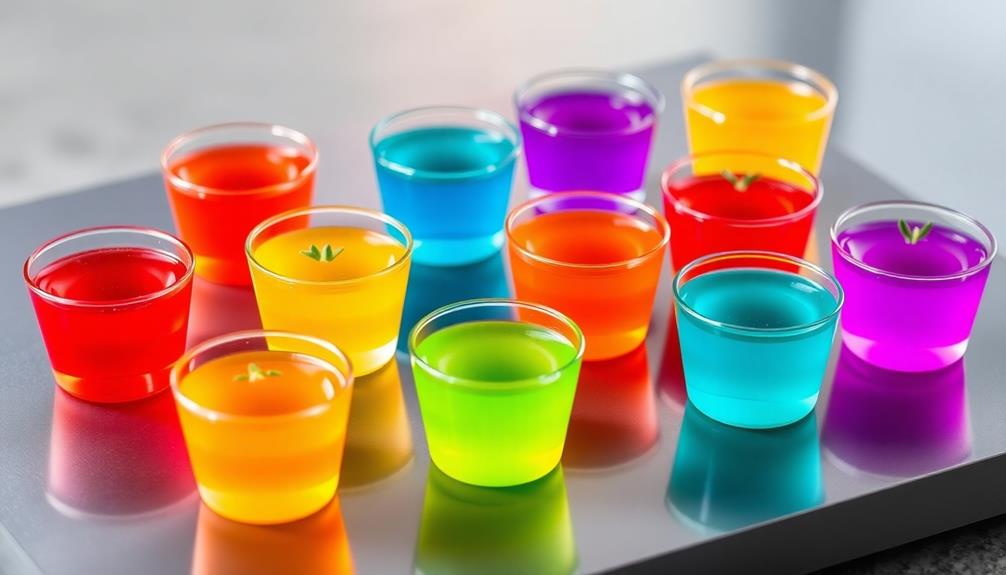
Jello shots are a classic party favorite, offering a fun and flavorful way to enjoy a boozy treat. Whether you're hosting a gathering or looking for a unique dessert option, these colorful and playful shots are sure to be a hit.
It's important to remember to consume these responsibly, as moderation is key, especially during festive occasions where other indulgences may be present. Additionally, if you're considering some health-conscious choices, natural remedies alongside medications can be a great complement to your party planning.
Preparing jello shots is a simple and straightforward process, allowing you to get creative with flavors and presentation. With just a few ingredients and minimal effort, you can whip up a batch of these delightful custodians of cheer.
Ingredients:
- 1 (3-ounce) package of unflavored gelatin
- 1 cup of boiling water
- 1 cup of cold water
- 1 cup of vodka (or your preferred liquor)
- Desired food coloring (optional)
- Desired fruit or garnishes (optional)
To prepare the jello shots, start by sprinkling the unflavored gelatin over the cold water in a medium-sized bowl. Allow the gelatin to bloom for a few minutes.
Then, add the boiling water and stir until the gelatin is completely dissolved. Next, stir in the desired amount of liquor and food coloring (if using). Pour the mixture into shot glasses or molds and refrigerate for at least 4 hours, or until the jello is fully set.
When ready to serve, top the jello shots with your favorite fruit or garnishes, if desired. Remember, these delightful treats pack a punch, so enjoy them responsibly and have a designated driver or transportation plan in place.
Cooking Steps
To make delicious Jello shots, you'll first need to gather the necessary ingredients – the Jell-O and your desired alcohol.
Next, carefully add the alcohol to the Jell-O mixture, ensuring a perfect balance.
Once that's done, pour the mixture into molds and refrigerate until firm, which typically takes around 4 hours.
Step 1. Gather Jell-O and Alcohol Ingredients
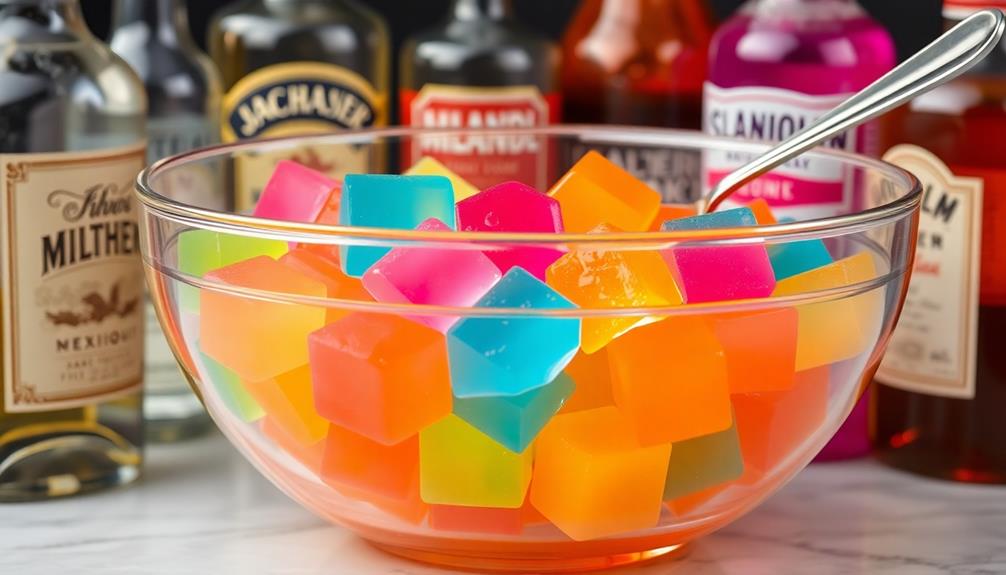
For your Jello shots, you'll need to gather a few key ingredients. First, you'll need the star of the show – Jell-O. Choose your favorite flavor, whether that's classic strawberry, tangy lemon, or something more adventurous like blue raspberry.
You'll also need the alcohol to infuse your Jello shots with a boozy kick. Popular choices include vodka, rum, tequila, or even schnapps.
The ratio of Jell-O to alcohol is crucial for the perfect texture and kick. As a general guideline, use 3 ounces of Jell-O mix and 1 cup of alcohol per 1 cup of water. This will give you a nice, firm Jello shot that packs a punch.
Don't forget the tools of the trade – small shot glasses or molds to pour your Jello mixture into, and a refrigerator to help the shots set.
With your Jell-O, alcohol, and equipment ready to go, you're well on your way to crafting the ultimate party-pleasing Jello shots.
Step 2. Carefully Add Alcohol to Jell-O Mixture
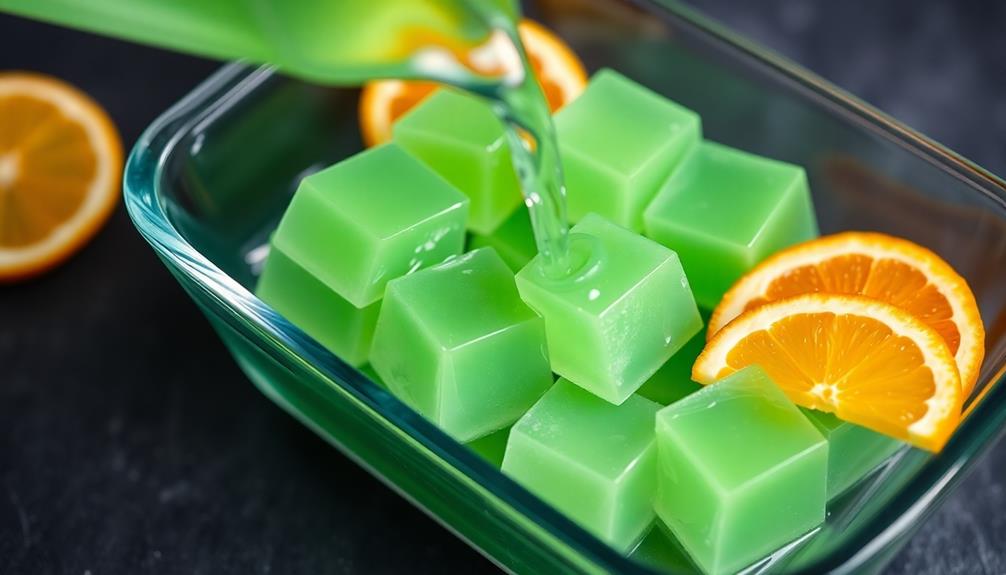
With your Jell-O and alcohol ready, it's time to carefully combine them. First, bring the water to a boil in a saucepan. Once boiling, remove from heat and stir in the Jell-O powder until completely dissolved, about 2 minutes.
Next, add the desired amount of alcohol. The general ratio is 1 cup of liquid Jell-O to 1/2 cup of alcohol, but you can adjust this to your taste. Gently stir the mixture until the alcohol is fully incorporated.
- Be careful not to let the alcohol cook off – the process should be quick and gentle.
- If the mixture seems too thick, you can thin it with a bit of water or additional alcohol.
- For best results, let the Jell-O shots chill in the refrigerator for at least 4 hours, or until fully set.
Once chilled, use a knife or cookie cutter to neatly portion the Jell-O shots before serving. Enjoy your tasty, boozy creations!
Step 3. Pour Mixture Into Molds
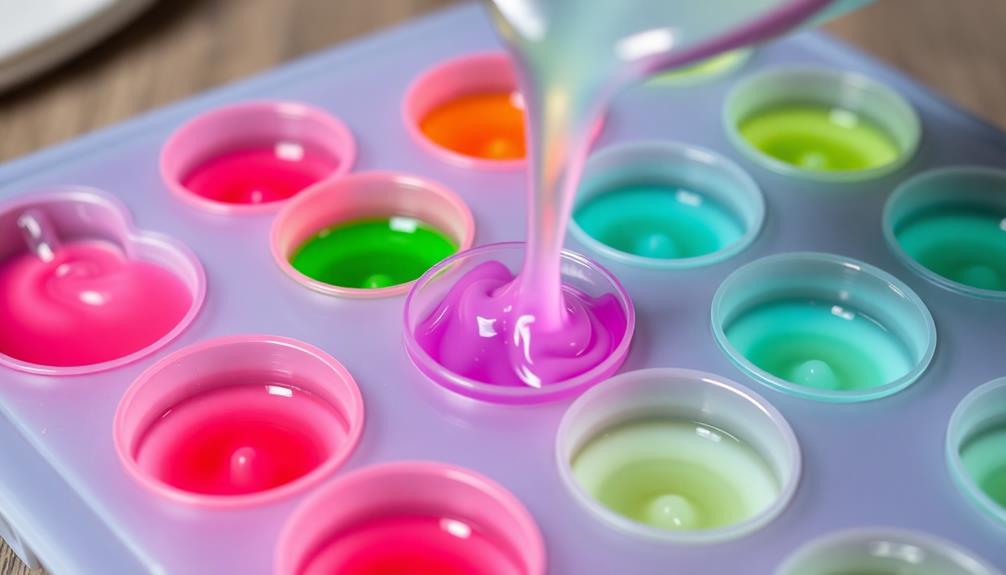
After chilling the Jell-O and alcohol mixture, you're ready to pour it into molds. This is the fun part where you get to unleash your creativity and design your jello shots in a variety of festive shapes and sizes.
First, lightly coat your molds with non-stick cooking spray to ensure easy removal later. Then, carefully ladle or pour the chilled mixture into the molds, filling them to the top. For a more uniform look, use a spoon or offset spatula to smooth the top of the jello shots.
Be sure not to overfill the molds, as the jello will expand as it sets. Once all the molds are filled, refrigerate them for at least 4 hours, or until the jello is completely firm. This is crucial to prevent a mess when you're ready to pop them out.
When the time comes, simply run a knife or offset spatula along the edges and gently invert the molds to release the jello shots. Garnish as desired and serve chilled for maximum enjoyment!
Step 4. Refrigerate Until Firm, Approximately 4 Hours
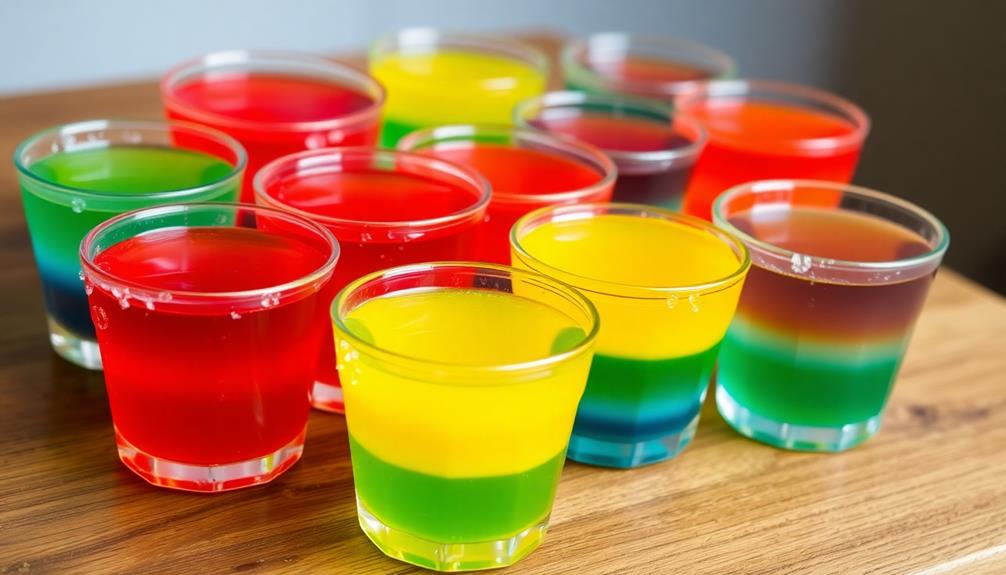
Once the jello mixture has been poured into the molds, you'll need to refrigerate them until they're completely firm, which should take about 4 hours. This crucial step ensures the jello shots will hold their shape and have the perfect jiggly texture when it's time to serve them.
During this wait time, you can start planning your party playlist or get a head start on setting up decorations. Just be sure to place the jello molds on a flat surface in your refrigerator, leaving a bit of space between each one for optimal chilling.
Avoid stacking the molds, as this could cause them to become misshapen. Resist the temptation to peek at the jello shots before the 4-hour mark. Checking them too soon may cause the delicate gelatin to partially set, resulting in an uneven texture.
Once the time is up, give the molds a gentle wiggle to confirm the jello has fully solidified. Then you'll be ready to pop them out and start serving your delicious homemade party treats!
Step 5. Unmold and Serve Jello Shots

Carefully unmold the chilled jello shots, gently releasing each one from its container. Run a knife or small offset spatula along the edges to loosen the sides, then invert the molds onto a clean serving platter.
If the jello shots don't release easily, give the molds a gentle shake or let them sit at room temperature for a minute or two to further soften.
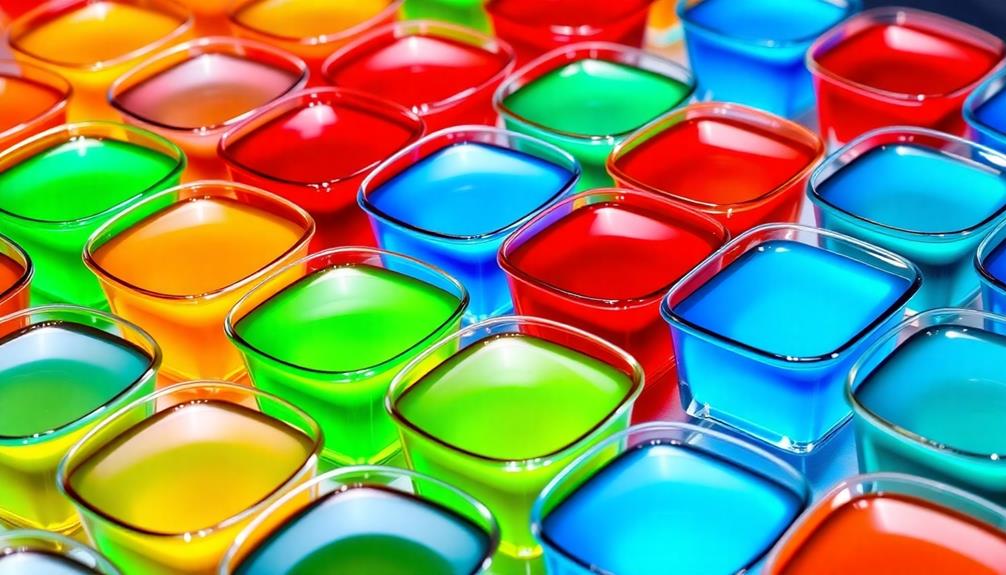
Once unmolded, your colorful jello creations are ready to serve! Arrange the jello shots in a visually appealing way, perhaps grouping them by flavor or color.
Garnish with fun toppings like:
- Fresh fruit slices
- Sprigs of mint
- Edible flowers
- Grated citrus zest
For a classic presentation, serve the jello shots chilled, using small spoons or cocktail forks to enjoy each wiggly, boozy bite.
Encourage guests to savor the unique flavors and textures of your homemade jello shots. Sit back, relax, and enjoy the party! With a delightful mix of colors and creative combinations, these jello shots are sure to be a hit among your friends. Whether you’re hosting a casual gathering or a lively celebration, these are hands down the best jello shots for parties. Get ready for compliments as your guests indulge in these fun and flavorful treats, adding excitement to every moment! The vibrant presentation and playful vibe of these treats make them a quintessential addition to any social event. Perfectly balanced with just the right amount of sweetness, they’re as pleasing to the palate as they are to the eyes. It’s no wonder they’re often hailed as the best jello shots for parties, bringing joy and energy to every celebration they’re a part of!
Final Thoughts
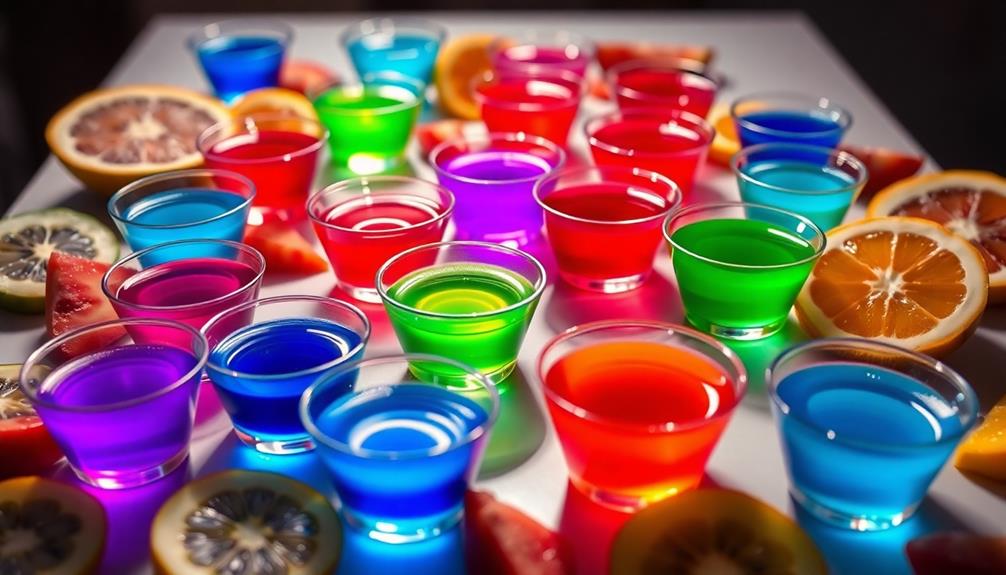
Jello shots can be a fun and exciting addition to any party or gathering. They offer a unique and playful way to enjoy alcoholic beverages, adding a touch of whimsy to any event.
As you've learned, creating these colorful, jiggly concoctions is a simple process that can be tailored to your personal preferences.
When serving your jello shots, remember to display them in a visually appealing manner. Consider using shot glasses, small cups, or even molds to create eye-catching presentations.
Arrange them on a tray or platter, and garnish with fresh fruit, herbs, or edible decorations for an extra touch of flair.
Most importantly, enjoy your jello shots responsibly and in moderation. They're meant to be a fun and lighthearted addition to your party, not the main event.
With a little creativity and attention to detail, you can wow your guests and create lasting memories.
Frequently Asked Questions
How Long Do Jello Shots Last Once Made?
Once you've prepared your jello shots, they'll typically last 3-5 days in the refrigerator. However, their quality may diminish over time, so it's best to enjoy them within a few days for optimal freshness and flavor.
Can I Use Any Type of Liquor for Jello Shots?
You can use any type of liquor for jello shots, but keep in mind that different alcohols will affect the texture and flavor. Experiment with your favorite spirits to find the perfect combination for your jello shot creations.
How Can I Make Jello Shots More Potent?
To make your jello shots more potent, consider using higher-proof liquor or reducing the amount of water in the recipe. However, be cautious as increasing the alcohol content can make the jello shots dangerously strong.
Are Jello Shots Safe for Pregnant Women to Consume?
Consuming alcoholic jello shots is generally not recommended for pregnant women, as alcohol can have harmful effects on the developing fetus. It's best to avoid them entirely to ensure the health and safety of both you and your baby.
Do Jello Shots Require Refrigeration Before Serving?
Jello shots do require refrigeration before serving. They're made with alcohol, which can spoil at room temperature, so it's important to keep them chilled until you're ready to enjoy them. Letting them sit out can make them unsafe to consume.
