To make delicious and nutritious hummingbird food, simply combine 1 cup of white sugar with 4 cups of water. Bring the mixture to a boil, stirring frequently until the sugar dissolves. Allow the solution to cool completely before pouring it into your hummingbird feeder. Place the feeder in a shaded area at least 5 feet off the ground, and watch as the tiny acrobats zoom in to enjoy their tasty treat. This homemade nectar closely mimics the natural food source hummingbirds thrive on, providing vital sustenance during their active seasons. To learn more about the history and significance of these remarkable birds, keep reading. In addition to being cost-effective, this *simple hummingbird food recipe* ensures there are no harmful additives or dyes that could be detrimental to the birds’ health. Regularly cleaning your feeder and refreshing the nectar will help maintain a safe and healthy feeding environment. By offering this homemade nectar, you’re not only supporting these incredible creatures but also encouraging their presence, allowing for a unique and captivating wildlife experience right in your own backyard.
Key Takeaways
- Prepare a simple sugar-water solution using 1 cup of white granulated sugar and 4 cups of water.
- Bring the mixture to a boil, stirring frequently until the sugar completely dissolves, then let it cool completely.
- Pour the cooled solution into a hummingbird feeder, leaving space for expansion, and securely replace the cap or lid.
- Hang the feeder in a shaded area at least 5 feet off the ground, avoiding direct sunlight and potential threats.
- Regularly refill the feeder to support hummingbirds' high energy needs and enjoy observing their aerial acrobatics.
History
Hummingbirds have captivated human fascination for centuries. These tiny, iridescent creatures have been revered by various cultures around the world, from the Aztecs of ancient Mexico to the Indigenous peoples of the Americas. In fact, the hummingbird has long been a symbol of joy, healing, and even the human soul in many native traditions.
The hummingbird's remarkable ability to hover, fly backward, and seemingly defy gravity has captivated scientists and birdwatchers alike. Their rapid wing-beats, which can reach up to 80 flaps per second, create the distinct humming sound that gives them their name.
This unique adaptation, along with their exceptional metabolism and ability to consume nearly half their body weight in nectar each day, has made hummingbirds a subject of great interest and study for centuries.
As we delve into the history of these enchanting birds, we'll uncover the fascinating ways in which humans have sought to understand and coexist with these diminutive wonders of nature.
Recipe
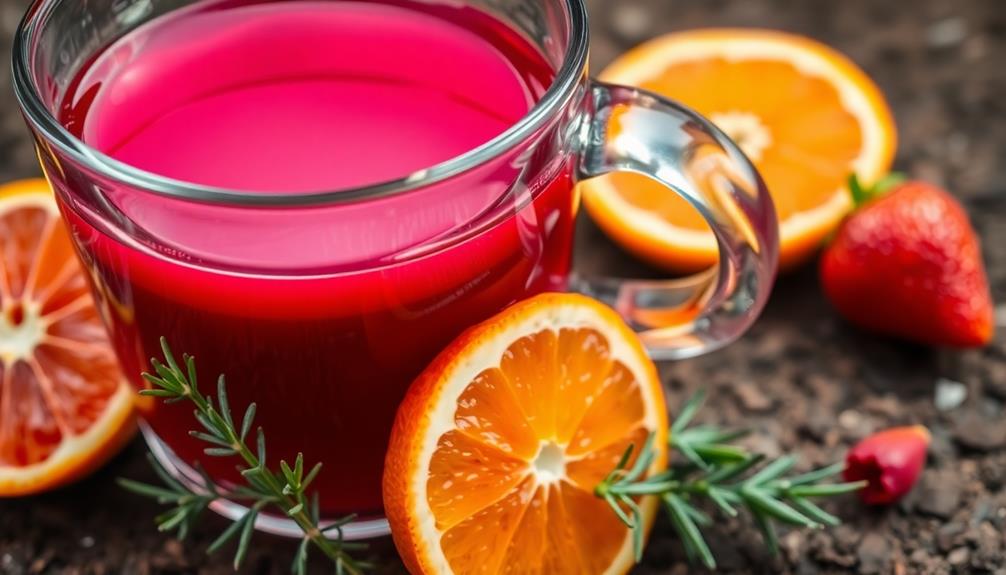
Hummingbirds are delightful little creatures that bring joy to many backyard birdwatchers. To attract these feisty flyers, it's important to provide them with a nutritious food source. The following recipe for homemade hummingbird food is easy to prepare and will keep your feathered friends coming back for more.
Hummingbirds are attracted to a simple sugar-water solution, which mimics the nectar they naturally feed on. This DIY mixture is far superior to store-bought options, as it contains no artificial preservatives or dyes that can be harmful to the birds.
- 1 cup white granulated sugar
- 4 cups water
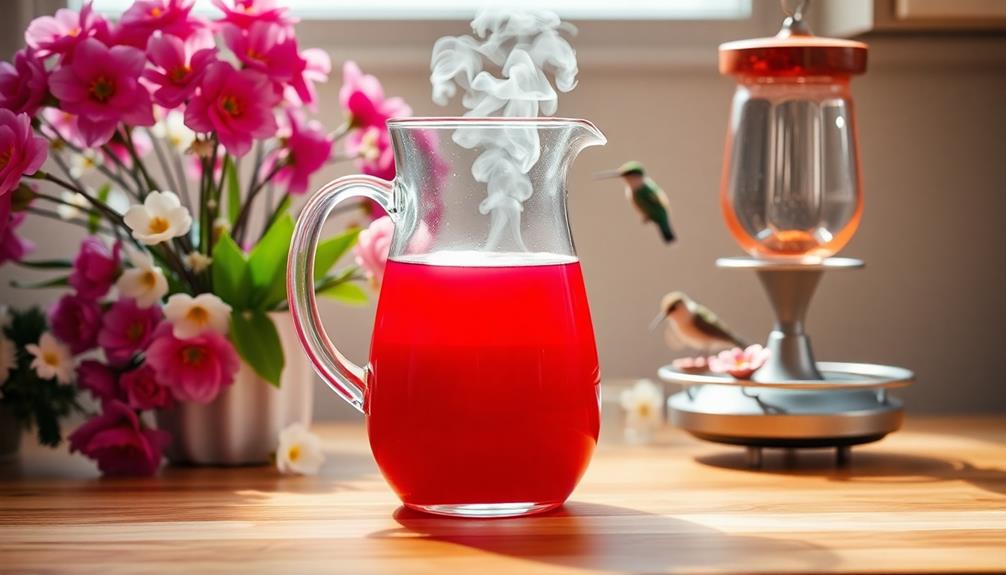
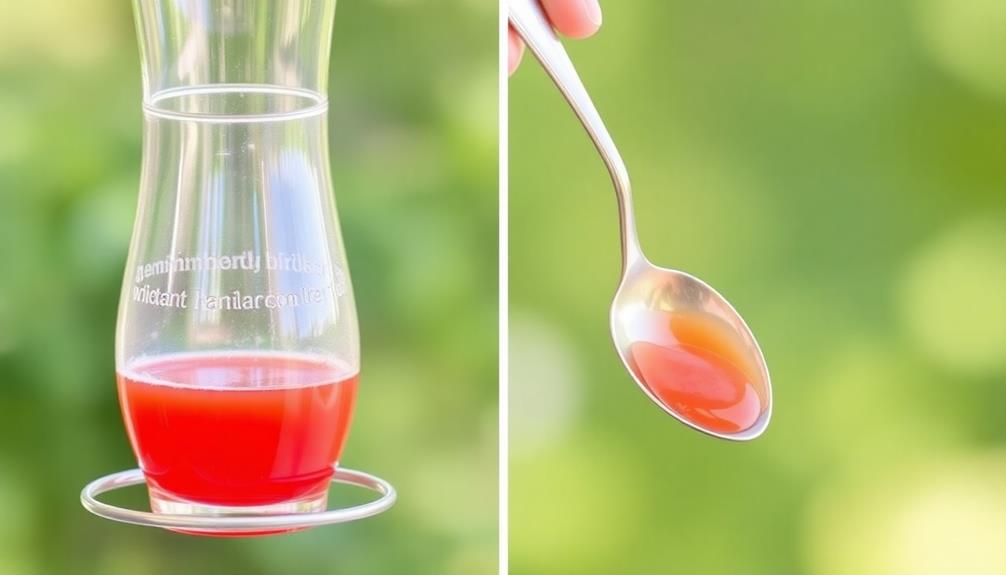
Combine the sugar and water in a saucepan. Bring the mixture to a boil, stirring frequently until the sugar has completely dissolved. Allow the solution to cool, then pour it into a clean hummingbird feeder. Hang the feeder in a sheltered area, away from direct sunlight. Be sure to clean the feeder and replace the sugar water every few days to prevent mold growth and keep the hummingbirds healthy. While you wait for the birds to visit, why not try an easy homemade hummus recipe to enjoy as a snack? It’s a fun way to stay productive and reward yourself while watching these delightful creatures.
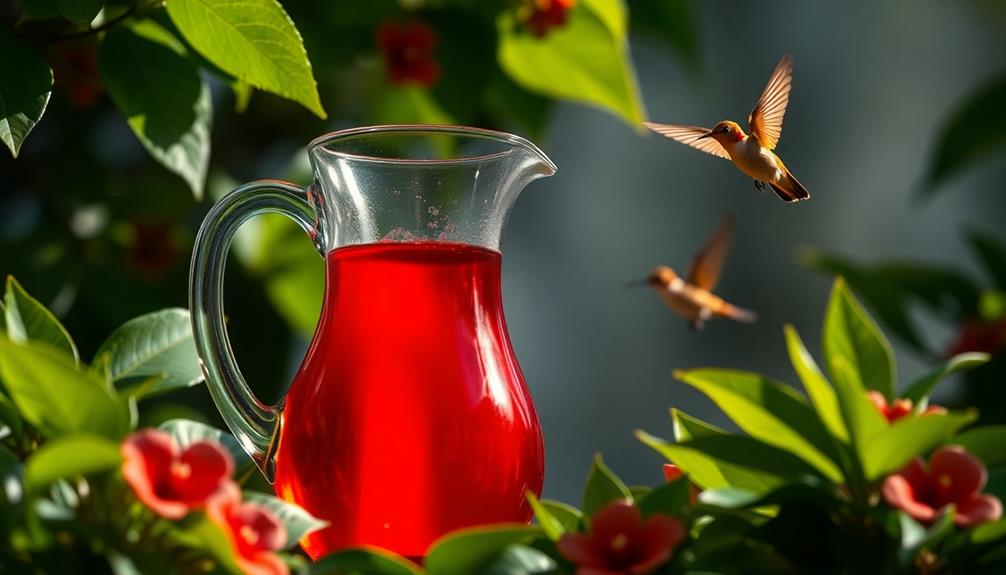
It's important to change the hummingbird food every 3-5 days, as the sugar water can spoil quickly, especially in warm weather. Avoid using red dye, as it's not necessary and may be harmful to the birds.
With this simple recipe, you'll be able to enjoy the vibrant colors and mesmerizing aerial displays of hummingbirds in your own backyard.
Cooking Steps
First, bring the sugar-water solution to a boil, then let it cool completely.
Next, pour the cooled solution into your hummingbird feeder.
Step 1. Boil the Sugar-Water Solution

Next, bring the sugar-water solution to a boil over medium-high heat. This step is crucial, as it helps to fully dissolve the sugar and create a clear, syrupy mixture.
Keep a close eye on the pot, as the solution can bubble up quickly. Once it reaches a full boil, reduce the heat to low and let it simmer for 2-3 minutes, stirring occasionally.
This brief boiling period serves a few important purposes. First, it ensures the sugar is completely incorporated, leaving no grainy texture.
Secondly, it helps to pasteurize the solution, killing off any bacteria that could otherwise promote spoilage. Finally, the heat helps to slightly thicken the consistency, making it more appealing and easy for hummingbirds to access.
After the solution has simmered, remove it from the heat and let it cool completely before transferring to your feeder.
This cooling step is vital, as you don't want to risk burning or harming the delicate hummingbirds.
Step 2. Allow the Solution to Cool
Once the sugar-water solution has finished simmering, you'll want to let it cool completely before transferring it to your hummingbird feeder. This is a crucial step, as pouring hot liquid into your feeder could damage the delicate components or even scald the birds.
Allow the solution to sit at room temperature, which should take roughly 30 minutes to an hour, depending on the ambient temperature. You'll know it's ready when the liquid has reached a lukewarm or room-temperature state.
Rushing this process by placing the pan in the refrigerator or freezer isn't recommended, as rapid cooling can affect the solution's consistency and longevity.
Once cooled, the sugar-water mixture is ready to be transferred into your feeder. Be sure to give it a gentle stir to ensure the sugar has completely dissolved.
This simple but important step will help prevent any clogging or crystallization that could impede the hummingbirds' access to the nectar. With the solution cooled and ready, you can now hang your feeder and wait for your tiny winged visitors to arrive.
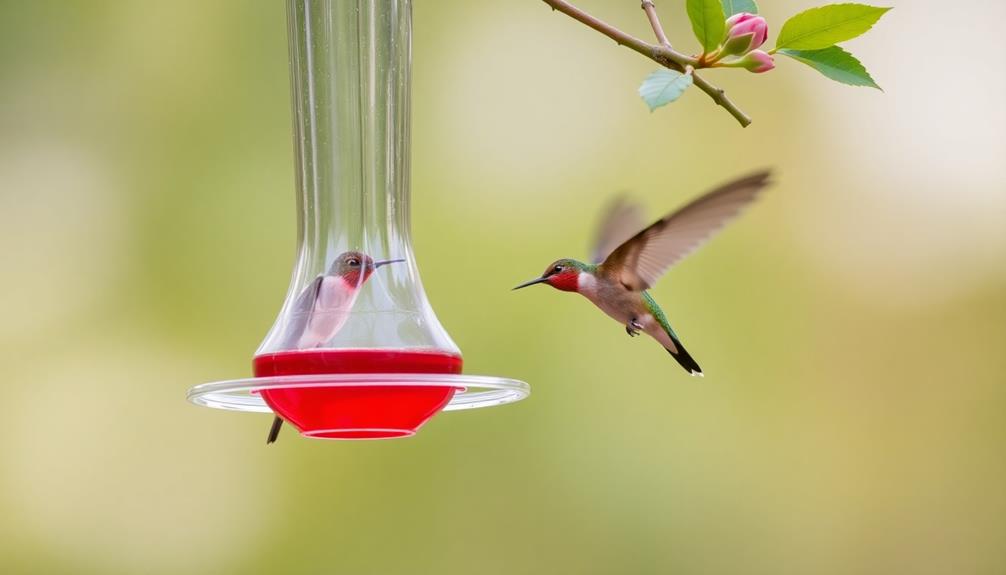
Step 3. Pour Into Feeder
With the sugar-water solution now cooled, you can carefully pour it into your hummingbird feeder.
Be sure to use a funnel to avoid spilling or making a mess. Fill the feeder up to the designated fill line, leaving just a bit of space at the top to allow for expansion as needed.
Once the feeder is full, you'll want to securely replace the cap or lid. Ensure it's tightened properly to prevent leaks.
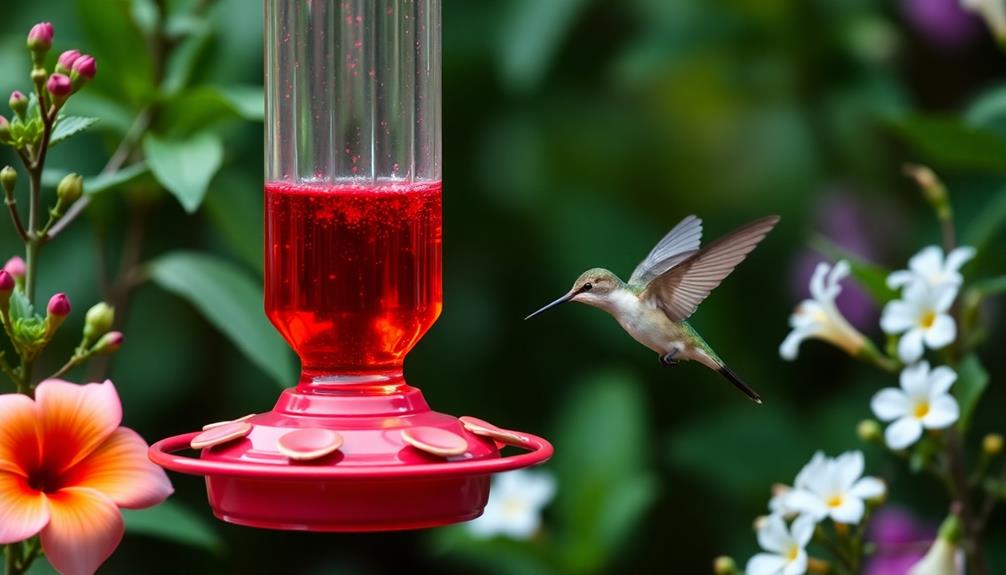
Hang or place the feeder in a location that's easily accessible for hummingbirds, such as near flowering plants or a window. Avoid direct sunlight, which can cause the nectar to ferment more quickly.
Now your hummingbird feeder is ready to go! Enjoy watching these fascinating little birds as they come to dine.
Be sure to keep an eye on the feeder and refill it as needed to ensure a steady supply of fresh nectar for your hummingbird visitors.
Step 4. Hang the Feeder in a Safe Spot
After securing the cap or lid, carefully hang the feeder in a safe and accessible spot for hummingbirds.
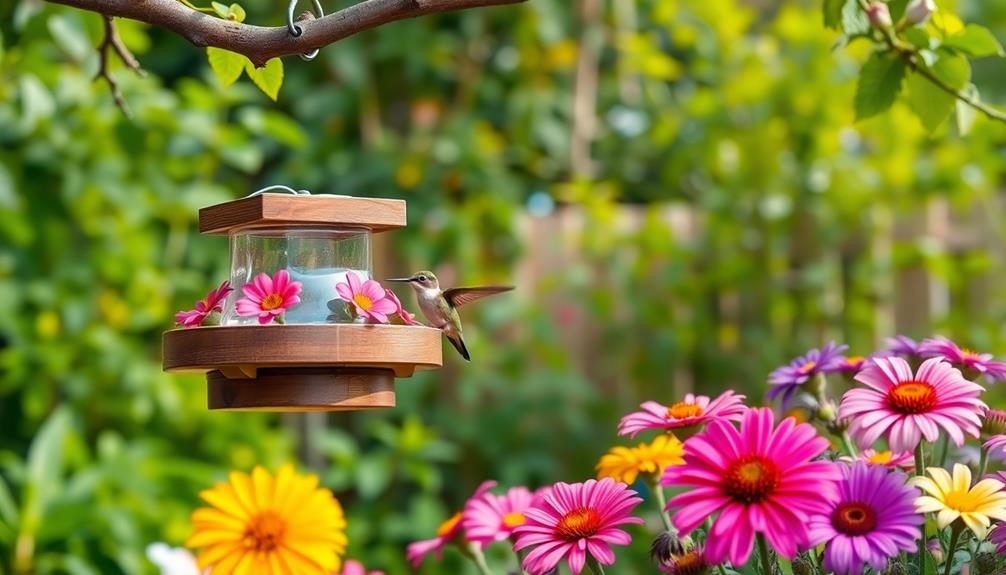
Choose a location that's out of direct sunlight and away from potential threats like cats or strong winds. Look for a sturdy tree branch, eave, or hook that's at least 5 feet off the ground. This height deters larger birds and predators while still allowing hummingbirds easy access.
Positioning the feeder in an open area with some nearby cover, like shrubs or flowers, is ideal. Hummingbirds feel more comfortable feeding when they've a quick escape route and perch nearby.
Avoid overcrowded areas or spots near your home's entrances to minimize disruptions. Once hung, regularly check the feeder to ensure it's level and the nectar hasn't spoiled.
Cleaning and refilling the feeder as needed will keep your backyard hummingbirds happy and well-fed all season long.
Step 5. Enjoy Watching the Hummingbirds
Now that you've properly hung the hummingbird feeder, you can sit back and enjoy the show. These tiny, vibrant creatures are a true delight to observe.
Watch as they dart and hover, their wings beating up to 80 times per second. Marvel at their impressive aerial acrobatics as they effortlessly maneuver around the feeder, sipping the sweet nectar.
Hummingbirds are incredibly territorial, so you may witness them fiercely protecting their feeding spot from any perceived intruders. Their high-pitched chirps and rapid wing movements are a clear sign they're defending their territory.
But don't worry, this behavior is perfectly normal and part of the fun of watching these fascinating birds.
Be sure to refill the feeder regularly, as hummingbirds are voracious eaters, consuming up to half their body weight in nectar each day.
With patience and a keen eye, you'll be rewarded with an up-close glimpse into the captivating world of hummingbirds.
Final Thoughts
Providing the right sustenance for hummingbirds can nurture your connection with these feisty flyers. By making your own hummingbird nectar, you'll ensure they receive the proper nutrients to thrive.
Remember, these tiny birds have a remarkably fast metabolism and require a constant supply of energy-rich food. Your homemade solution will give them an all-natural alternative to store-bought options, which may contain unnecessary additives.
Once you've mastered the simple recipe, you can experiment with different flower plantings to attract more hummingbirds to your yard. Their dazzling aerial displays and soothing chirps will become a delightful part of your daily routine.
Embrace the joy of observing these remarkable creatures up close and personal. With a little effort, you'll create a feeding station that hummingbirds will return to season after season, strengthening the bond between you and these aerial acrobats.
Frequently Asked Questions
How Do I Attract Hummingbirds to My Yard?
To attract hummingbirds to your yard, plant nectar-rich flowers, hang a hummingbird feeder filled with sugar water, and provide a water source. They'll be drawn to the colorful blooms and easy access to food and hydration.
What Time of Year Can I See Hummingbirds?
You can see hummingbirds year-round in many areas, but they're especially active during spring and summer when they're feeding and breeding. Keep your eyes peeled, and you'll likely spot these delightful little birds flitting around your yard.
How Long Does Homemade Hummingbird Food Last?
Homemade hummingbird food typically lasts 3-5 days in the fridge. It's best to make a fresh batch every few days to ensure the birds get the most nutritious and appealing nectar. The food won't spoil quickly, but it'll lose its flavor over time.
Can I Add Food Coloring to the Mixture?
You can add food coloring to the hummingbird food mixture, but it's not necessary. Hummingbirds are attracted to the nectar's color, not the food coloring itself. Keep in mind that natural colors are best for their health.
Do I Need to Boil the Sugar Water?
You don't necessarily need to boil the sugar water. Simply mixing the sugar and water together until the sugar fully dissolves is sufficient. The boiling step isn't required to make a suitable hummingbird food mixture.

Giovanni is our Chief Tasting Evangelist and the charismatic face of Mad Tasting. He inspires a sense of culinary wonder in all who encounter our brand. With boundless enthusiasm for the art of tasting and a gift for captivating audiences, Giovanni leads our immersive tasting experiences and workshops. He empowers food enthusiasts to discover the true depth and complexity of the flavors we celebrate. Whether he’s guiding a private group through a blind tasting or hosting a masterclass on the art of pairing, Giovanni’s infectious passion for the culinary world is the driving force behind our mission to share the extraordinary.