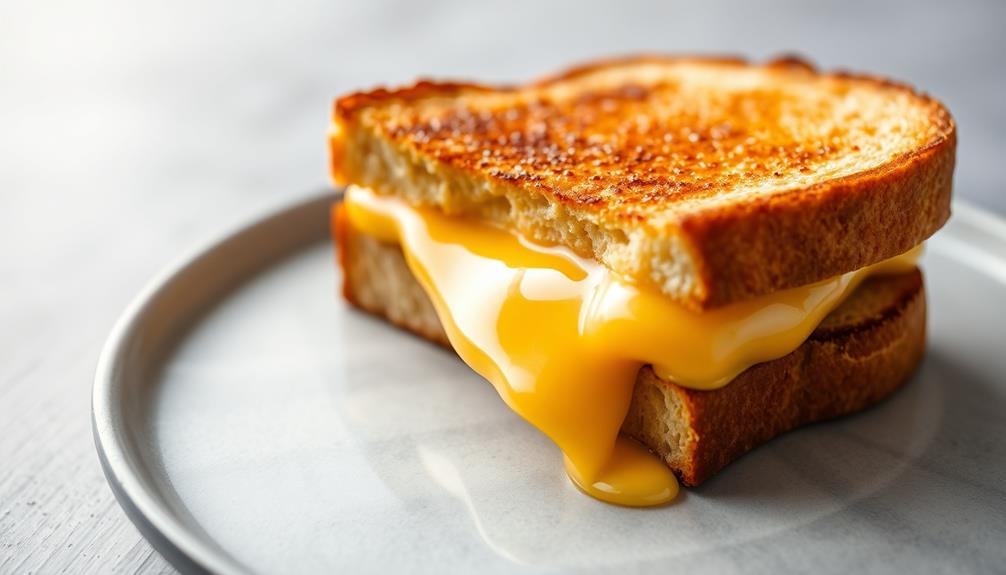
Crafting a classic grilled cheese sandwich is a straightforward delight that harkens back to carefree childhood days. Start by selecting your favorite bread and cheese varieties – classics like cheddar, Swiss, or American work wonderfully. Evenly spread room-temperature butter on the outer sides of the bread slices, then assemble your sandwich and heat it in a skillet over medium heat until the first side is golden brown. Flip and continue cooking until the cheese is melted and the bread is crispy. Serve immediately and prepare to savor the timeless flavors – and if you're feeling adventurous, explore endless creative variations to make this beloved dish your own.
Key Takeaways
- Select bread and cheese varieties to suit your preferences, such as classic cheddar or more adventurous combinations like Swiss and caramelized onions.
- Evenly butter each slice of bread on one side to ensure a crispy exterior when grilled.
- Cook the sandwich in a skillet or griddle over medium heat, flipping once, until both sides are golden brown and the cheese is fully melted.
- Monitor the cooking process closely to prevent burning, and press down gently with a spatula to aid in cheese melting.
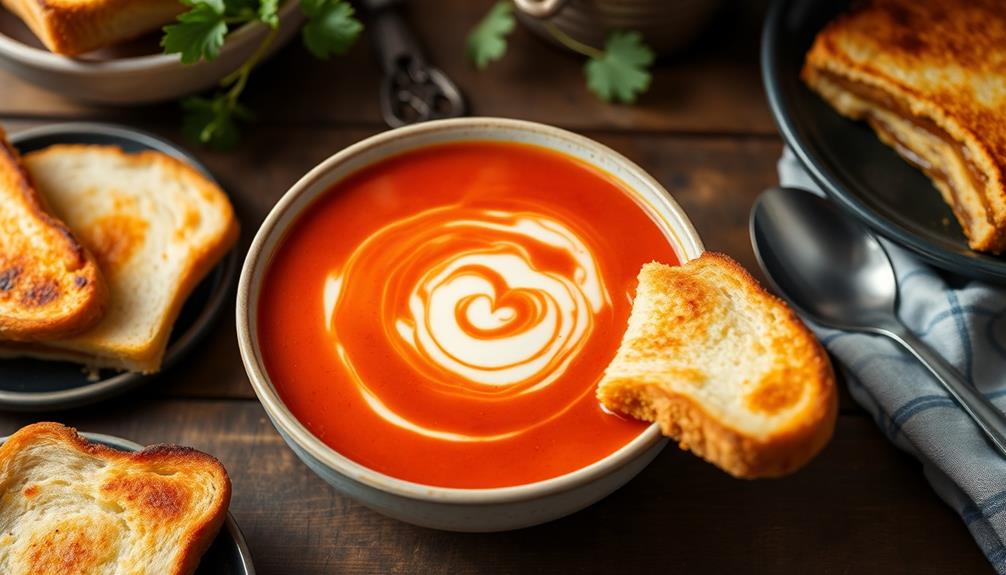
- Serve the grilled cheese sandwich immediately to enjoy the optimal texture and temperature, and consider pairing it with sides like tomato soup or a fresh salad.

Overmont Enameled Cast Iron Dutch Oven - 7QT Pot with Lid Cookbook & Cotton Potholders - Heavy-Duty Cookware for Braising, Stews, Roasting, Bread Baking grey
Outstanding Heat Mastery: Crafted with precision, Overmont premium enamel cast iron ensures exceptional heat distribution and retention. Its...
As an affiliate, we earn on qualifying purchases.
History
The grilled cheese sandwich has a rich history that dates back to ancient times. Early versions of the dish were created by the Greeks and Romans, who combined bread and cheese over fire. As the concept spread, cultures around the world began putting their own spins on the classic combination.
In the late 1800s, the modern grilled cheese sandwich emerged in the United States. Sliced bread and processed cheese made the dish more accessible and affordable for the masses.
During the Great Depression, it became a beloved comfort food, providing an inexpensive yet satisfying meal.
Today, the grilled cheese sandwich remains a popular classic, with endless variations. Chefs experiment with artisanal breads, gourmet cheeses, and creative flavor pairings.
Whether simple or elevated, the grilled cheese continues to delight people of all ages. Its enduring appeal is a testament to the timeless pleasure of melted cheese between two slices of crispy, golden bread.
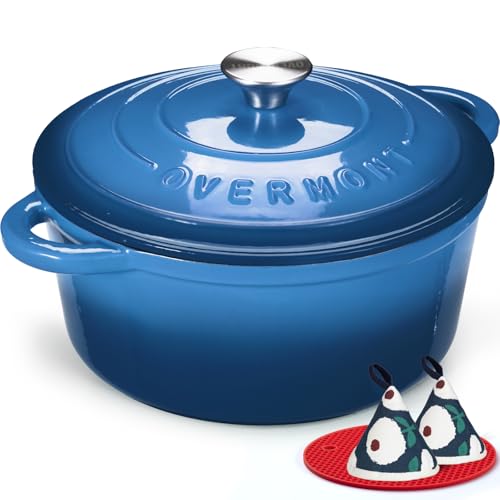
Overmont Enameled Cast Iron Dutch Oven - 7QT Pot with Lid Cookbook & Cotton Potholders - Heavy-Duty Cookware for Braising, Stews, Roasting, Bread Baking blue
Outstanding Heat Mastery: Crafted with precision, Overmont premium enamel cast iron ensures exceptional heat distribution and retention. Its...
As an affiliate, we earn on qualifying purchases.
Recipe
Grilled cheese sandwiches are a classic comfort food that can be made in a variety of ways. The key to a perfect grilled cheese is achieving the right balance of crispy bread, gooey cheese, and flavorful fillings.
Whether you prefer a simple classic or a more elaborate version, the process of making a grilled cheese sandwich is straightforward and easy to master. With just a few basic ingredients and a few minutes of cooking time, you can create a delicious and satisfying meal.
Ingredients:
- 2 slices of bread (white, sourdough, or your preferred type)
- 2-3 slices of cheese (cheddar, Swiss, or a combination)
- Butter or margarine for cooking
Instructions:
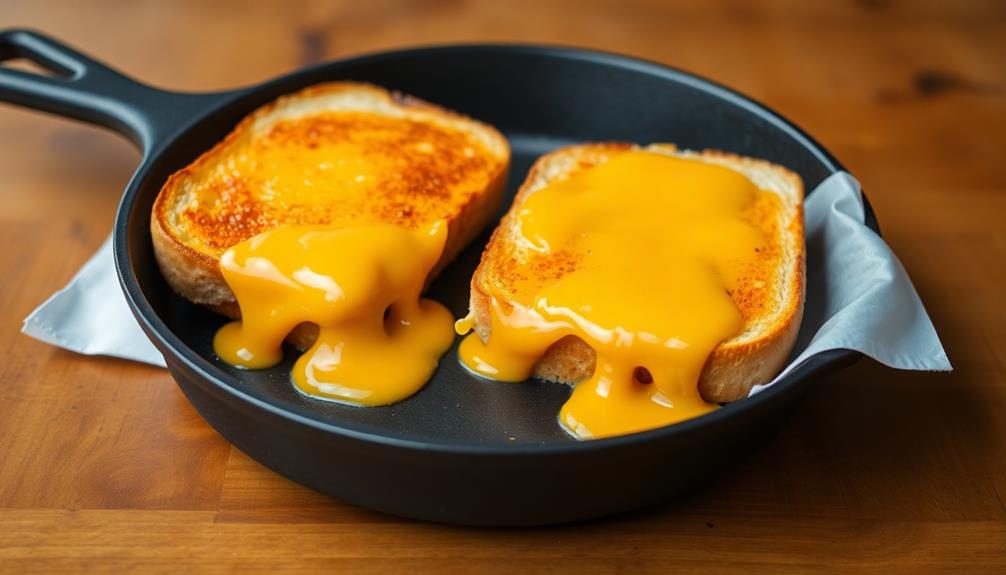
Preheat a skillet or griddle over medium heat. Lightly butter one side of each slice of bread. Place one slice of bread, butter-side down, in the hot skillet. Top with the desired amount of cheese slices.
Place the second slice of bread, butter-side up, on top of the cheese. Cook the sandwich for 2-3 minutes per side, or until the bread is golden brown and the cheese is melted.
Tips:
- Experiment with different types of bread and cheese to find your personal favorite combination.
- Consider adding additional ingredients such as tomato, bacon, or caramelized onions for extra flavor.
- Adjust the heat as needed to ensure the bread doesn't burn before the cheese is fully melted.
- For an extra crispy texture, you can brush the top slice of bread with a little more butter during the cooking process.

Lodge 7-Quart Cast Iron Dutch Oven – Made in USA, Pre-Seasoned, PFAS-Free & Non-Toxic, Heat-Treated, Induction Compatible, Self-Basting Lid, Durable Multi-Use Cooking Pot for Oven to Table
PFAS-FREE & NON-TOXIC COOKWARE: Lodge cast iron is free from PFAS, PFOA, and PTFE. Enjoy safer cooking with...
As an affiliate, we earn on qualifying purchases.
Cooking Steps
Start by preparing the bread and cheese.
Butter the bread slices evenly on one side.
Then, heat the sandwich in a pan over medium heat, cooking until the first side is golden brown.
Flip the sandwich and continue cooking until the cheese is fully melted.
Step 1. Prepare Bread and Cheese
To prepare the bread and cheese for your grilled cheese sandwich, begin by selecting two slices of your desired bread.
Whether you prefer soft white bread, hearty whole wheat, or a rustic sourdough, the choice is yours. Next, choose the cheese that will bring your sandwich to life. Classic options include sharp cheddar, Swiss, or American, but you can also experiment with bolder flavors like provolone, Gruyère, or even a blend.
Once you have your bread and cheese, it's time to assemble. Lay the bread slices on a clean surface and generously layer the cheese on one slice, making sure to cover the entire surface.
If you're feeling adventurous, you can add additional fillings like thinly sliced tomatoes, crispy bacon, or fresh herbs. Then, simply place the other slice of bread on top, creating a delicious sandwich ready for the grill.
Step 2. Butter Bread Evenly on One Side

Proper buttering is crucial for achieving that golden, crisp exterior on your grilled cheese sandwich. Use an ample amount of room-temperature butter, about a tablespoon per slice of bread. Spread it evenly across the entire surface, all the way to the edges. This ensures even coverage and prevents any dry spots.
When buttering, be gentle and take your time. Don't press too hard, or you'll tear the bread. Instead, use a butter knife or the back of a spoon to gently spread the butter in a thin, even layer. Pay close attention to the corners and edges, making sure they're fully coated.
For best results, use a high-quality butter with a rich, creamy texture. Unsalted butter works well, as the saltiness of the cheese will provide the perfect balance of flavors.
Once the bread is evenly buttered, you're ready to assemble and grill your delicious grilled cheese sandwich.
Step 3. Heat Sandwich in Pan
Once the bread is evenly buttered, you can begin heating the sandwich in the pan. Use a large skillet or griddle and set it over medium heat. Gently place the sandwich into the pan, making sure the buttered side is facing down. Let the sandwich cook for 2-3 minutes, or until the bottom slice of bread is golden brown.
Next, use a spatula to carefully flip the sandwich over. Cook the other side for another 2-3 minutes, again watching for it to turn a nice golden brown. Be gentle when flipping to avoid losing any of the melty, gooey cheese.
As the sandwich cooks, keep an eye on it and adjust the heat as needed to prevent burning. The goal is to get the bread crispy on the outside while the cheese melts to perfection on the inside.
Once both sides are toasted, remove the grilled cheese from the pan and serve immediately, taking care as the filling will be very hot.
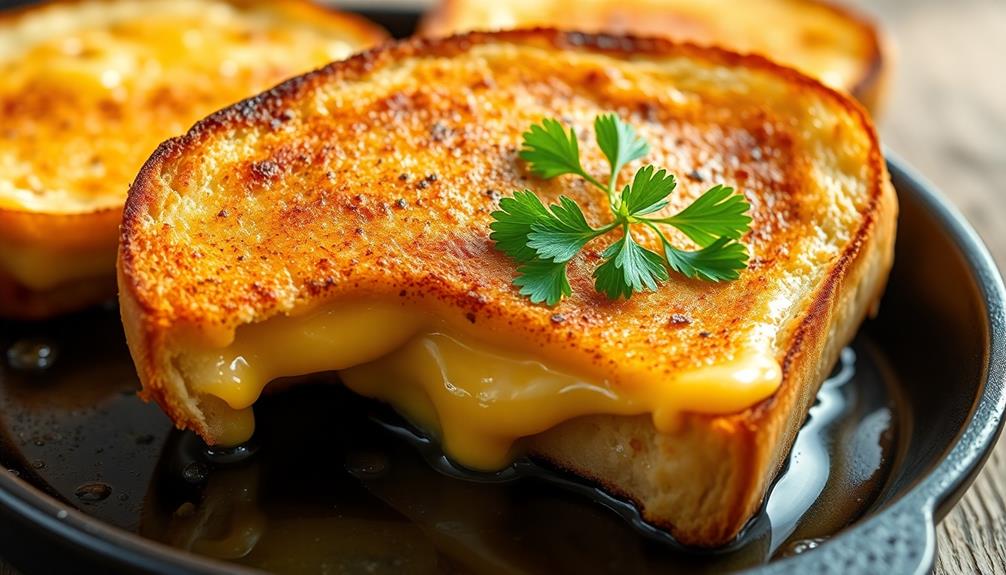
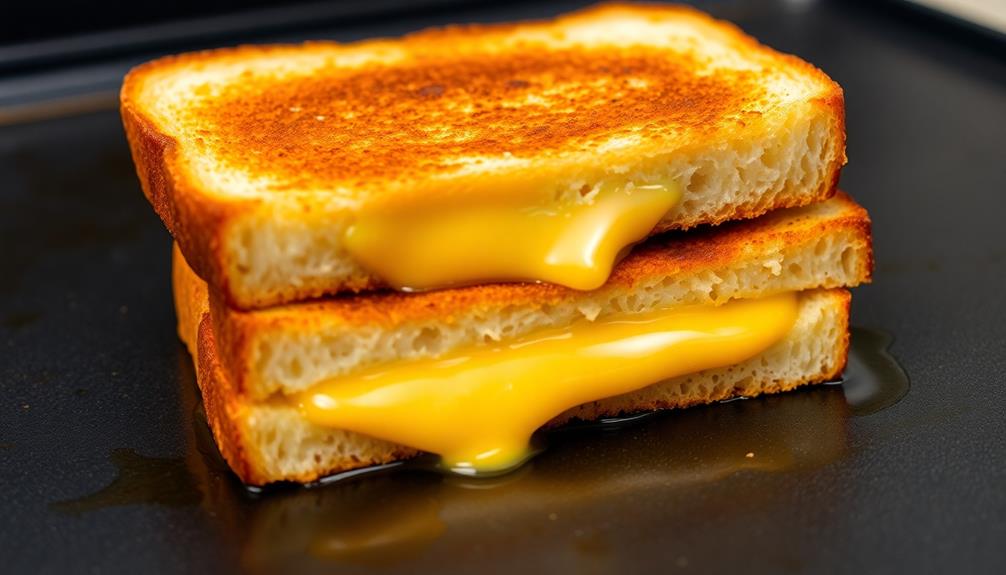
Step 4. Cook Until Golden Brown

After carefully placing the sandwich in the heated pan, let it cook for 2-3 minutes until the bottom slice is a lovely golden brown.
You'll know it's ready when you can gently lift the corner and see a beautiful, crispy crust has formed.
Next, use a spatula to carefully flip the sandwich over. Cook for another 2-3 minutes, keeping a close eye to ensure it doesn't burn.
The second side should also develop a delightful golden-brown hue.
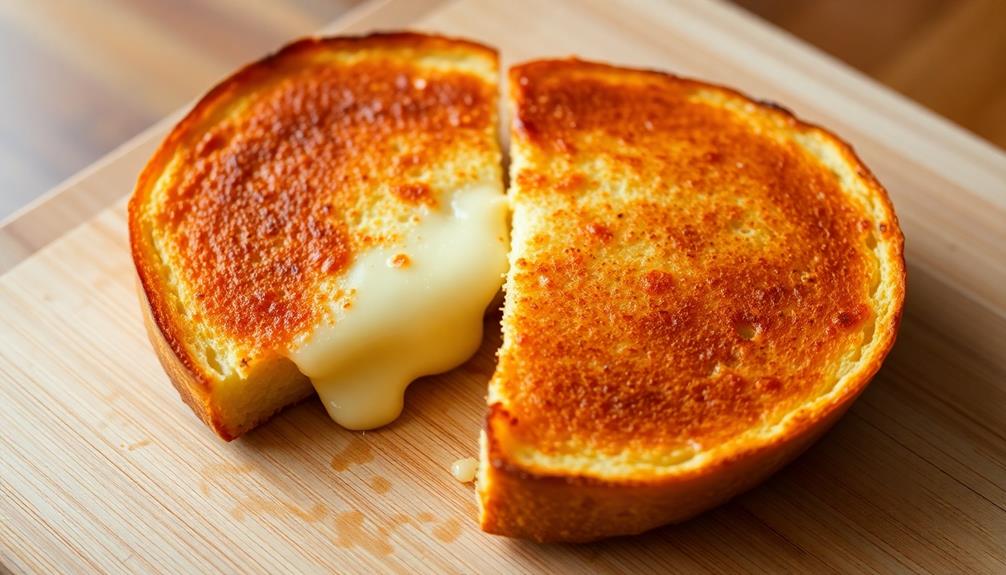
Once both sides are perfectly toasted, remove the grilled cheese from the pan. The melted cheese should be gooey and the bread perfectly crisp.
Feel free to press down lightly with the spatula to help the cheese fully melt.
Be careful when handling the hot sandwich. Allow it to cool for a minute or two before cutting in half and serving.
The end result should be a mouthwatering grilled cheese with a satisfying crunch and oozing, gooey center.
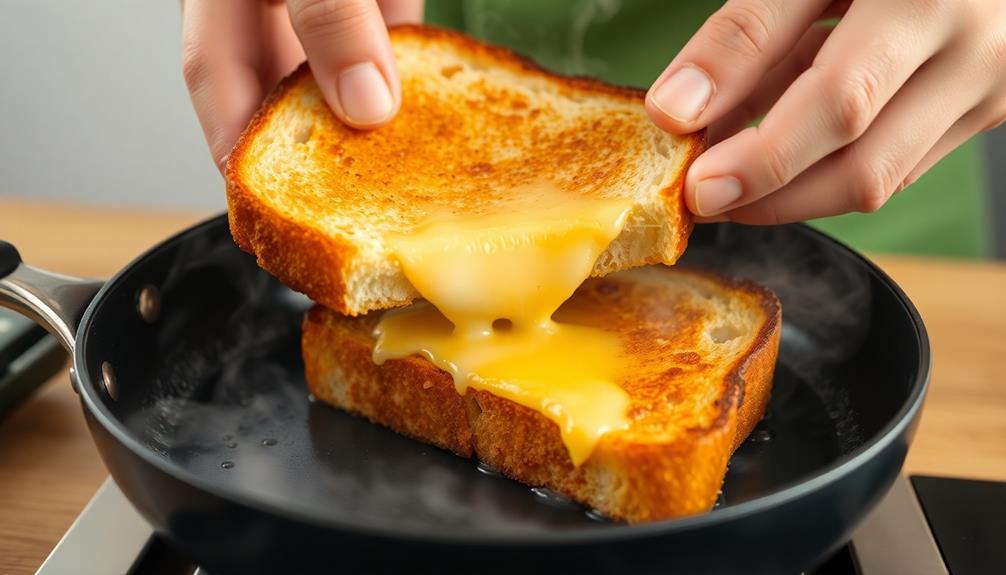
Step 5. Flip Sandwich and Cook Until Melted

With the sandwich now sizzling in the pan, carefully flip it over using a spatula. This side should now be golden brown and slightly crispy. The cheese should be starting to melt, but there's still more work to do.
Gently press down on the sandwich with the spatula to help the cheese spread and melt more evenly. You'll want the cheese to become fully melted and gooey. This may take 1-2 minutes, so keep a close eye on it.
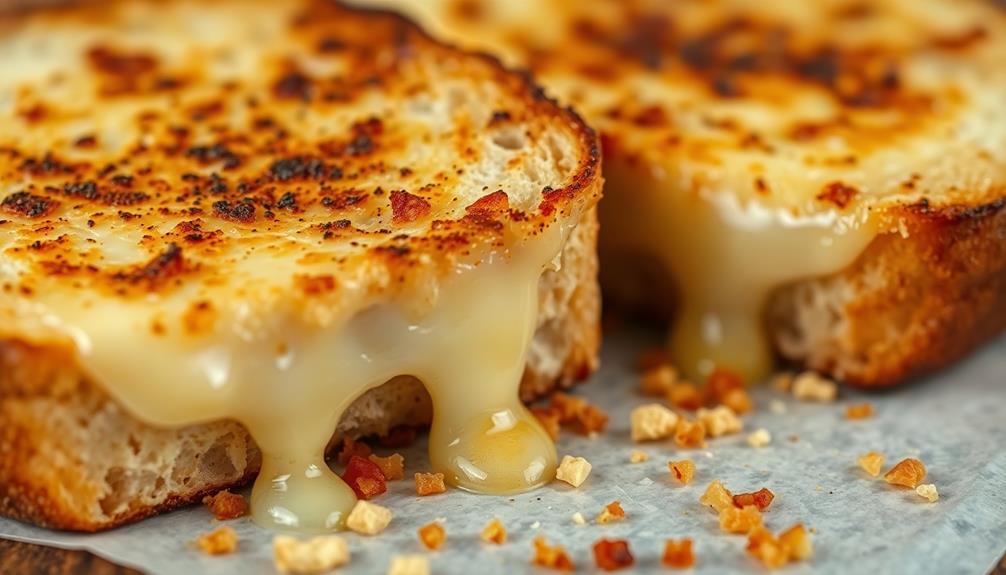
- Listen for the sizzle – it should be steady and not too loud, indicating the sandwich is cooking at the right temperature.
- Check the edges – the cheese should be visibly melting and creeping towards the center.
- Lift a corner – the bread should be evenly browned, not pale or spotty.
Once the cheese is fully melted and the bread is a deep golden brown, your grilled cheese is ready!
Carefully remove it from the pan and enjoy your deliciously melty creation.

Overmont Enameled Cast Iron Dutch Oven - 7QT Pot with Lid Cookbook & Cotton Potholders - Heavy-Duty Cookware for Braising, Stews, Roasting, Bread Baking Cream White
Outstanding Heat Mastery: Crafted with precision, Overmont premium enamel cast iron ensures exceptional heat distribution and retention. Its...
As an affiliate, we earn on qualifying purchases.
Final Thoughts
Grilled cheese sandwiches are a beloved classic that can be enjoyed time and time again. As you've seen, creating the perfect grilled cheese is a simple process that requires just a few key steps. From selecting the right bread and cheese to properly cooking the sandwich, each component plays a crucial role in achieving that irresistible golden-brown exterior and ooey-gooey interior.
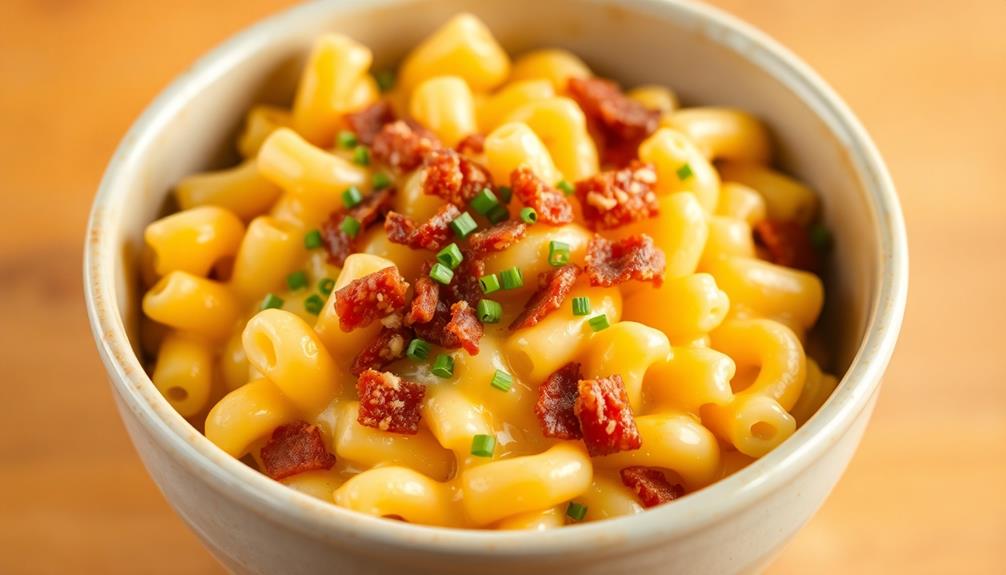
While the basic recipe is straightforward, there's plenty of room for experimentation. Don't be afraid to get creative by adding your favorite fillings, trying different cheese varieties, or even incorporating unique flavor profiles. For example, you could mix in crispy bacon, roasted vegetables, or even a hint of spice like cayenne or smoked paprika to elevate the dish. Whether you stick to a traditional cheddar or explore more adventurous cheese options like gouda or gruyere, the possibilities are endless. No matter what twists you add, the base of a *classic mac and cheese recipe* ensures comfort and familiarity with every bite. The best part is that a classic mac and cheese recipe doesn’t require you to be a culinary expert—it’s forgiving and versatile enough for cooks of all skill levels. As you experiment with flavors and textures, you’ll discover exciting combinations that make the dish uniquely yours while still maintaining its comforting essence. So, grab your favorite pot, some quality cheese, and let the classic mac and cheese recipe be the canvas for your creativity in the kitchen!
The true beauty of the grilled cheese lies in its versatility, allowing you to make it your own. Ultimately, the most important thing is to have fun in the kitchen and savor each bite of your homemade grilled cheese masterpiece.
With a little practice, you'll be whipping up these comforting sandwiches like a pro, delighting your taste buds and those of your loved ones.
Frequently Asked Questions
Can I Use Pre-Sliced Cheese for a Grilled Cheese Sandwich?
Yes, you can use pre-sliced cheese for a grilled cheese sandwich. Pre-sliced cheese is a convenient option that melts easily and provides the perfect cheesy texture you crave in a classic grilled cheese.
How Do I Prevent the Bread From Getting Soggy When Grilling?
To prevent the bread from getting soggy when grilling, make sure to lightly toast the bread beforehand and use a generous amount of butter or oil on the outside of the bread. This will help create a crisp exterior.
What Type of Butter or Oil Should I Use for the Best Results?
For the best results, use a small amount of unsalted butter or olive oil. The butter will give you a nice crisp exterior, while the olive oil can add a subtle flavor. Avoid using too much, as this can lead to a greasy sandwich.
Can I Make a Grilled Cheese Sandwich in a Toaster Oven?
Yes, you can make a grilled cheese sandwich in a toaster oven. Just place the assembled sandwich on a baking sheet and toast it until the bread is crispy and the cheese is melted, typically 5-7 minutes.
How Long Should I Grill the Sandwich for a Perfectly Crispy Exterior?
To get a perfectly crispy exterior, grill the sandwich for 3-5 minutes per side in a hot skillet or panini press. Keep an eye on it and flip when the bread is golden brown and the cheese is melted.