Whether you crave sweet or savory, crepes are a delightful French staple you can easily master at home. This versatile dish originated as street food, evolving into the classic café fare we know today. Start with a simple batter of flour, eggs, milk, and butter, then pour it into a hot, buttered pan, tilting to coat evenly. Cook until lightly browned, then fill and fold to your heart's content – from fruit and Nutella to cheese and spinach. With a bit of practice, you'll be turning out perfect crepes that impress family and friends. And there's much more to discover about this timeless treat.
Key Takeaways
- Provide a detailed recipe including essential ingredients, step-by-step instructions, and preparation techniques for making perfect crepes.
- Highlight the versatility of crepes by suggesting a variety of sweet and savory fillings to customize their flavor profiles.
- Emphasize the importance of proper skillet temperature, batter consistency, and flipping techniques to achieve the desired golden-brown crepes.
- Explain the history and evolution of crepes, from their French origins to their global popularity as both meals and desserts.
- Offer practical tips and tricks for storing leftover batter and maintaining the quality of cooked crepes.
History
Crepes gained popularity across France as street vendors began selling them, often topped with sweet or savory fillings.
The versatility of crepes allowed them to evolve, with savory "galettes" made from buckwheat flour and sweet crepes crafted from wheat flour. Over time, crepes became a staple in French cafes and creperies, enjoyed as both a meal and a dessert.
Today, the crepe's legacy extends far beyond its French roots, with variations found across the globe.
Whether you're enjoying a classic Nutella-filled crepe in Paris or an innovative fusion version, the timeless appeal of this delicate delicacy remains.
Recipe

Crepes are a versatile and delightful French staple that can be enjoyed for breakfast, lunch, or dessert. These thin, delicate pancakes offer a canvas for a wide range of sweet or savory fillings, making them a perfect choice for any occasion. Whether filled with fresh fruit and whipped cream, slathered with Nutella, or stuffed with ham and cheese, crepes cater to diverse palates and preferences. While they stand out as a breakfast favorite, those who love variety might also enjoy exploring a perfect waffles recipe for breakfast to complement their morning spread. Both options bring a touch of elegance and flexibility to your table, ensuring a satisfying start to the day.
The key to achieving the perfect crepe lies in the batter and the cooking technique. With a few simple ingredients and a little practice, you can master the art of crepe-making and impress your friends and family with your culinary skills.
- 1 cup all-purpose flour
- 2 eggs
- 1 1/4 cups milk
- 2 tablespoons melted butter, plus more for cooking
- 1/4 teaspoon salt
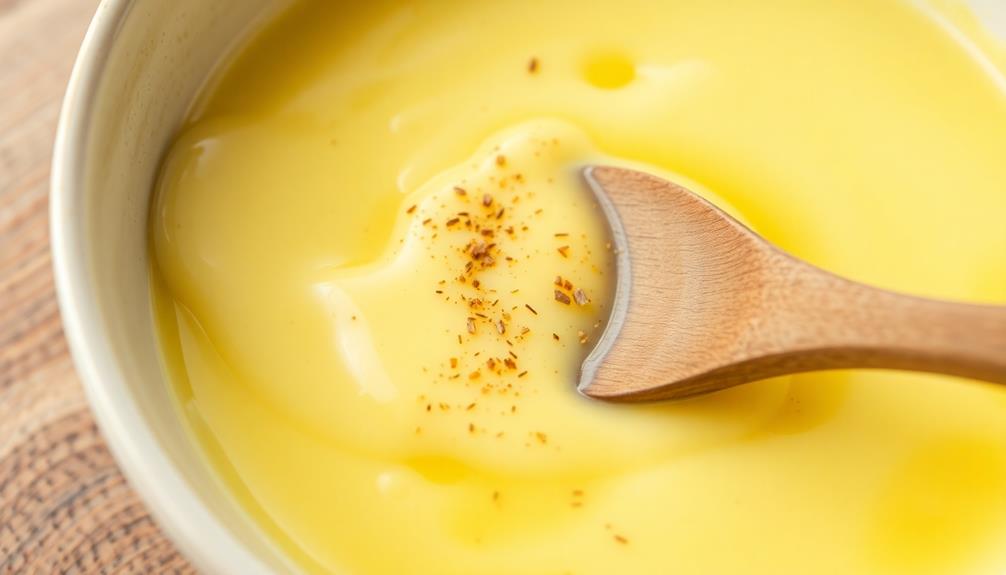
In a medium bowl, whisk together the flour, eggs, milk, 2 tablespoons of melted butter, and salt until the batter is smooth and free of lumps. Allow the batter to rest for at least 30 minutes, or up to 2 hours, to allow the gluten to relax. After resting, give the batter one final stir to ensure a uniform consistency. Meanwhile, heat a non-stick skillet over medium heat and lightly brush with melted butter before pouring in the batter to cook your preferred dish. For a complete meal, consider learning how to make perfect white rice, which pairs beautifully with a variety of savory mains.
Heat a non-stick skillet or crepe pan over medium heat and lightly grease it with butter. Pour about 1/4 cup of the batter into the pan, tilting the pan to evenly distribute the batter and create a thin, round crepe. Cook the crepe for 1-2 minutes, or until the edges begin to turn golden brown. Gently flip the crepe and cook for an additional 30 seconds to 1 minute, or until the other side is lightly browned. Repeat this process with the remaining batter, stacking the cooked crepes on a plate.
To ensure your crepes turn out perfectly, be sure to use room-temperature ingredients, as this helps the batter come together more easily. Additionally, resist the urge to overfill your crepes, as this can lead to tearing or uneven cooking.
Experiment with different fillings and toppings to find your personal favorite combination.
Cooking Steps
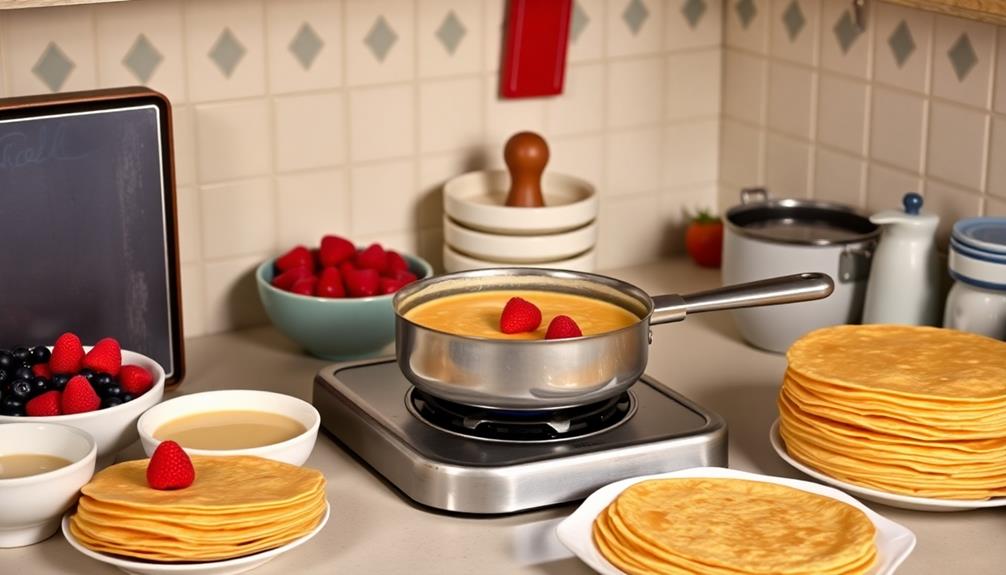
Melt a pat of butter in a nonstick skillet over medium heat.
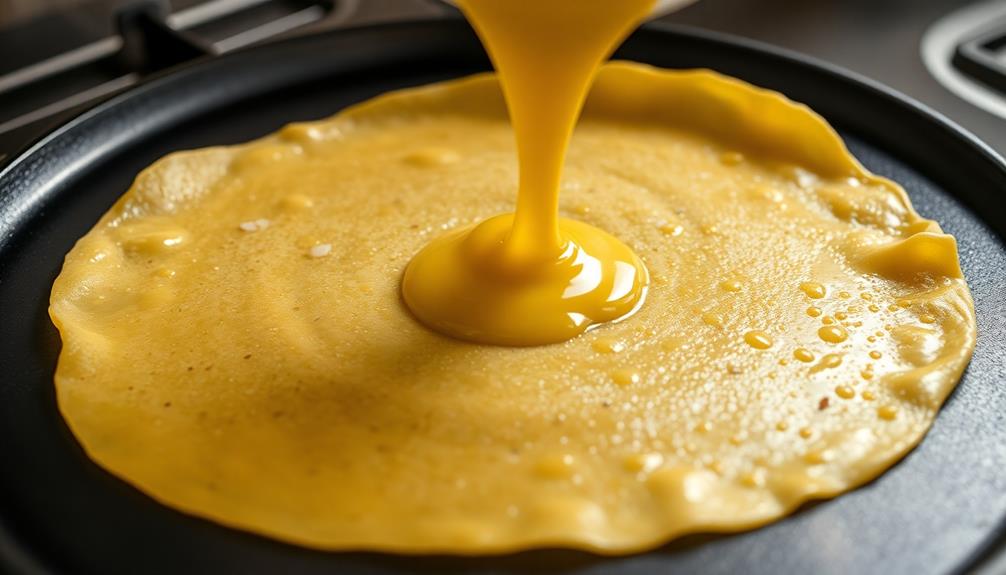
Once the butter is melted, pour in the crepe batter, tilting the pan to evenly coat the surface.
Cook the crepe until it's set, about 1-2 minutes, then gently loosen the edges and fold the crepe in half or quarters.
Step 1. Melt Butter in Skillet
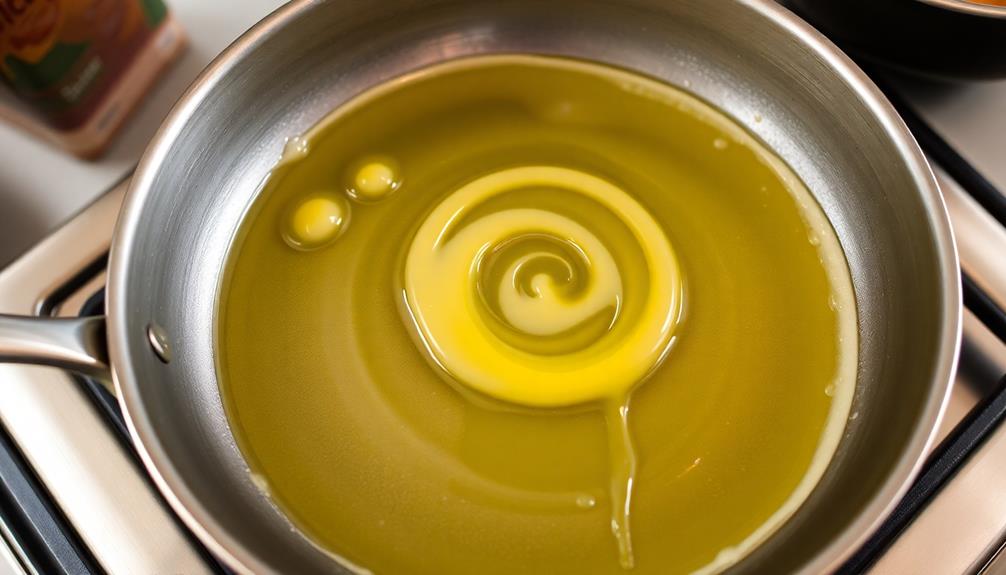
As you prepare to make your perfect crepes, begin by melting a small knob of butter in a non-stick skillet over medium heat. This step is crucial, as the melted butter will help create a smooth, evenly-cooked crepe.
Gently swirl the pan to ensure the butter coats the entire surface. You'll want to watch the butter carefully, as it can go from melted to browned in a matter of seconds.
Once the butter is fully melted and just beginning to sizzle, it's time to pour in your crepe batter.
Be mindful of the heat – you don't want the butter to burn, as that can impart a bitter flavor to your crepes. If the butter starts to brown too quickly, simply reduce the heat slightly.
Maintaining the proper temperature is key to achieving perfectly golden-brown, delicate crepes every time.
Step 2. Pour Batter Into Skillet
With the butter melted and sizzling gently in the pan, it's time to pour in your crepe batter.
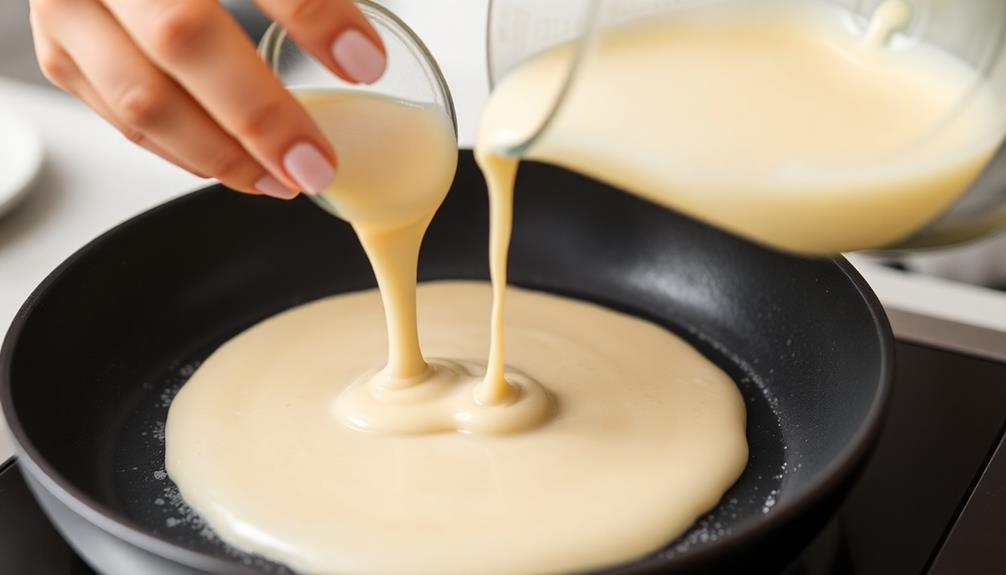
Grab your whisk or ladle and slowly pour a small amount of batter into the center of the skillet. Using a circular motion, gently swirl the batter, allowing it to evenly coat the bottom of the pan.
Be sure to pour just enough to create a thin, even layer – you want your crepes to be delicate and lacy, not thick and doughy.
Once the batter is poured, tilt the pan in a circular motion to ensure the batter spreads out completely. This will help create the signature round, thin crepe shape.
Cook the crepe for about 1-2 minutes, or until the edges begin to lightly brown and lift away from the pan.
Gently slide a spatula underneath, and with a quick flick of the wrist, flip the crepe to cook the other side for an additional 30 seconds to 1 minute.
Step 3. Gently Tilt Skillet to Coat
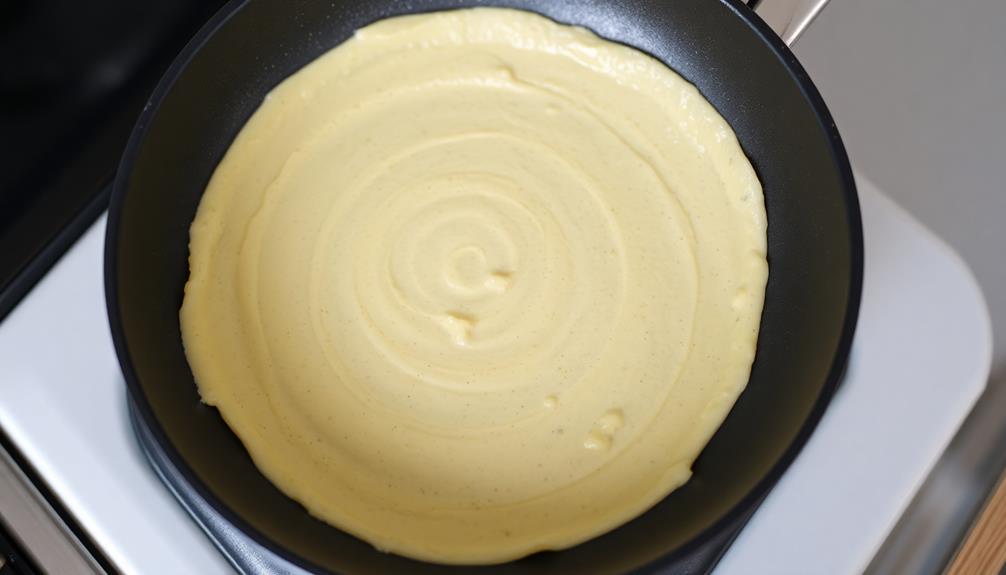
With the batter poured, it's time to gently tilt the skillet. This crucial step ensures the batter spreads evenly, creating a thin, uniform crepe.
Hold the skillet's handle firmly and begin tilting it in a circular motion, guiding the batter to coat the entire surface. Use a gentle touch – you don't want the batter to splash or create holes.
As the batter spreads, keep tilting the skillet, rotating it to cover any bare spots. Work quickly, as the batter will start to set quickly. Once the surface is evenly coated, stop tilting and allow the crepe to cook.
Here are some tips:
- Tilt the skillet in a steady, continuous motion for best results.
- Avoid letting the batter pool in one area, as this can cause the crepe to cook unevenly.
- If the batter doesn't seem to be spreading, add a small amount of oil to the skillet and try again.
- Keep the skillet moving to prevent the crepe from sticking.
Step 4. Cook Until Set
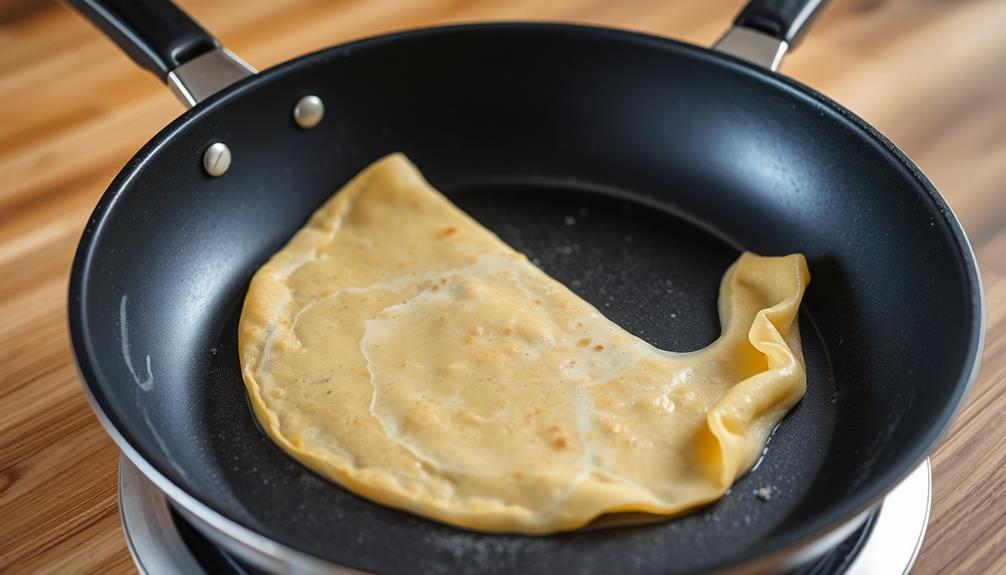
Once the crepe is evenly coated, allow it to cook undisturbed. This is a crucial step, as you want the crepe to set properly before attempting to flip it.
Depending on the heat of your pan, this should take about 30 seconds to a minute. Keep a close eye on it, as crepes can go from perfectly cooked to burned in the blink of an eye.
When the edges start to look dry and the center is no longer wet, it's time to flip. Gently slide a thin spatula under the crepe and flip it over in one smooth motion.
Let the other side cook for an additional 20-30 seconds. The crepe should have a light golden color when fully cooked.
- Cook the crepe undisturbed until set, about 30 seconds to 1 minute.
- Flip the crepe gently using a thin spatula.
- Cook the flipped side for 20-30 seconds until lightly golden.
Step 5. Gently Loosen and Fold Crepe
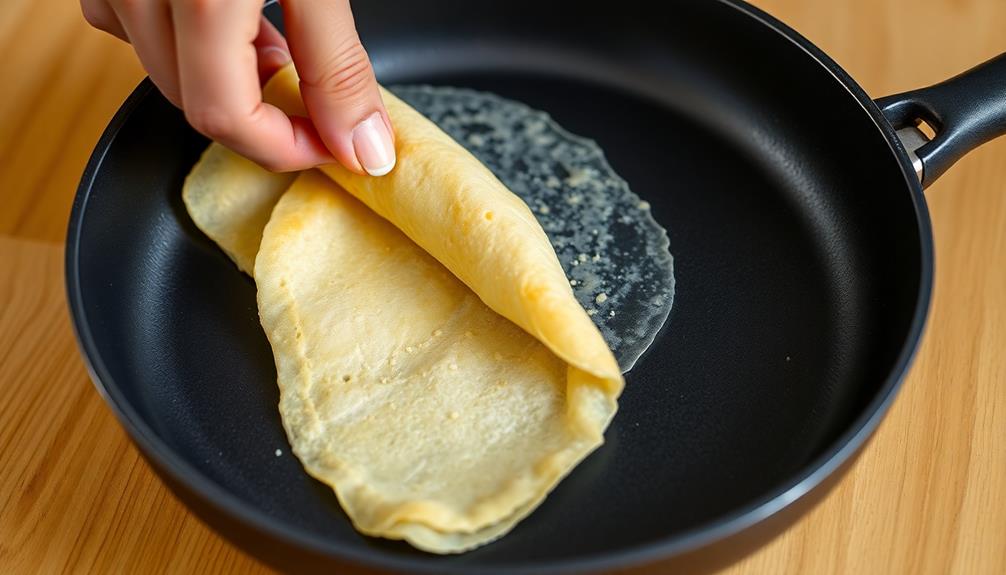
After the crepe has finished cooking on both sides, it's time to gently loosen and fold it.
Using a small spatula or your fingers, carefully slide it under the edge of the crepe to lift it up. Slowly work your way around the perimeter, gently loosening the crepe from the pan. Be mindful not to tear the delicate surface.
Once the crepe is fully loosened, you can begin the folding process. There are a few different techniques you can use:
- Fold the crepe in half to create a semi-circle.
- Fold the crepe in quarters to create a triangle.
- Roll the crepe up tightly from one side to the other.
Whichever method you choose, be sure to do so gently and with care to preserve the thin, tender texture of the crepe.
With the crepe now neatly folded, it's ready to be served with your desired toppings or fillings.
Final Thoughts

Whipping up delectable crepes doesn't have to be a daunting task. With the right approach and a bit of practice, you'll be crafting perfectly thin, evenly cooked crepes in no time.
Remember, the key to success lies in embracing the nuances of the process and not being too hard on yourself. If your first crepe doesn't turn out quite right, don't worry – it's all part of the learning curve.
As you continue to experiment, pay close attention to the consistency of your batter, the temperature of your pan, and the timing of your flips. Adjust as needed to find the sweet spot that works best for your kitchen setup and personal preferences.
Most importantly, have fun with it! Crepe-making is a delightful culinary art that can be enjoyed by cooks of all skill levels.
With a little patience and these helpful tips, you'll be whipping up café-worthy crepes in no time. Bon appétit!
Frequently Asked Questions
How Long Can I Store the Crepe Batter?
You can store the crepe batter in the fridge for up to 3 days. Just be sure to give it a good stir before using, as the ingredients may separate a bit during storage.
Can I Substitute Milk for Non-Dairy Milk?
You can substitute non-dairy milk for regular milk in your crepe batter. The batter will have a slightly different flavor, but it should still work well and produce delicious crepes. Just be sure to adjust the amount as needed.
How Do I Prevent the Crepes From Sticking?
To prevent your crepes from sticking, be sure to grease the pan with butter or oil before pouring in the batter. Maintain a consistent, medium-low heat, and don't be afraid to gently lift the edges as they cook.
Can I Freeze Cooked Crepes for Later Use?
You certainly can freeze cooked crepes for later use. Once cooled, stack the crepes with parchment paper between each one to prevent sticking. Place the stack in an airtight container or freezer bag, and they'll be ready to reheat whenever you need them.
What Toppings Work Best With These Crepes?
You can top your crepes with a wide variety of sweet or savory fillings. Popular choices include Nutella, fruit preserves, sautéed apples, ham and cheese, scrambled eggs, or even smoked salmon and cream cheese. The possibilities are endless!